
Tracking Hub Administrator Guide
Version 1.5 | Published April 05, 2022 ©
Start the Viz Virtual Studio
First start Tracking Hub, then start Studio Manager. Tracking Hub starts as a console program:
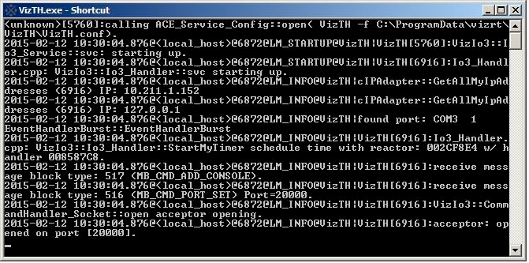
Tracking Hub does not load correctly if the configuration file VizTH.conf, located at C:\ProgramData\vizrt\VizTH , is missing.
Usually, the tracking network is separated from the Engine network. This makes sense when Tracking Systems need their own IP range, and when the amount of tracking data should not interfere with regular network traffic. Tracking Hub can be set to a Viz adapter, which communicates with the Engines, and a tracking adapter which communicates with the tracking system. On the first startup of the Tracking Hub, the local loop back adapter is selected. Changing the network settings is mandatory after the first installation on a new machine.
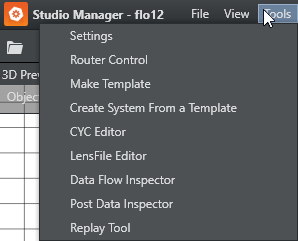
To change the adapters used by Tracking Hub, select Settings from the Tools menu in Studio Manager.
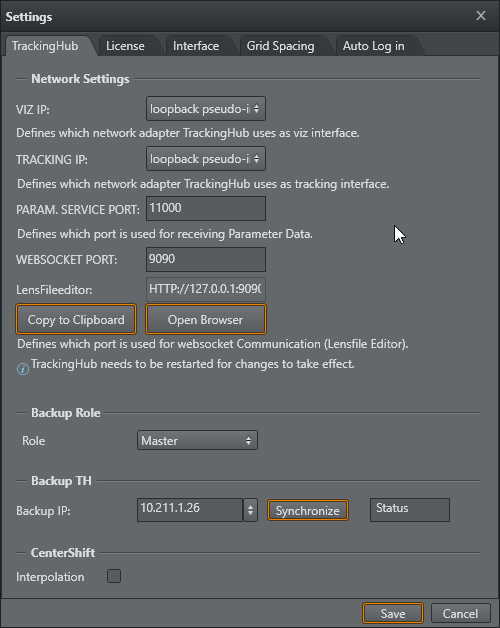
IMPORTANT! If changing the network adapter, Tracking Hub needs to be restarted for any changes to take effect.
Manual Configuration of the Network Adapter IP Addresses
-
Start the Tracking Hub and then immediately close it.
-
Go to the configuration folder (the default path is C:\ProgramData\vizrt\VizTH\Cfg) and edit the file BaseConfig.xml. BaseConfig.xml is a XML-formatted text-file. When editing the file, be sure to use a text editor such as Notepad(++) or similar, and save it as a text-formatted file.
-
In the fields VizAdapter="xxx" TrackingAdapter="xxx", specify the adapter names or IP addresses.
Tip: You can view the IP-addresses in use by the server by opening a command prompt and entering the command ipconfig.
-
VizAdapter and TrackingAdapter can have the same setting.
This needs to be done only once. After the command is executed, BaseConfig.xml is updated.
IMPORTANT! You can minimize the Tracking Hub console program, but it should be kept running at all time.
Start the Studio Manager
-
Start the Studio Manager:
-
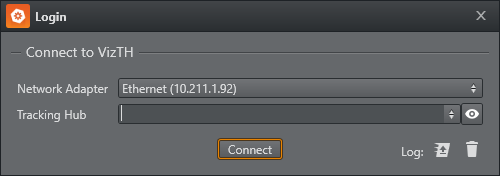
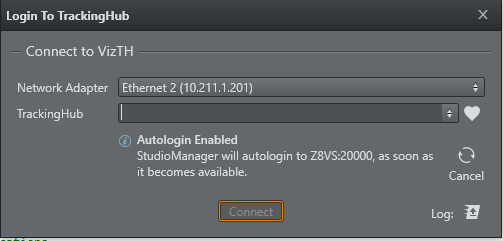
In the Tracking Hub login window enter the required details:
-
Network Adapter: Select a network adapter from the Network Adapter List.
-
Tracking Hub: Select a Host from the drop-down list. Under certain conditions, such as the server being located on a different network sub-net, the host does not appear in the list. The host name or IP address can then be entered manually.
-
The dialog remembers the last Adapter which was selected. If auto logon is enabled, the Studio Manager connects to the last selected Tracking Hub.
-
-
Click Connect.
Activating Automatic Logon
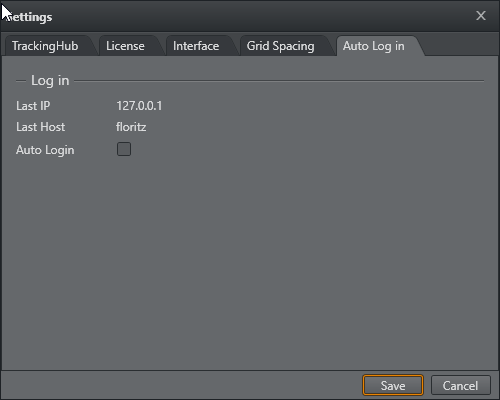
Automatic logon can be a activated and deactivated in the Auto Log in Tab of the Settings Dialog.
License Configuration
Tracking Hub requires a valid license to work with. This license can be located either on legacy hardlock dongles or on the newer WIBU system.
If you are using the legacy hardlock dongle, make sure the driver is installed correctly (LED on the dongle must be on).
For WIBU licenses, you have different options: You can either use a dongle based license or a network license.
-
If a network server is going to be used, make sure the server is listed in the server search list of the Codemeter Web Interface. This can be accessed by browsing to http://localhost:22352/configuration/server_search_list.html. Add the server hosting the license into the server search list.
-
A dongle can be either a physical dongle one or a software based one. Both of them need to show up in the Codemeter UI.
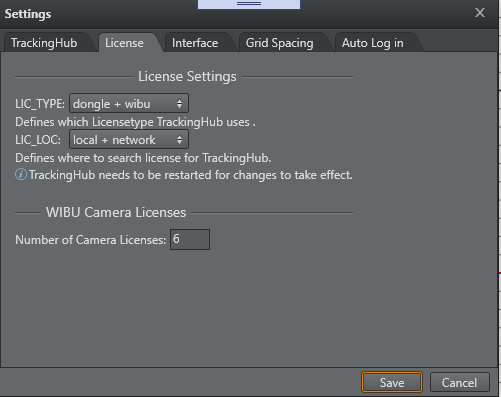
After starting Studio Manager, you'll need to go to Tools > Settings and License.
-
LIC_Type: Selects what kind of license system you are going to use.
-
dongle: For old hardlock based licenses.
-
wibu: For the WIBU Codemeter based licensing system.
-
dongle + wibu: Should only be used within a license transition period.
-
-
LIC_LOC: Defines where Viz Virtual Studio acquires a license. Possibilities are:
-
local: Only to be used for WIBU dongle or software containers.
-
network: If a network server is hosting your licenses.
-
local + network: Search for a local license first, then for a network server.
-
network + local: Network first, local next.
-
After the license has been set correctly, please close Studio Manager, restart Tracking Hub and restart Studio Manger to check if the license got acquired correctly.
Details can be found in chapter WIBU-based Licensing System and WIBU License System in Tracking Hub.