
Viz Artist
Version 3.10 | Published May 03, 2018 ©
Bump Map
![]()
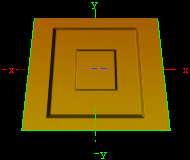
Use this plug-in to simulate complex surface structures. Instead of using many triangles to render a 3D object with many structures on its surface, use bump mapping to get a similar result.
Use plug-ins for Adobe Photoshop, Gimp, built-in functions of your modeling package or NVIDIA’s tool called Melody.
Note: Make sure the geometry supports tangent space vectors. Otherwise use the Simple Bump Map shader.
Note: This plug-in is located in: Built Ins -> Shader -> Material
This section contains information on the following topics:
Bump Map Properties
-
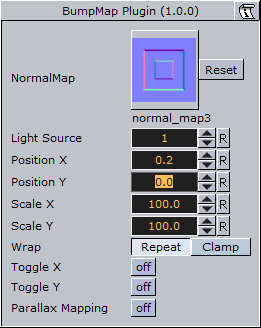
NormalMap: Move an normal map via drag and drop onto this field. Normal maps are images which store a direction of normals directly in the RGB data.
-
HeightMap: Move an height map via drag and drop onto this field. The Height Map file is only visible and used when parallax mapping is enabled.
-
Light Source: Choose the light source in the range 1-8. Please consider that only one light source is possible. By default the first light source is used.
-
Position X and Y: The position of the normal map in X-direction and Y-direction.
-
Scale X and Y: Here you can scale the normal map, respectively change the width and height size of the image.
-
Wrap: Repeats or clamps the bump map for the image.
-
Toggle X and Y: Changes the direction of the normals stored in the normal map image.
-
Scale Height: Changes the intensity of the bump map effect. Scale Height is visible when parallax mapping is enabled.
-
Parallax Mapping: With this additional map the texture will have more apparent depth and the object is more realism.
See Also