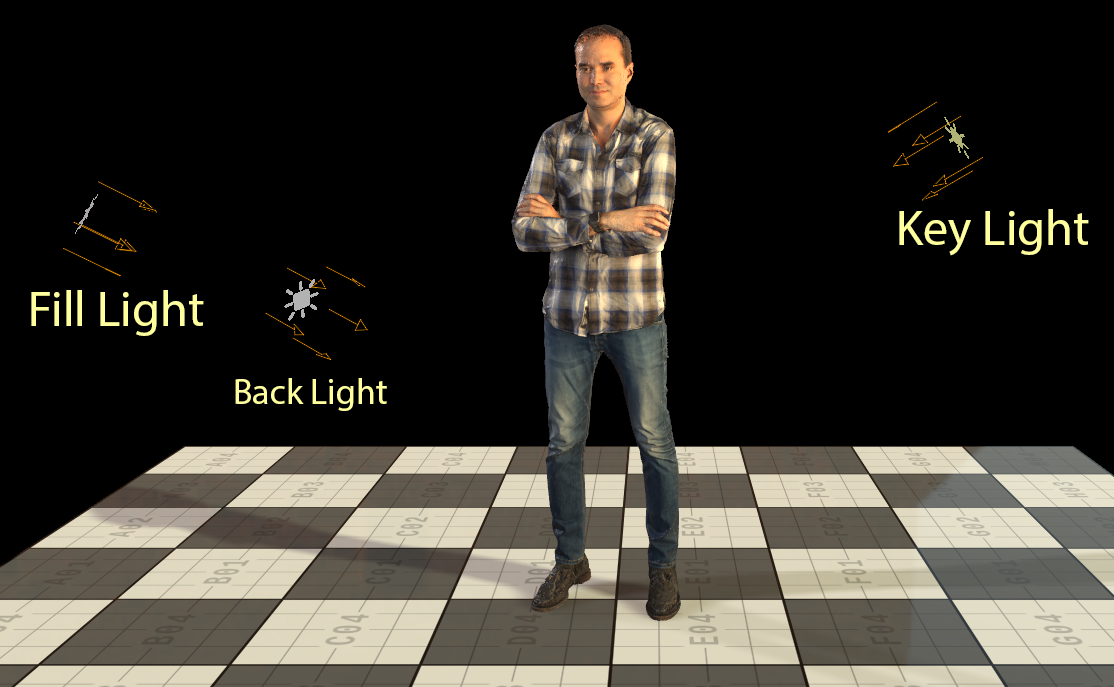
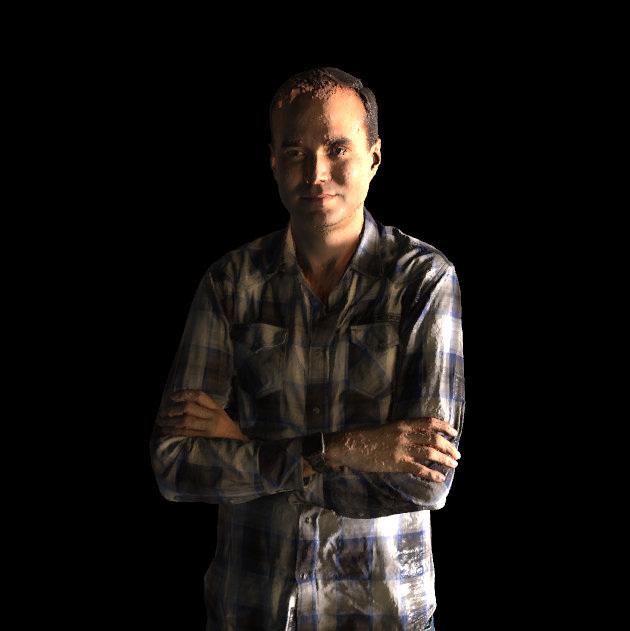
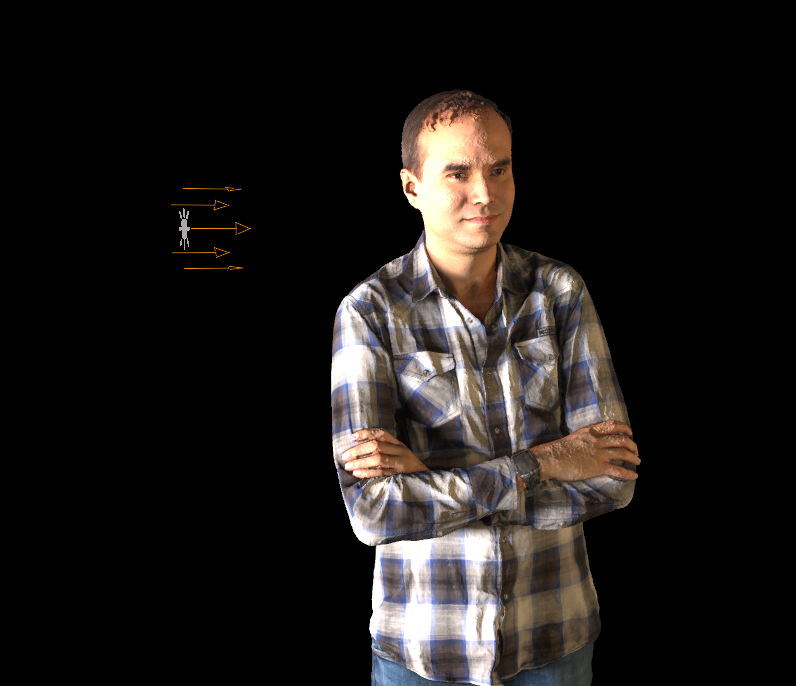
A perfect lighting setup is crucial for any 3D scenery. A proper light gives an individual mood and atmosphere to your graphics. In real life, natural light already exists, like the sun or artificial lights in a studio. When it comes to integrate a 3D graphics like an AR object, your environment map is not sufficient enough to reflect the real world situation. You should try to simulate the real world lighting situation (like the studio lights).
There are several methods to compose your lighting scenery. One of the basic setups is the so-called 3-Point Light:
3-Point Light
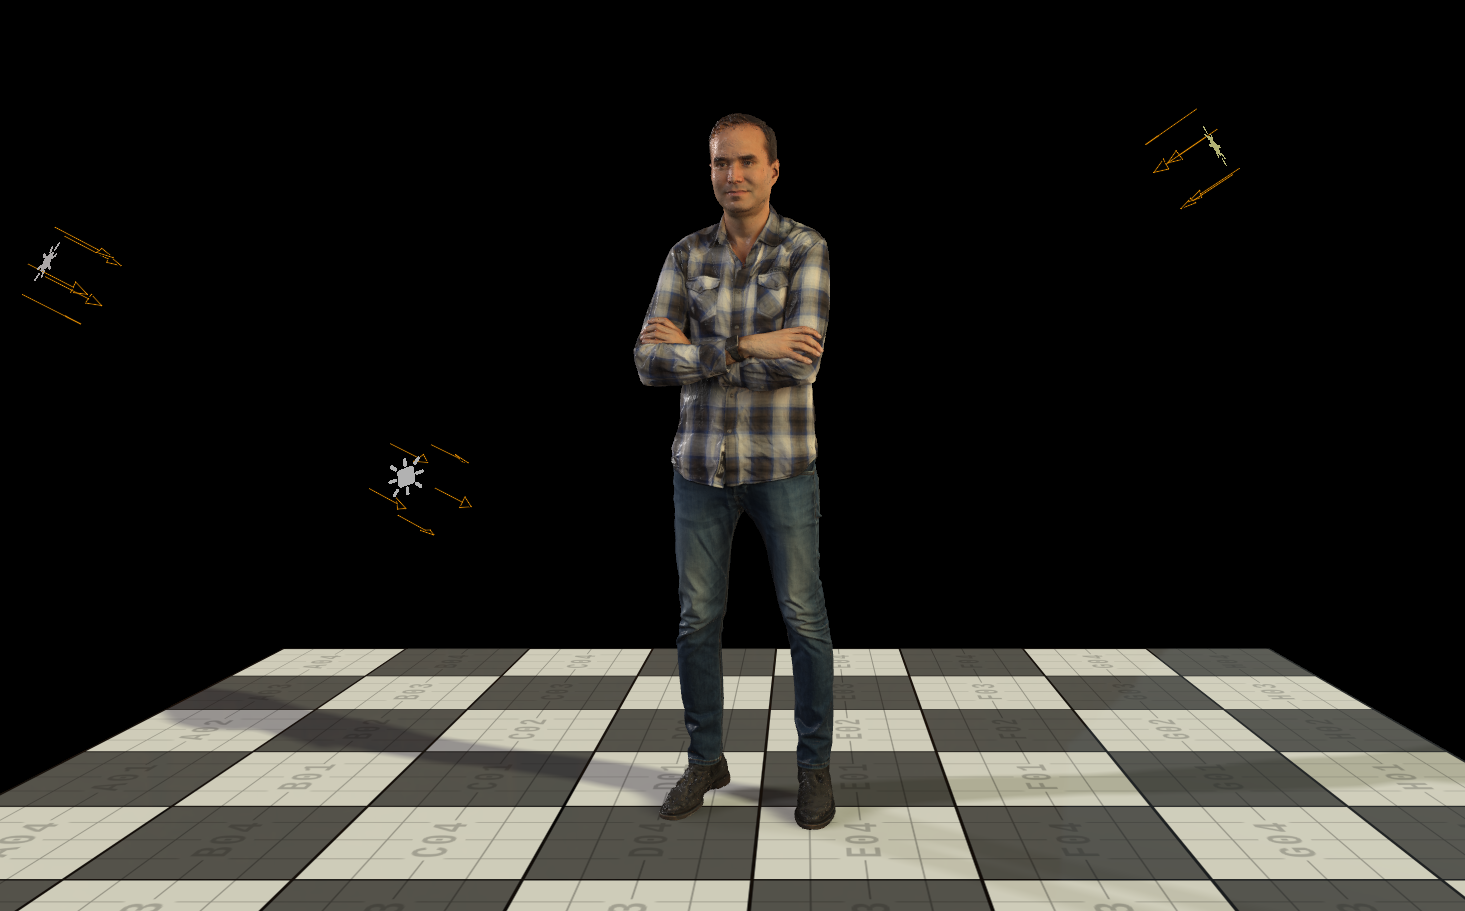
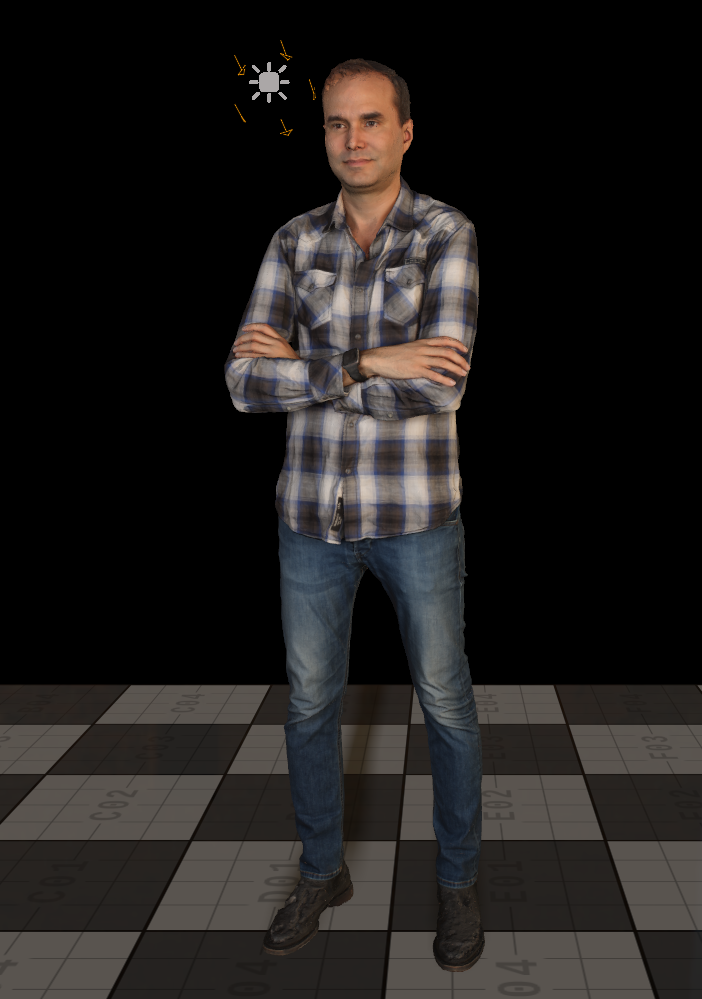
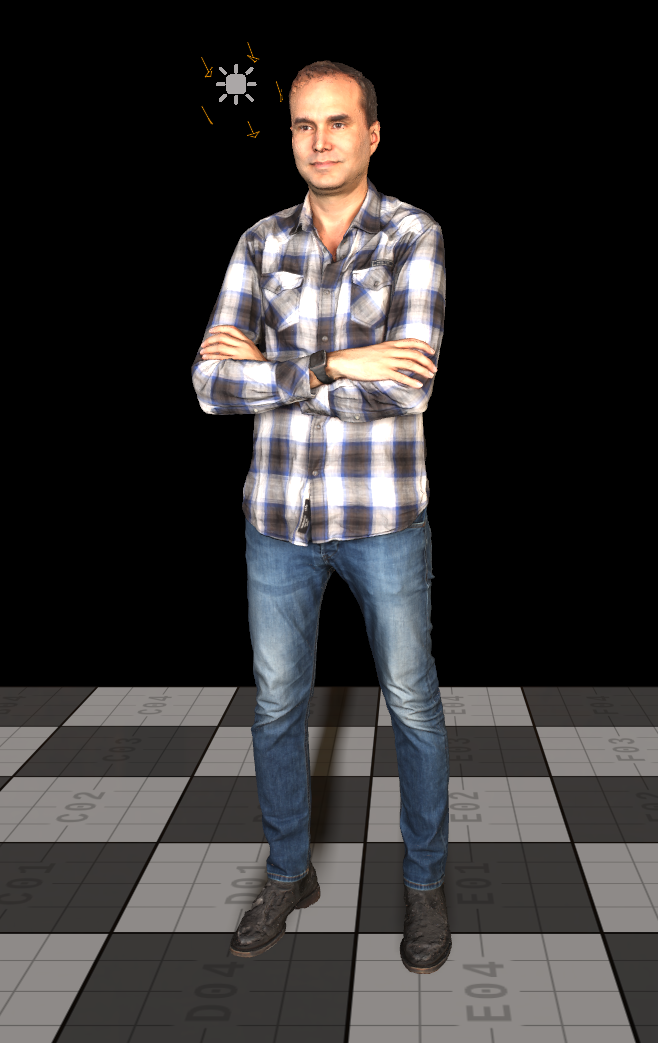
We use three different light sources positioned as a triangle. All light sources can be chosen; however, a directional light or a spotlight is your best choice:
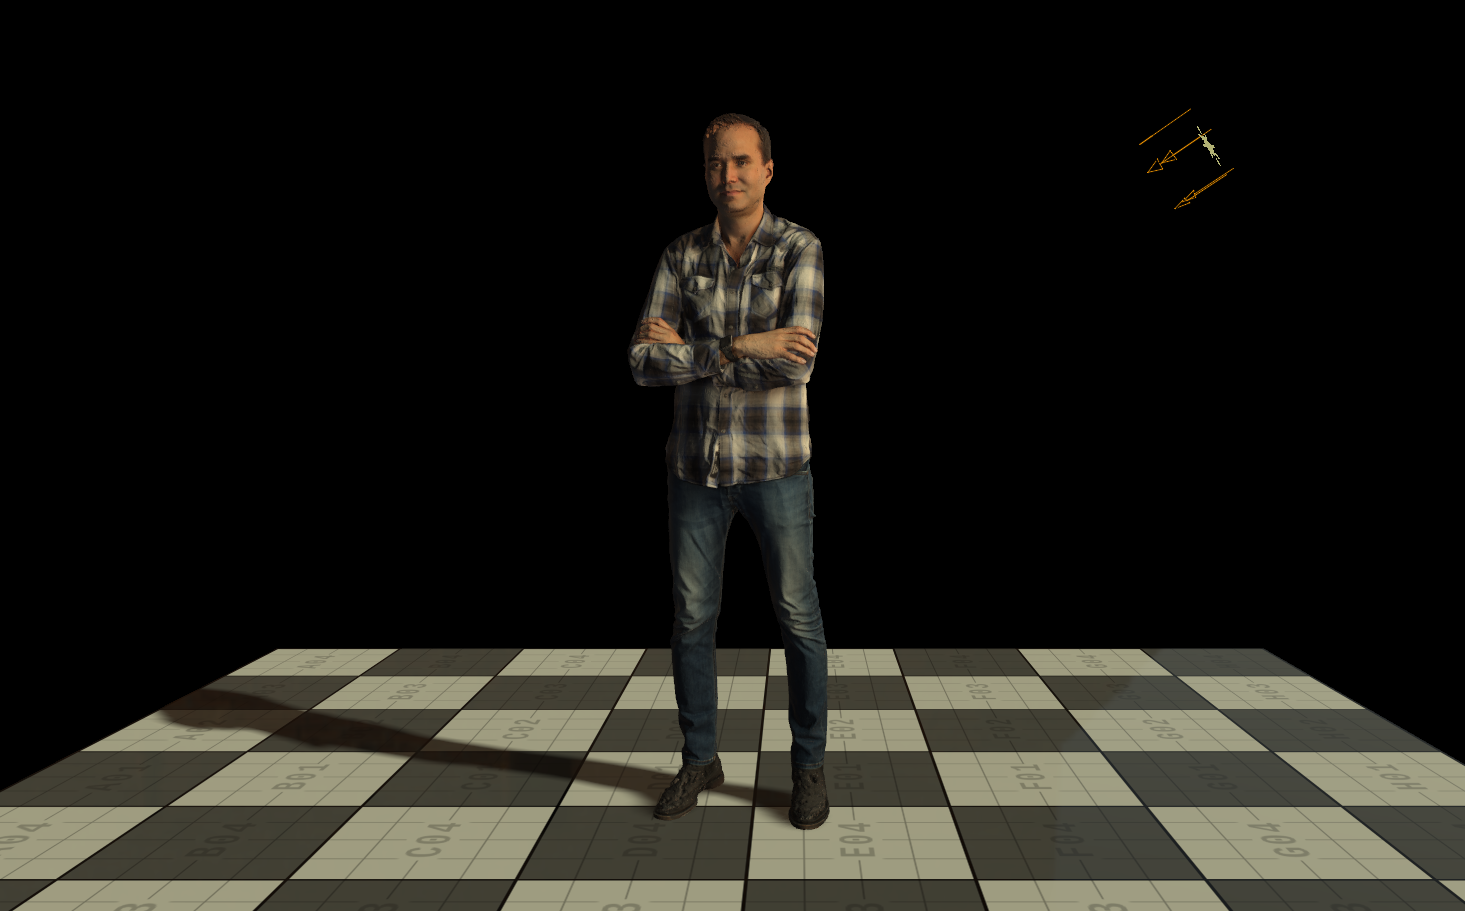
Key Light: Positioned next to your motive and set a bit above your target, this is your main light. The Key Light defines the angle of your lighting. Usually, it is positioned next to the camera at a 45° angle and set a bit above to simulate lighting similar to the sun.
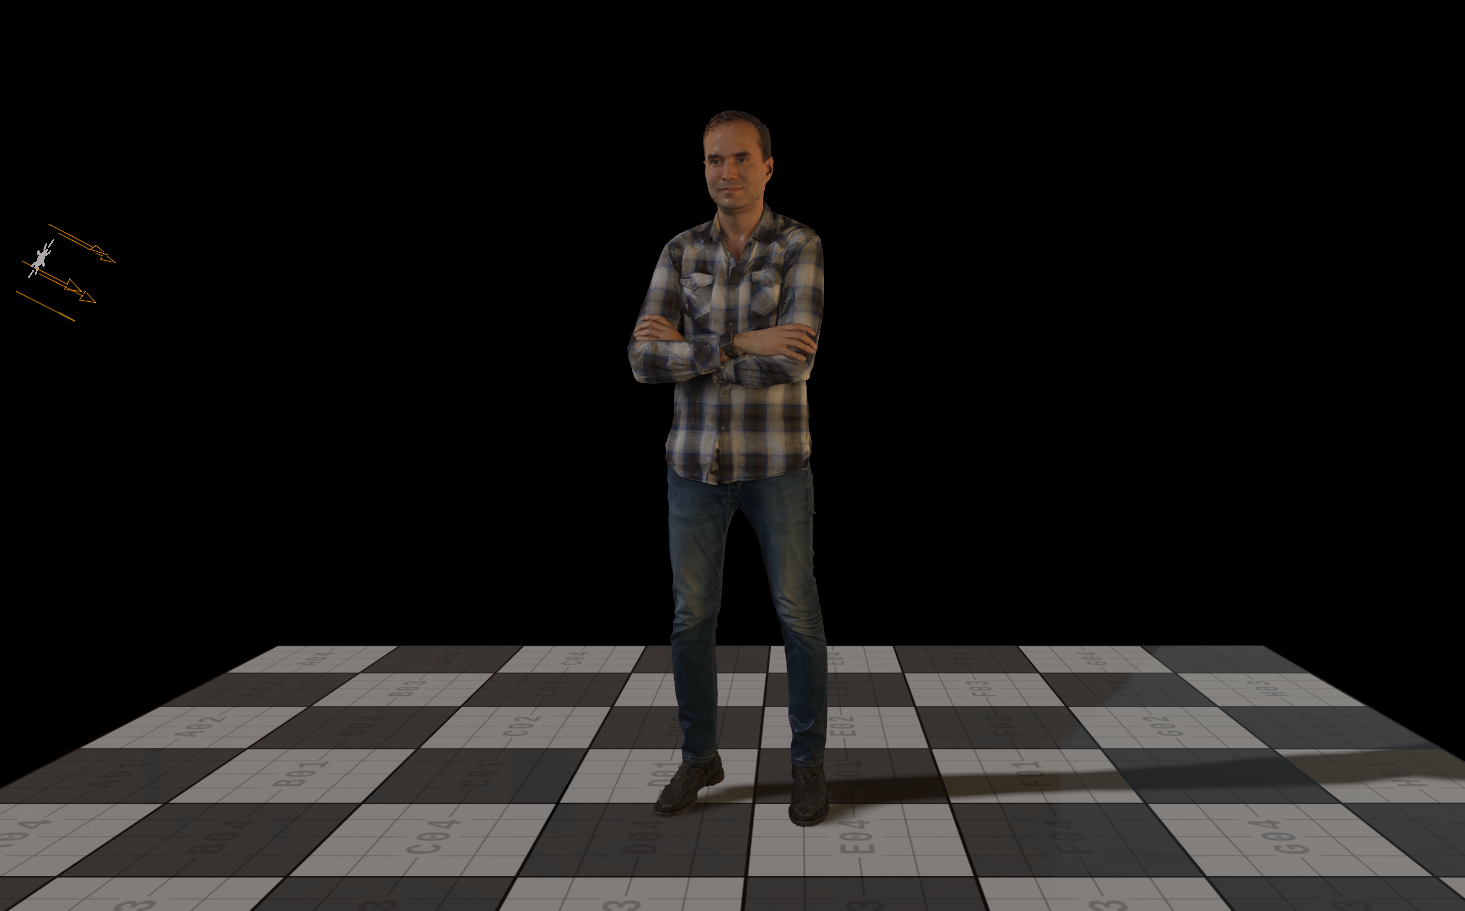
Fill Light: Used to fill areas darkened by the Key Light and positioned opposite the Key Light. A soft light should be used, weaker than the Key Light. Typically it is 50% the intensity of the Key Light.
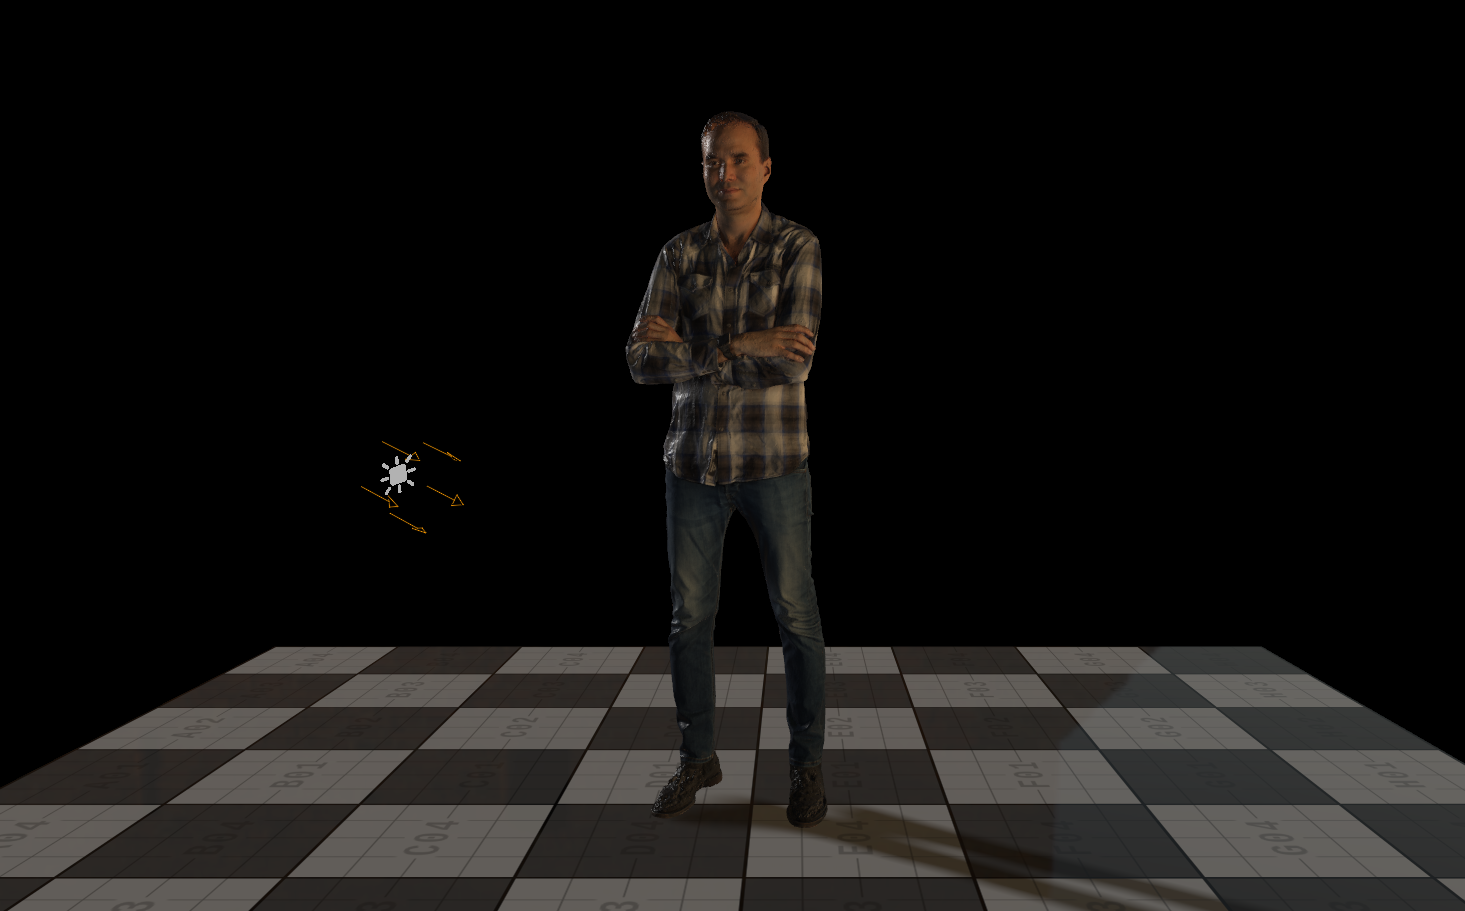
Back Light: Positioned directly behind your target and opposite of your target. It is positioned above the target and lights the object at an angle between 15° to 45°. It is used to create depth, contrast and exposes the edges of your target.
Key Light | |
|---|---|
Fill Light | |
Back Light | |
3 Point Light |
Besides the 3-Point light, you can use various other lighting techniques to bring more emotions into your set.
Flat Light
A technique to create basic lighting. The light source is positioned at the same location as your camera as if mounted on the camera itself. There are almost no shadows on your target and no visual depth. The diffuse intensity can be used to create either a hard or a soft light.
Flat light, low intensity (soft light) | Flat light, higher intensity (hard light) |
|---|---|
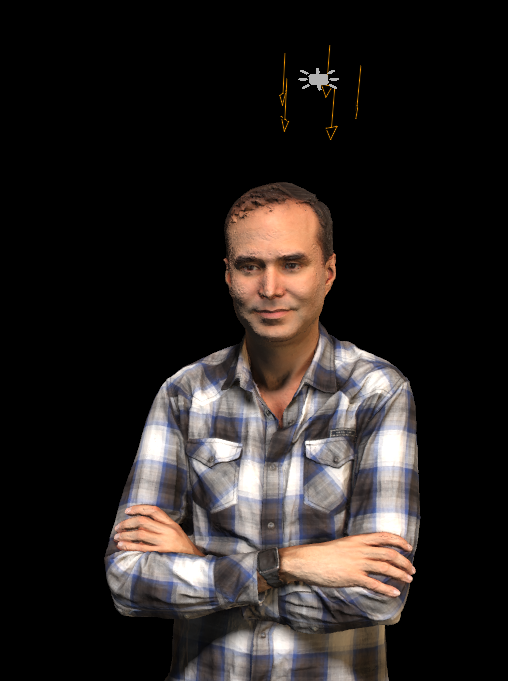
Butterfly/Paramount Light
Mainly used in the 1950s in Hollywood productions. Like the Flat Light setup, the light comes from the front, but positioned slightly higher than the Flat Light and pointed at the target. When lighting people, the nose creates a kind of a butterfly shadow. Be sure not to put the light too high, otherwise it would generate unwanted shadows. |
Split Light
Used in portrait lighting to split the face into two parts. A hard light is positioned on the left or right side, lighting only one half of the object. When used in photography, typically a reflector would be positioned opposite the light source. When used with the 3D environment of Viz Engine, an additional light source needs to placed instead of the reflector. |
Broad Light
Like the Split Light, the light source is placed on the side of the object, typically the one that is looking towards the camera and represents a softer variant of the Split Light. The smaller side of the object is hidden in the shadow. |
