What Transition Logic Solves
In traditional standalone scene design, taking one graphic On Air replaces whatever was previously shown with a hard cut. If you need a lower third and an over-the-shoulder on screen simultaneously, you're stuck.
Transition Logic (TL) solves this by separating a broadcast graphics package into:
A master scene (always On Air) that contains animated backplates and layer placeholders.
Multiple object scenes (templates) that carry the variable content (text, images, data tables) and swap in and out of layers independently.
Aspect | Standalone | Transition Logic |
|---|---|---|
Scenes On Air simultaneously | One at a time | Multiple layers, independently controlled |
Taking a new scene On Air | Hard-cuts previous scene | Other layers remain unaffected |
Background animation | Reloads each time (may jitter) | Master scene stays resident (smooth) |
State transitions | Must rebuild entire scene | Director animation between stop points |
Operator complexity | Must manage scene order | Press Take and Transition Logic handles everything |
TL is driven by three plug-ins working together:
Toggle: Creates A/B placeholders and cross-fade directors per layer on the master scene.
ControlObject: Declares which layer and state to target on each object scene.
ControlList: Exposes tabular/repeating data within an object scene (optional).
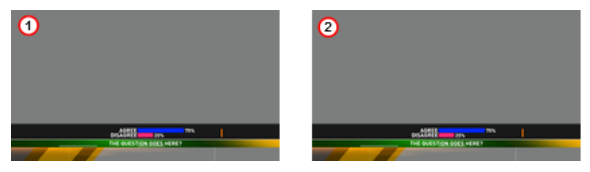
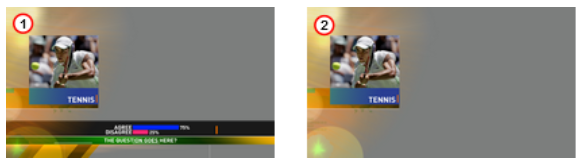
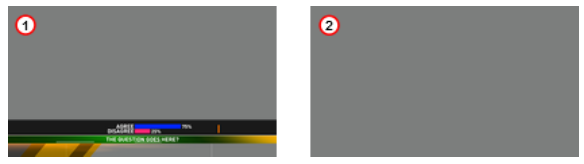
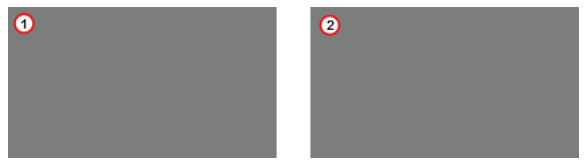
Unlike standalone scenes, a Transition Logic scene can have multiple defined layers that control the transitioning of multiple object scenes per layer (for example, transitioning between variants of lower and top thirds). The following images show the difference when executing commands towards Transition Logic scenes compared to standalone scenes. The images to the left (1) show a Transition Logic scene with two layers and two object scenes, an Over the Shoulder and a Lower Third. The images to the right (2) show two standalone scenes that are identical to the Transition Logic Object scenes.
Take Lower Third
Take OTS
Take Out OTS
Take Out Lower Third
The first action, take lower third, results in a lower third graphics being placed on-screen. The second action, take over the shoulder (OTS), places the OTS on-screen; however, with standalone scene design this also causes the lower third to be taken out, that is, a hard cut.
The third action, take out OTS, takes out the OTS; however, with Transition Logic scene design the lower third remains on-screen until it is taken out (last action).