
Template Builder User Guide
Version 1.1.1 | Published January 22, 2018 ©
The HTML Panel
As a part of the customization workflow, the user can add an HTML panel to the template, which is a functionality that gives the user full control over the template by using custom scripting and logic to build the template. The template can host a webpage by entering a web address in the Template Builder. Normally the aim is not to host a single webpage, but rather make a data integration HTML template.
A simple example showing how to connect a custom HTML template to a pilot template is shown below. Keep in mind that this example shows a limited possibility of what can be done using the customized workflow. Using it in more advanced ways opens up to possibilities where the user has 100% control over the template.
Add HTML panel
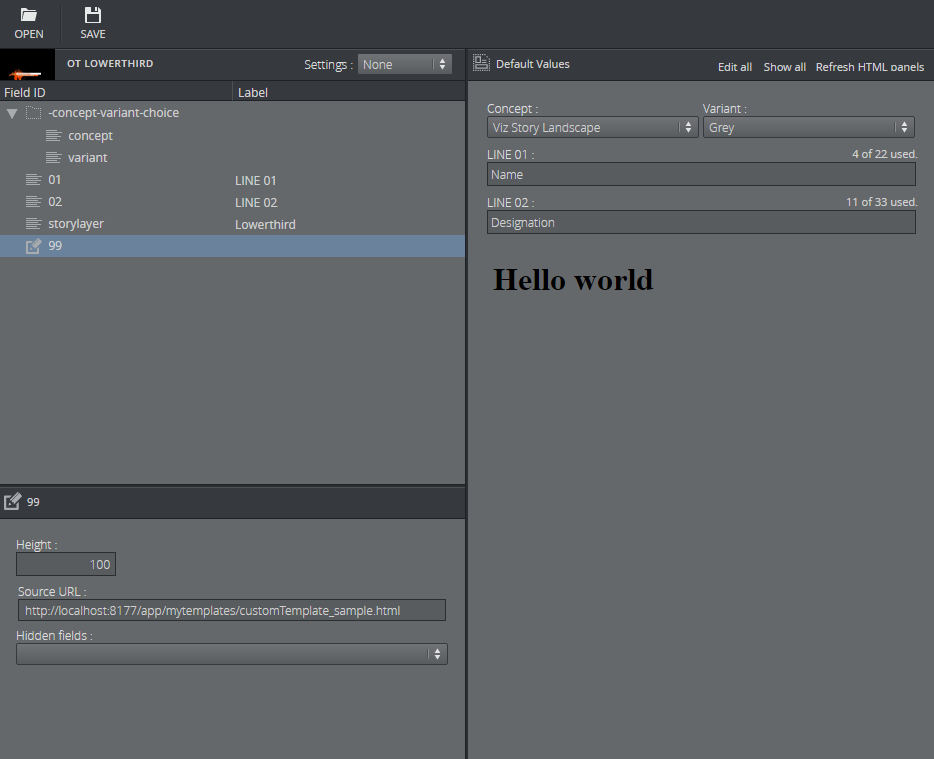
The option of adding an HTML panel is available by right-clicking in the field ID list in the Template Builder window. Selecting the HTML panel field ID, its properties become available in the bottom window.
Adjust the size of the HTML panel shown in the Fill In Form using the Height field.
In the Source URL type in the web address.
The Hidden fields drop-down list allows the user to hide available fields in the Fill In Form.
Custom HTML template
Using the custom HTML template opens up to full user control of the template using custom scripting and custom logic.
The following example will show how to create a simple custom HTML template in Template Builder.
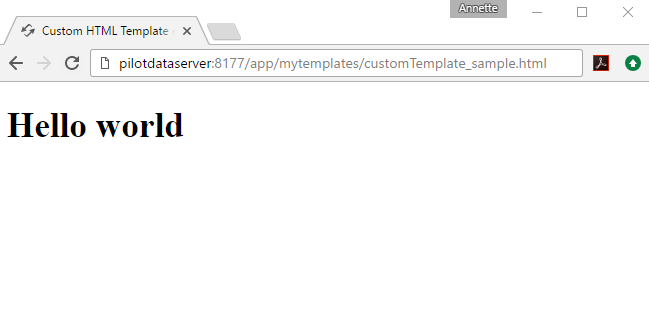
In this example we are working with a simple custom HTML template showing the message Hello world when opened in a browser:
How to see the custom HTML template inside Template Builder
-
Open a template in Template Builder and add an HTML panel to the template as explained above
-
In the URL field enter the URL of the custom HTML template
-
Now the message Hello world should appear in the Fill In Form:
How to connect the custom HTML template to the pilot template
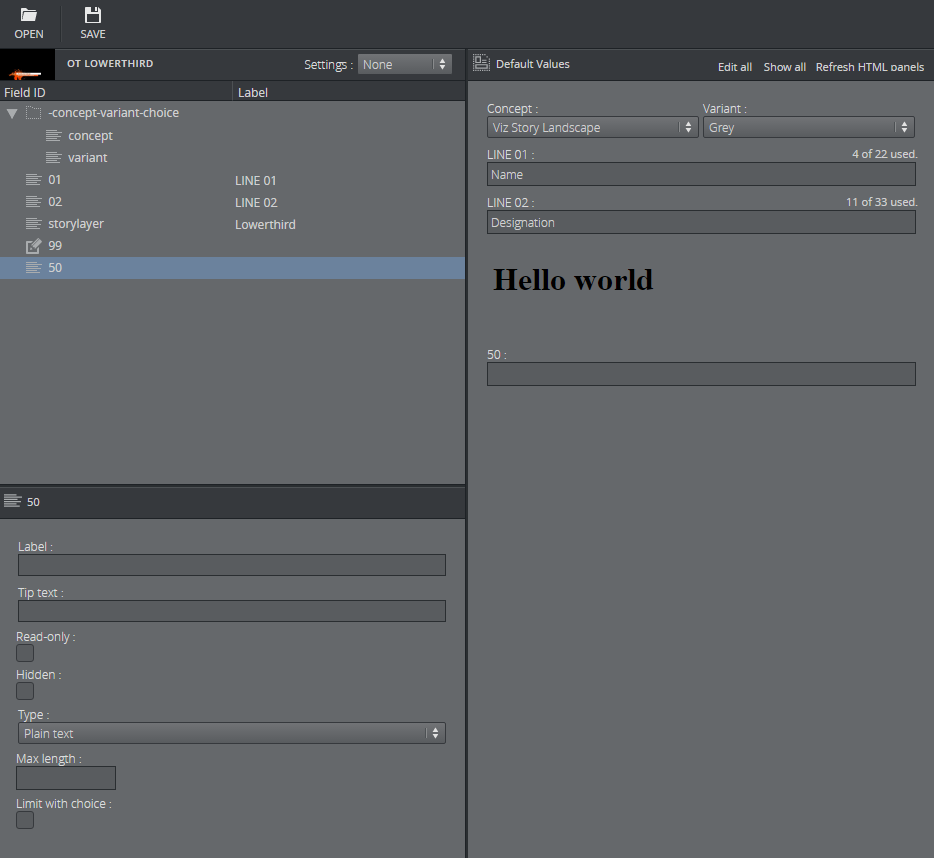
Following the example above, it is now ready to establish a two-way communication, or bind fields, between the HTML template and the opened pilot template. A new field is therefore added to the template:
-
Right-click on your HTML panel field, and choose Add field after
-
Give it the id 50
-
Change the fields type to Plain text
-
A new field appears:
To connect the custom HTML template to the newly created field, the custom HTML template is opened in an editor.
The payloadhosting.js file must be included in the HTML template. This file is located in the js folder in the template builder folder.
The entire <body> block is replaced with:
<body onload="vizrt.payloadhosting.initialize()"> <label for="field_50">My input field:</label> <input name="field_50" type="text" id="field_50"> </body>Saving the HTML file and clicking Refresh HTML panels, reloads the custom HTML template with the changes just made. Now a bi-directional connection between the editor and the custom template have been established. When typing either inside the template or inside the field with id 50, both fields should be updated at the same time. This way of binding fields will work for any HTML fields that have value support, which is typically <input> types and <textarea>.
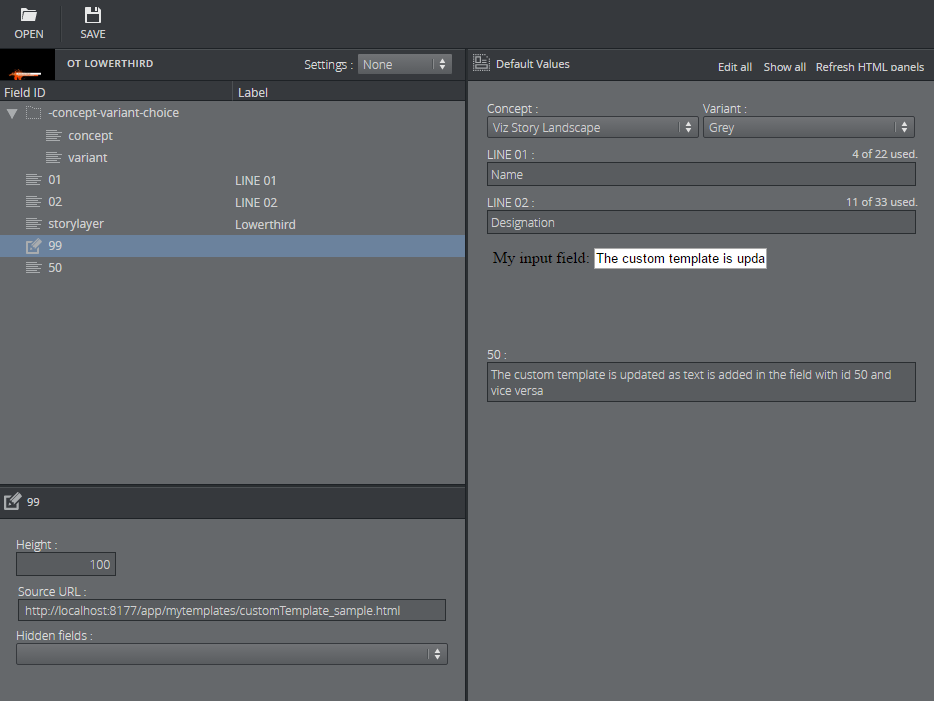
Adding the id="field_50" to the <input> element inside the HTML template is all that is needed for the two-way communication to be set up since we added a field with the id of 50. Any amount of these binding fields can be established the exact same way; the way they are mapped are via id.
This gives a simple way of setting up a binding field. Note that updating the <input> elements programmatically will still send data back and forth; which is great for automated data integration such as fetching live sports data.
Note
To prevent two editors for the same field being visible at the same time, use the Hidden fields setting inside the HTML panel settings.
Browser Caching
The user might experience browser caching behavior when trying to update and display changes in the custom HTML template in Template Builder. This is standard browser behavior and Template Builder does not have control over caching resources that the HTML file itself includes.
To prevent this browser behavior, following actions can be made:
-
Make sure the URL's to the resources are unique upon reload.
-
The web server serving the resources could be configured to send Expiry headers set to 0. More detailed information on how caching works and how to modify these is out of scope for this documentation
-
Disable caching on the browser side. This is done differently per browser.