The way how fonts are handled depends on the selected Render Pipeline. While the Classic Render Pipeline scenes use traditional fonts and fontstyles linked to basefonts, the Viz Engine Render Pipeline scenes follow a more modern approach and use Font faces and Font files.
Fonts in the Viz Engine Render Pipeline
To understand the concept of the New Font System, some Font terminologies need to be clarified first.
Font family: A group of font faces that share basic design characteristics and may vary in weight, width, or style (for example, Arial, Cordia New, or Helvetica).
Font face: A specific weight, width, or style of a particular font family (for example, Arial Regular, Arial Bold, or Helvetica 12 Roman Medium Normal).
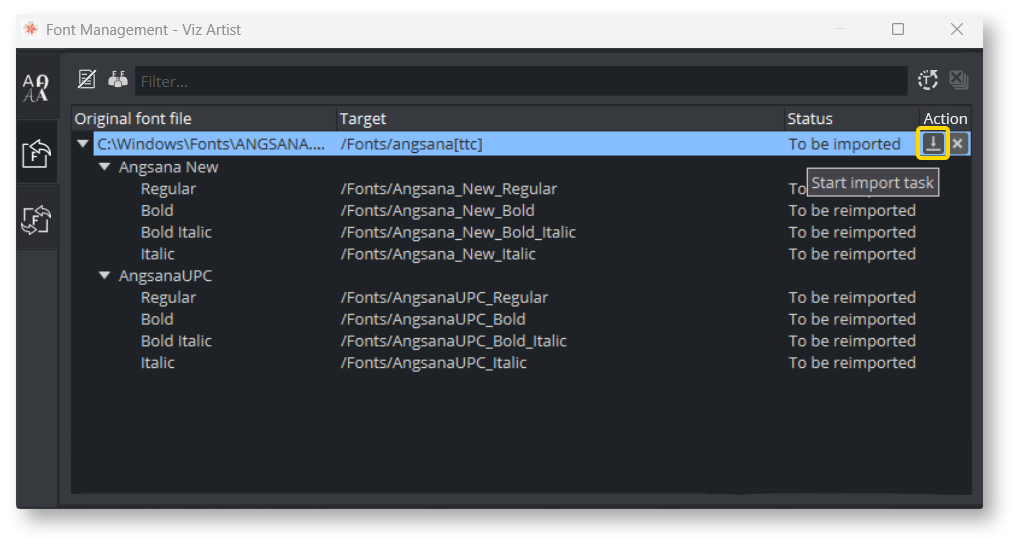
Font: A software file container that contains a single font face or multiple font faces whether from a single font family or multiple font families. For example, angsana.ttc font, a font containing eight font faces from two font families: Angsana New (Regular, Bold, Italic, and Bold Italic) and AngsanaUPC (Regular, Bold, Italic, and Bold Italic).
By mimicking font terminology, two new database types are introduced. One is a Font File(FL), and another one is a Font Face(FF). Also, The New Font System comes with a Font Library which serves font discovery that has never been before.
Font File
Font File is designed to mimic Font in Font terminology with FONT_FILE(FL) as its corresponding database type. Font File stores the binary data of a font regardless of its container type(.ttc, .ttf, .otf, .otc, .woff, etc.). Also, Font File stores the checksum calculated from the binary data. This allows the New Font System to use the checksum in duplication detection.
Information: Different versions of fonts have different binary data, hence the checksum is different.
Font Face
Font Face is designed to mimic Font face in Font terminology with FONT_FACE(FF) as its corresponding database type. This is a database object that is used to assign to Text to gain the looks and feels of a particular font face. Unlike fonts in the Viz Engine Classic Render Pipeline, the Viz Engine Render Pipeline comes with an advancement in new text rendering techniques that requires no pre-generated data to be stored in a Font Face object; whether glyph geometries or vector atlas texture for a new Razor text rendering. This reduces disk consumption significantly and speeds up scene loading time.
With references and links in Graphic Hub Manager, it visually illustrates the relation between Font File and Font Face objects.
Font Library
A component in Viz Engine is capable of discovery of all Font Faces in Graphic Hub. It is designed to be used during Scene design time. It could take some time to update the Font Library for the first time since it needs to discover and open all Font Face objects from Graphic Hub. It is faster later on because of the caching mechanism. Font Library stores caches at %programdata%/vizrt/VizEngine/FontLibraryCache.
Information: When dragging a Classic Font into a Viz Engine Scene, a Text placeholder is created.
Font Management
It is a Viz Artist UI component that aims to simplify the way to work with the New Font System. Three main functionalities are:
Browse Fonts
Import Fonts, and
Convert (Classic) Fonts
Browse Fonts
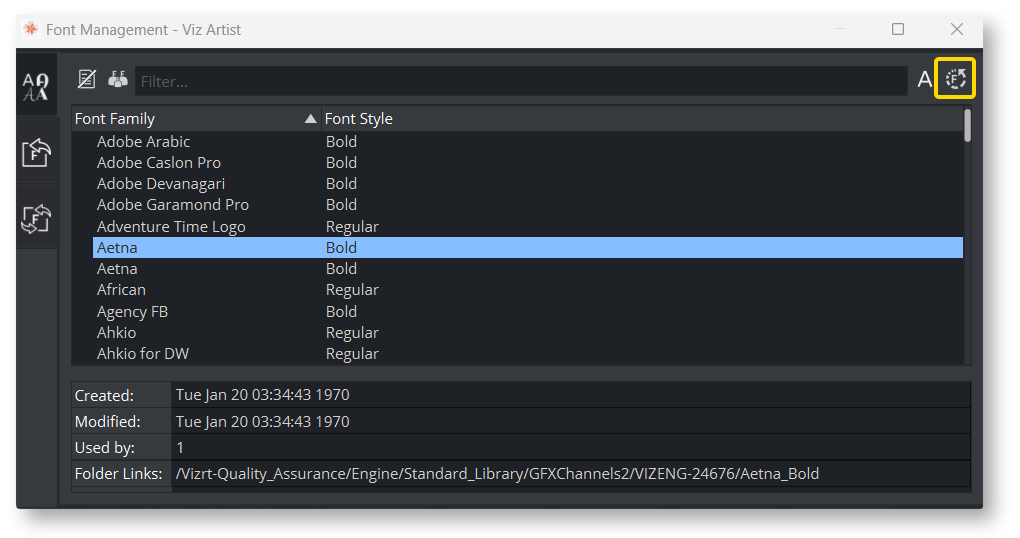
The Browse Fonts tab shows all font faces available in the current Graphic Hub. If nothing shown, click refresh to build a font system library.
Import Fonts
The Import Fonts tab allows users to import fonts from disk to Graphic Hub. You can drag a font from a local filesystem to the panel, then click import.
Convert (Classic) Fonts
The Convert Fonts tab allows user to convert the existing Classic fonts to be available in the New Font System. The panel shows a list of Classic Base Font in one column. And for Viz Engine Font File column, here are possible values:
Viz Engine Font File name: Means the Classic Base Font is converted (for example, angsana[ttc]).
No original data found for Base Font: Means the Classic Base font has no original data, so Viz Engine cannot convert it.
Unknown: Means the status is not yet determined. Users can click on it to force updating its status.
To convert a single Classic Base Font, right click on the Classic Base Font to show the context menu. Then, click Convert to Viz Engine Font File.
To convert multiple Classic Base Fonts, click the button on the top left of the tab. Click Multiple. Then, select Classic Base Fonts to be converted. Then, click Convert N Base Font(s).
Fonts can also be converted by using the context menu within the scene tree:
Text
The new text rendering system only supports two ways of rendering: Geometry and Razor These two methods aim for different purposes.
Razor
Sharp, Fast, and High performant suitable for 2D use cases such as Lower Thirds, Scoreboard, etc. This rendering method is also overhauled completely. It serves faster, sharper, and better results than before. This should be your preferred render method for Text.
Information: Razor fonts can also be rendered into a texture. This can be used to improve rendering of overlapping transparent glyphs. This feature will also enable more effects in future versions.
Geometry
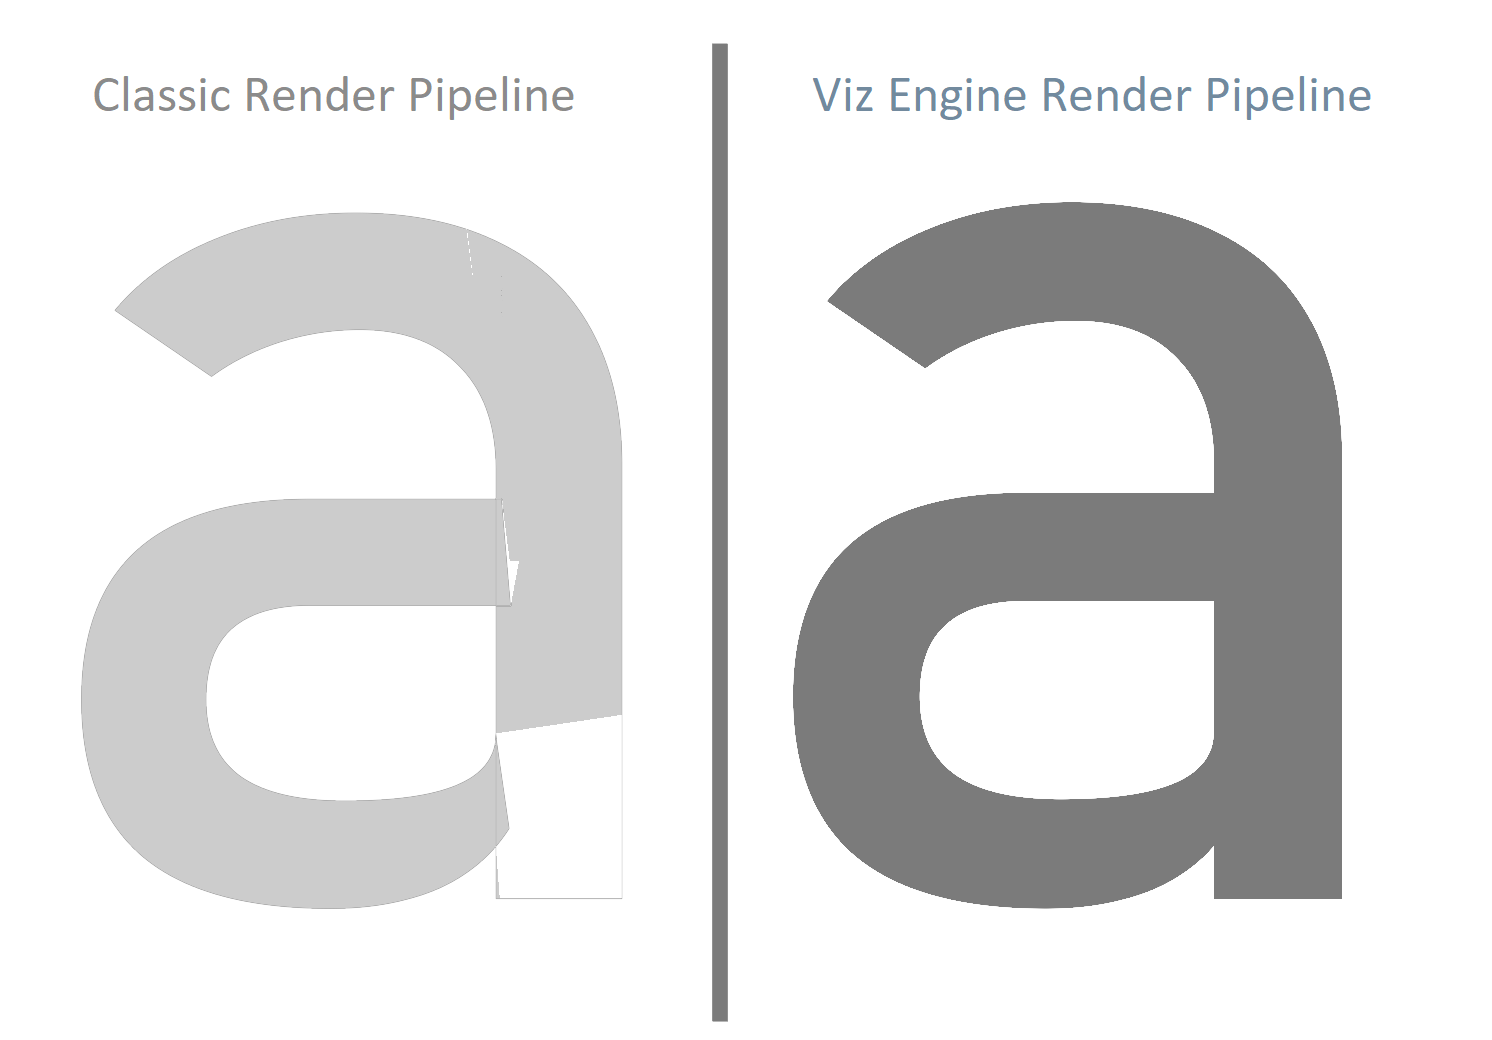
Flexible and suitable for 3D use cases such as Augment Reality, etc. With an improved tessellation algorithm, Text serves a better look compared to the classic geometry text in the Classic Render Pipeline. Also, Text is equipped with Extrusion functionality that could be turned on or off when the rendering method is Geometry. This is to make the workflow simpler than ever.
For additional information about Font Rendering in Viz Engine, please see Working with Text and New Font System.
Fonts in the Classic Render Pipeline
Fonts in the Classic Render Pipeline are based on so-called basefonts, They are located in the \data folder of Graphic Hub and store the original font. When importing a font (for example, .ttf, .otf, etc), the basefont is imported and a Font object is created linked to this basefont. In addition, Blur and Outline variants are created.
In the above example, the font Arial-Regular is imported as a basefont into Graphic Hub. Based on this basefont, several Font variants are created. Each of them is referring to the basefont. These variants and a set of Fontstyle Modifiers can be used to create new styles of his font. In our example, a designer also created two variants using the Fontstyle Editor (Arial-Red and Arial-3D).
Each Font and its variants can be used inside a scene using the Classic Text Editor.
To Create or Edit a Fontstyle
Double-click the Font in Asset View.
If the Fontstyle is referenced in more than one Scene, you must confirm that you want to change it.
In the Fontstyle Editor define the new settings.
Click the Save button.
Fontstyle Editor
The Fontstyle Editor makes it possible to modify fontstyle items in the Graphic Hub database to match your needs and save it as a new font, based on the original font and with additional styles provided by the font style modifiers.
As Viz Artist uses an open interface for the plug-ins used as modifiers, almost any modifications can be applied to a fontstyle. New fontstyles can be created based on existing fontstyles through the Save As... operation.
The Fontstyle Editor consists of:
Modifiers (1)
Fontstyle Viewer: Preview of the modifications (2)
Text Properties
Text Editor
Preview Options
Global Settings
Note: The properties help to illustrate how the modifications look in a scene. Changes made on the right side of the editor inside the Preview Options are kerning and material, are not saved with the fontstyle. However, there is one exception to this rule. If the kerning between two fixed characters are modified, this is saved with the fontstyle. To create a kerning between two fixed characters, use the keyboard shortcuts ALT + Left Arrow/ALT + Right Arrow.
Global Settings: Shows various properties for the fontstyle.
Font Default Style: Defines the font default style. Options are Geometry or Texture.
Shadow Default Style: Defines the shadow default style. Options are Geometry or Texture.
Texture Quality: Defines the quality of the texture. Options are Low, Normal, or High.
Note: The texture quality cannot be changed in a Text Editor.
Modifiers
Modifiers are used to change either the texture, geometry, path or all components of a fontstyle. For example, the blur function can only be applied to the texture part of a fontstyle, whereas the extrusion only works on geometry. A fixed set of modifiers come with a standard Viz Engine installation, but the system provides an open connection so that additional modifiers can be obtained or created and added as plug-ins. A modifier that is applied to a fontstyle is automatically enabled. An enabled modifier implies that modifications are reflected in the preview area. When adding multiple modifiers, the overview in the preview area can get confusing, and it may be necessary to disable one or more modifiers.
To enable or disable a modifier, click on the checkbox next to the modifier.
Blur
Use the Blur modifier to blur a fontstyle in texture mode.
Options | Sample |
|---|---|
| |
Supported Render modes:
| |
Color Per Vertex
Use the Color Per Vertex modifier to change the color of fontstyles by applying it to the vertices. The circles in the Color Per Vertex modifier represent the four corners of the fontstyle text:
Options | Sample |
|---|---|
| |
Supported Render modes:
| |
Click a circle to edit its color values.
Click on a line that connects two circles to select both circles.
Contour
Use the Contour modifier to change the bold level of fontstyles, which makes it show thicker or thinner.
Options | Sample |
|---|---|
| Bold Level:1 Bold Level:100 |
Supported Render modes:
| |
Italic
Use the Italic modifier to create a cursive appearance of a fontstyle.
Options | Sample |
|---|---|
| |
Supported Render modes:
| |
Outline
Use the Outline modifier to create an outline of a fontstyle.
Options | Sample |
|---|---|
| |
Supported Render modes:
| |
Extrude
Options | Sample |
|---|---|
| |
Supported Render modes:
| |
Information: To add a Classic Material to your font for a better visualization, right click on the font in the Font Style viewer, choose Properties and Material.
Fontstyle Viewer
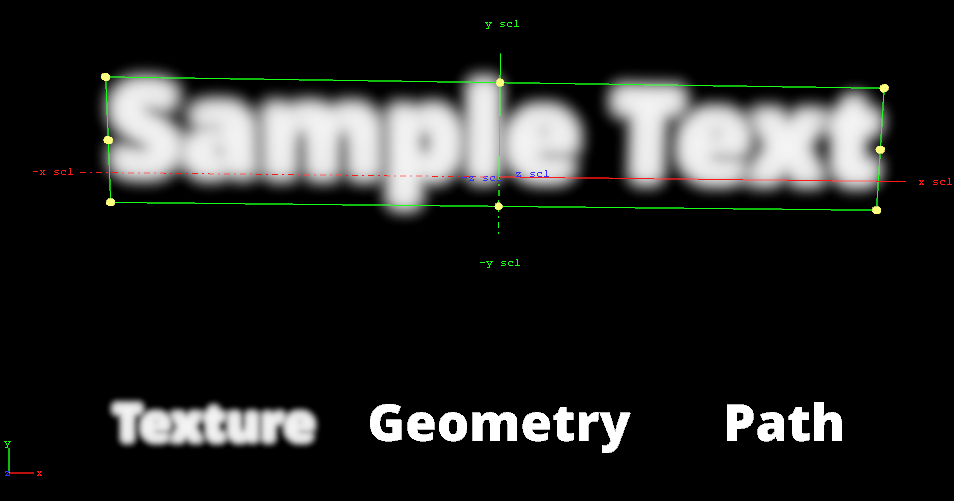
Use the Fontstyle Viewer to visualize how the fontstyle looks when being used in scenes, the Fontstyle Viewer shows a preview of the fontstyle.
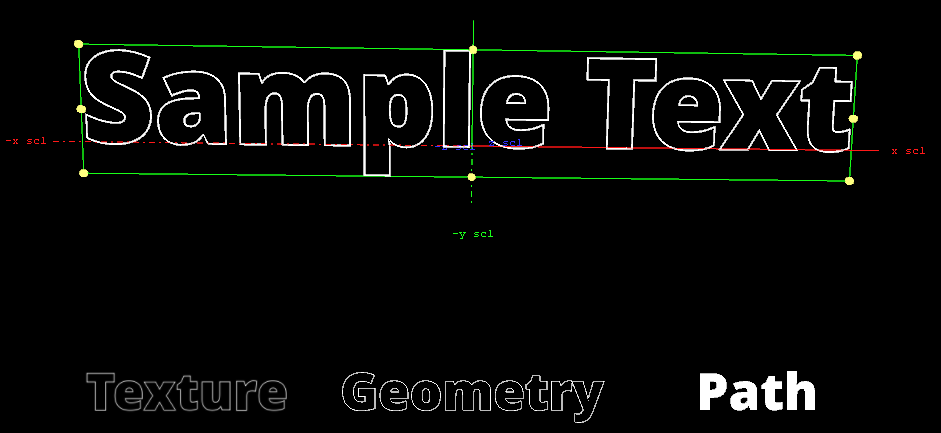
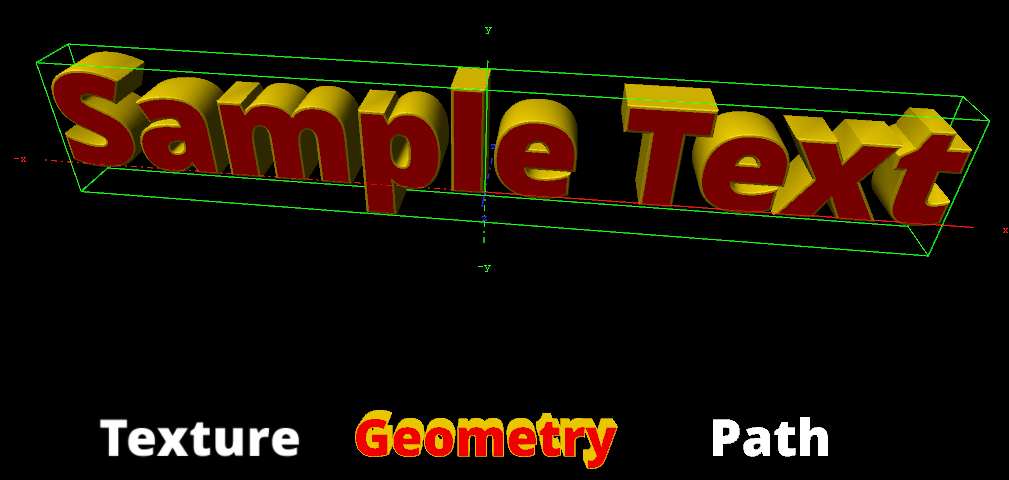
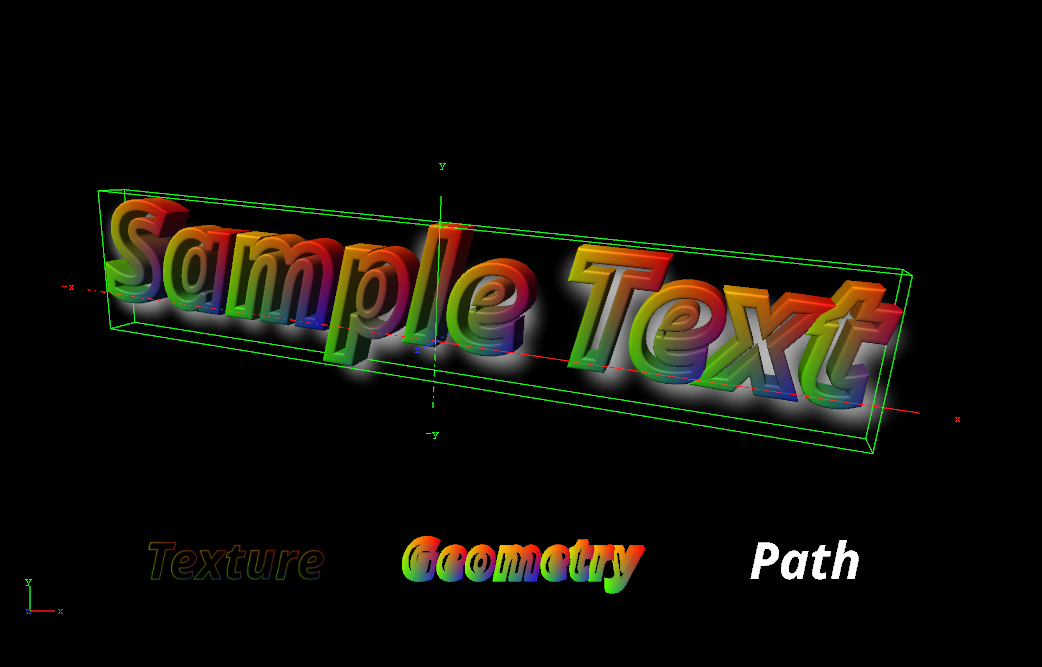
Additional to the customizable text in the Fontstyle Viewer, the words Texture, Geometry and Path are shown. These words show the modifications performed to Texture, Geometry and/or Path, applied by the modifiers, without reflecting the changes in the properties. For example, if kerning is applied to the customizable text, this is not reflected in the Texture, Geometry or Path texts.
The customizable text reflects either the Texture, Geometry or Path text type, which is selected in the Global Settings, available from the Modifier Parameters.
Right-click the Fontstyle Viewer to open a menu, similar to the menu in the Scene Editor (see Working with the Scene Editor).
Text Properties
Text Editor: To define a sample text and change spacing between words and letters. These settings together with the modifiers are saved into the new font.
Preview Options: These settings help a designer to visualize the font, but they are not saved into the font.
Global Settings: Shows various global properties for the fontstyle rendering.
Font Default Style: Defines the font default style. Options are Geometry or Texture.
Shadow Default Style: Defines the shadow default style. Options are Geometry or Texture.
Texture Quality: Defines the quality of the texture. Options are Low, Normal, or High.
See Also

