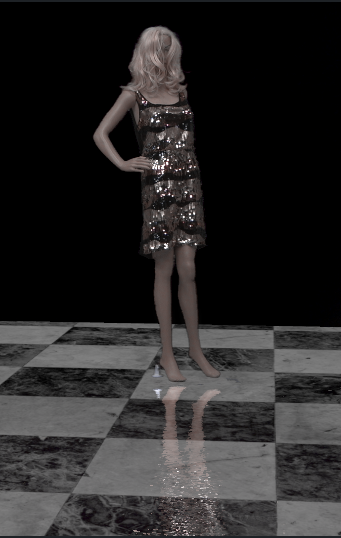
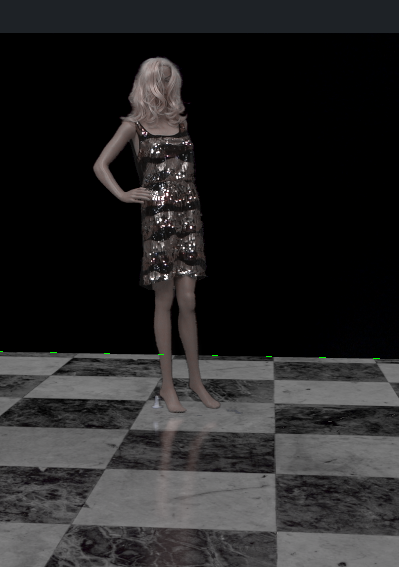
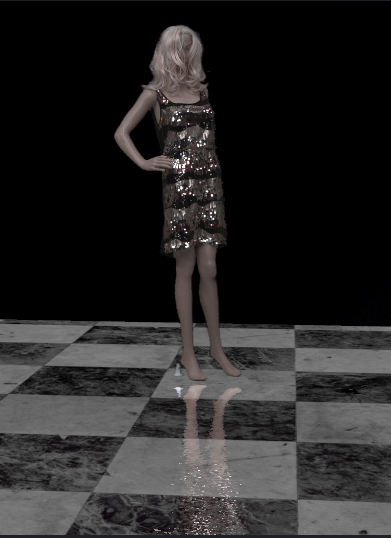
For a more photo-realistic rendering and a better mix between real and virtual elements, a real talent can reflect its shape onto a virtual floor. This can be done using the Viz Engine Render Pipeline in combination with the Precision Keyer and its possible to detect people.
This section explains step-by-step how to setup and modify a talent reflection in a Virtual Studio environment:
Setting up Talent Reflection on the Precision Keyer
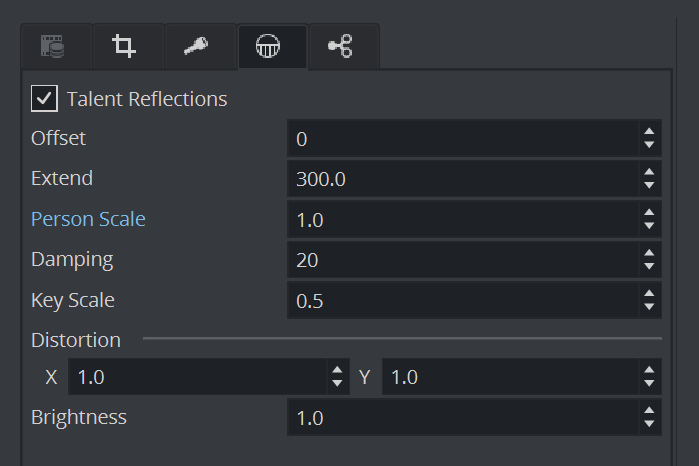
Make sure the Talent Reflections are turned on in the Talent Reflection Tab of the Media Asset property.
Note: In the Viz Engine Render Pipeline, only the Damping value is used.
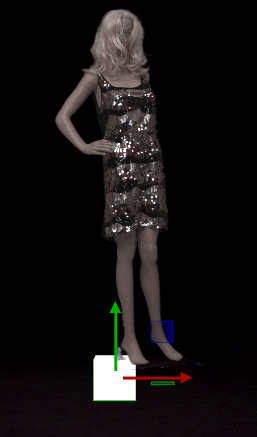
As the Live signal is processed to detect the person(s), make sure that the Chroma signal is clean and does not contain any dust, noise or similar.
Example:
Important: Make sure your Holdout Matte is set up correctly. Otherwise, objects other than the person in the studio can be recognized as a talent and results in jumping reflections.
Prepare the Scene Tree
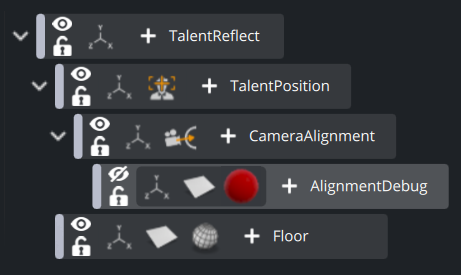
The scene tree below shows a minimal setup of talent reflection in a virtual studio environment. The Talent Tracker plug-in is used to read the person's position from the Precision Keyer.
The plug-in on the talentPosition container is placed according to the recognized talent position. Each person has their own ID, the current implementation only allows to track one person, therefore set the Person ID in the plug-in to 1.
Note: Currently only one person can be detected and reflected.
Underneath the talentPosition, the cameraAlignment container is used to perform a billboarding towards our camera, meaning the container rotation is always looking towards the camera. The Look At plug-in performs this task for you. Set it to AutoRotation = Billboard and the Axis should be set to XY Screen.
Now this container's position represents the detected talent position, aligned to look straight to the camera.
For debugging purposes, you can place a geometry underneath the cameraAlignment container to visualize the correct position. In our example above, this is the debug cube.
The floor plane is used to render our reflection texture. Usually, it sits on top of our virtual floor, so make sure a z-sort is used to avoid z-fighting between the floor geometry and the plane for the talent reflection.
Modify the Plane Reflection Material
Next, we need a plane with a Planar Reflection material. Do this by clicking on the plus to open the Plugin Overlay Panel , type plane and add the Plane Material Definition:
This adds a new material to your container allowing you to fine tune the appearance of your reflection.
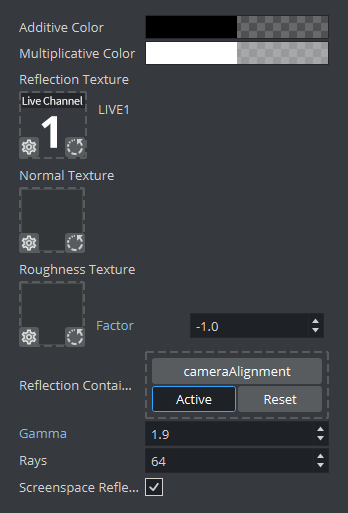
This material renders your talent into the reflection container, so this container needs to be assigned to the Reflection Container. In our setup this is the aligned, billboarded container named cameraAlignment. The source also needs to be assigned, drag the Live1 (respective the source used) onto Reflective Texture.
The next parameters are used to fine tune your setup:
Additive Color and Multiplicative Color: Used as a base color respective multiplied to the color of your reflection is multiplied with.
Normal and Roughness Texture: Define the properties of your floor (same as the textures used in the PBR Editor) (see the example screens below).
Gamma: Adjusts the brightness.
Rays: Fine tunes the quality of your talent reflection.
Screenspace Reflection: Needs to be turned on for virtual sets.
Samples
Reflection Only | Reflection + Normal |
|---|---|
Reflection + Roughness | Reflection + Roughness + Normal |
See Also
Talent Reflection plug-in in the Global section of the Container plug-ins in the Viz Plug-ins User Guide.
Talent Tracker plug-in in the Container section of the Container plug-ins in the Viz Plug-ins User Guide.
