This section shows how to configure a channel. An ordered overview of topics helps you configure the system quickly.
The following sections cover how to add, remove, export or import channel settings:
Creating a Channel
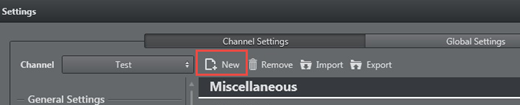
Create a new channel by pressing the New icon and give the channel a name in the dialog.
Add a New Channel
- Open the Settings > Channel Settings window.
- Select New. You are prompted to enter the new channel’s name.
- Enter the channel name without spaces (a-z, A-Z, 0-9), and click OK.
- Proceed to configure the Channel Settings.
Removing a Channel
Remove a Channel

- Open the Settings window.
- From the Channels combo box, select the channel you wish to remove.
- Select Remove. You are asked if you are sure you want to remove the selected channel.
- Click Yes. The last removed channel is automatically saved to a
<ChannelName>.bkpfile, which can later be re-imported back into Viz Multichannel. The file is located in the backup channel folder found in the Viz Multichannel program folder.
Exporting a Channel
Export a Channel as an XML File

- Open the Settings window.
- From the Channels combo box, select the channel you wish to export.
- Select Export. You are asked if you want to include the playlists and templates along with the selected channel’s settings.
- Click Yes or No, as required.
- Enter a file name and click Save.
Importing a Channel
Import a Channel from an XML File
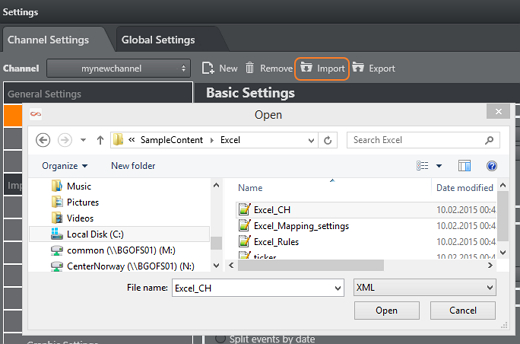
- Open the Settings window.
- Select Import.
- Select the XML file and click Open. You are prompted to confirm what parameters to override.
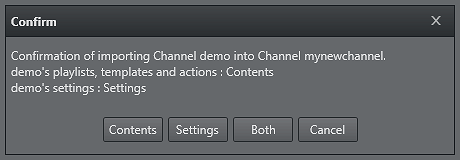
- Select one of the following:
- Contents
- Settings
- Both
Note: If the imported channel uses the same path to the Viz Graphic Hub as the original, you will be prompted to confirm the overwrite of templates.
See Also