This section covers the following topics:
Real-time Rendering of Graphics and Video
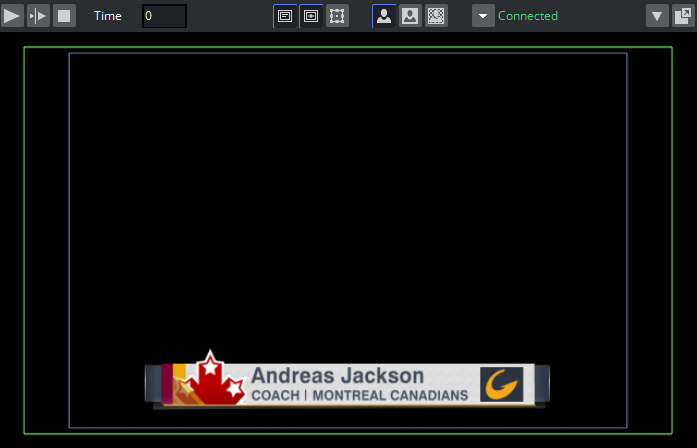
The local Preview window displays a representation of the graphics and video.
The defined title and safe area and bounding boxes are displayed. Bounding boxes are related to the graphics scene’s editable elements (see Tab Fields Window).
Timeline for scrubbing full screen video preview.
Control interactive scenes by clicking the scene inside the local preview window. You can then adjust an offside line in Viz Trio’s local preview by reading a template referencing an interactive scene, for example.
Adaptive Storytelling
The adaptive storytelling allows you to preview scenes with different formats that were previously set in Viz Artist when designing the scene.
Info: Adaptive Storytelling can only be used with scenes based on the Viz Engine renderer, and not the Classic renderer.
When working with adaptive formats, it is recommended that the naming convention used across all Viz products and scenes is consistent, for instance portrait and square.
Before importing a scene in Viz Trio, setting the adaptive format for the output engines can be done directly in the user interface of Viz Artist or in Viz Engine.
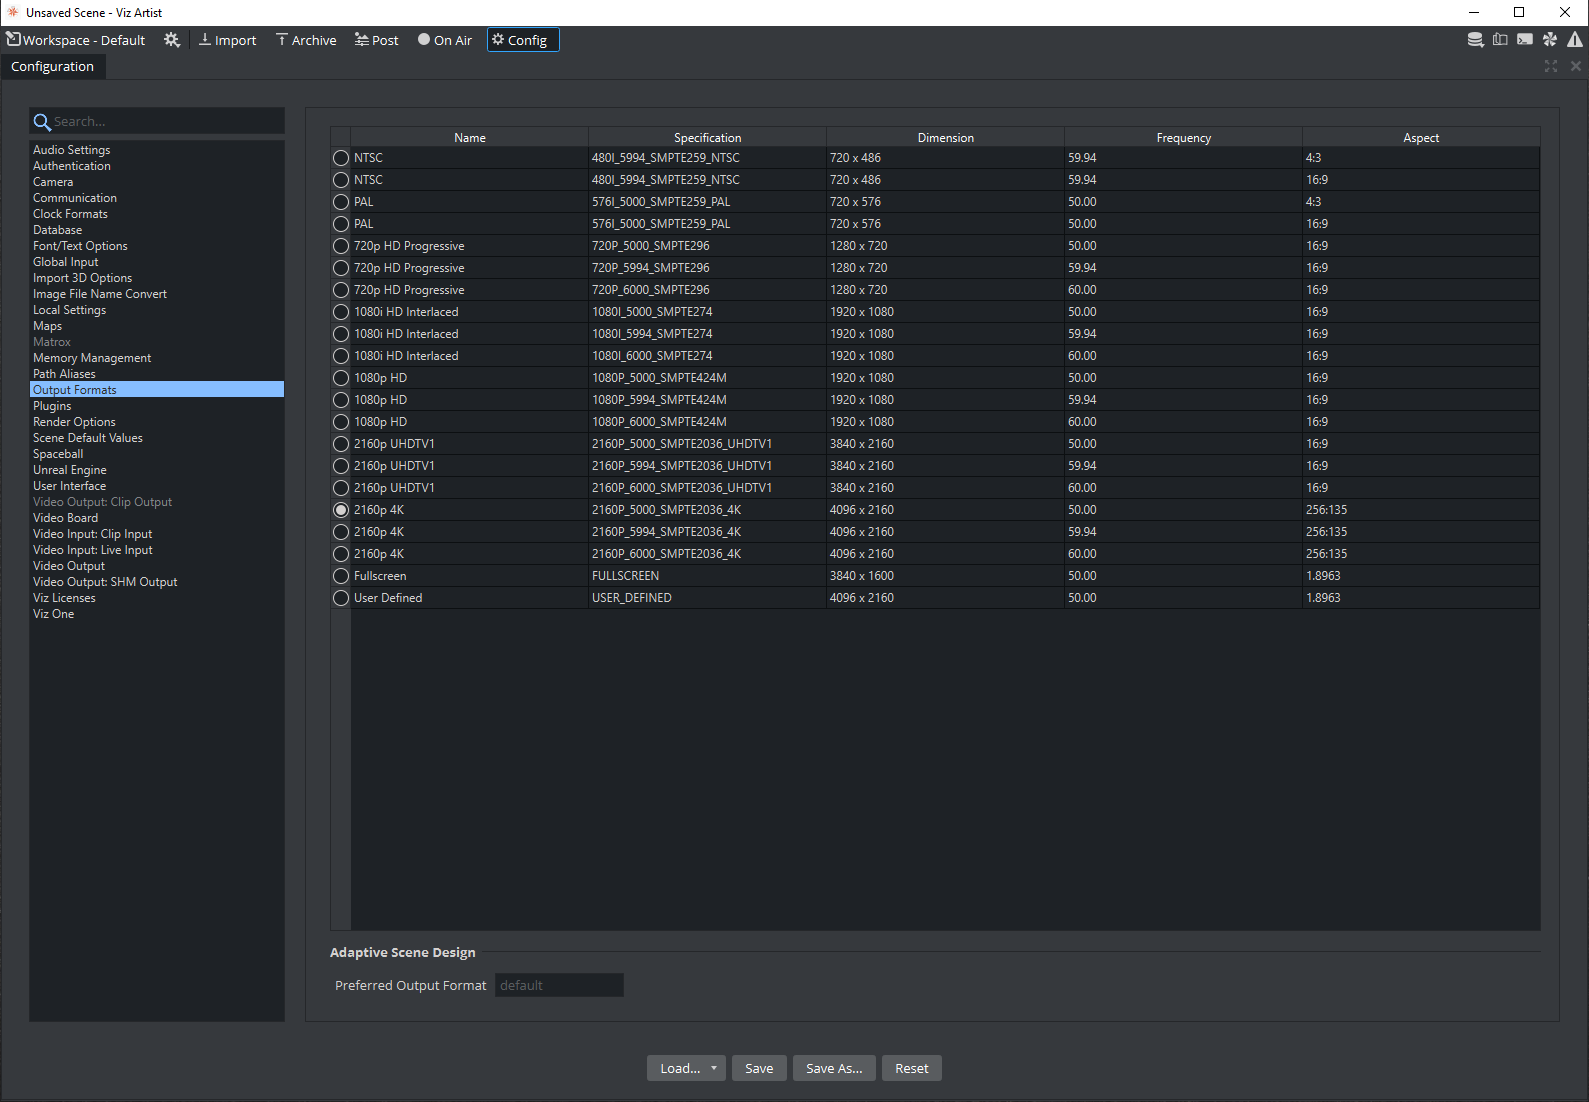
To set it in Viz Artist, open Configuration and select the Output Formats to set the Preferred Output Format:
To set the adaptive format in Viz Engine, please see the Output Format in the Viz Engine Administration Guide.
Warning: All engines used for preview and playout must have a Flexbox license.
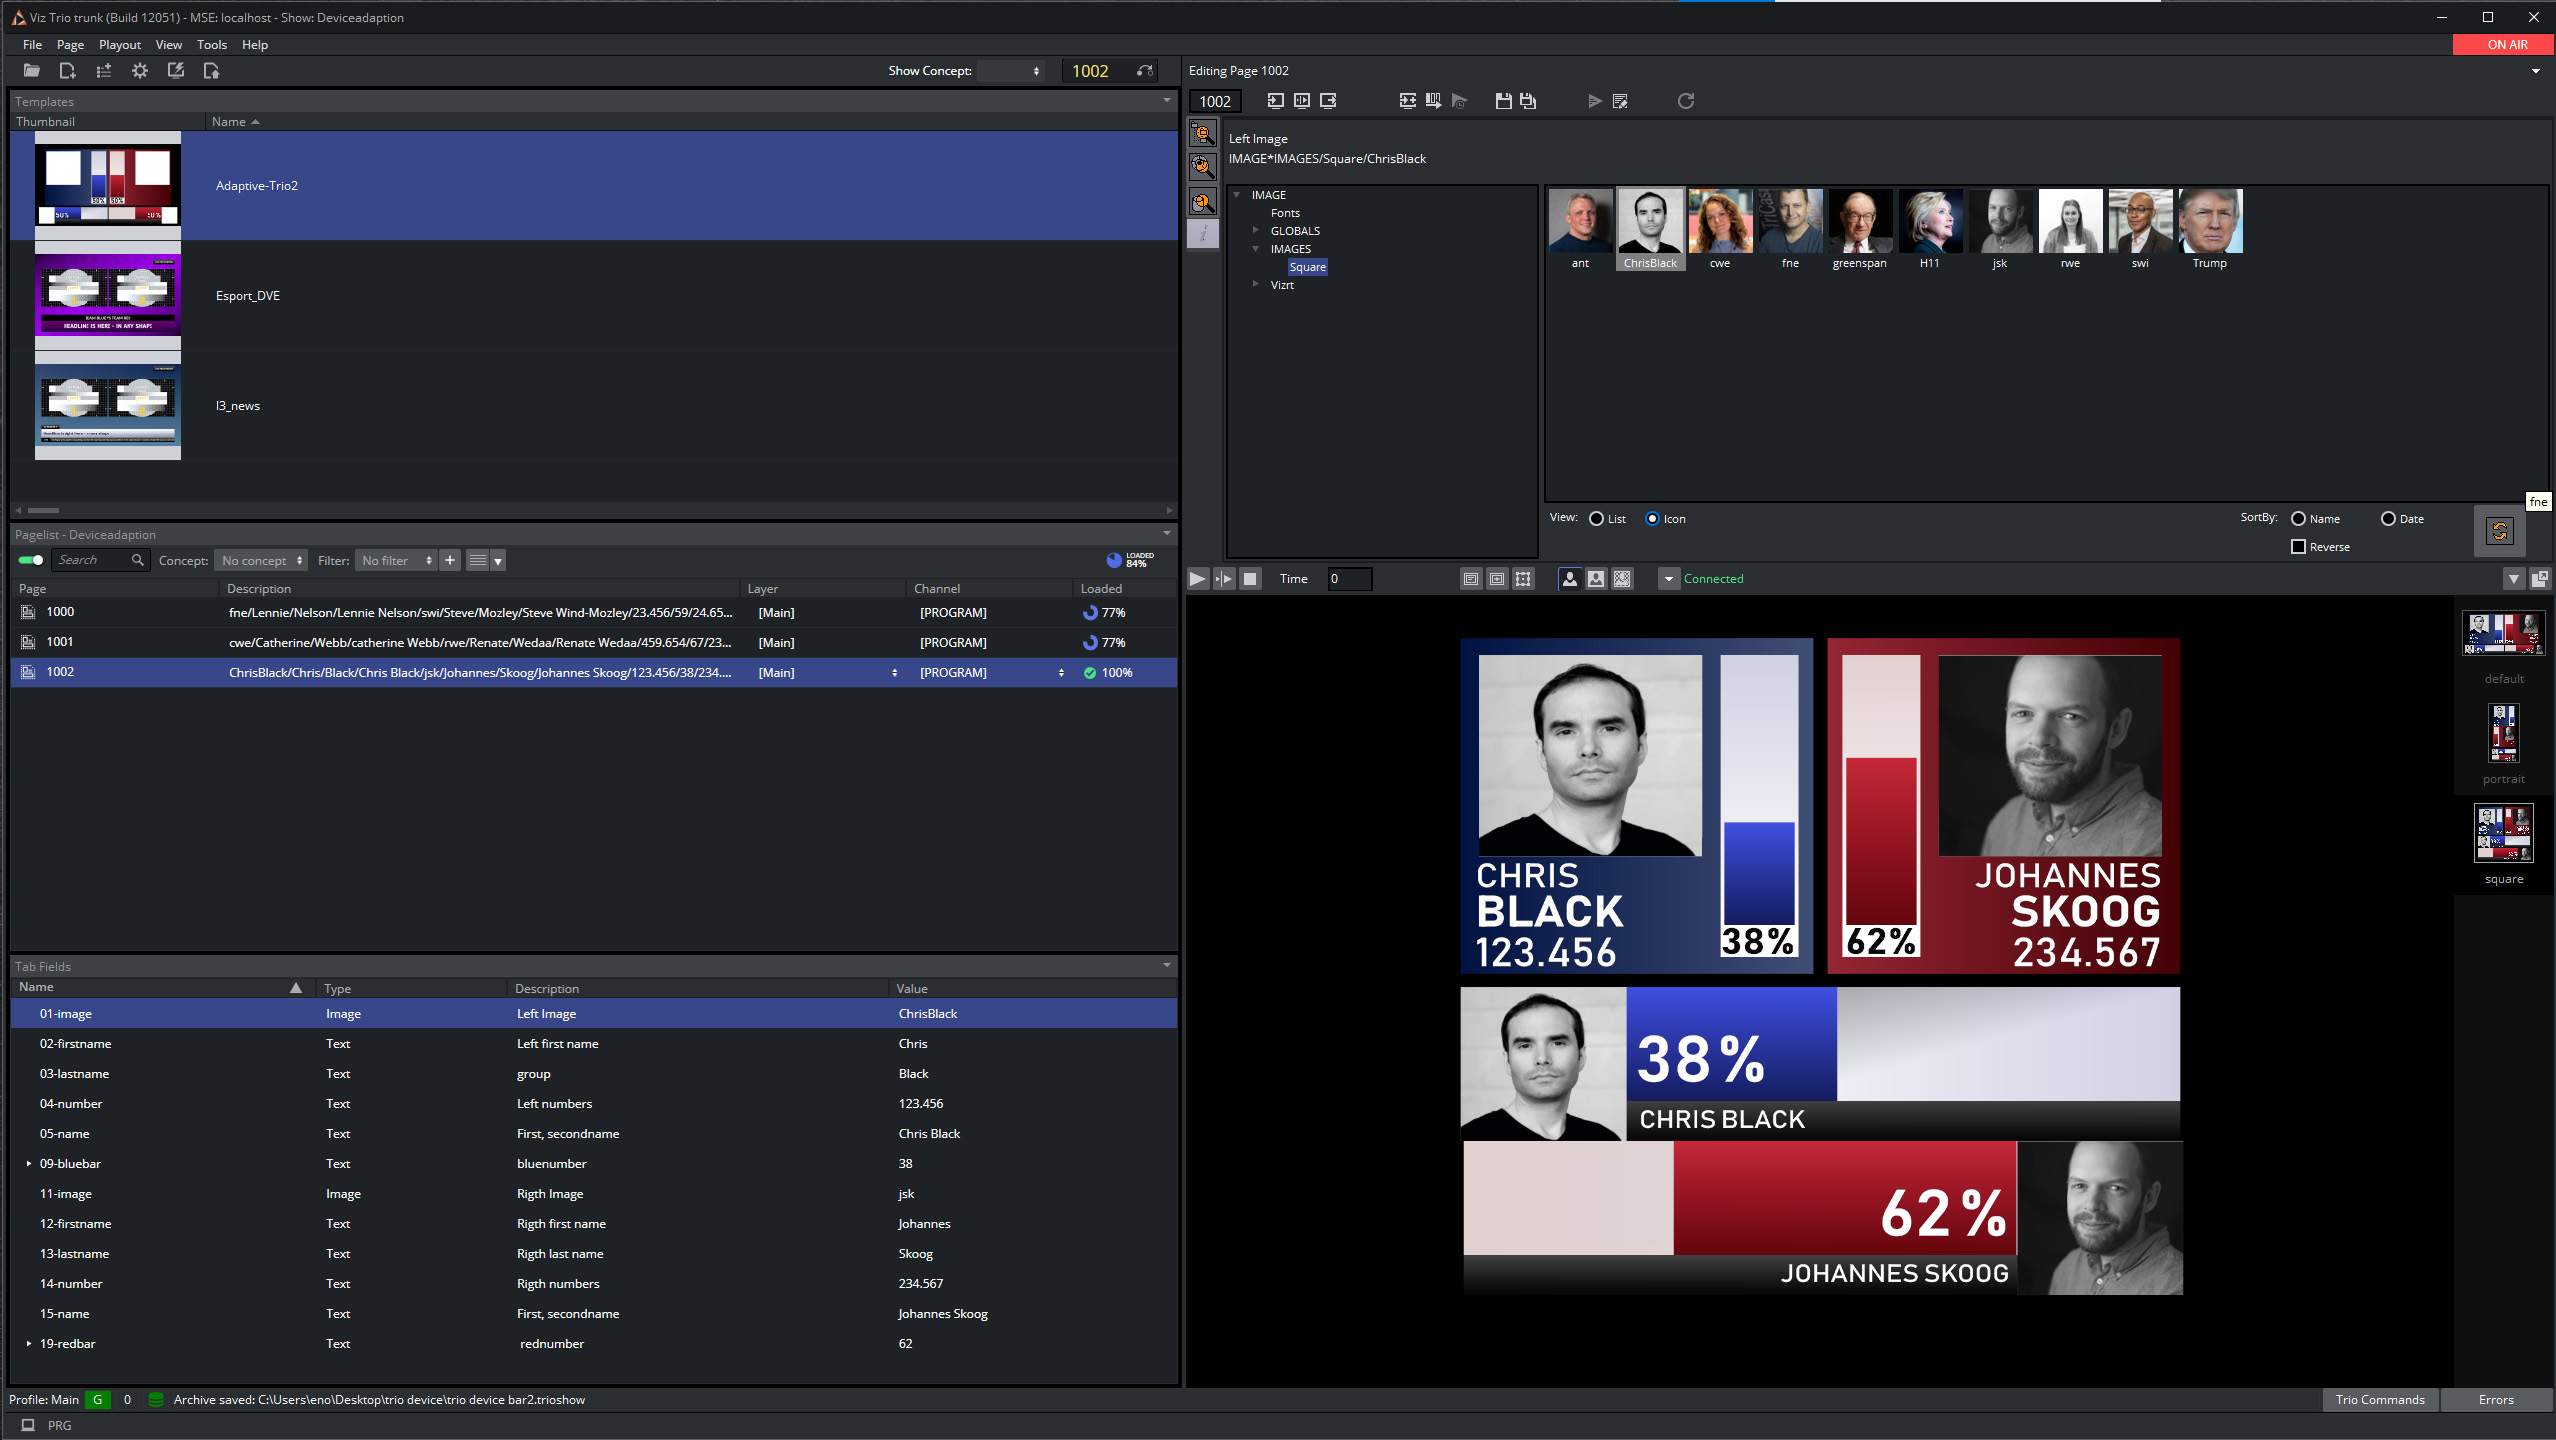
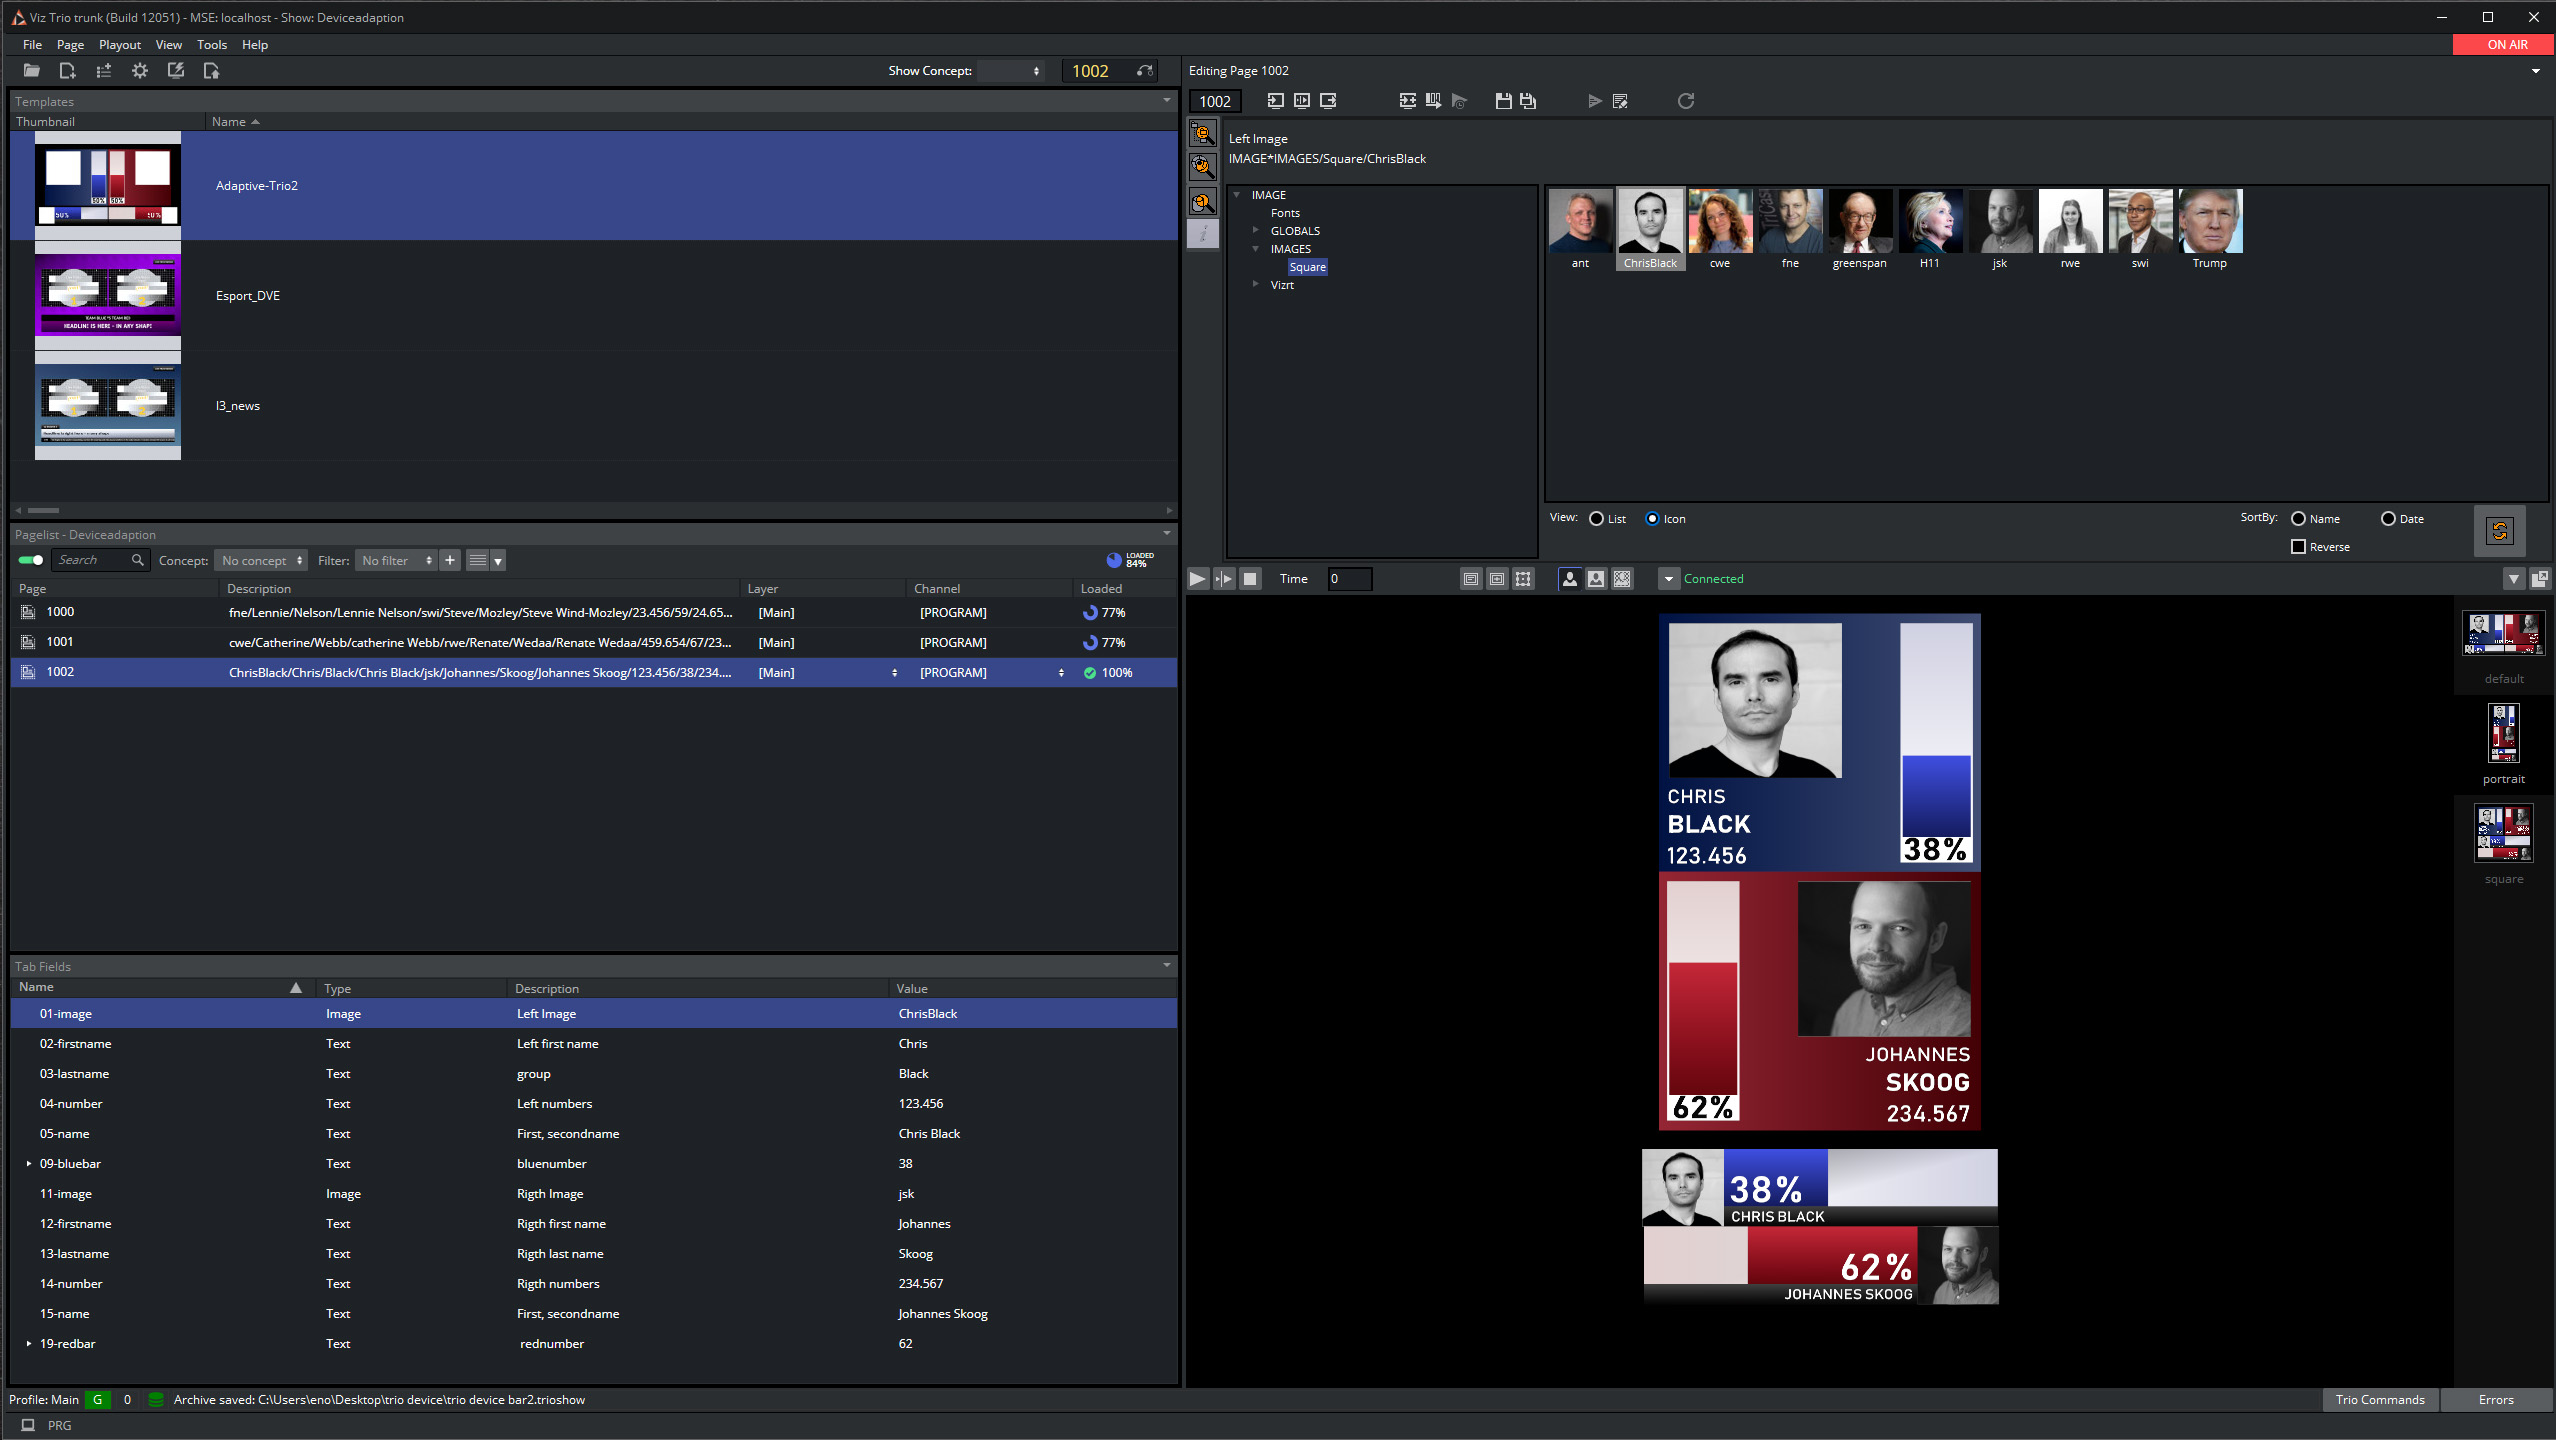
After setting the config file, open Viz Trio and import a scene. The watermark for the preview versions is shown, and the different formats for this scene are listed as thumbnails to the right of the preview.
In the examples above, you can see the preview of the default, portrait and square formats.
To switch between previews of the different formats, either click the thumbnails to the right of the preview, or use the Viz Trio macros.
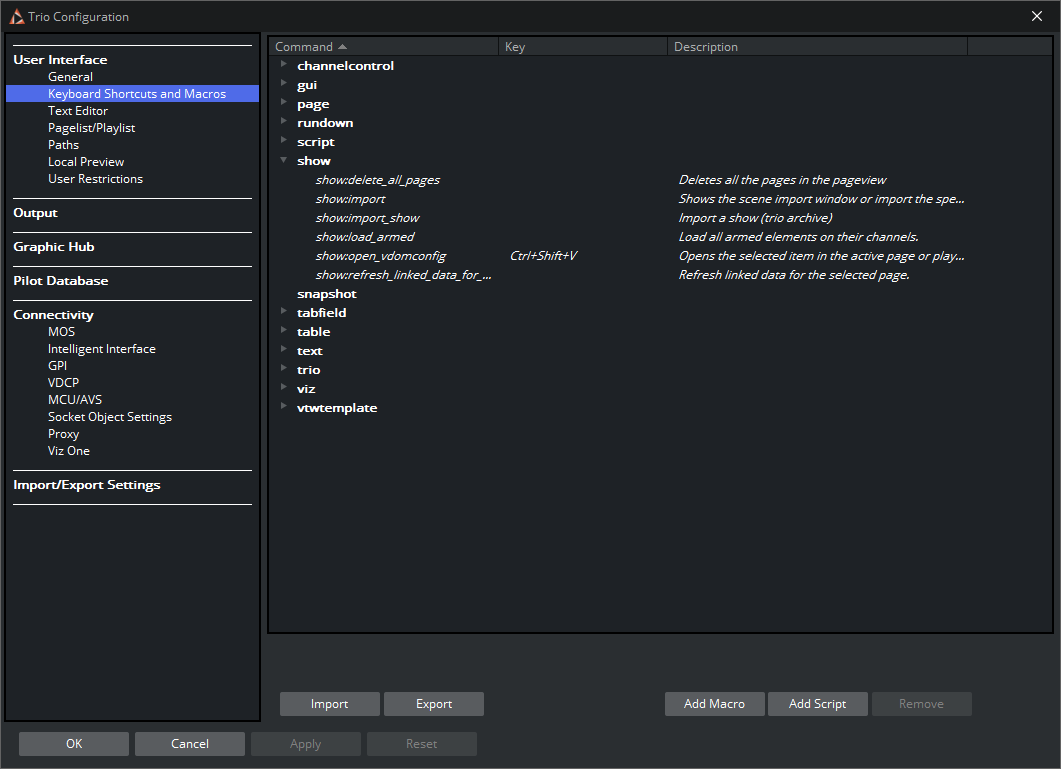
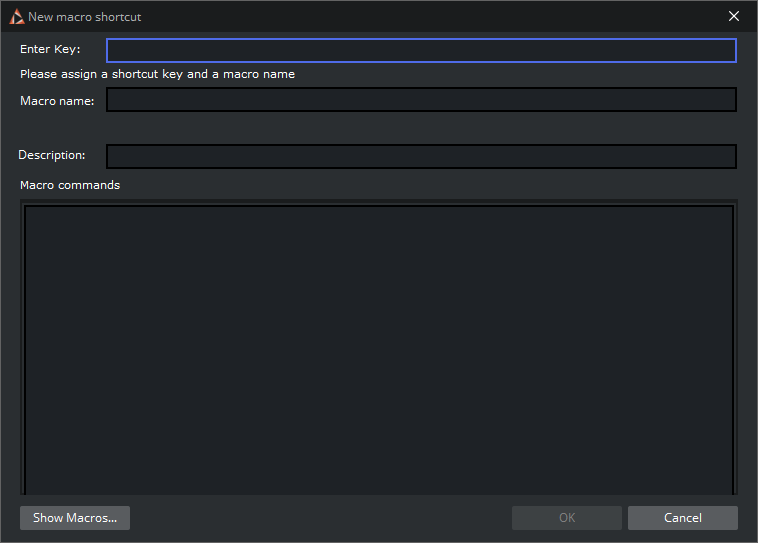
For each adaptive format, you can set different macros. Open the Viz Trio configuration, select Keyboard Shortcuts and Macros and click Add Macro:
Enter Key: Combination of keys for the macro, for example SHIFT+5.
Macro name: Name of the macro.
Description: Small description of the macro.
Macro commands: Set of commands to be executed.
Note: The macros available are set_format, set_next_format and set_previous_format.
For more information, please check the Macro Commands section.
Note: Transition Logic is currently not supported in Adaptive Storytelling.
Floating or Moving the Preview Window
Use the Floating preview button at the upper right corner of the preview window pane to un-dock the preview window.
If the preview window is docked (attached) to the Viz Trio main window, clicking the pin-button detaches the Preview window.
If the preview-window is un-docked from the main Viz Trio window, clicking the pin-button docks the preview window to the main Viz Trio window.
Graphics Control Buttons
At the top of the preview window:
Play: Starts the scene animation currently loaded in the local preview.
Continue: Continues the scene animation currently loaded if it contains stop points.
Stop: Stops the scene animation.
Time Slider: Lets you scrub the timeline by holding in and moving your cursor in the value field. The cursor changes to an arrow to indicate that the time value can be changed.
The middle section of the toolbar:
Show or hide the Title Area in the Preview window.
Show or hide the Safe Area in the Preview window.
Show or hide the Bounding Box for the tab field currently selected in the Preview window.
Preview Modes RGB, Key and RGB with Background Image
The three buttons can be used to see the previewed graphics in three different modes.
The left button displays the graphics in an RGB mode with a default background color (black).
The middle button displays the graphics in Key mode, showing how the key signal looks like.
The right button displays an RGB preview with a background image, illustrating how the graphics appear on top of a video.
The respective preview modes are shown below:
Info: To set a preview background image, go to File > Show Properties > Preview background image and select an image.
Connection Status
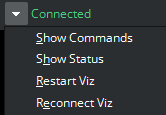
The Connection status of the local Viz renderer is shown in the upper right corner of the Preview window. Click the arrow to display a context menu.
These functions are mainly for testing and debugging purposes. The context menu can show these menu items:
Show Commands: Opens the command shell for the local Viz Engine renderer.
Show Status: Shows a status box for the local Viz Engine renderer.
Restart Viz: Restarts the local Viz Engine running on the same computer as the Viz Trio client. This menu item is only active for local preview.
Reconnect Viz: Allows Viz Trio to reconnect to a local preview engine after an engine running the local preview has been shut down. This option is visible regardless of whether an external preview is running.
Reconnects to the external Viz Engine: Only the local Viz Trio client reconnects to the remote Viz Engine.
If Viz Trio has been started with an external Viz Previewer (and only then), the following menu choice appears in the context menu:Set OnAir: Sets the external Viz Engine in OnAir Mode, so for example, Viz Artist's Design Mode exists and functions as a renderer engine.
Note: In this context, External Viz Previewer should not be confused with External Viz Preview settings in the profile. An External Viz Previewer is another way of making an external Viz Engine act as a local Viz preview. You can configure the previewer using the Viz Trio startup parameter -vizpreview your-vizpreview-hostname-here.
OnPreview Script for a Graphical Element
This feature supports triggering an OnPreview event in a script for a scene. The event is only triggered for the local preview in Viz Trio.
OnPreview scripts can be created using a whole scene or a container.
Creating a Scene Script:
Open a scene in Viz Artist.
Go to Scene Settings > Script and select Edit (if it is not already showing in the script editor).
Enter a script in order to write a unique ID for the scene, so that it can later be identified in the console output:
sub OnPreview(doPreview as Integer) PrintIn “OnPreview in test1 scene script: ” & doPreview end subPress Compile & Run below the script editor.
Save the scene.
Creating a Container Script
Add a group container to the root of the scene.
Go to Built Ins > Container Plugins and select the Global folder.
Drag the Script plugin onto the container/group. A script editor opens.
Enter a script that writes a unique id for the scene that can be identified in the console output later.
sub OnPreview(doPreview as Integer) printIn “OnPreview in test1 container script: ” & doPreview end subPress Compile & Run.
Save the scene.
Follow the steps below in Viz Trio and open the local preview command window to check that the OnPreview event is triggered:
Import a scene (Transition Logic scenes, Combo Templates, Concept/Variant scenes, TrioScroll scenes, Stillstore image scene etc.) with an onPreview script into Viz Trio. See how to make an OnPreview script above.
Open the local preview Viz engine console output window from Connect > Show Command.
Read the imported template and do a page take.
The page editor is used for editing pages. Depending on the template or page edited, page editor can display a wide range of specialized editors. Pages are edited using a wide range of editors: for example text, database and scroll editors. When pages have editable elements, it is possible to jump from element to element by pressing the Tab key. It is also possible to select elements by clicking them in the local preview window. The page editor is located in the upper right corner of the UI and is shown by default when starting Viz Trio.
Save the page.
Read the page by double-clicking it or issuing a Viz Trio command. The local Viz engine console then triggers an OnPreview script event.
