Reality Connect User Guide
Version 1.0 | Published March 14, 2024 ©
Viz Engine Scene Design
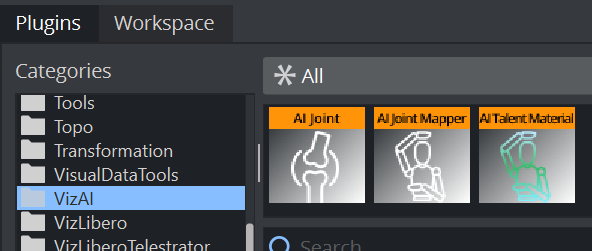
Viz AI Plug-ins
This section requires the Viz AI plug-ins to be installed on the system. Refer to the AI Terminal User Guide for installation instructions.
-
AI Joint: Specifies and controls a skeleton joint.
-
AI Joint Mapper: Specifies and controls the root container of a talent and maps it with Reality Connect.
-
AI Talent Material: Use the input video as texture for the talent models to enable reflection effects.
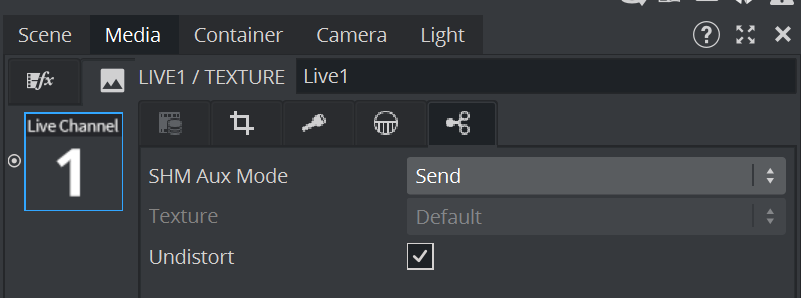
Texture Sharing
Share the video input with Reality Connect with these settings in the Media tab.
-
Set SHM Aux Mode to Send.
-
Check the Undistort box.
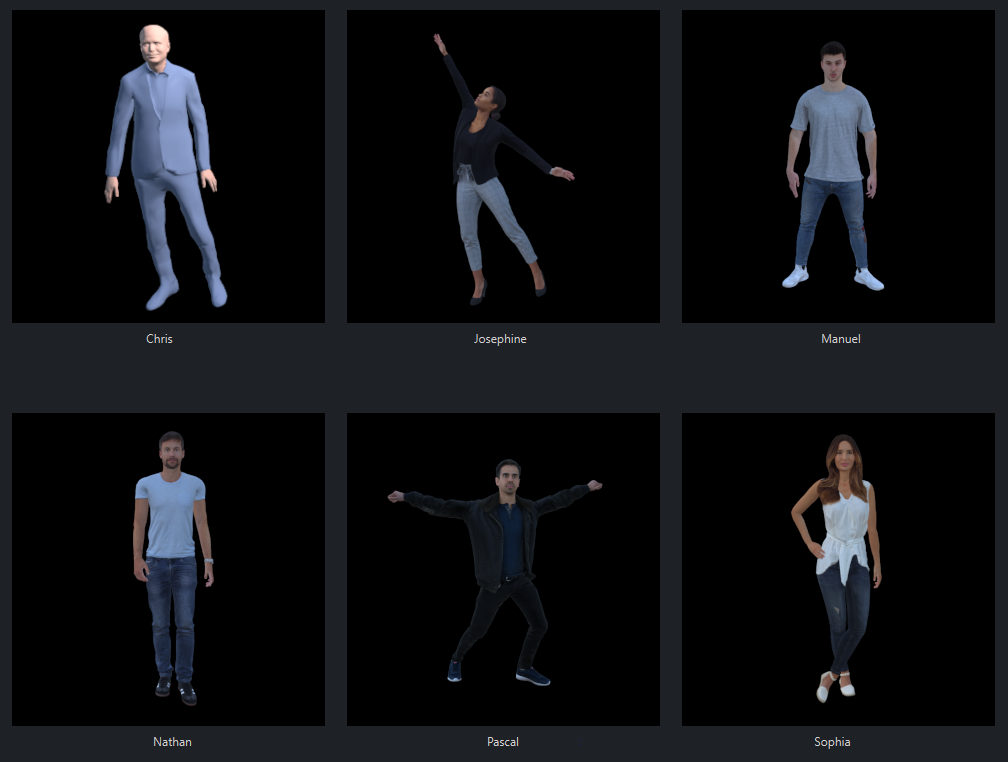
Preset Models
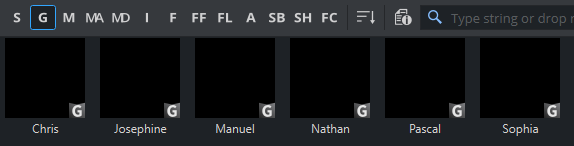
Preset models are rigged models that have already been enhanced and configured with the Reality Connect joint plug-ins, AI Joint, AI Joint Mapper and AI Talent Material. The preset models available with this release are shown in the image below.
Read through the Model Adjustments and Create a New Model sections to learn how to configure your own models for Reality Connect.
The following table lists the origin of the preset models before porting them to the Viz Engine and applying the steps listed in Model Adjustments.
|
Name |
Link |
Author |
License |
|
Chris |
|
Vizrt |
|
|
Nathan |
https://sketchfab.com/3d-models/nathan-animated-003-walking-3d-man-143a2b1ea5eb4385ae90a73657aca3bc |
CC Attribution |
|
|
Sophia |
CC Attribution |
||
|
Josephine |
CC Attribution |
||
|
Manuel |
https://sketchfab.com/3d-models/manuel-animated-001-3d-dancing-man-e65e0fef4e0743868c8d5bff36d61116 |
CC Attribution |
|
|
Pascal |
CC Attribution |
The preset models are provided as Geometries and can be added to a scene by a drag and drop operation.
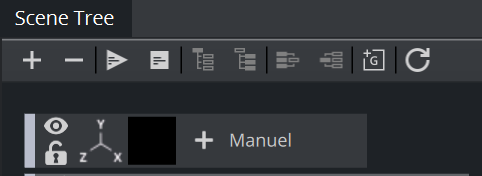
Make sure that the position and the rotation of the new container are set to (0,0,0). At this point, the imported geometry is automatically animated from a real talent detected by a running Reality Connect application.
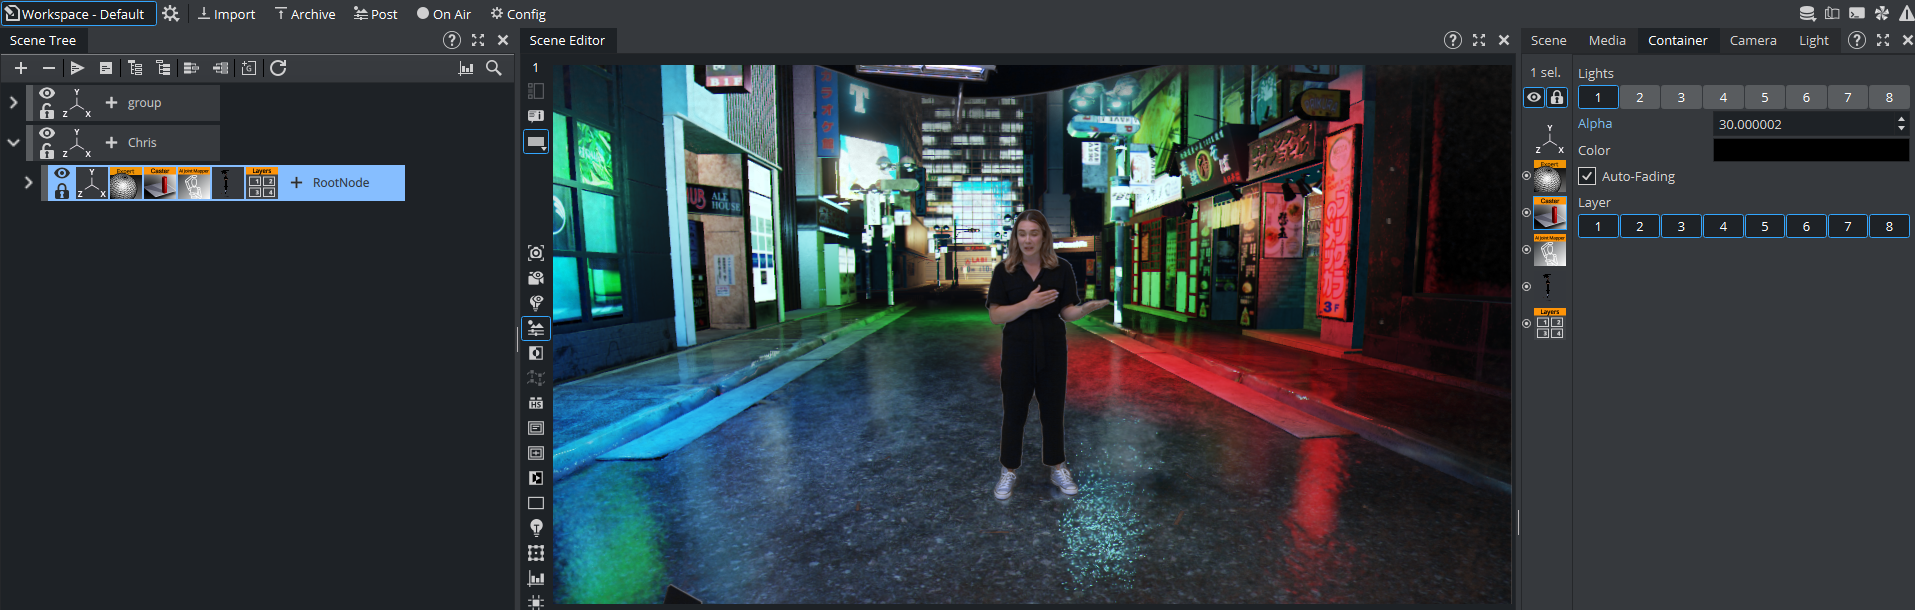
Model Configuration
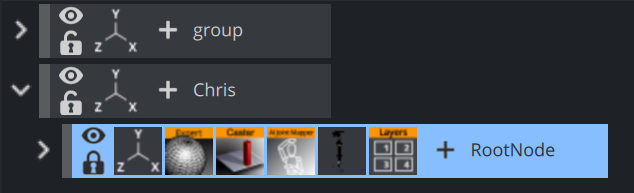
Split (right-click) the container to obtain the full tree including all subcontainers.

This creates access to a RootNode container with the following plug-ins:
-
Expert.
-
Shadow Caster.
-
AI Joint Mapper.
-
AI Talent Material.
-
Layers.
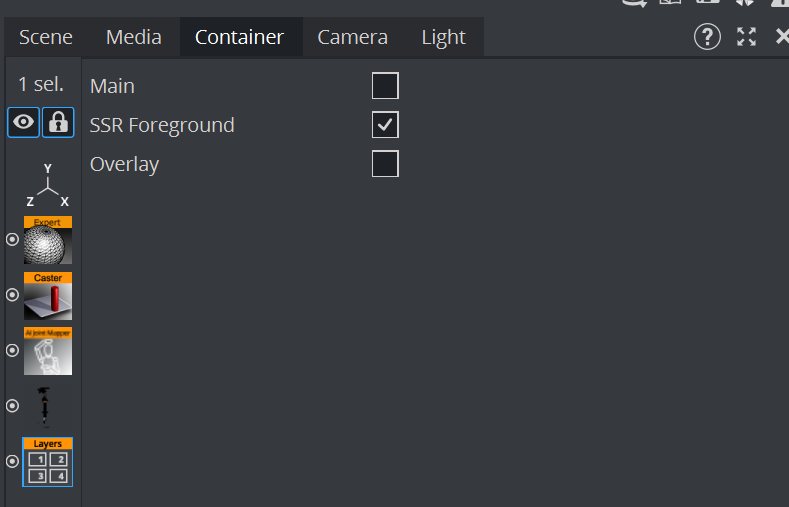
Note: For improved rendering quality, switch to SSR Foreground in the Layers plug-in.
Talent Mapping
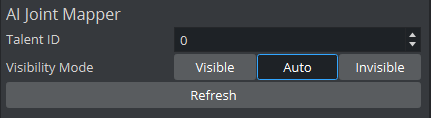
The AI Joint Mapper plug-in comes with the following options:
-
Talent ID: If multiple talents are tracked, each model needs a different Talent ID (0 - 7).
-
Visibility Mode: During a production this should always be set to Auto.
-
Visible: The model is always visible (also when Reality Connect is not running).
-
Auto: Reality Connect automatically sets the visibility of the model when a talent appears or leaves the scene.
-
Invisible: The model is always invisible.
-
-
Refresh: Recalculates the internal tree structure. This is required on manual change or creation of a talent model.
Note: Each talent detected by Reality Connect keeps an internal Talent ID between 0 and 7. This ID is lost when the talent leaves the scene and there is no guarantee the same ID is reapplied to the same talent after the talent re-enters the scene.

Shadow Configuration
Enable/disable the Shadow Caster plug-in to turn on/off shadows projected from the talent.
Note: This requires the Shadow Receiver plug-in to be enabled on surfaces in the virtual scene where shadows should be projected to.
Reflection Configuration
Enable/disable the AI Talent Material plug-in to turn on/off reflections from the talent.
Note: This requires the materials in the virtual studio to be configured as reflective.
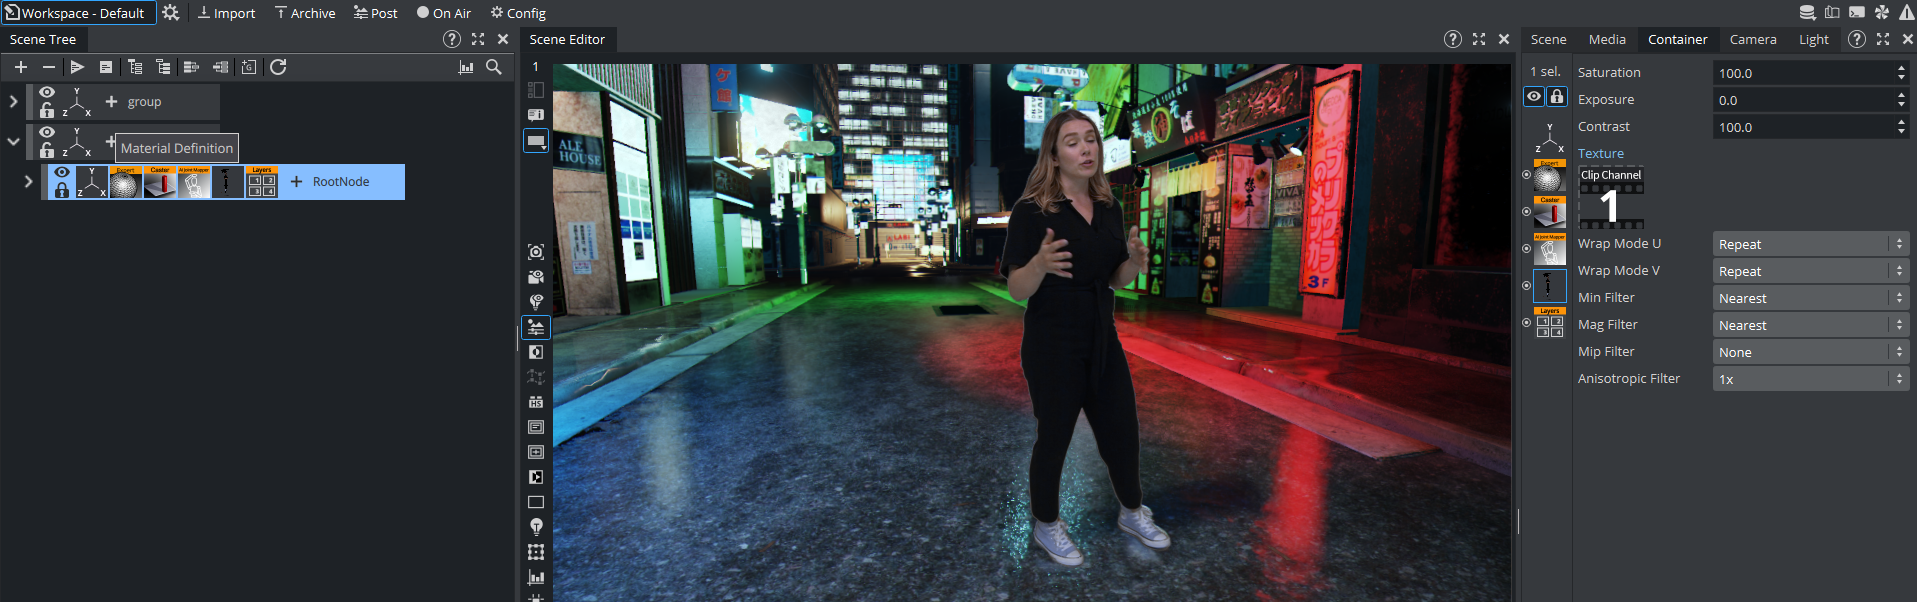
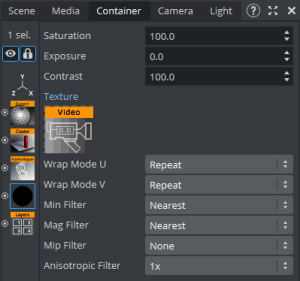
Use the following options of the AI Talent Material plug-in to configure the reflection effect.
-
Saturation: Controls the reflection's color saturation.
-
Exposure: Controls the reflection's color exposure.
-
Contrast: Controls the reflection's color contrast.
-
Texture: Specify the video source (for example, LIVE1) to texture the talent with. This should be set to the same video source configured as input for Reality Connect.
Model Adjustments
Bone Offset
For advanced use cases, models can be customized to better fit the real talent. Expand the model container to visualize the full tree.
The bones controlled by Reality Connect have the AI Joint plug-in attached to it, and the bones that animate the geometry model have the Bone&Skin plug-in attached to it. If the two plug-ins are on the same bone, the bone is directly controlled by Reality Connect. Separate the two to introduce a position or rotation offset.
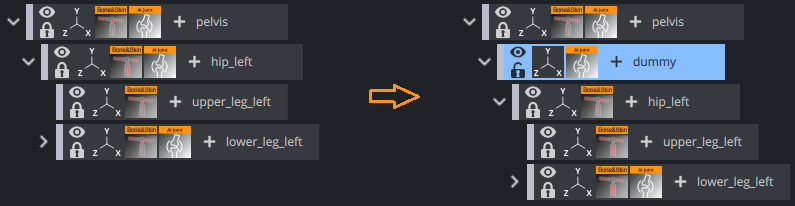
To add an offset to a bone:
-
Create a new parent container.
-
Move the AI Joint plug-in to the parent container.
-
Click the Refresh button of the AI Joint Mapper plug-in.
-
Set the desired position and rotation offset in the child container.
Bone Scaling
To fit the size of a model better to a specific talent, the Scale parameter of containers holding an AI Joint plug-in can be used to adjust individual bones.
Note: Scaling a certain bone scales all of its children equally (for example scaling the left hip scales the entire left leg accordingly while scaling the pelvis scales the entire model).
The Reality Connect only supports the Scaling Modes Locked and Proportional.

Create a New Model
This section contains additional information for advanced users that create their own models.
Talent Mapping
Add the AI Joint Mapper plug-in to the root container. Add the AI Joint plug-in to each bone container that should be animated. Remember to click the Refresh button of the AI Joint Mapper plug-in to apply changes of the tree structure or AI Joint plug-ins.
Joint Mapping
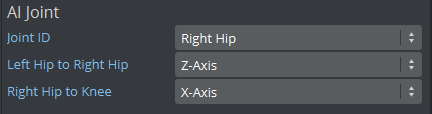
-
Joint ID: The joint the container / bone is referring to.
-
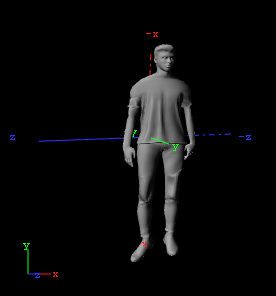
Axes: The Joint axes used to calculate the rotation of the joint.
Note: To identify the correct axes, check the local coordinate system of the container and set the axes for the specified directions accordingly. For the right hip joint in the talent below the the z-axis points into Left Hip to Right Hip direction and the x-axis into Right Hip to Knee direction.