Labels are one of the most essential elements on a map. They can either be geographically bound, e.g. to label a city capital, a country etc, or if you want to label a certain position, the user is free to change latitude and longitude, e.g. to mark the location of an earthquake.
Geo-bound Labels
A geo-bound label has its latitude and longitude automatically assigned by the control application, like Viz Pilot edge. The journalist searches for a new point on the chosen map, everything else is done automatically.
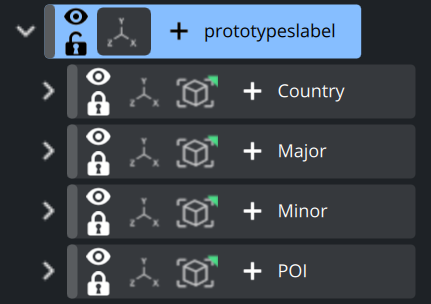
A designer usually would like to create different styles for different kind of labels. This would be for example:
Type | Usage | Example |
|---|---|---|
Country label | Usually a larger label used to indicate countries or county level. | 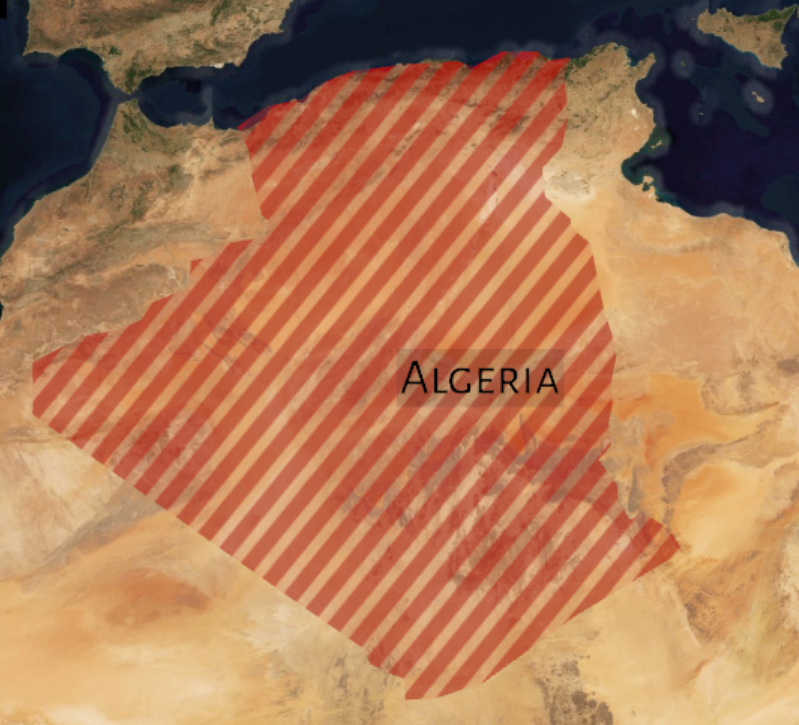 |
Major City label | Capital cities with a higher population than minor cities | 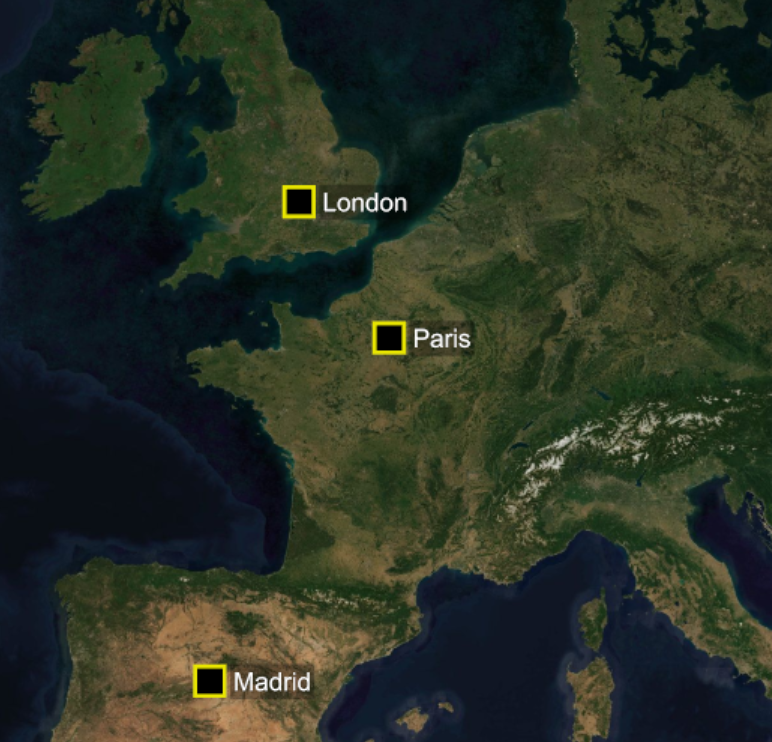 |
Minor City label | Smaller cities with less population rather than a Major City. | |
POI | Landmarks, Mountains, etc… | 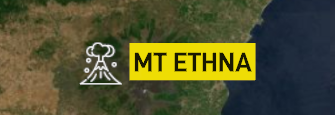 |

As all of these are not bound to a fixed number of items on a map, we will use the ControlProtolist Plugin. This is an extension to the existing ControlList plugin.
This plugin allows to add an (un)limited amount of elements to be added from a given set of prototypes.
Example:
Create a basic map based with GeoCamera and GeoCanvas
Create a container called prototypeslabels inside your scene tree. The location does not matter, but as the labels will be georeferenced it would make sense to place it under your map.
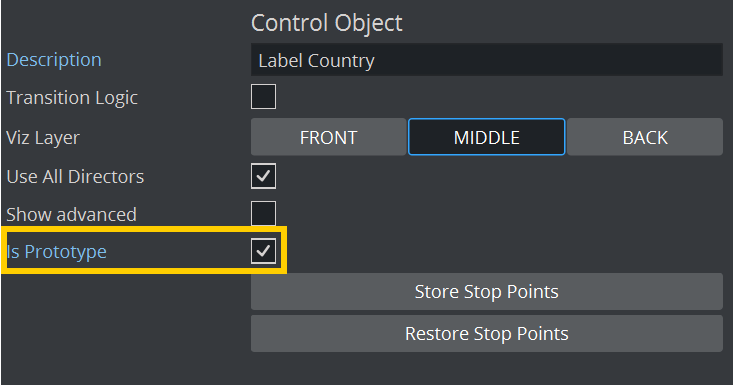
Next we create a sub container for “Country” style labels. Add a ControlObject plugin on it and check the “Is Prototype”. This will make sure it will not show up as an additional control object inside the control application as this is only be used as a prototype.
Create your design. For example add a larger text, a TextBG for a backplate. This container must be in GeoTransformation Mode, otherwise it can not be placed based on latitude/longitude information coming from the control application.
Add a ControlContainer plugin to your design, this will be the responsible container for placing the label correctly. make sure the Expose Lon/Lat is switched on, otherwise your label will not be located on the correct position.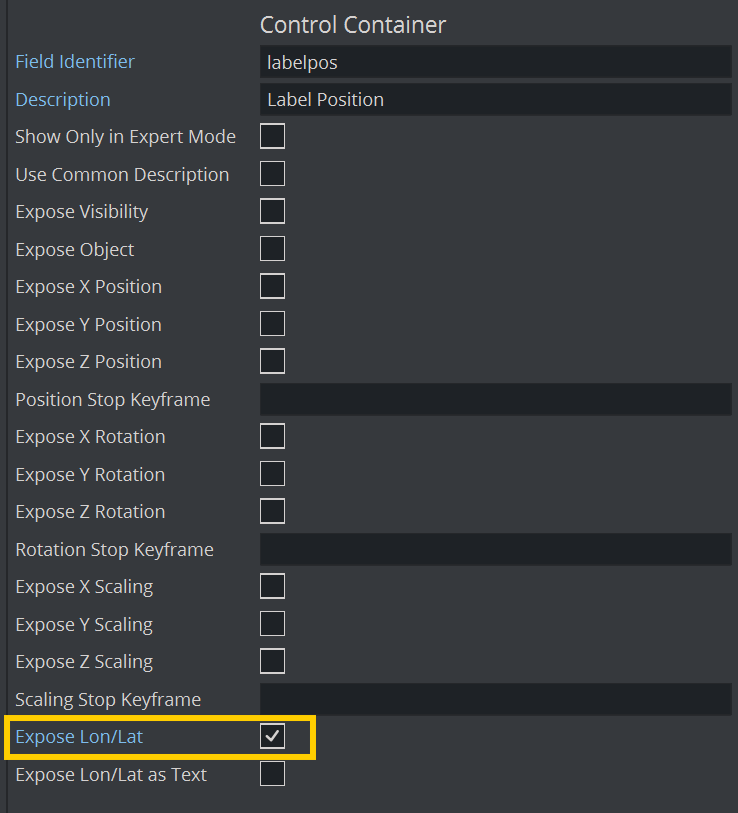
This will be your anchor point. If your style has some location pointer, make sure this one matches the containers origin.
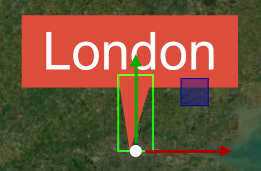
Right now there is no automatic label layout. Prepare some styles to allow labels to set on top, bottom, left or right side.
Continue to create more design you’d like to be added to your map.
While designing your labels, make sure they fit on all zoom levels. See Start Using Maps#Scale-with-Zoom
Once your labels are in place, we need to expose them to the client application as prototypes. This will allow a journalist to add as many labels in one of our 4 designs to the map:
Add a new container under your base map, name it e.g. “listlabels”
Put the Control Proto List plugin on it:
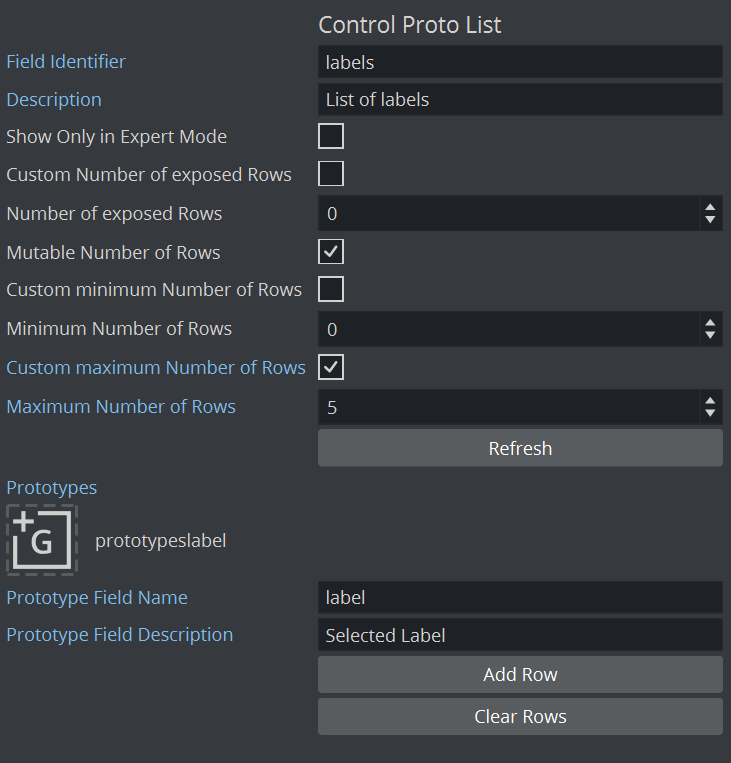
Drag your container holding our designs to the Prototypes field, give it a field identifier and hit the Refresh button.
Your existing prototypes container will turn invisible, this is on purpose.
You can limit the maximum amount of labels to be added by enabling the “Control maximum number of Rows” and give it a number (see example on the left).
A control application will then read the scenes VDF model and allows a user to add these labels to the scene and give the journalist the option to choose between our 5 styles.
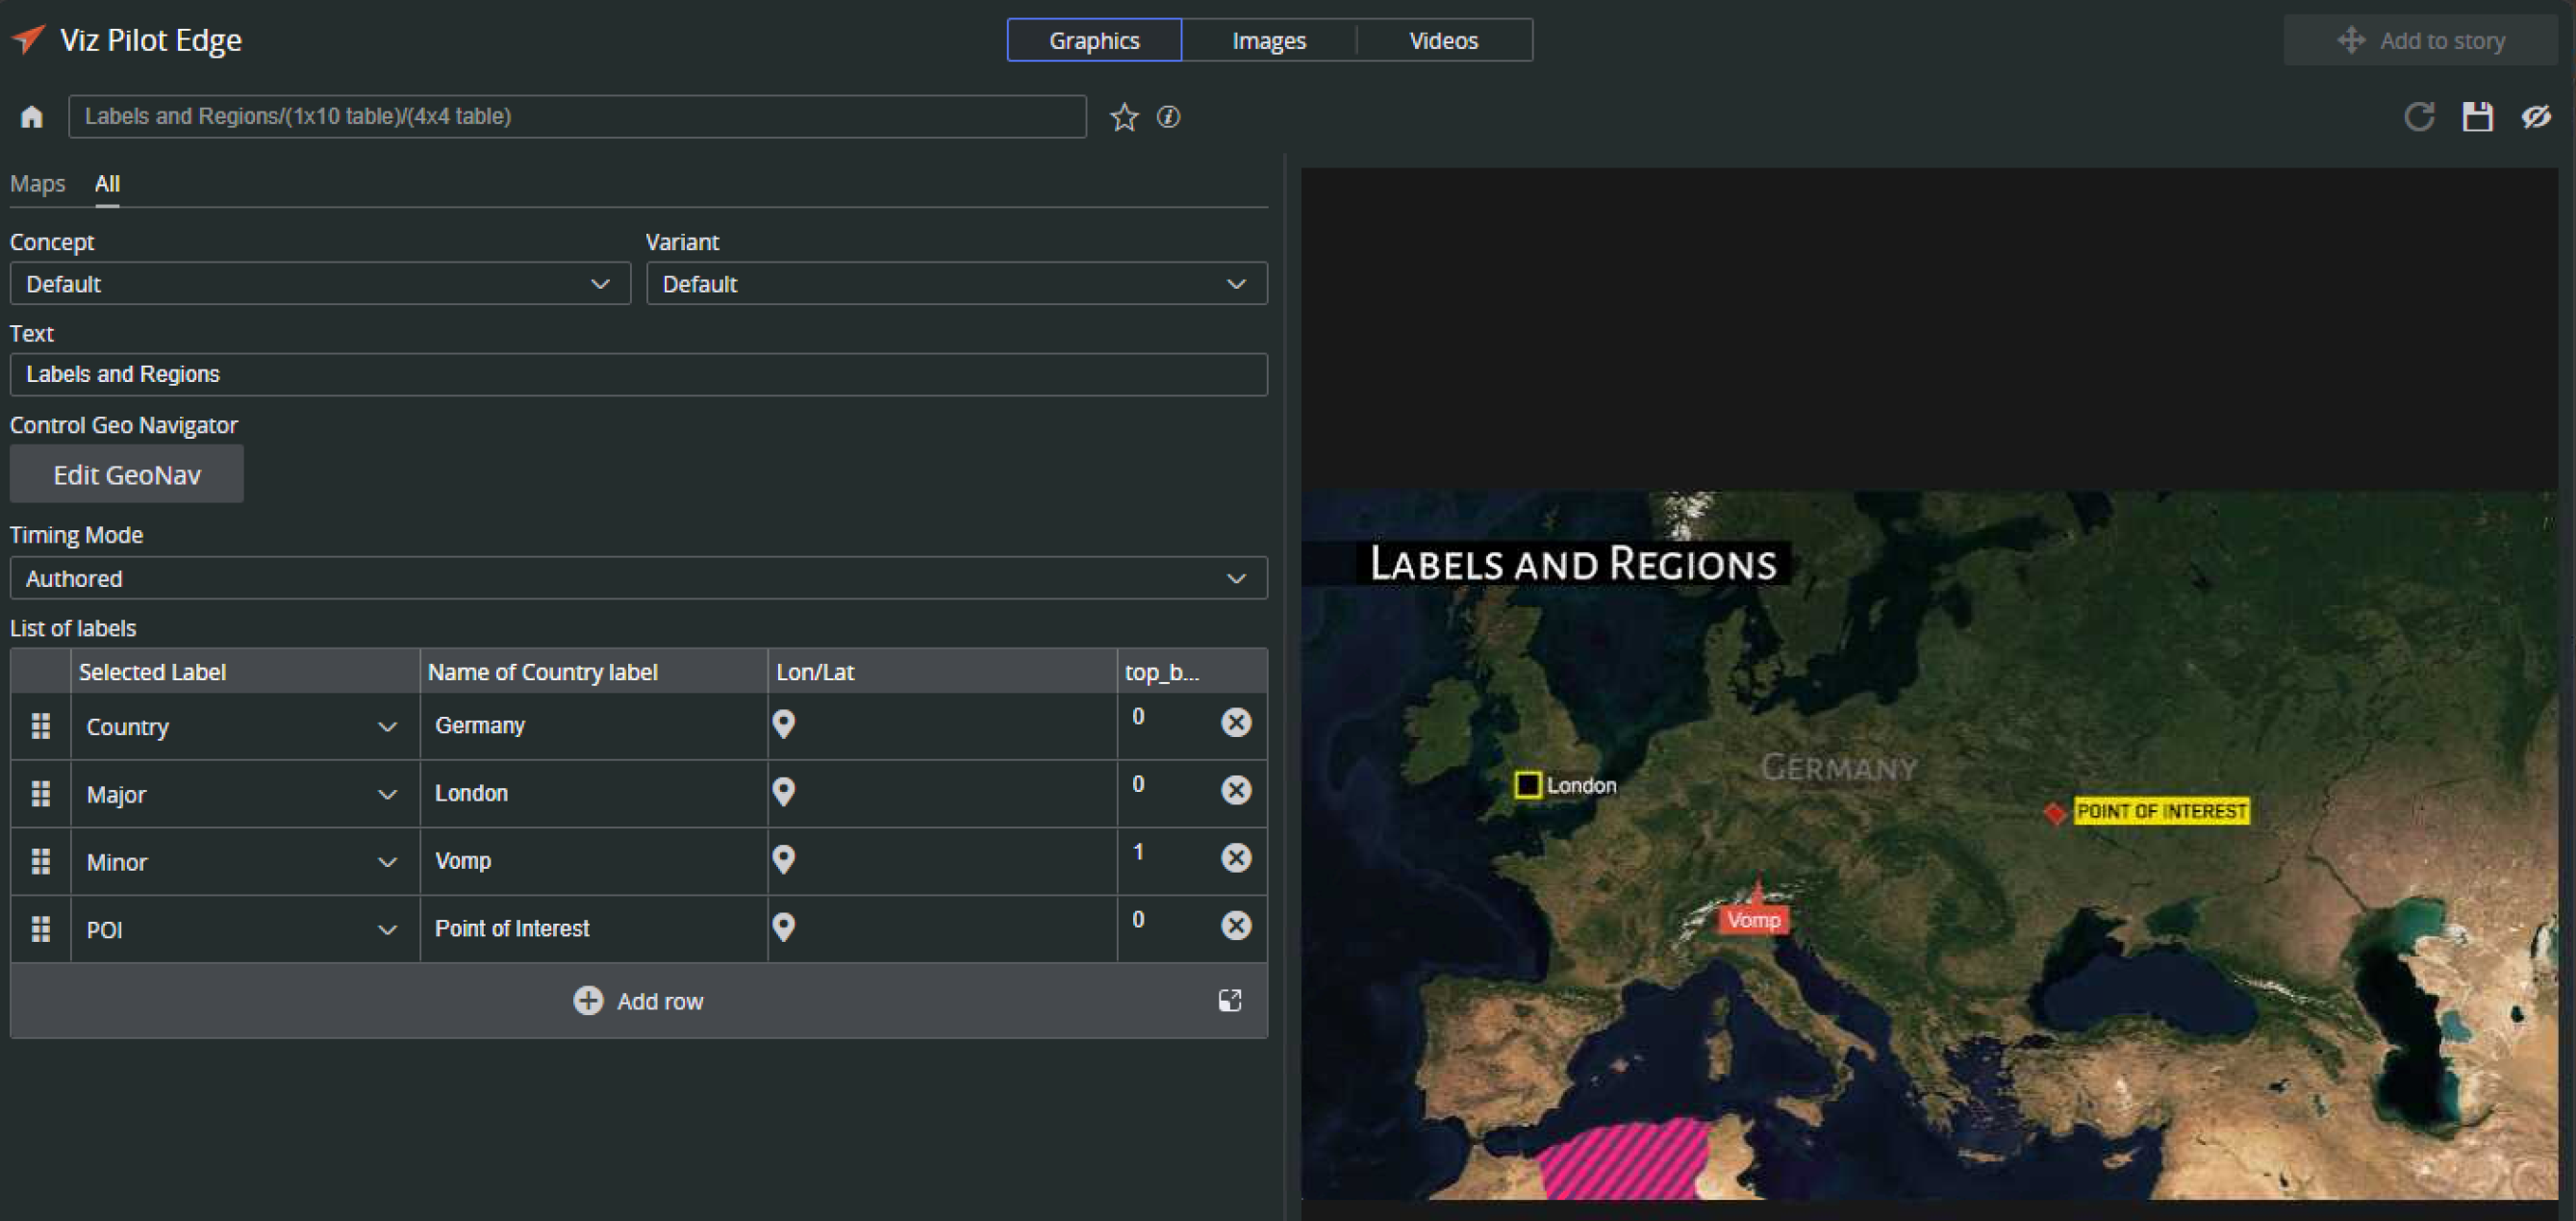
Animated Labels
If you add labels to your maps design, you’ll usually want them to animate in and out. This should depend on which location you are flying, for example you want to have “Sicily” labeled permanently while you are zooming in, the Capital City Catania should fade in and while you are continue your flight toward e.g. the volcano Mount Ethna, the city label should animate out again and Mount Etna label should appear.
As all labels are handled by ControlProtoList plugin we need to add additional plugins to also control the animation behavior.


GeoHop and ControlGeohop are used to control the animation of labels based on a certain hop.
The GeoHop plugin copies the animation of our prototypes container and matches it to the stage animation.
GeoHop offers two options:
Hop number is the hop the animation is bound to.
For example if your first flight destination is “Catania”, the label for “Catania” is bound to Hop 1. This is exposed to the client control application.The second one is the offset to the animation:
If your label design has an in and an out animation, 1 second to build up and one second to build down, you will add an offset of -1 second.
This guarantees that within the stage, our label animation starts 1 second earlier to build up, synchronized hop animation and then, as soon as our flight continues, animates one second out.
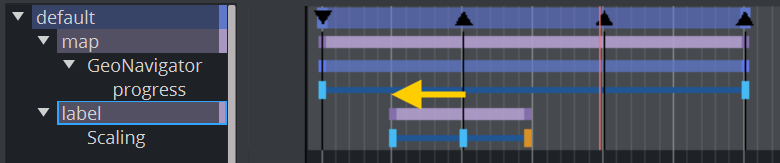
GeoHop works in combination with the GeoNavigator plugin.
If you change anything on your label designs, make sure you click on the Refresh button on the ControlProtoList button and you rebuild the animation in the GeoNavigator plugin
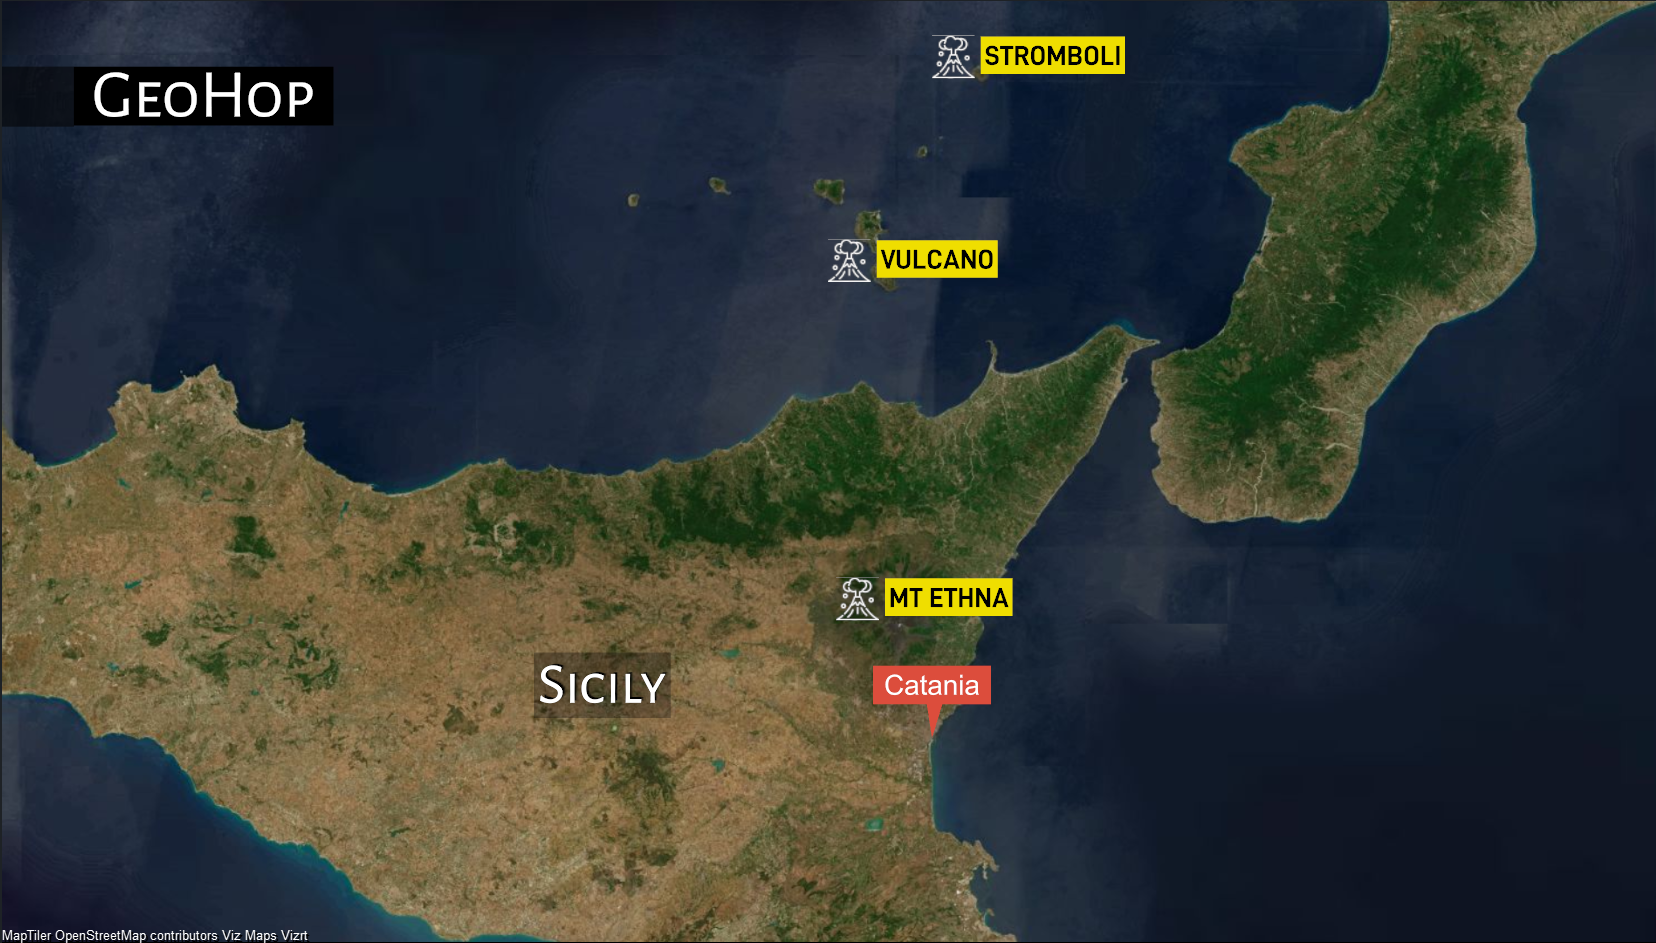
GeoHop simply drives the animation you build for your label. If you want to have a label to stay on the map and not to fade out once the animation continues, you’ll need to create a prototype label with no out animation.
See also:
ControlProtolist Plugin