Viz Licensing Administrator Guide
Version 2.1 | Published December 22, 2020 ©
Amazon AWS Cloud
To ensure the full functionality of your Vizrt licenses after a restore, please follow the steps below for creating a supported back-up.
Create Volume Snapshot
Step 1: Under the Description tab for the instance, you can see the block devices for this particular instance.
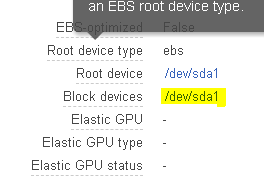
Step 2: Click on the block device to check the volume's EBS ID. If there is only one volume available in the server, the volume should be the same as the root device. This becomes the volume for the snapshot.
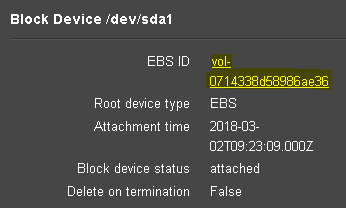
Step 3: Click on the EBS ID to access the volume overview.
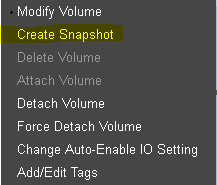
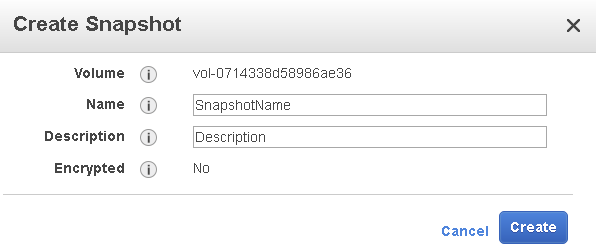
Then, right-click the volume and select Create Snapshot.
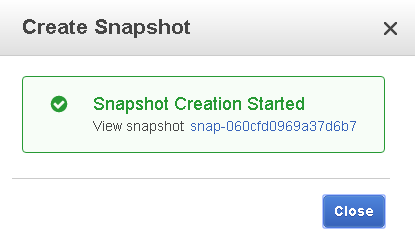
Step 4: After you have created the snapshot, it is visible in the snapshot overview. Right-click and select Create Volume.

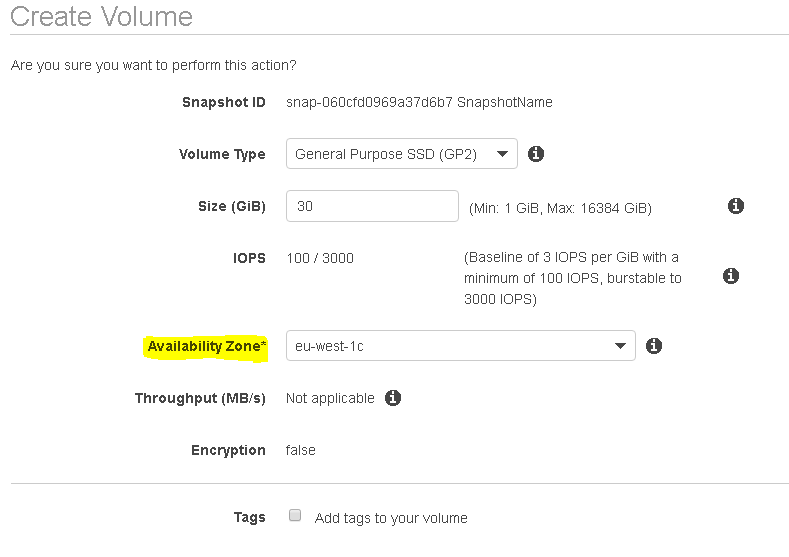
Step 5: In the Create Volume wizard, ensure that you select the correct value in the Availability Zone* input field so that the volume is available to where your virtual machine is located. After you have created the volume, it is visible in the volume overview.
Restore
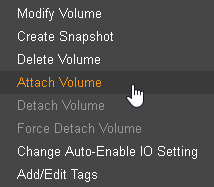
To restore the state of the virtual machine to the state of this volume, you must first detach the damaged/old volume in the virtual machine. Next, attach the virtual machine volume to the instance from which the snapshot has been taken by right-clicking the volume and selecting Attach Volume.
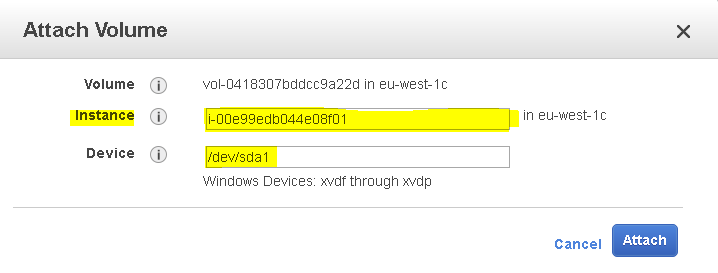
Select the correct instance and enter /dev/sda1 into the Device input field. This sets your volume to be your boot volume.
After completing this step, the virtual machine can be turned on again. It is now using a valid license.