
Graphics Plugin User Guide
Version 2.3 | Published September 14, 2023 ©
Using Graphics Plugin with Avid Media Composer
This section shows you how to add Vizrt graphics to the timeline in Avid Media Composer, and how to use stop points.
Adding Graphics Plugin
-
In Avid Media Composer, create a new project.
-
Import a video through the Source Browser window.
-
Click on the film icon on the item that you imported, and drag it into the Timeline window.
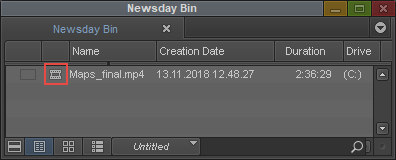
-
In the Project window, click on the Effect Palette tab (represented by a square purple icon), select Vizrt > Graphics Plugin, and drag it into a separate video track on the Timeline.
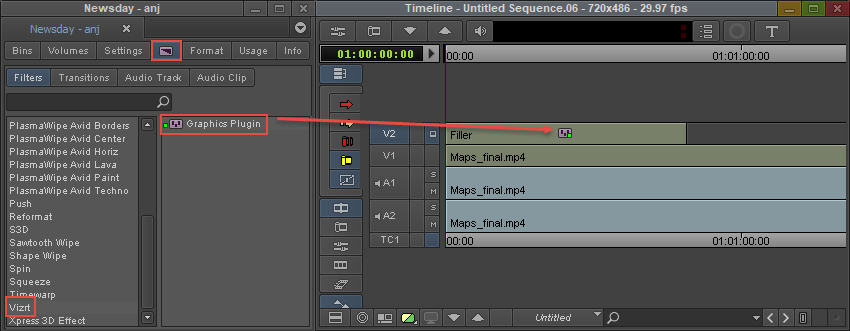
-
Open the Effect Editor by going to Tools > Effect Editor.
-
In the Effect Editor window, under Graphics Plugin, click Editor to start importing graphics into Avid Media Composer. Viz Trio, Viz Pilot Edge, Viz Pilot or the Graphics Plugin Editor (Mac) start depending on the specified Graphics Plugin User Interface in the Configuration Tool.
-
Click on Config to access the Configuration Tool.
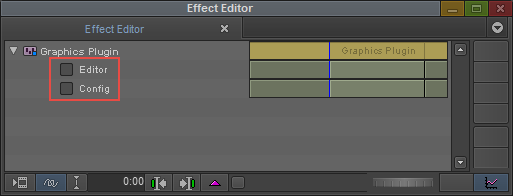
-
Check that you are in Effect mode in order to see graphics animations in the Preview windows.

-
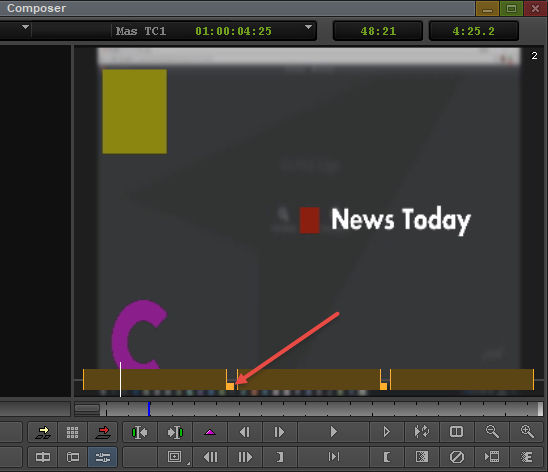
Play the video clip or scrub the timeline to see the new effect.
Editing Stop Points
Stop points are added to a graphics scene to control the playout of the animation. Graphics Plugin contains a stop point editor that allows you to adjust the length of the stop points when adding a graphic.
To access the stop point editor open the Effect Editor:
-
Go to Tools from the top menu and select Effect Editor in the drop-down list.
Under Graphics Plugin, select the Toggle show/hide option.
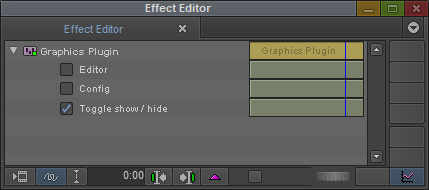
Click enable. A stop point editor appears at the bottom of the preview window:
Click the small square next to the stop point and drag to adjust it.
Exporting Metagraphics
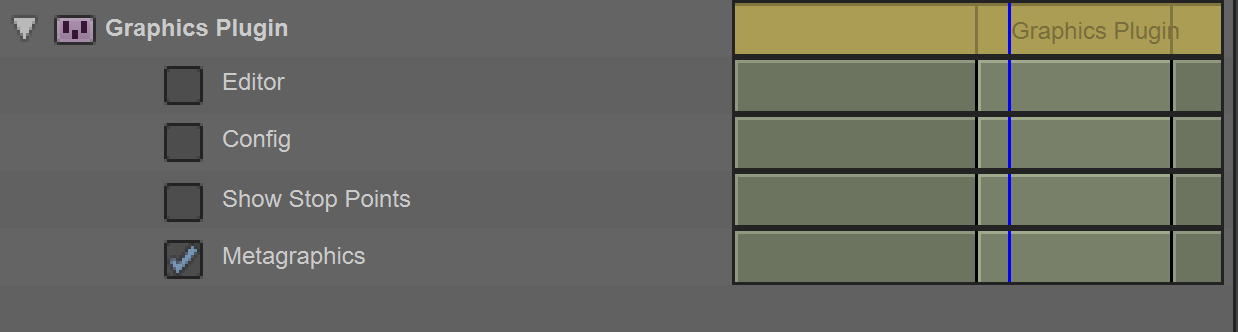
Exporting sequences as metagraphics allows users to export metagraphics without burning graphics into the video. To enable, select the effect and tick the Metagraphics checkbox of the Vizrt Graphics Plugin.
Note: As Avid Assistant is only available for Windows, exporting a sequence containing metagraphics is only available for that platform.
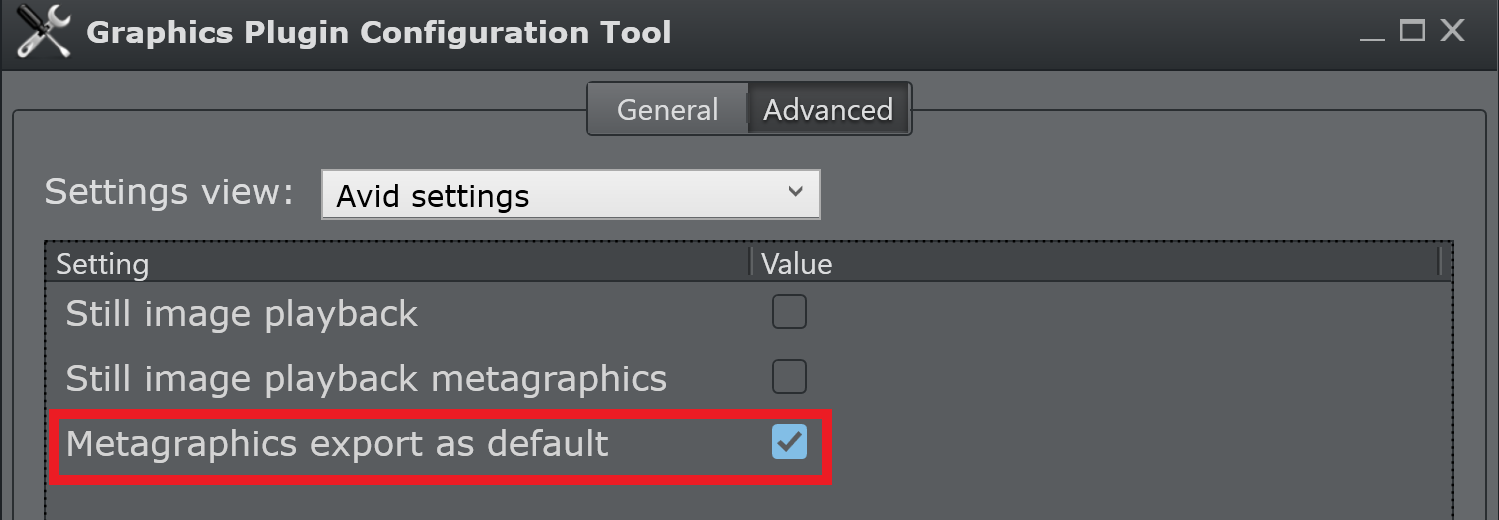
When a user creates a new Vizrt Graphics Plugin effect, the default value for the Metagraphics checkbox is read from a setting. This can be changed in Avid settings.
-
Click on Config to access the Configuration Tool.
-
Click the Advanced tab and in Settings view select Avid settings.
-
Set Metagraphics export as default to the desired value.
Note: Avid Assistant must be installed to export graphics to Viz One. See the Avid Assistant User Guide for more information.