
Viz Pilot User Guide
Version 8.5 | Published December 16, 2019 ©
Director Tools
This section contains the following topics:
View Log
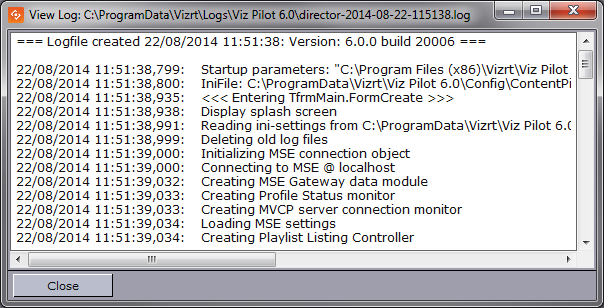
Open from the main menu: File > View Log.
The View Log window displays the log messages that have been generated by the system. Individual log messages are also displayed as Status Information in the Errors Window.
Tip: Check the View Log window frequently when troubleshooting the system.
The full log files can be accessed. Default log file locations are as follows:
-
%PROGRAMDATA%\Vizrt\Logs\Viz Pilot x.y
Eureka Log files (.elf crash log files) for Director, Template Wizard and Viz Pilot News can also be found in this directory.
See Also
Show Command Console
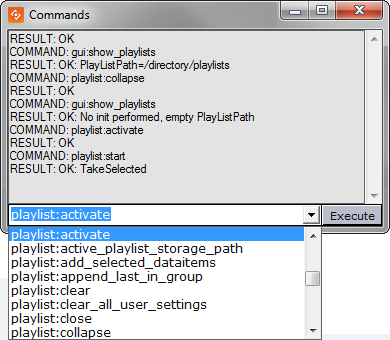
The Commands window can be used to see the macro commands that are executed when different user operations are performed. The window is also helpful in learning the different macro commands.
Show Commands
-
Select Show Command Console from the Tools menu.
Run a command
-
Enter the name of the command (for example gui:new_playlist) in the combo box, and then click the Execute button to run the command.
Look up commands using apropos
The Commands window has a lookup function named apropos that is helpful when searching for information about a command.
-
Open the Commands window
-
Enter for example apropos run_element and press Enter
-
The following result should appear:
COMMAND: main:apropos run_elementRESULT: control:run_element(restString ElementPath) : Run specific MSE elementcontrol:run_element_with_context(string ElementPath, string ContextName, string ContextValue) : Run specific MSE element where ContextName is a comma separated list of Names and ContextValues their values
-
Post Render Device
Post rendering is used to create images or video files of graphical scenes. The files can be used for playout on Viz Engine. Selecting a video plugin will create one file; however, selecting an image plugin will render an image according to the configured frame rate. For example: Rendering a scene for five seconds will result in 125 images if the frame rate is 25 frames per second (fps).
Rendered data elements can be fullscreen graphics or graphics with Alpha values such as lower thirds and over the shoulder graphics.
Note: Only scene-based data elements can be post rendered.
This section contains the following topics:
Post rendering window
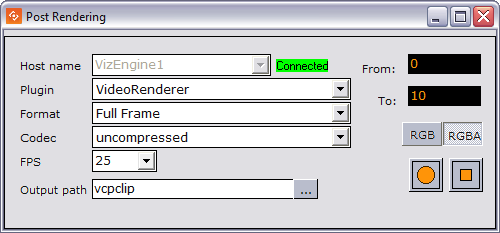
The post render devices are set up automatically and do not require any configuration. Any changes to the device settings will be maintained between recordings.
-
Host name: Displays the render engine that is configured in the profile configuration. To change the render engine, open the Profile Configuration.
-
Plugin: Sets the renderer device. Options are defined by the installed codecs on the render engine.
-
Format: Sets the format of the clip. Available options are Full Frame, Fields Top, Fields Bottom, Full Frame/Interlaced Top and Full Frame/Interlaced Bottom.
-
Codec: Sets the codec to be used.
-
FPS: Sets the frames per second. Available options are 25, 30, 50, 60, 29.97 and 59.94.
-
Output path: Sets the filename. A full or relative path can be added. If no path is given, the file is stored in the Program Files folder, or, for Windows 7 and later, the VirtualStore folder on the rendering machine (%LOCALAPPDATA%\VirtualStore\Program Files\Vizrt).
-
From: Sets the start time in seconds.
-
To: Sets the end time in seconds.
-
RGB: Sets the pixel format to RGB.
-
RGBA: Sets the pixel format to RGBA which includes the alpha channel (blending/transparency).
-
Record button (circle): Starts the rendering process of the selected data element. Clicking the Record button will run the recording process according to the duration interval set using the From and To parameters. Controlling the data element is possible during the recording.
-
Stop button (square): Stops the rendering process before the configured stop time.
Post render a scene
-
Open a data element.
-
Open the Post Rendering window.
-
Set the output parameters.
-
Click the Record button.
Set up a render device
-
Rendering is automatically configured - no setup is required.
Note: For more information on how to use the Device Manager in Viz Artist, see the Viz Artist 3.x User Guide.
Timecode Monitor
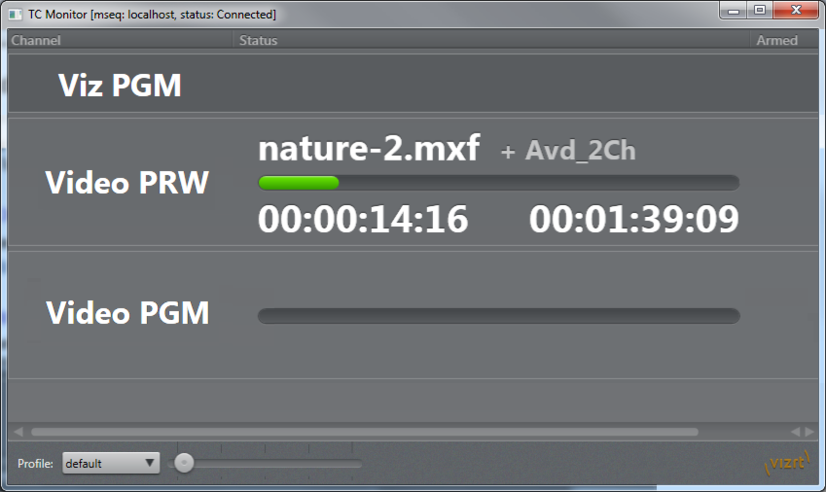
Selecting Timecode Monitor on the Tools menu opens the TC Monitor window. Since it monitors the timecode and the video server channels, the Timecode Monitor will only work if the system is configured to be integrated with a video server or Viz Engine. Director uses the Multiport Video Control Protocol (MVCP) to communicate with a translator (Xlator) which in turn communicates with the video server.
For more information on supported video server setups, please contact Vizrt (see Customer Feedback and Suggestions).
The Timecode Monitor displays three columns: Channel, Status and Armed.
-
Channel: Name of the Channel. Video channels appear as light grey rows, with progress information in the Status column. Non-video channels are shown as dark grey rows without status.
-
Status: The name of the current item, followed by any cued item, is displayed above the progress bar. Current Location time and Remaining time are shown below the progress bar. The progress bar changes color to indicate status:
-
Green: Video playing
-
Red: Video playing, less than 10 seconds remaining
-
Blue: Video finished
-
-
Armed: Displays the armed state of an element on a channel. This feature is not used in Director.
The rows in the list can be shown or hidden using the context menu on each item:
-
Hide: Hides the selected channel
-
Show All: Shows all channels
At the bottom of the window is the zoom function to adjust the display size, and the Profile selector which displays the current profile name, and allows selection of other profiles.
The Timecode Monitor opens in full screen by default. Press the ESC key to exit full screen mode.
IMPORTANT! In order to monitor video clips that are embedded in graphics, the Viz channel must also be defined as a video device channel.