Viz Artist User Guide
Version 5.2 | Published March 20, 2024 ©
Control Channels
Parameters in a Scene can be exposed for use with external controls, meaning these exposed parameters can be modified by an external control application, such as Viz Libero, Viz Trio or Viz Pilot. To expose parameters, the parameters can be dragged to the Control Channel panel and configured.
Although parameters can be set through a Command Interface, the Control Channels offer three advantages:
-
Only parameters which should or can be modified, are exposed in certain external control applications (which use control channels).
-
Instead of a long command string (as used in a Command Interface), a control channel name points to the parameter location, where @ in the command location is the indicator for a control channel name.
-
Multiple Control Channels can have the same name, allowing them all to be updated in a single operation.
Most parameters can be added to the Control Channels. Properties that can be added to the Controls Channels are:
-
Properties Panel: Container, Camera, Light and Scene Settings tabs.
-
Server Tree: Containers, Geometries, Materials.
-
Asset View: Geometries, Materials.
-
Stage: Editors and parts of Editors (Director parameters, Channel Editor, Key Frame Editor, Stops and Tags, Action Key Frames).
Navigating scenes with extensive use of Control Channels is made easy, as Viz Artist automatically selects all Control Channels belonging to a container when the container is selected. Correspondingly, selecting a single Control Channel also selects the container it belongs to.
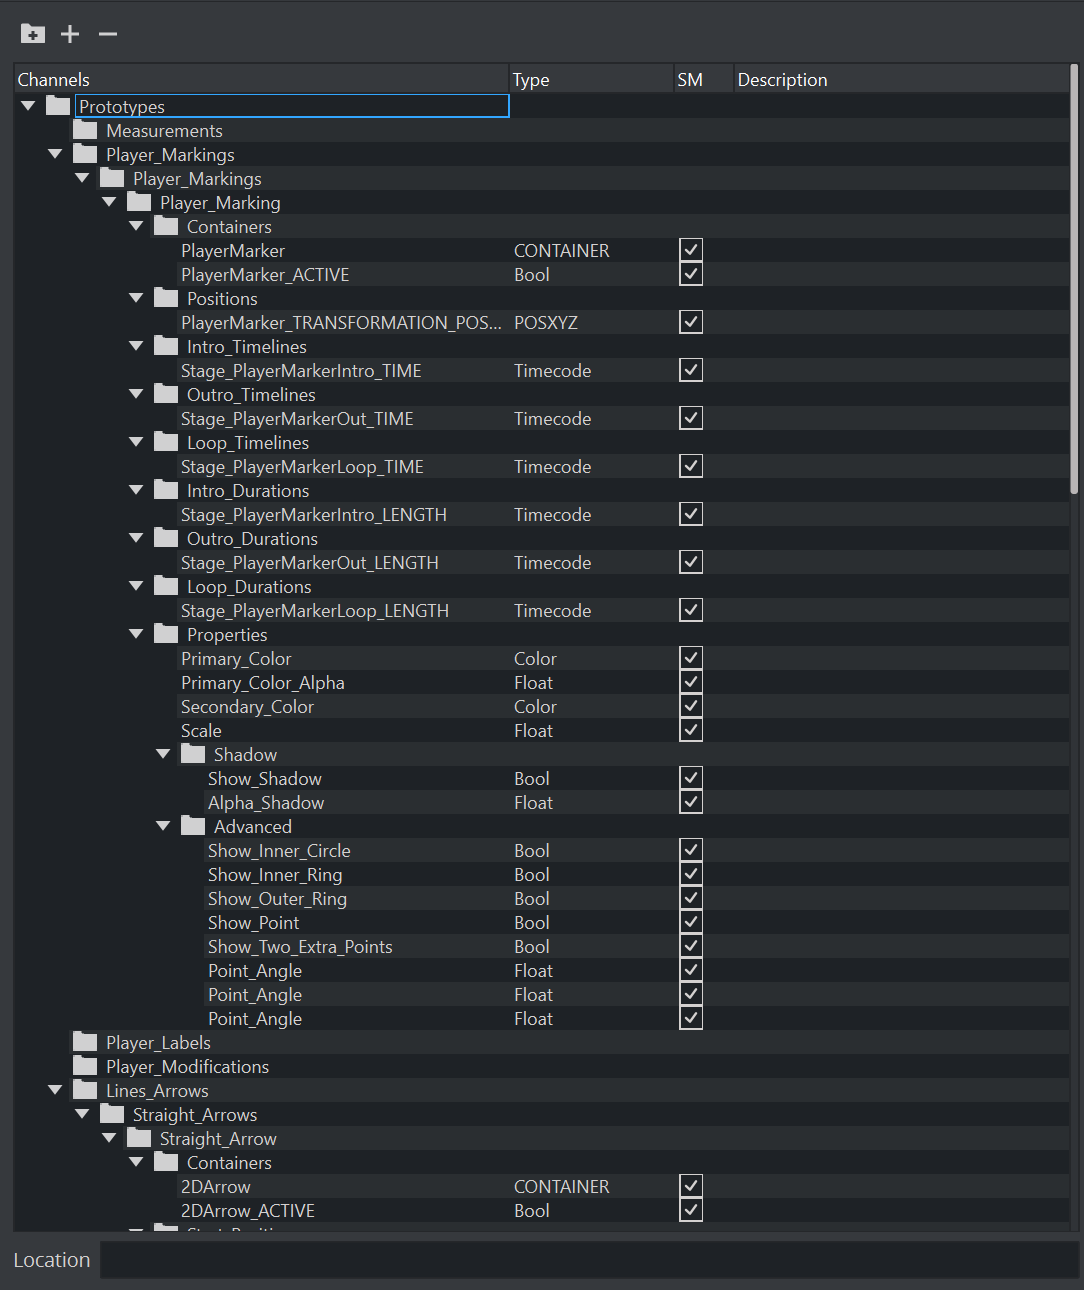
Control Channels can also be grouped. This provides a convenient way to group a series of parameters which can be controlled from an external source.
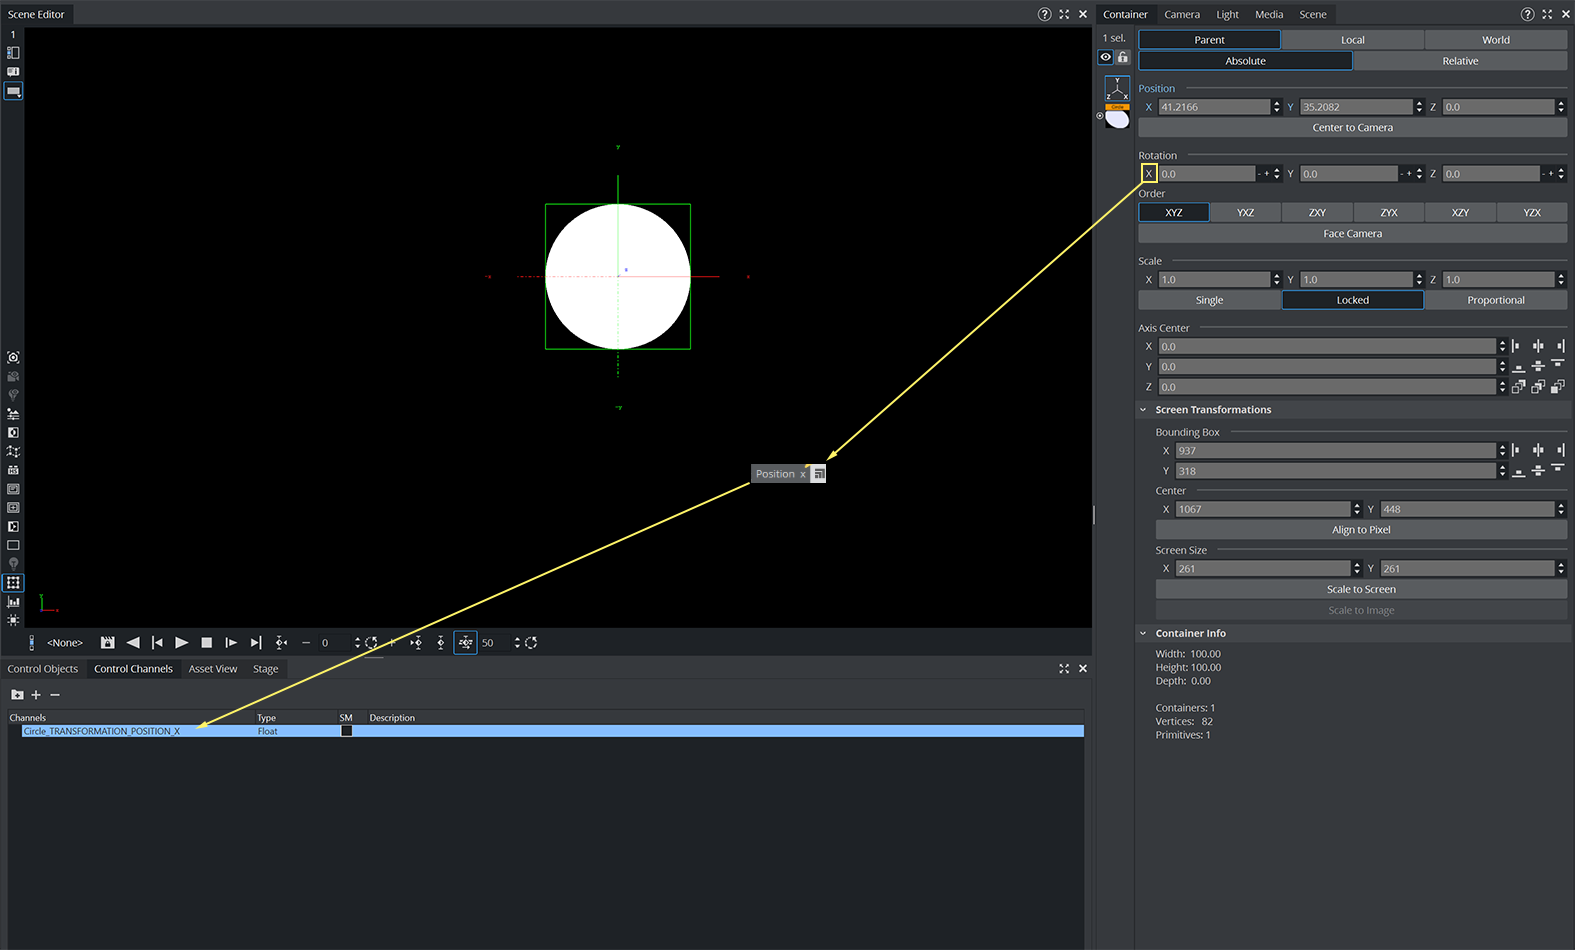
Example: Click on the Container tab > Transformation Editor. Drag the parameter Position X of an Object to the Control Channels panel. This exposes Position X of that object.
Example: In the Properties panel, click on the Camera tab and drag a camera’s Position Y parameter to the Control Channels panel. This exposes Position Y of that camera.
Example: In the Stage, click on the header of a Key Frame editor (in-line with the ![]() ) and drag it to the Control Channels panel. This gives access to all parameters contained in the Key Frame editor. To add control channels from the Stage, Control Channels need to be floated.
) and drag it to the Control Channels panel. This gives access to all parameters contained in the Key Frame editor. To add control channels from the Stage, Control Channels need to be floated.
This section contains the following procedures:
Control Channels Properties
-
 : Click to add a new group
 -
 : Opens or collapses the Control Channels tree
 -
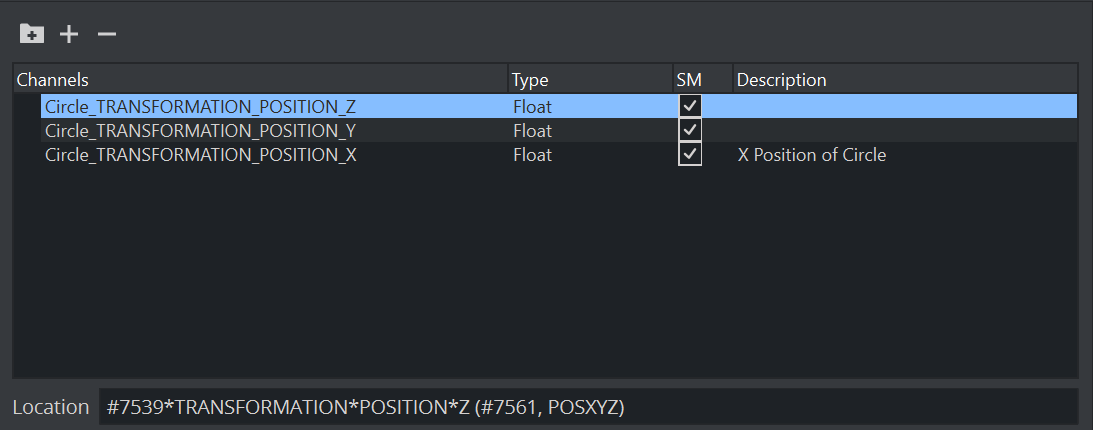
Channels, Type, SM, Description: Exposed parameter details.
If required, click in the SM box to synchronize the Channel values with the corresponding key-value pair in the Scene Shared Memory Map. -
Description: Adds a description for the exposed parameter.
-
Location: Shows command location of the command.
Info: A selection of multiple entries from within the Control Channel window is currently not possible as it is synched with the selection of the Scene tree. Vice versa, if you select multiple containers in the scene tree, the corresponding Control Channels are selected.
Control Channels Procedures
To Create a Control Channel for x Position
-
Open Control Channel window.
-
Drag the X position from Transformation Editor to the ControlChannel Window:
-
Enter a unique name for this channel (for example, Circle_TRANSFORMATION_POSITION_X).
-
The Control Channel creates a new Channel of type float.
-
In addition, you can double click in the Description area to give your channel a meaningful name.
Instead of providing the full tree in a command, you can now access this channel with:
MAIN_SCENE*TREE*@Circle_TRANSFORMATION_POSITION_X SET -20.0To Remove Exposed Parameters
Drag an exposed parameter, or multi selected exposed parameters, to the Trash Can.
See Also