
Viz Artist User Guide
Version 5.2 | Published March 20, 2024 ©
Working with Images
Images are essential for any designer. They can be used either as textures on 3D objects, part of a PBR material, as regular image, environment maps and a lot more. Images from Graphic Hub already have mipmap levels included and can be directly uploaded to the GPU. Using external images from the file system, via HTTP(S) or other locations should be avoided.
This section contains information on the following procedures:
Terminology
-
An image is the file stored on Graphic Hub. They can be imported, exported and modified using the Image Editor.
-
A texture is an image uploaded into the GPU memory. It can be mapped as a texture, used by a PBR Material and is being modified using the Texture Editor.
To Add an Image to the Graphic Hub Database
-
Import Images: Images can be imported from a hard disk or a network share to the GH database (see Import of Files and Archives).
-
Create a Snapshot: Images can be created by taking a Snapshot of the Scene Editor.
-
Image Editor: In the Server Tree, open an Image in the Image Editor (double-click the Image), modify (if required) and select Save as...
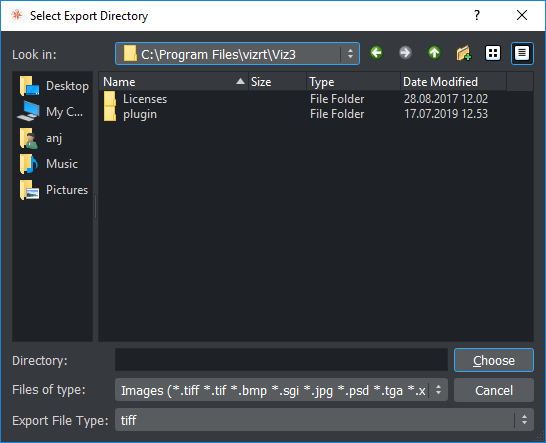
To Export Images
You can export one or multiple images. Exporting RGB images with alpha creates RGBA image files.
-
Select the image(s) to be exported.
-
Open the Select Export Directory panel and select the folder where the image should be exported to.
-
Select Export... from the Asset View, or (when only one image is selected).
-
Right-click the image to be exported. In the menu that opens, select Export...
-
-
Select an image format for export.
Note: The exported image retains its original name.
Editing Images
Double-click the image in the Asset View to open the image in the internal or external Image editor. If the image is referenced in a Scene, a dialog box shows to confirm the action.
Note: Items that are opened in an editor, are locked in the database.
If this is done the first time, a Dialog pops up to ask if images should generally be opened in the external or internal Image Editor. This is saved as the default double click action for images.
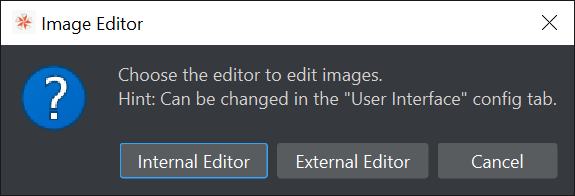
This can be changed in the User Interface config page.

-
Image Editor
-
Internal Editor: Opens the image in the integrated image editor when double clicked.
-
External Editor: Opens the image in the external image editor (either the selected program in the External Image Editor setting or not set, the default Windows image viewer) when double clicked.
-
Ask Every Time: Opens a dialog asking for the editor to use when an image is double clicked.
-
-
External Image Editor: Determines the filepath to the external image editor.
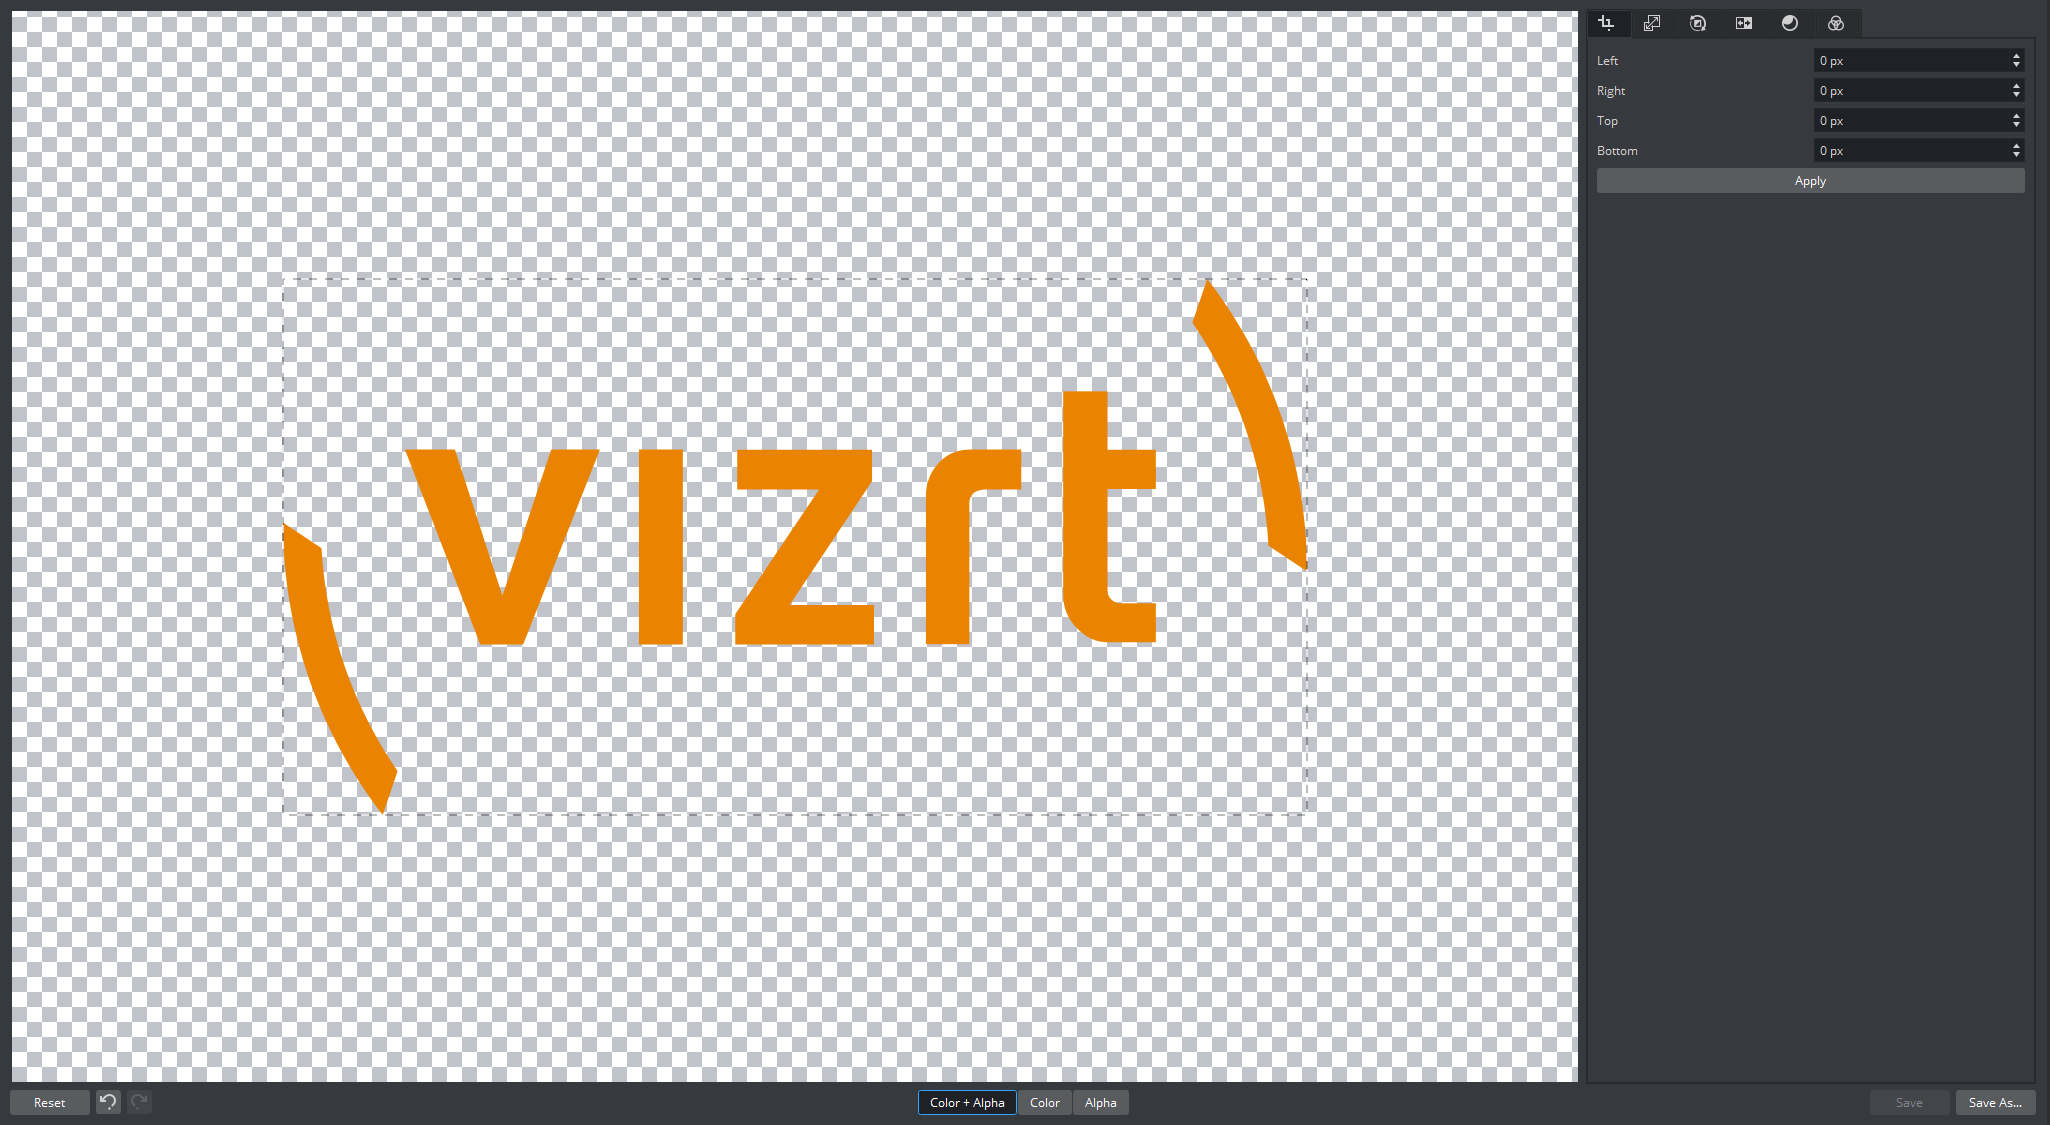
Internal Image Editor
The Image Editor makes it possible to modify image items in the Graphic Hub database. The modifications that can be done in the image editor are similar to the ones in other image editing software.
The Image Editor consists of:
-
Main Image Area
-
Effects
-
Effect Modifications
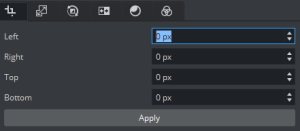
Crop and Expand
-
Crop and Expand: Crops the image according to the values in the input boxes. The values can be entered manually.
-
Left: Crops the image the specified number of pixels from the left side of the image border.
-
Right: Crops the image the specified number of pixels from the right side of the image border.
-
Top: Crops the image the specified number of pixels from the top of the image border.
-
Bottom: Crops the image the specified number of pixels from the bottom of the image border.
-
Tip: Use negative values to expand the image beyond the original size.
This can also be done be dragging the dotted lines.
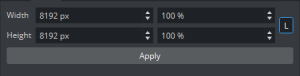
Scale/Stretch
The image can be scaled or stretched depending on the state of the Lock button.
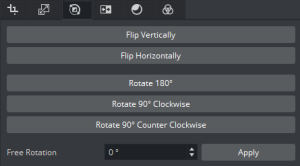
Flip and Rotate
-
Flip
-
Flip Vertically: Flips the image upside down. To flip it back to its original settings, click the button again.
-
Flip Horizontally: Flips the image horizontally as if seen in reverse/through a mirror. To flip it back to its original settings, click the button again.
-
-
Rotate
-
Rotate 180 °: Rotates the image by 180 degrees.
-
Rotate 90 ° Clockwise: Rotates the image by 90 degrees in clockwise direction.
-
Rotate 90 ° Counter Clockwise: Rotates the image by 90 degrees in counter clockwise direction.
-
Free Rotation : Rotates the image by the entered number of degrees.
-
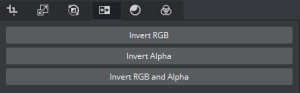
Color Inversion
Inverts the colors of an image. When inverting an image, the brightness value of each pixel in the channels is converted to the inverse value on the 256-step color values scale.
-
Invert RGB: Inverts the RGB values.
-
Invert Alpha: Inverts the Alpha values.
-
Invert RGB and Alpha: Inverts the RGB and Alpha values.
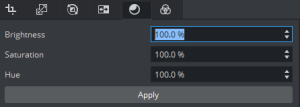
Brightness, Hue, and Saturation
Adjusts the brightness, saturation, and hue settings for the image.
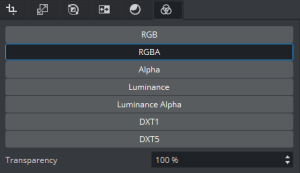
Format
-
Convert Format: Changes the format of the image to one of the following:
-
RGB
-
RGBA
-
Alpha
-
Luminance
-
Luminance Alpha
-
Note: All images are treated as RGB or alpha format. An imported image that has alpha can be viewed as either RGB or alpha. Modifications to an image are automatically applied to the RGB or alpha information.
Transparency allows to change the level of transparency if the image has an alpha channel (for example, RGBA).
To Apply an Effect to an Image
-
Select an effect from the Image Effects list.
-
Make modifications to the effect as required in the Effect Modification area.
-
Add other effects as required.
-
If the image needs to be reset to the version on the Graphics Hub click the reset button on the bottom left.
-
Click Save or Save as...
Image Preview Modes
The button group in the center bottom of the editor allows to select how the image is displayed in the main preview window.

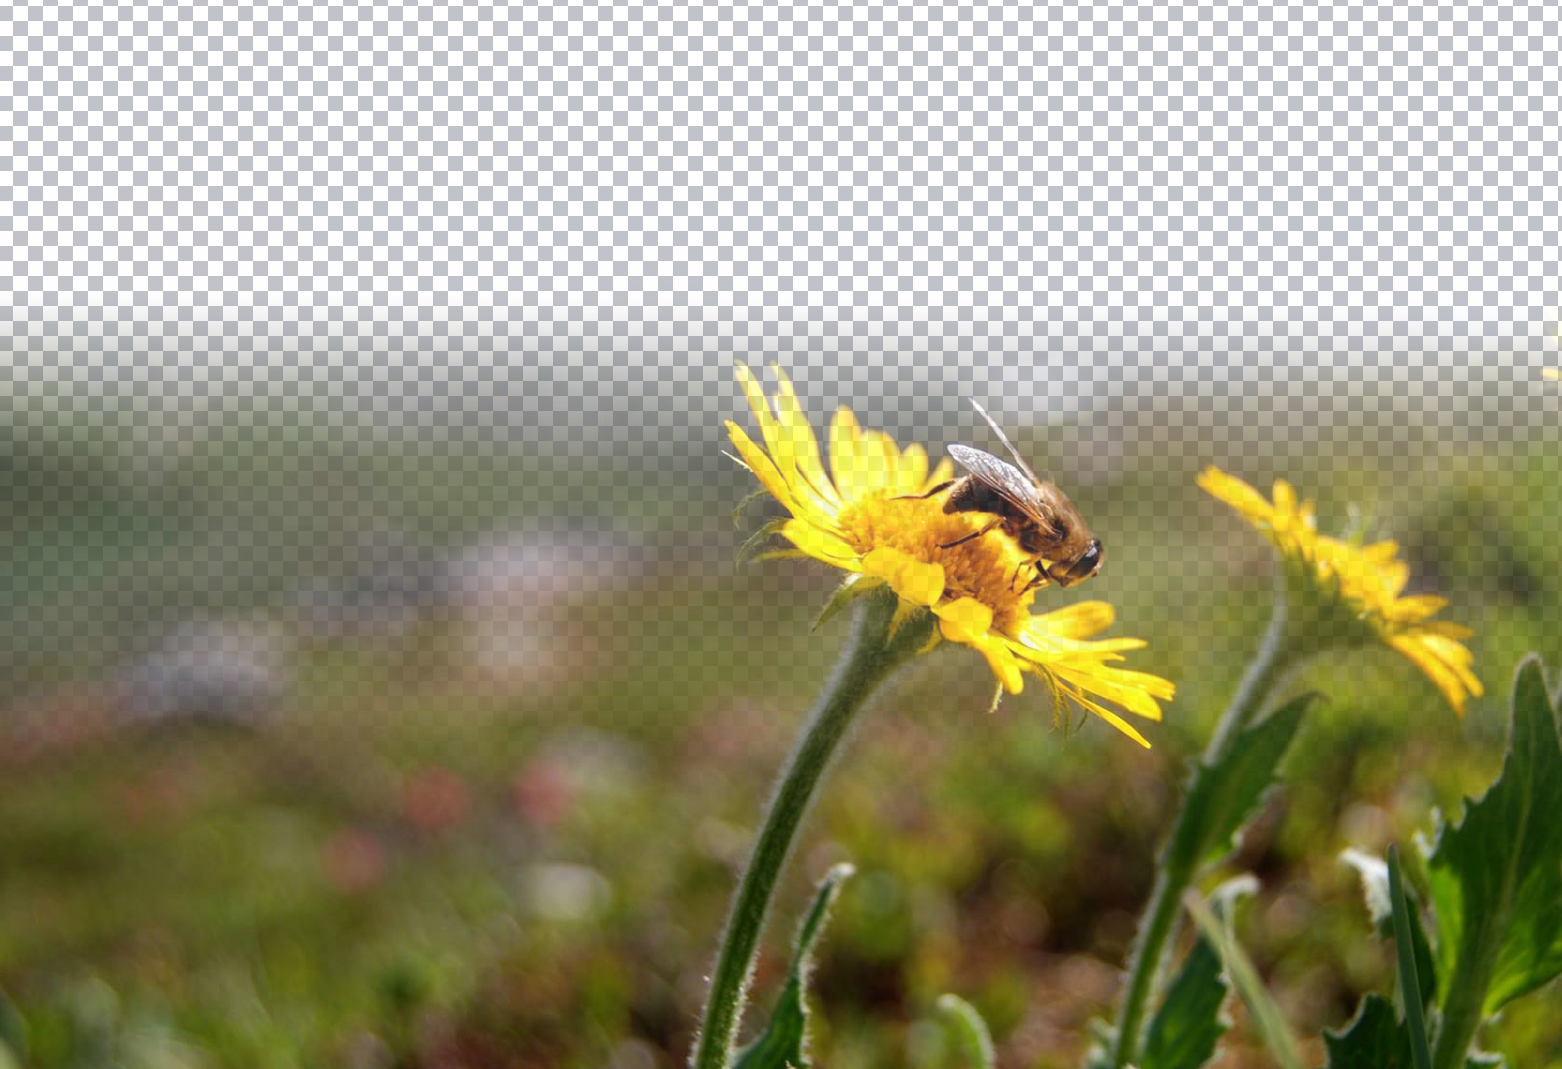
Color + Alpha: Shows the image composition with its alpha map.
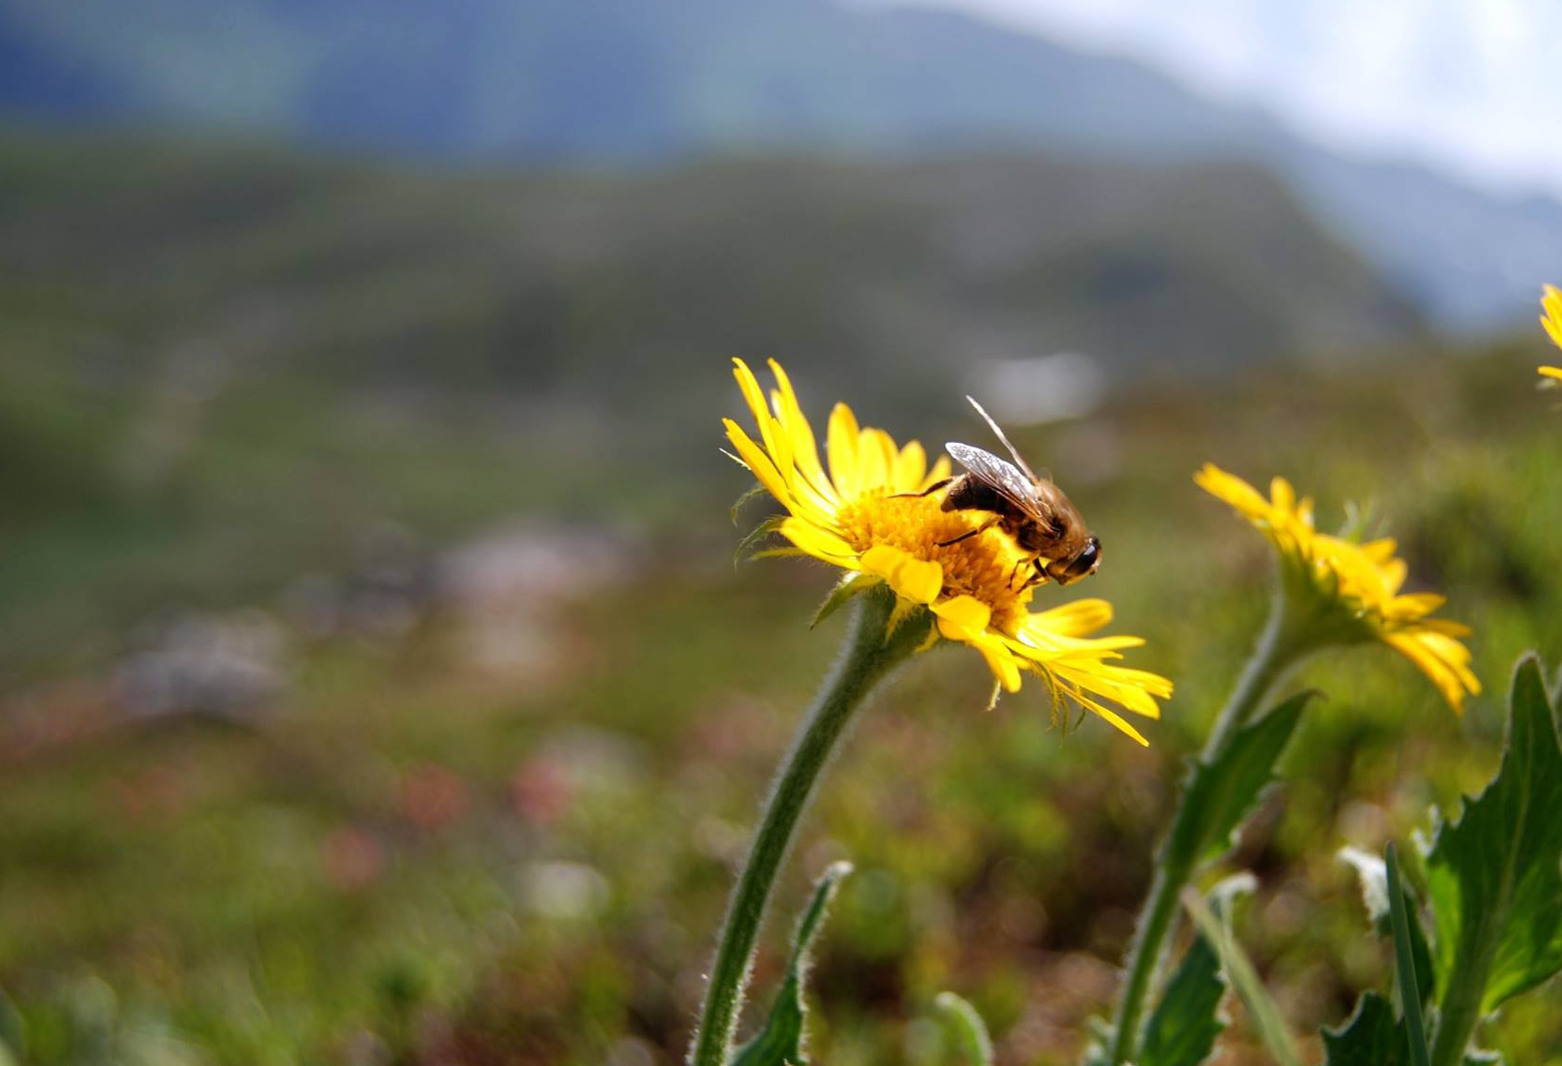
Color: Shows only the RGB channels of the image.
Alpha: Shows the alpha map of the image. Black represents full transparency, white indicates fully opaque.

Note: The Color + Alpha and Alpha modes are only available if the loaded image has an alpha channel assigned to it.
External Image Editor
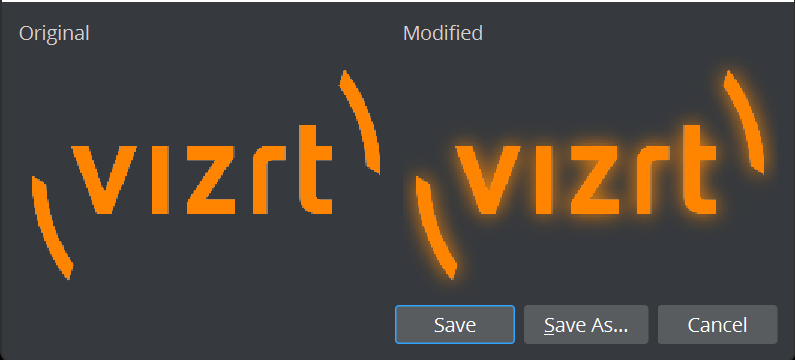
The image is exported from the Graphics Hub to a temporary folder and opened in the specified program (see Editing Images). All saved changes made in the external editor are reflected in a preview window with the original image on the left side and the edited image on the right side.
When the image editing is done, use the Save or Save as... button to reimport the image or press the Cancel button to cancel the operation.
Note: Do not reformat the image with the external editor just save it.