Viz Artist User Guide
Version 5.2 | Published March 20, 2024 ©
Use Cases for Unreal Integration
The following lists typical use cases and describes the correct setup of them. All of these use cases refer to the Viz Engine Render Pipeline.
Note: Be sure that Postprocessing Preview is turned on when using the Design mode in Viz Artist.
Unreal Engine as Backdrop in Virtual Studio
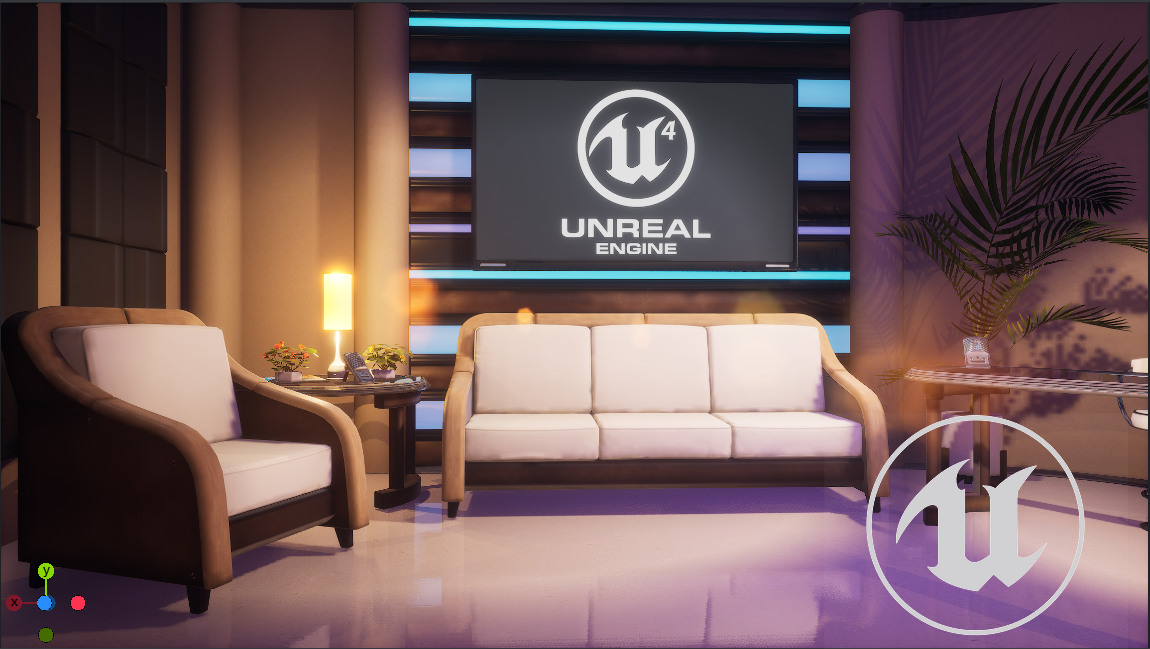
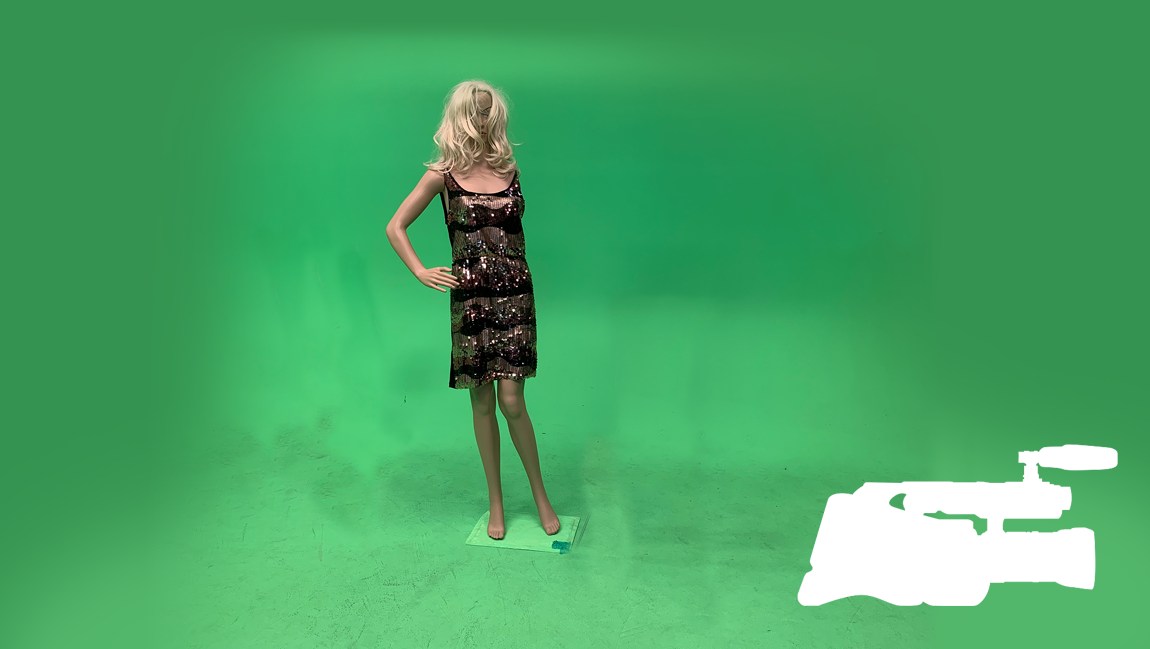
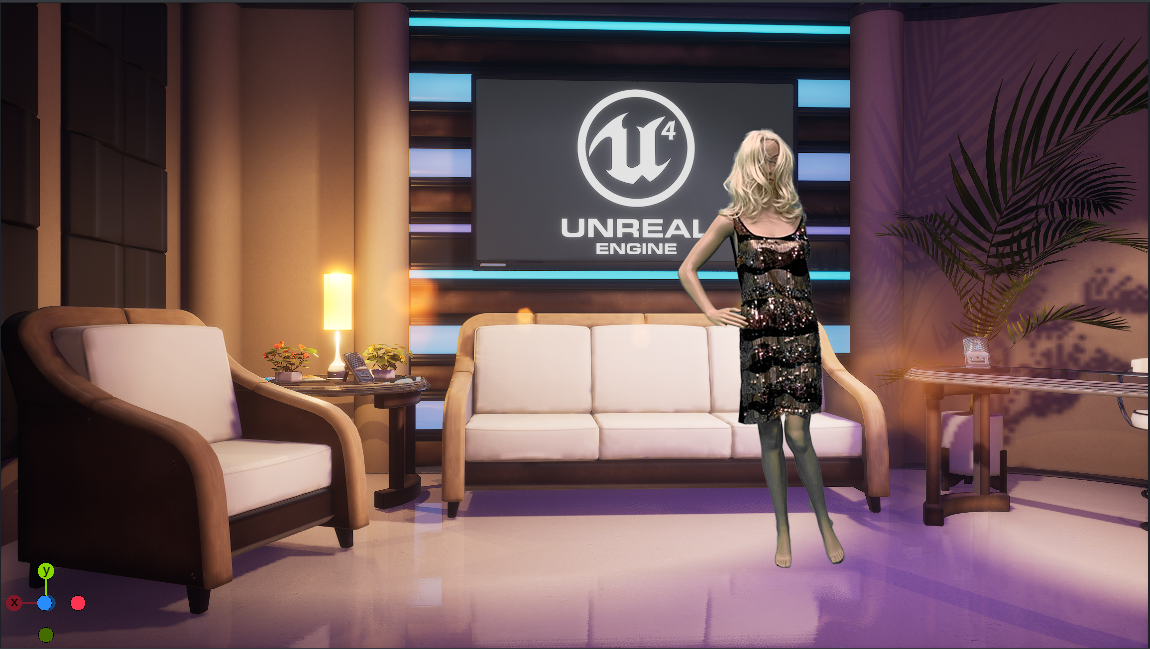
Unreal Engine is used to render the backdrop within a Virtual Set. Viz Engine is used to compose the backdrop and the keyed camera signal. The camera is tracked by Tracking Hub and the internal Precision Keyer is used.
|
Render Sequence |
Virtual Studio |
|
Background Asset |
Backdrop rendered in Unreal |
|
Foreground Asset |
Live tracked Camera Signal |
|
Scene Graphics |
Not necessarily required. Scene must have a matte scene definitions. Can support Talent reflection. |
|
Notes |
Camera must be set to Remote. |
|
Result |
The final result (no Viz Graphics). |
To add an additional layer as a front scene, such as a lower third, you need to assign a GFX channel as Classic Scene and as a full frame DVE effect in front of the foreground asset:
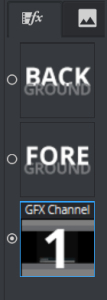
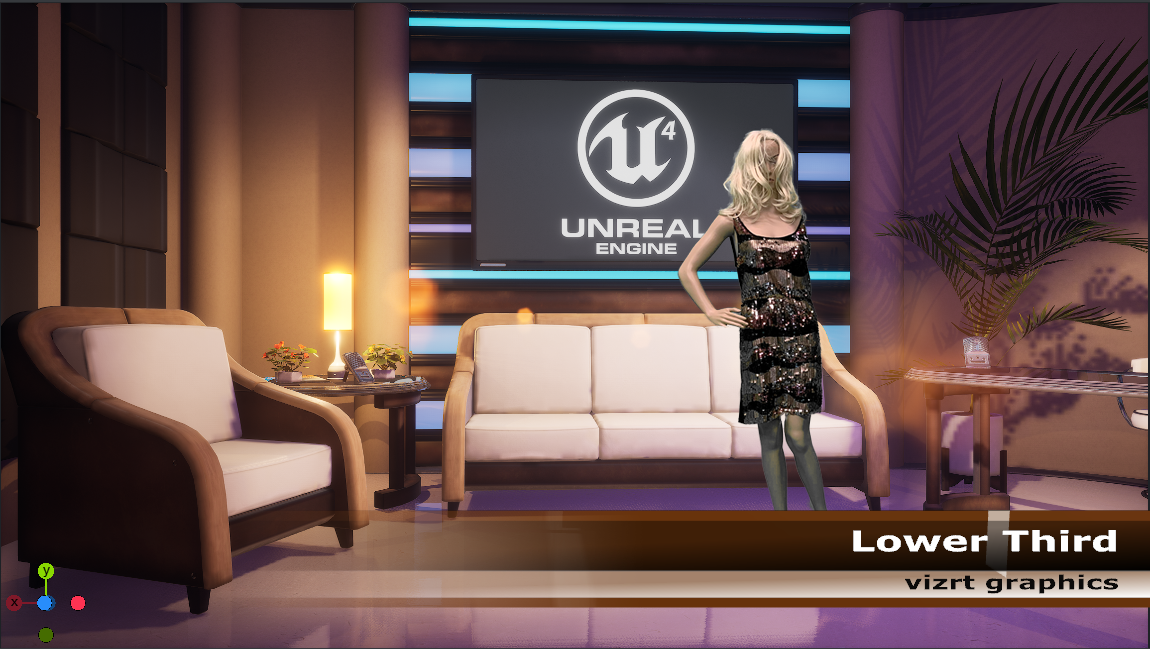
It is important that this DVE GFX channel is in front of the FOREGROUND layer.
The GFX Scene needs to have a correct key applied. When used in combination with a Matte scene (e.g. for external Keying) you might not want the foreground key to be blended with the matte key signal, it should be added to the existing key signal.
|
Key Signal blended with additional GFX Frontlayer (INCORRECT) |
|
|
Key Signal added with additional GFX Frontlayer (CORRECT) |
|
To change the way how the of DVE layers are blended, you need to manually change the blending mode to ADD. This is currently implemented as command only and will be accessible via GUI in a later version. Type the following on your console window:
send MAIN_SCENE*GLOBALS*DVE*KEY_COMBINE_MODE SET ADDThis renders the key correctly.
Note: These settings are only available if a Scene has been defined as DVE layer.
Unreal Engine as AR Object
-
Viz Engine is used to compose an AR object rendered by Unreal Engine into a live signal. The Camera is tracked by Viz Tracking Hub. Ensure that Unreal creates valid key information by enabling Enable alpha channel support in your Unreal Project Settings > Rendering. It should be set to Allow through tonemapper.
-
Verify the key input on Viz Engine.
Render Sequence
External AR
Background Asset
Live tracked Camera Signal
Foreground Asset
AR graphics rendered in Unreal
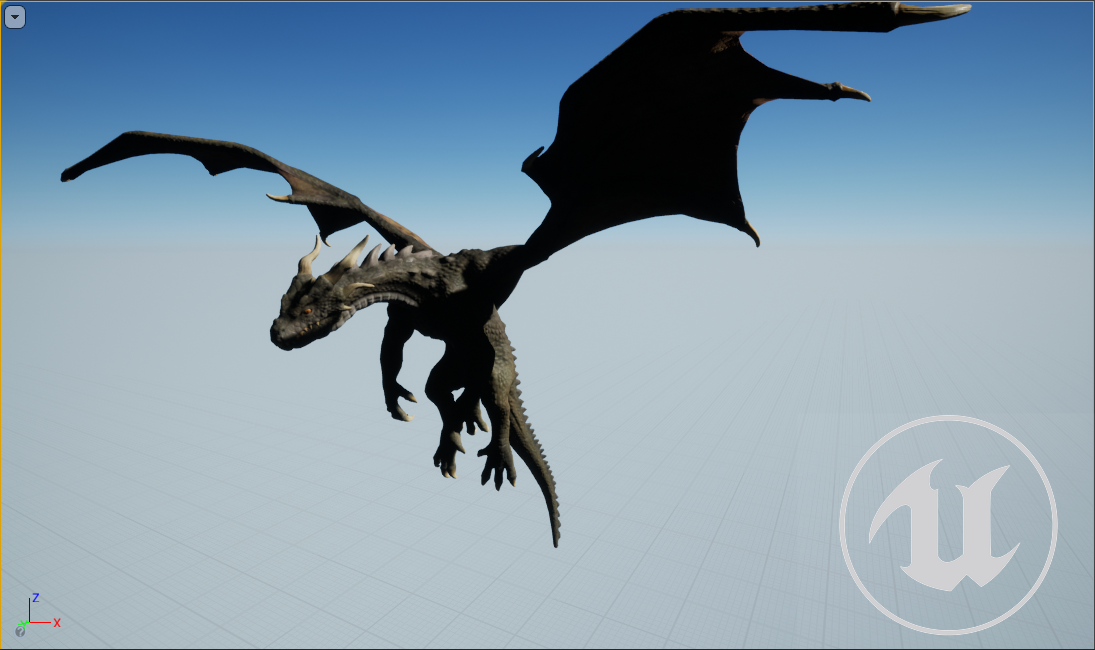
Sample Key Signal from Unreal in Viz Engine
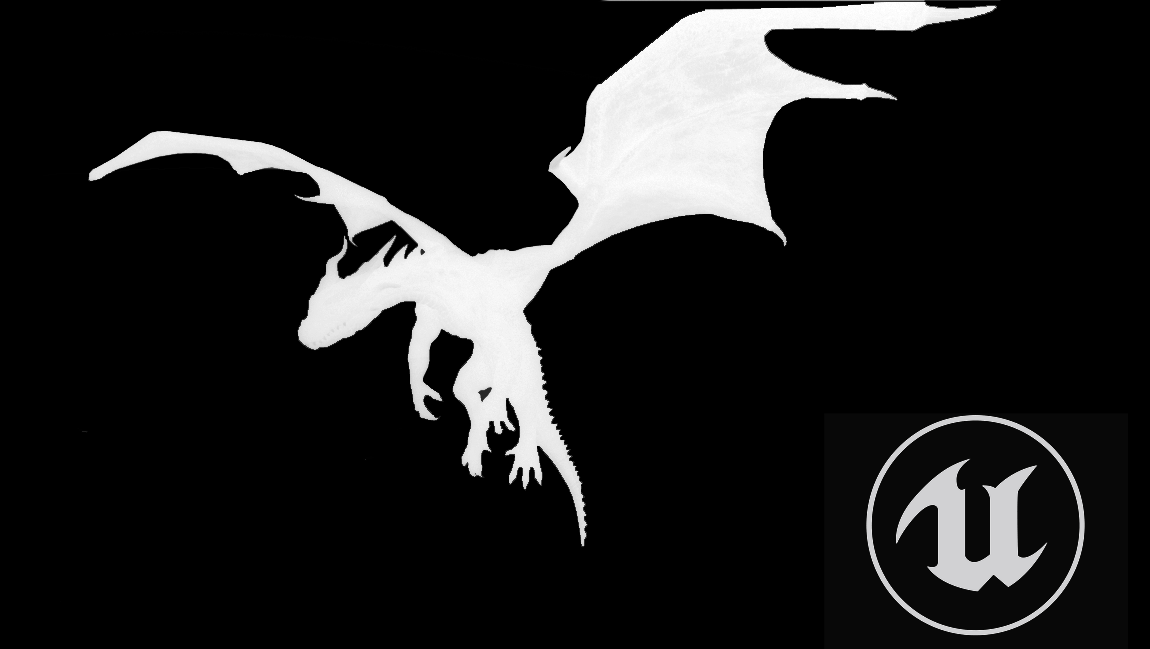
Scene Graphics
Not necessarily required.
Notes
Camera must be set to Remote.
Lens deformation and Render scale need to be set.
Effects like Glowing, Bloom, Reflections on the Unreal Object require additional alpha information and are NOT supported.Casting shadows also requires an "invisible" Floor matching your real floor in Unreal and a material that casts shadows only and renders alpha information.
Result
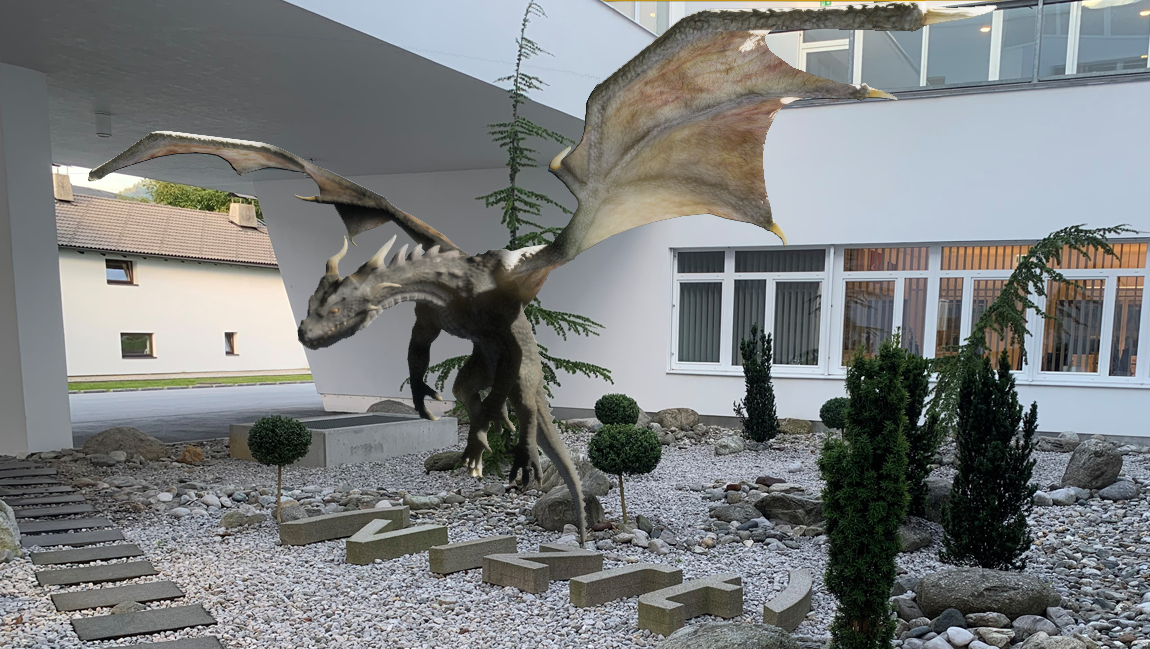
Virtual Camera Flights
To use a Real camera and transition to a position in your Virtual Set and start an animation, the camera delay can be adjusted.
The number of fields the camera data gets delayed can be configured in the configurations settings in section Unreal Engine:

Information: The camera delay is automatically enabled/used when the aux_rendering option is selected.
Talent Reflection
Information: This feature requires Viz Engine 4.3.1 or higher.
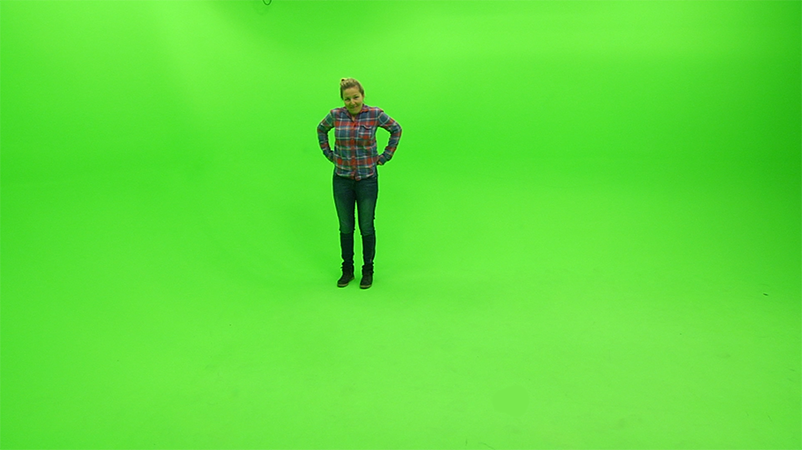
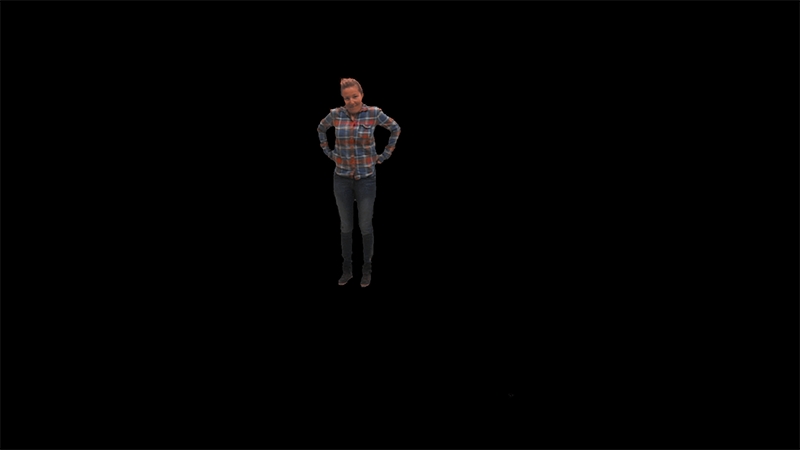
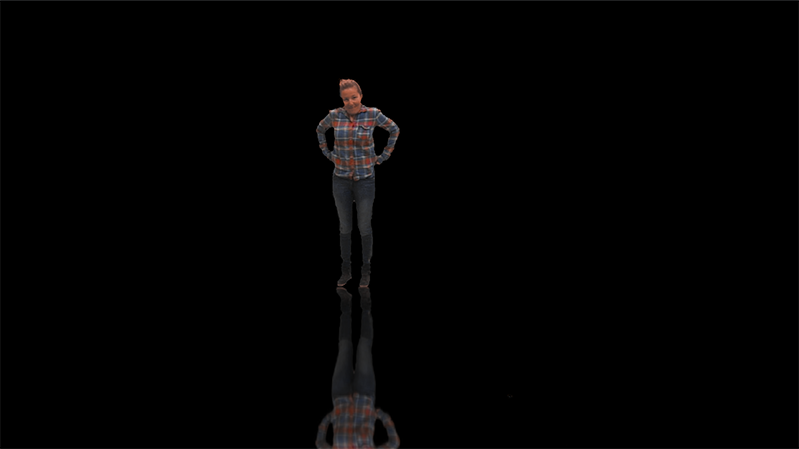
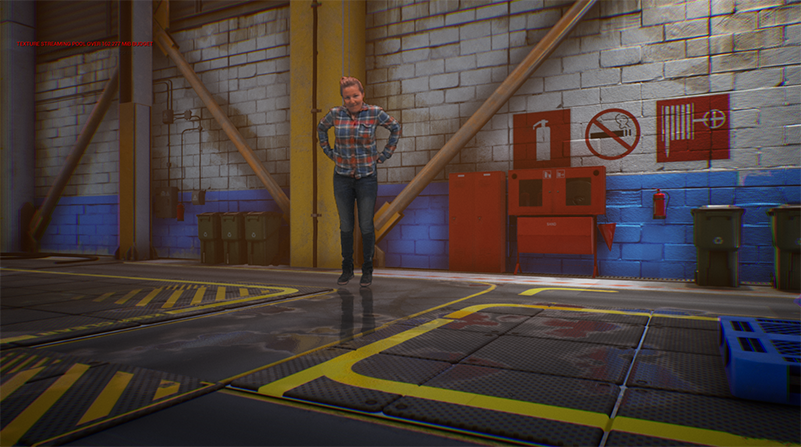
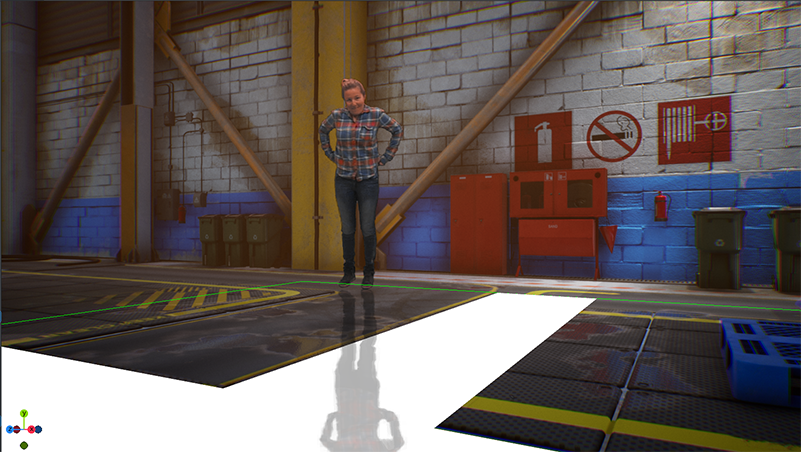
Talent reflection can be set up to allow an more realistic looking Virtual Studio and tighter integration between Viz Engine components and the Unreal Engine backdrop rendering. Make sure your integration is working as described in the previous sections. The reflection itself is an effect that is rendered on Viz Engine and composed on top of the Unreal rendering.
|
Asset |
Description |
|
|
Unreal Engine backdrop rendered and sent to Viz Engine via SHM channel. |
|
|
|
|
|
Final rendered result with masking applied. |
Note: The images are not taken from a production set, it has been built for demonstration purposes only.
Follow the following steps to setup a Talent reflection with an Unreal Backdrop:
-
Add your Unreal SHM Output as Background.
-
Rendersequence needs to be External VS.
-
Put your Live Input as Foreground.
-
On the LiveInput Media Asset Properites, make sure the Chroma Keyer is set to Precision:
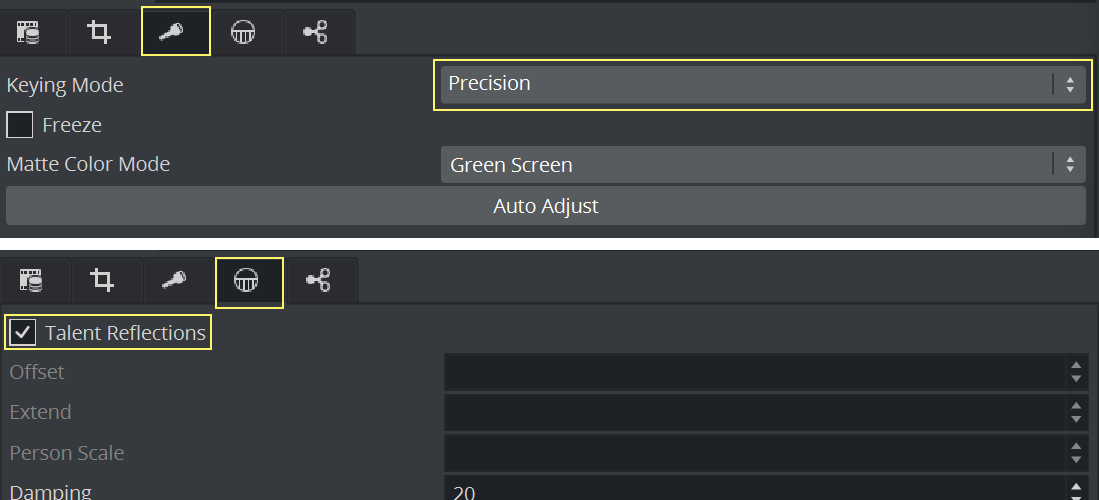
-
Setup the following container:
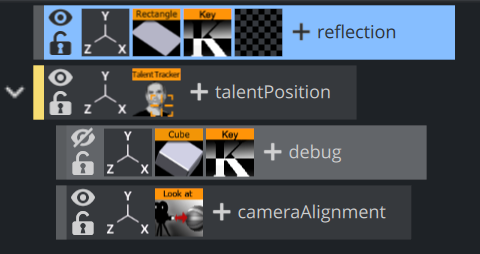
-
reflection: The container that finally renders the Talent Reflection. It needs to have a Planar Viz Engine Reflection plug-in assigned.
-
talentPosition: The container that reads the detected position of the talent from Precision Keyer. The two sub containers:
-
debug: For debugging purposes. If the sphere appears on the shoe of the talent, the talent position tracking works correctly.
-
cameraAlignment: The position that is used by the Reflection plug-in. It has a Look At plug-in assigned to have a billboarded orientation to the camera. It should be set to Billboard - XY Screen.
-
-
-
It is important that the reflection container holds a Key plug-in. Otherwise it is not visible.
-
The rectangle on the reflection container should match the floor position in Unreal.
-
The settings for the Planar Viz Engine Reflection plug-in are the following:
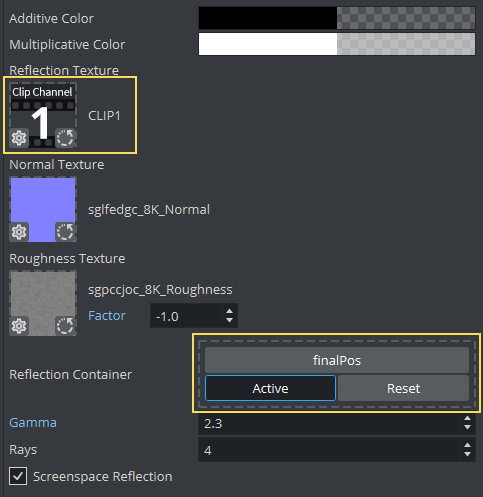
-
The important settings are the Reflection Texture, this is the one the Precision Keyer is using and the Reflection Container, this is the container that holds the detected person position. Please use the Screenspace Reflection option (the textures for Normal map and Roughness are optional).
-
Once these settings have been applied, the talent should now reflect now on the virtual floor. To finetune your look, you can simulate rough surfaces using a normal and/or roughness map.
Tip: If you have different areas like in our example above, you can use some mask geometry to mask out such surfaces.
|
Asset |
Description |
|
|
Masking areas. |
|
|
Mask applied. This shows the effect only on the "wet part" of the floor. |
Unreal Engine as the Compositor
Starting from version 5.0 of the VizrtMedia plug-in, it's possible for the Unreal Engine to act as a Keyer and compositor, receiving video input from the Viz Engine. Please refer to Precision Keyer + Compositing on Unreal Engine 5.
Acknowledgements
The Broadcast Studio Set shown in this guide is the property of Warren Marshall. The dragon is part of the Quadruped Fantasy Creatures Pack and is the property of PROTOFACTOR INC. Thanks to Steffi Mair.
