
Viz Multiplay User Guide
Version 3.0 | Published October 23, 2020 ©
Importing Graphics
In a Vizrt system, graphics are created in Viz Artist and saved as scenes. The scenes are stored in Viz Graphic Hub. The scenes can contain control fields that the scene designer decides to expose to the user which contain default values. This is the general process for playing out a scene with custom control field data (for example, specifying a name and picture on a nameplate):
-
In a control client (for example Viz Trio, Viz Pilot or Viz Multiplay) the user must browse to a scene in Viz Graphic Hub and import it.
-
The control client stores its own representation of the graphical scene in its backend (in a Viz Pilot Database or in the Media Sequencer). They are stored as templates.
-
In a daily context, a user opens the control client, selects a template, fills in custom data in the control fields and stores a specific instance of the template as an element.
-
The element can then be played out on a Viz Engine as a part of a broadcast. For instance, overlay graphics with the name and title of a person being interviewed.
There are three ways of accessing graphics in Viz Multiplay:
-
Import graphics directly into Viz Multiplay. See Basic Scene Import below.
-
Use Viz Trio to import scenes and create pages usable within Viz Multiplay. See Working with graphics.
-
Use a Viz Pilot system and access the graphics via templates and elements in the Templates tab.
Basic Scene Import
In Viz Multiplay, it is possible to do basic scene import from the Graphic Hub directly into the GFX source tab or the Shortcuts tab or directly into any channel. To import a scene into the GFX source tab:
-
Create a new group.
-
Click the Import graphics button

-
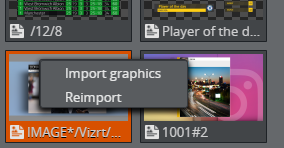
In non-empty groups, right-click anywhere in the group and select Import graphics to start the import process:
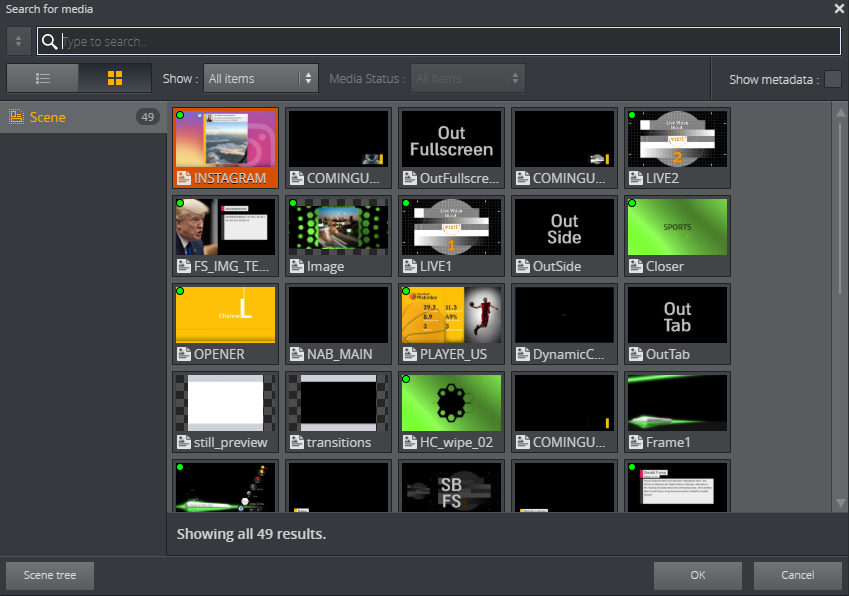
The import window now appears. This window contains all the scenes created in Viz Artist. Search for the scene with free text and click OK.
It is also possible to browse the scene tree in Viz Graphic Hub. Click the Scene tree button to switch to the scene browser:
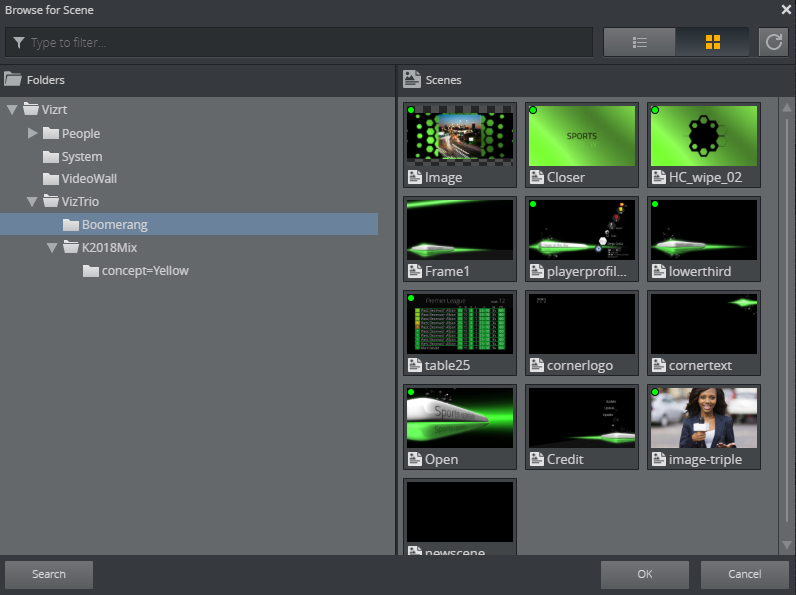
Click Search to switch back to the search window again.
Scenes that are already imported into the currently opened show are marked with a green dot:
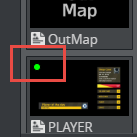
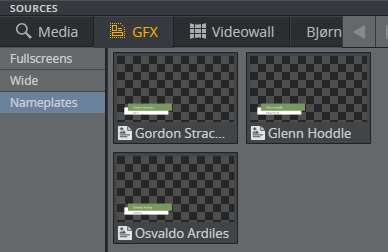
Importing a scene with a green dot will create a new instance of the template in Viz Multiplay. For instance, you may want several instances of this scene available in the GFX source tab with different default data. A good example is importing a nameplate graphic several times, and editing the different templates to contain names that are frequently used:
Reimport Graphics
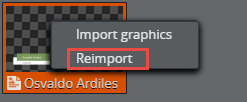
If the scene designer changes the scene, for instance by adding or removing a control field, the scene must be re-imported. This can be done by right-clicking any instance of the scene in the GUI (in a channel, in the Shortcuts panel or in the GFX source tab) and selecting Reimport:
The result is that the scene is re-imported from Graphic Hub, and all elements based on this scene are now changed. The change is visible when editing the element in the Fill in form for graphics. If a control field is added, the elements based on the re-imported scene will contain default data specified by the scene designer in Viz Artist.