Viz Multiplay User Guide
Version 3.0 | Published October 23, 2020 ©
Working with GFX Channels
Multiplay bundles two scenes: DynamicChannels and StillAndVideo. These scenes ensure that video wall presets are played out and that still images and clips are supported inside the channels. The underlying mechanism is GFX Channels in the Viz Engine. Each GFX channel has one layer where it can host a graphic scene from Viz Artist. The StillAndVideo scene is a placeholder for images and clips. The GFX channels have no transitions between content and no A/B workflow. Only one scene at a time can be hosted in a GFX channel.
Note: Superchannels, which contain transitions and an A/B workflow, are supported. Each Superchannel has two sub channels.
Creating Presets
-
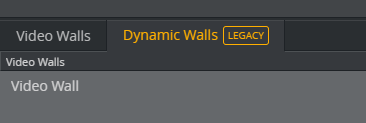
Start by creating a video wall setup in a profile, under Dynamic Walls.

-
Create a show.
-
Activate the profile.
-
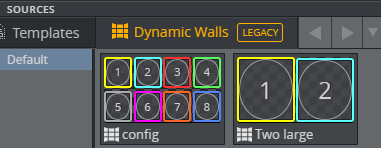
When you create a new show, Viz Multiplay automatically creates a separate playlist for presets that is displayed under the Dynamic Walls tab in the sources pane:

-
If you want to organize your presets in groups, you can create new groups in the Videowall playlist, or keep the existing Default group.

-
Create presets in a group by clicking Add (+):

Note: Presets created in the video wall playlist should be thought of as templates. These presets cannot be played out directly, unless you are in the Video Wall Designer. The purpose of this step is to prepare a set of basic presets that can be used later when the content of the show is created. Presets are created with a 4 x 2 layout by default.
-
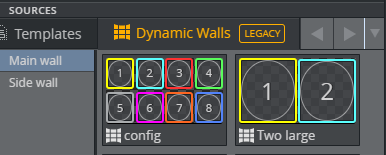
Right-click a group to connect it to a video wall in the active profile.
-
Select the Video Wall this group should represent.
Edit Presets
-
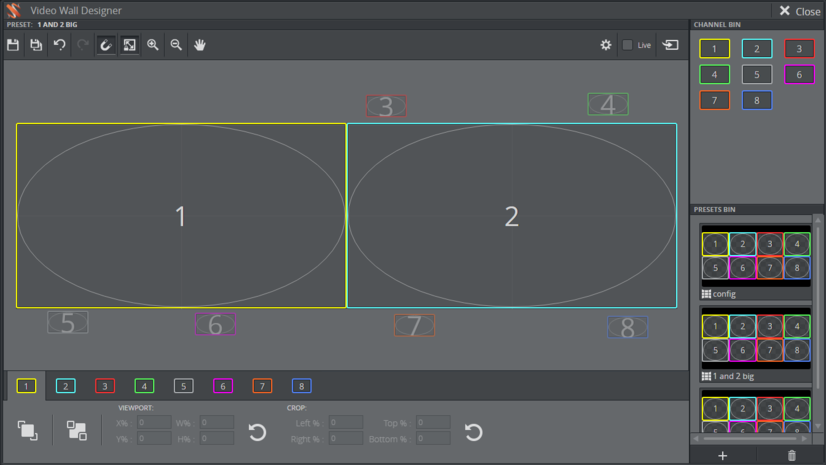
Right click Presets in the Dynamic Walls tab and enter the Video Wall Designer.
-
You can reorganize the layout of the GFX channels in the designer.
-
Save the presets when you are finished.

Tip: Play out the content in the renderer in all the GFX channels before adjusting the GFX channels in the Video Wall Designer. This allows you to click Take or check the Live box from within the Video Wall Designer. The positions and dimensions of the content adjust automatically when you are working in the Video Wall Designer.
Tip: If you want GFX channels to not be visible in a preset - do not disable them. In terms of performance, it is better to drag the presets outside the video wall area and/or resize them to a smaller size.
Fine-tuning GFX Channels
After working with presets in the Video Wall Designer, you will have some preset templates with different layouts.
To fine-tune the size or positions of the GFX channels, do the following:
-
Enter the Video Wall Designer and click Take.
-
Return to the main GUI in Viz Multiplay.
-
Play some content out in each GFX channel and enter the Video Wall Designer again.
-
Now check the Live box and fine-tune the GFX channels.
-
The output on the physical screens will update live as you adjust the GFX channels in the Video Wall Designer.
Presets Tab
When a set of presets is created in the DynamicWalls source area, drag the presets you want to use in the show into the Presets tab in the Shortcuts area. Create more tabs in this area and organize your presets here.

See Also