Viz Channel Branding User Guide
Version 5.2 | Published June 05, 2024 ©
Timeline Editor

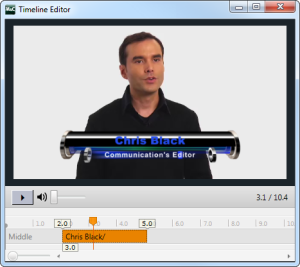
The Timeline Editor allows you to edit secondary events such as video clips and video clips with embedded graphics.
Add Graphics to the Video Timeline

-
Open the playlist.
-
Add a video clip to a primary event.
-
Drag and drop single or multiple pages onto the video clip.
When adding graphics on top of video clips you should always make sure you have set Duration beforehand.
If not, graphics will not appear in the timeline as the default duration is 00:00:00:00. -
Double-click the video clip.
-
Edit the duration of the graphic(s).
The Duration in the playlist changes simultaneously. -
Close the window.
Remove Graphics from the Video Timeline
-
Open the playlist.
-
Expand the video element in the playlist, exposing the time graphics elements.
-
Select the graphics element and press DELETE, or
-
Right-click the element and select Remove.
See Also