Viz Vectar Plus User Guide
Version 1.2 | Published April 12, 2022 ©
NDI KVM
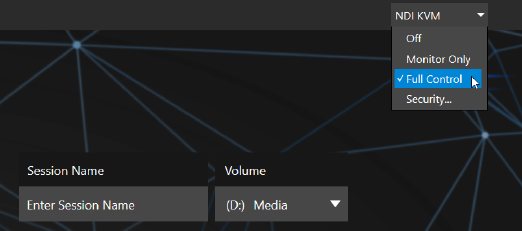
To enable this feature, go to the Launch screen’s Home page, and use the titlebar NDI KVM menu to select which operating mode you wish to apply, choosing between Monitor Only or Full Control (which passes mouse and keyboard operations to the remote system).
Use the Security option in this menu to apply NDI Group control to limit who on your network can view the NDI KVM output from the host system. To view the output from the remote system and control it, select the machine’s NDI output in the Studio Monitor application supplied with the free NDI Tool pack, and enable the KVM button overlaid at upper-left when you move the mouse pointer over the screen.
Hint: Note that Studio Monitor’s KVM toggle button can be relocated to a more convenient spot by dragging.
You can select to view or control the User Interface or another Multiview, or both with multiple instances of Studio Monitor open on the receiving unit.
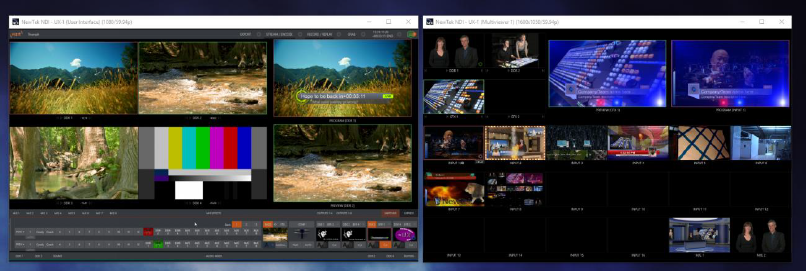
Note, too, that this feature gives you a great way to multiple your Multiviews around your studio or campus. You can even use these displays as video sources for another NDI-enabled system. System audio also passes to the receiver, and you can copy and paste text between the two systems. With the User Interface running full-screen in Studio Monitor on a receiving system, it’s really hard to remember that you’re actually controlling a remote system. Even touch is supported, meaning you can run the User Interface output on a Microsoft Surface™ system for portable touch control over your entire live production system.