
Viz Multichannel
Version 4.1 | Published May 27, 2019 ©
Global Settings
In addition to Channel Settings Viz Multichannel has global settings that affect all channels stored in the same Media Sequencer (MSE).
Each of the settings groups are presented below:
General settings
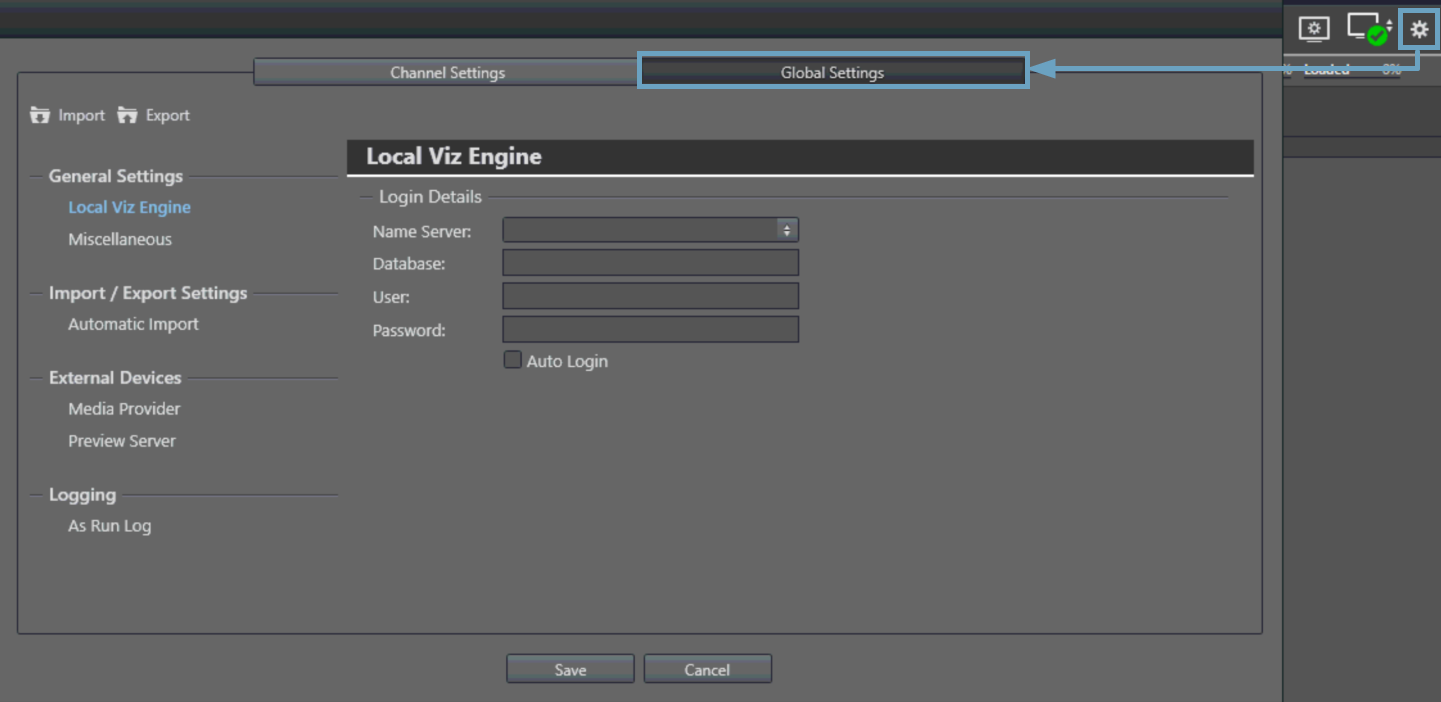
Local Viz Engine
The local Viz Engine will usually run on the same machine as the client application. In this settings section you provide Viz Multichannel with the information of the connection and authorization parameters (see screenshot above).
Name server: <viz engine server name> Can be localhost or a different PC where viz engine installed.
Database: Graphics Hub (GH) database name.
User + Password: GH database user and password.
Auto Login checkbox: Next time system will not ask for user name/password, instead system will use stored credentials for log-in.
Miscellaneous

Archiving Program Folder: Location of the Playlist History Manger (PLHM).
The default location is C:\Program Files (x86)\Vizrt\VizMultichannel\Tools
Import / Export Settings
Automatic Import
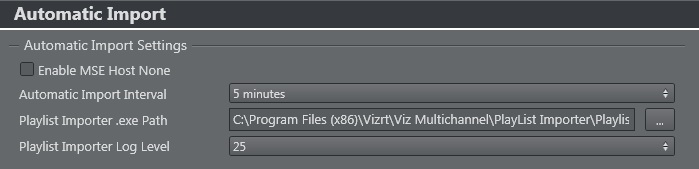
This setting is a global setting for all channels. To automatically import a schedule for a specific channel, you need to enable automatic import for each affected channel (see General Settings).
-
Enable MSE Host None checkbox:
Selected, enable automatic imports for all channel in channel.ini file.
Unselected, disable automatic imports for all channel in channel.ini file -
Automatic Import Interval:
Select the interval at which automatic imports of schedules will occur. -
Playlist Importer .exe Path: The file path, on the remote machine where the Playlist Importer is installed.
Select PlaylistImporter.exe or similar batch file.
By default, Playlist Importer is installed on the Media Sequencer machine. -
Playlist Importer Log level: Sets the log level of the Playlist Importer.
See the Playlist Importer’s Startup Parameters.
External Devices
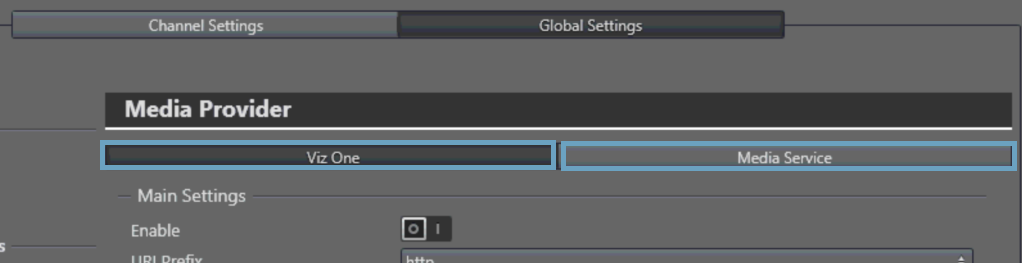
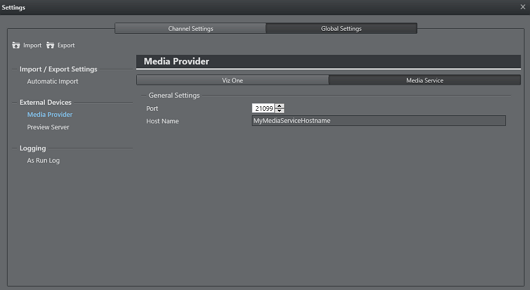
Media Provider
You can select from either Viz One or Media Service as a provider of media assets.
Viz One
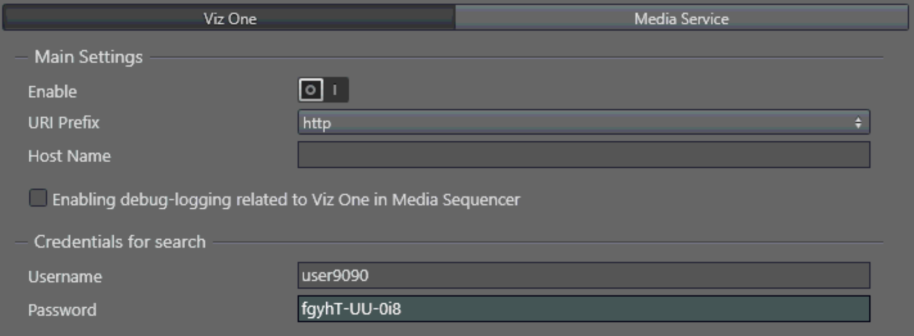
These global Viz One settings are used by all channels sharing the same Media Sequencer, defining the Viz One connection to the Media Sequencer.
Connected to Viz One, Media Sequencer can then request transfer of media stored in Viz One, to the Viz Engine for playout.
-
URI Prefix: Select protocol prefix to either http or https.
-
Host name: The host name of Viz One. The Viz One server instance based on either an IP address or host name. It is recommended to use fully qualified host name.
Note: Whichever addressing method you choose, (for example IP or fully qualified host name) always use the same method throughout the entire setup process.
-
Username/Password: The depth of Viz One searches is based on the permissions associated with the Viz One user. For example, a user with elevated permissions can see a wider set of assets, and can save modifications; A user with restricted Viz One permissions might be prevented from viewing certain types of video assets, or files.
To Configure a Viz One Connection
![]()
-
Make sure that Viz One is enabled
-
Enter the Viz One host name
-
Enter Username and Password
-
Click Save.
You can now select the Video Clips options and search for a clip in Viz One
(to verify the connection).
See Also
Media Service
Media Provider is a simple REST-based service enabling Multichannel to search and use video resources from a Viz Engine clip folder. The Media Provider standard TCP/IP port is 21099. The port-number is configurable and must match the IP port used by the Media Service server.
Preview Server
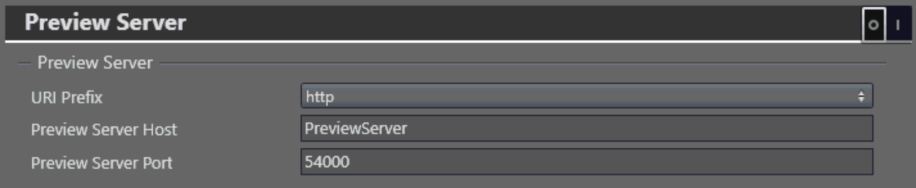
With the Preview Server, Viz Multichannel can request frames of playlist elements that create a visual references in the playlist or when adding graphics to secondary event video clips.
This configuration requires a running Preview Server. Note that the Preview Server setup must be installed on a separate machine.
The Preview Server itself is configured to connect to a pool of Viz Engines, and uses port number 54000 as its default listener port. The port must be changed if the Preview Server uses a non-standard port number.
The settings window has an On/Off switch. You can configure settings with the device in on or off mode. When off, the settings will take effect the next time the device is turned on.
-
URI Prefix: Select protocol prefix to either http or https.
-
Host name: The host name of Preview Server. Either an IP address or host name. It is recommended to use fully qualified host name.
Note: Whichever addressing method you choose, (for example IP or fully qualified host name) always use the same method throughout the entire setup process.
-
Preview Server Port: Port number for your Preview Server.
Note: It is recommended to run the Preview Server on a dedicated Viz Engine machine.
To Configure Preview Server
-
Select protocol type (http/https)
-
Enter your Preview Server host name
and port number -
Click Save.
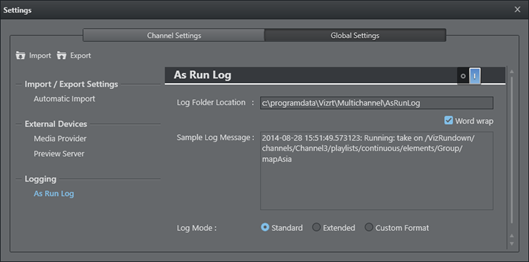
Logging
The As Run Log logs all Take commands sent to the Media Sequencer.
When enabled, the log can be stored as a standard text output (one line per take) or in a more structured JSON format for further processing.
For more information (e.g. how to customize log entries), please see the Media Sequencer manual’s As Run Log section.
Note: The log does not guarantee that something went On Air.
To Enable As Run Log
When running Viz Multichannel in MCR mode, you have in most cases the Media Sequencer running on a separate machine. Most often on the same machine as your Viz Engine.
-
Go to Settings > Global Settings > Logging > As Run Log.
-
Select ON to enable logging.
-
Enter the Log Folder Location if required, or use the default location.
-
Select Standard or Extended (JSON or Custom Format).
-
(Optional) Log Mode is Extended or Custom Format
Perform customization. See below.
-
-
Click Save.
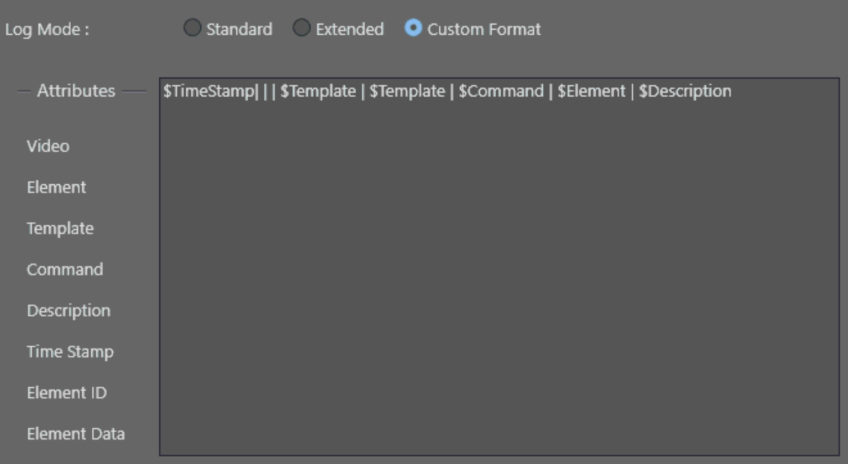
Custom Format
Use Extended or Custom Format when there are As Run logging requirements not covered in Standard mode.
For example, you can use Custom Format for creating a specific As Run log format. When Custom Format is chosen, you can drag the available formatting keys (Attributes) from the left side of the panel to the Sample Log area to create a log-style.
See Also