
Viz World User Guide
Version 17.0 | Published March 11, 2019 ©
Getting Started with Map Builder
Once you have installed the Viz World Client you can start Viz Artist and create a scene using the Map Builder Plugin scene plugin. Note that the Map Builder itself will by default connect to the same Viz World Server as Viz Artist. If needed you can switch to another Viz World Server from Map Builder’s file menu.
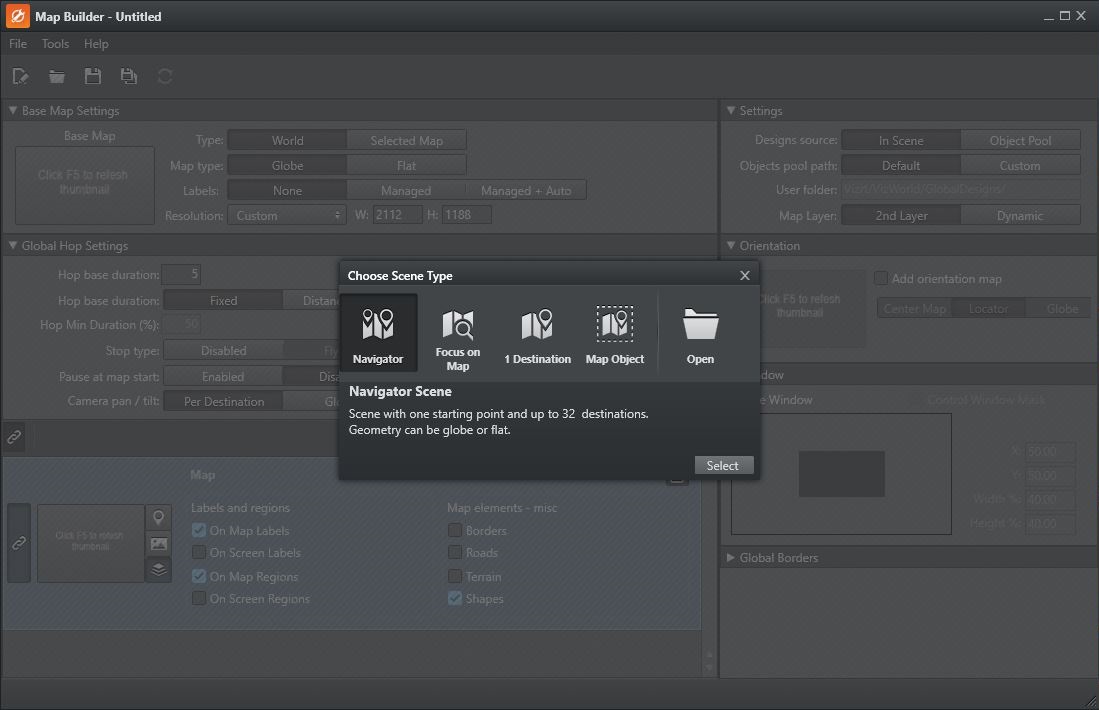
As a first step to work with the Map Builder you can create a scene that only contains the Map Builder Plugin scene plugin. Once created you can launch the Map Builder by clicking the Launch Wizard button. This will open the Map Builder and allow you to Choose Scene Type.
To start creating a scene using the Map Builder
-
Start Viz Artist
-
Click Built Ins and then the Scene Plugins tab
-
Select the Maps plugin folder
-
This will show the Map Builder scene plugin
-
-
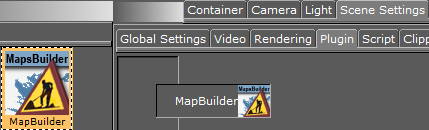
Click Scene Settings and the Plugin tab
-
Drag and drop the Map Builder plugin onto the Plugin areas placeholder
-
Save the scene
-
Once the scene has been saved you can open the Map Builder and click the Launch Wizard button to open the Map Builder.
-
To import basic map elements
-
Start Viz Artist.
-
Click Import and select Archives from the drop-list
-
Navigate to C:\Program Files\Vizrt\Common\Maps\Archives
-
Select the VizWorldGlobalDesigns.via archive.
-
Click Import Archive.