
Viz World User Guide
Version 17.0 | Published March 11, 2019 ©
Stylesheet Editor
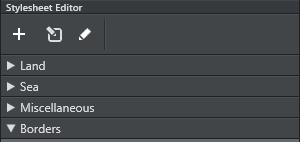
The Stylesheet Editor is in many ways similar to working with the Styles Editor in Viz World Classic. You can define styles for land, sea, borders and so on.
This section contains information on the following topics:
Add and Organize Stylesheets
While working on your template’s style sheets you can Add new or existing style sheets from other projects to your own project. In addition you can Organize your own style sheets.
Add
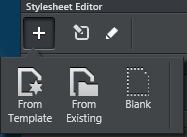
When adding stylesheets you can select one of the template stylesheets, or a stylesheet from an existing project or simply a blank stylesheet:
-
From Template: Browse for and select one or multiple existing stylesheet templates and add them to your project.
-
From Existing: Browse or search for stylesheets from existing Projects. Select one or multiple existing stylesheets and add them to your project.
-
Blank: A new blank stylesheet is added and opened.
Organize

When organizing stylesheets, the stylesheets in the project are listed, and it is possible to perform the operations; Duplicate, Rename, or Delete.
Additional stylesheets can be added using the Add button at the top of the Organize window.
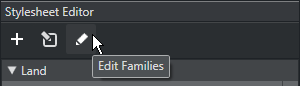
Customize Styles
Use the Style Editor to edit and customize the styles of points, lines and areas. These styles can then be used in your Viz World project.
Open the Style Editor from the Stylesheet Editor toolbar.
Style Editor
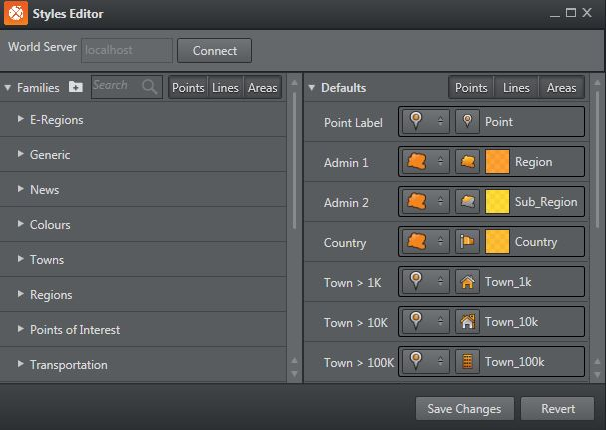
Style families are listed on the left, and default styles on the right. The Style Editor comes with a predefined list of families and styles that can be used as-is, or can be edited or removed. Drag styles to reorder them or move them from one family to another.
The styles are global to the system and are available in the World Map Editor, based on what is available in the Viz scene. Any style in the system that is not part of the scene will be disabled in the editor, and any style that is part of the scene but is not defined as part of the global styles will be available in the Others family.
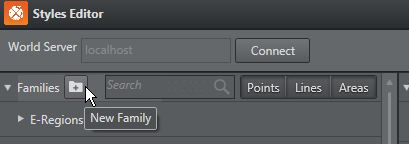
To create a new style family
-
In the Style Editor, click the New button to create a new family, then give it a name
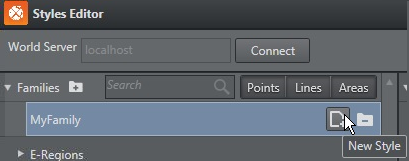
-
Within the family, click the New Style button to add new styles
-
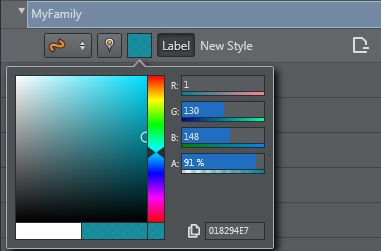
Fill in the details for the style:
-
Type (point, line, area)
-
Name
-
Icon: Select a new icon in the file browser
-
Color, opacity etc. Only possible for Area and Line.
-
-
Click Save Changes
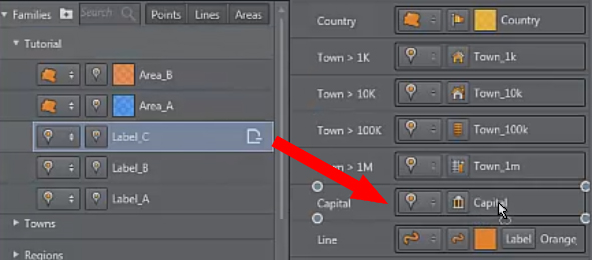
To select a new default style
-
Drag a style from the family list to the default list, and drop it on the desired style.
-
Click Save Changes.
Default Values
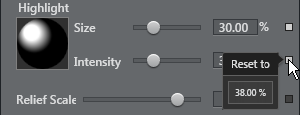
Settings which use the default values have a grey square next to them. If the value differs from the default, the square turns white. Click a white square to return the values to default.
Land
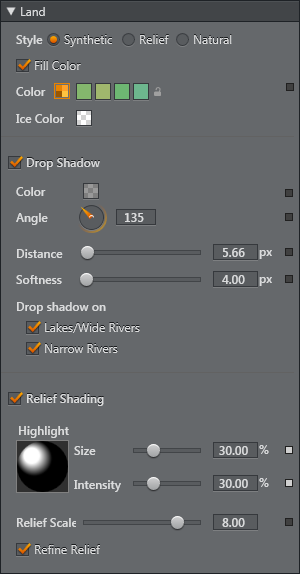
The Land settings allow you to define the Style of the map and its fill colors, aswell as the Drop Shadow and Relief Shading effects.
Style
When defining land styles you first select whether the map should have a Synthetic, Relief or Natural style.
-
Synthetic gives the map a basic style, where you can select a single Fill Color or four fill colors. If you select four fill colors, no country, adjacent to each other, will have the same color. Both Relief and Natural styles can mix with Synthetic utilizing its single or four color option. The Ice Color can be set separately.
-
Natural gives you the option to select which satellite imagery provider to use (e.g. Google Maps, Microsoft Virtual Earth, Digital Globe, Planet Observer, and so on). In addition you can adjust the map’s brightness, contrast, saturation, gamma, and tint.
If the stylesheet uses either Google Maps, Digital Globe or Microsoft Bing, you can set which imagery profile to use as default. The profiles provide different imagery sets for the same location. If required, the operator can change the profile from the Map Editor Toolbar when selecting the desired final location.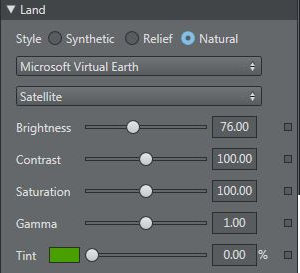
-
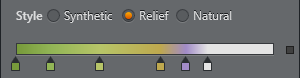
Relief contour colors work the same way as for Sea. It gives you the option to define colors at varying levels of height (i.e. from 0 to 8000 m.a.s.l.). Clicking below the bar adds a new handle. Double-clicking a handle will open a color picker for setting a color for that level. Dragging the handle horizontally will adjust the height parameter. Dragging the handle vertically will remove the handle.
Drop Shadow
Drop Shadow can be added to land, lakes/wide rivers, and narrow rivers. The drop shadow effect also allows you to adjust the angle of the shadow, and its distance and softness (spread).
Relief Shading
Relief shading can be added to land. When enabled you can define how the light will affect the relief by adjusting the highlight (by click and drag). The Size and Intensity settings will help you control the appearance of the relief texturing on the map.
Refine Relief will add extra detail to the relief. This is especially helpful when zooming in at low levels.
The image below shows a map with Refine Relief enabled and disabled:

Sea
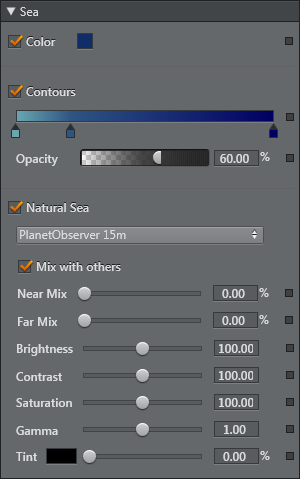
The Sea settings allow you to define the color and/or contour colors of the sea, and when using satellite imagery how it should mix with the base and/or contour colors.
Color sets the base color of the sea.
Contour colors work the same way as for Land. It gives you the option to define colors at varying levels of depth (i.e. from 0 to 10000 m.b.s.l.). Clicking below the bar adds a new handle. Double-clicking a handle will open a color picker for setting a color for that level. Dragging the handle horizontally will adjust the depth parameter. Dragging the handle vertically will remove the handle. Opacity blends the base color with the contour colors. The lower the value, the more of the base color will be shown, and conversely.
Natural sea enables you to select which satellite imagery provider to use (e.g. Google Maps, Microsoft Virtual Earth, Digital Globe, Planet Observer, and so on). In addition you can adjust the map’s brightness, contrast, saturation, gamma, and tint.
Mix with others allows you set the alpha for the mix between the base and/or contour colors and the satellite imagery. It will mix the colors based on whether you are near or far away from sea level. Meaning, when you are close to sea level it will use the near mix setting, and when far away it will use the far mix setting.


Miscellaneous
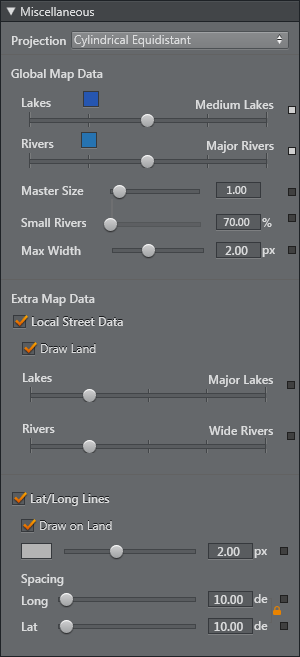
Projection:_Map projection either Marcator or Cylindrical Equidistant (Unprojected).
Global Map Data/Extra Map Data: For Lakes and Rivers you can select a base color (no alpha) and whether or not None, Major, Medium, Minor or All lakes and/or rivers should be shown.
For rivers you can also define:
-
Master Size affects the width of all rivers drawn as lines.
-
Small Rivers affects the width of rivers which are classified as minor rivers.
-
Max Width (in pixels) determines the maximum line width at which rivers will be drawn. This is useful if you wish to prevent rivers being drawn as very thick lines as a map zooms in.
When Local Street Data is enabled, the data for lakes and rivers can be displayed.
Latitude/Longitude Lines can be enabled/disabled. The color, width and spacing are configurable.
Extra Data
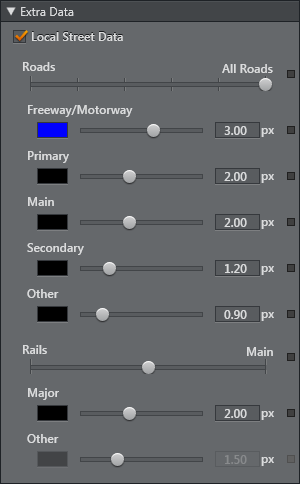
If Local Street Data is used, the Extra Data settings allow the various types of roads to be styled.
Borders
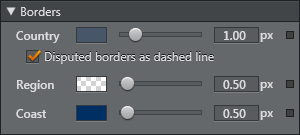
The Border settings allow you to define the border color and width (in pixels, 0.00 - 10.00 px). You can set colors and width for country and region borders, and coastal lines. In addition you can enable/disable disputed borders. Disputed borders are shown with a dashed line.