Viz Arc User Guide
Version 1.8 | Published October 13, 2023 ©
4 Point Calibration
About 4 Point Calibration
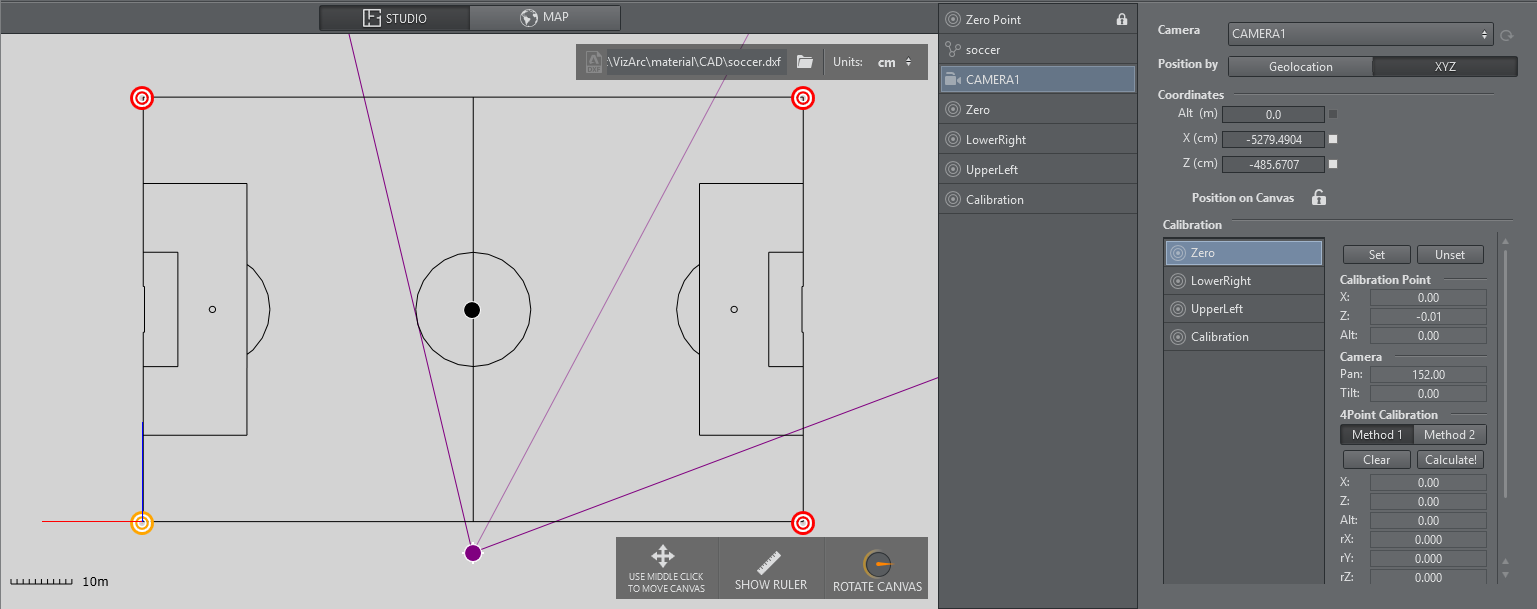
4 Point Calibration can be used to calculate the position and orientation of a (typically mechanically) tracked camera. Using this type of calibration requires knowledge of at least four physical points in the domain (for example, the corners of a soccer pitch or well-known points on a horse race track).
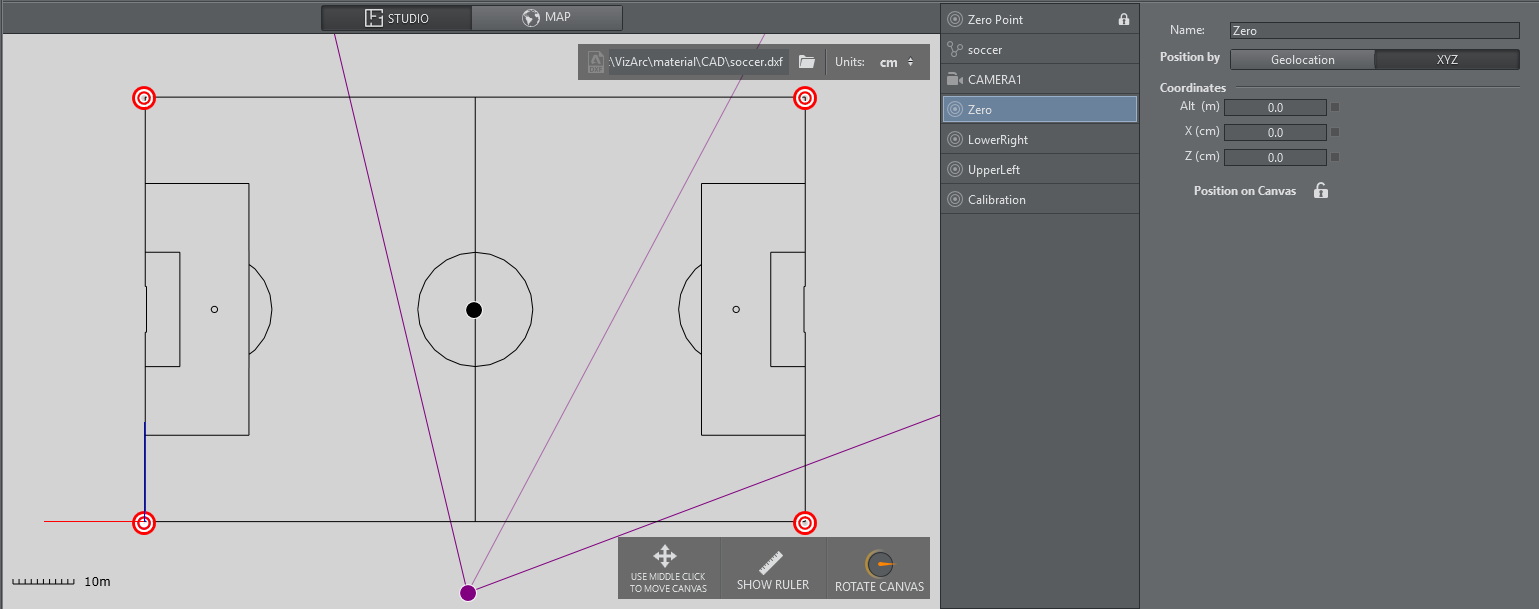
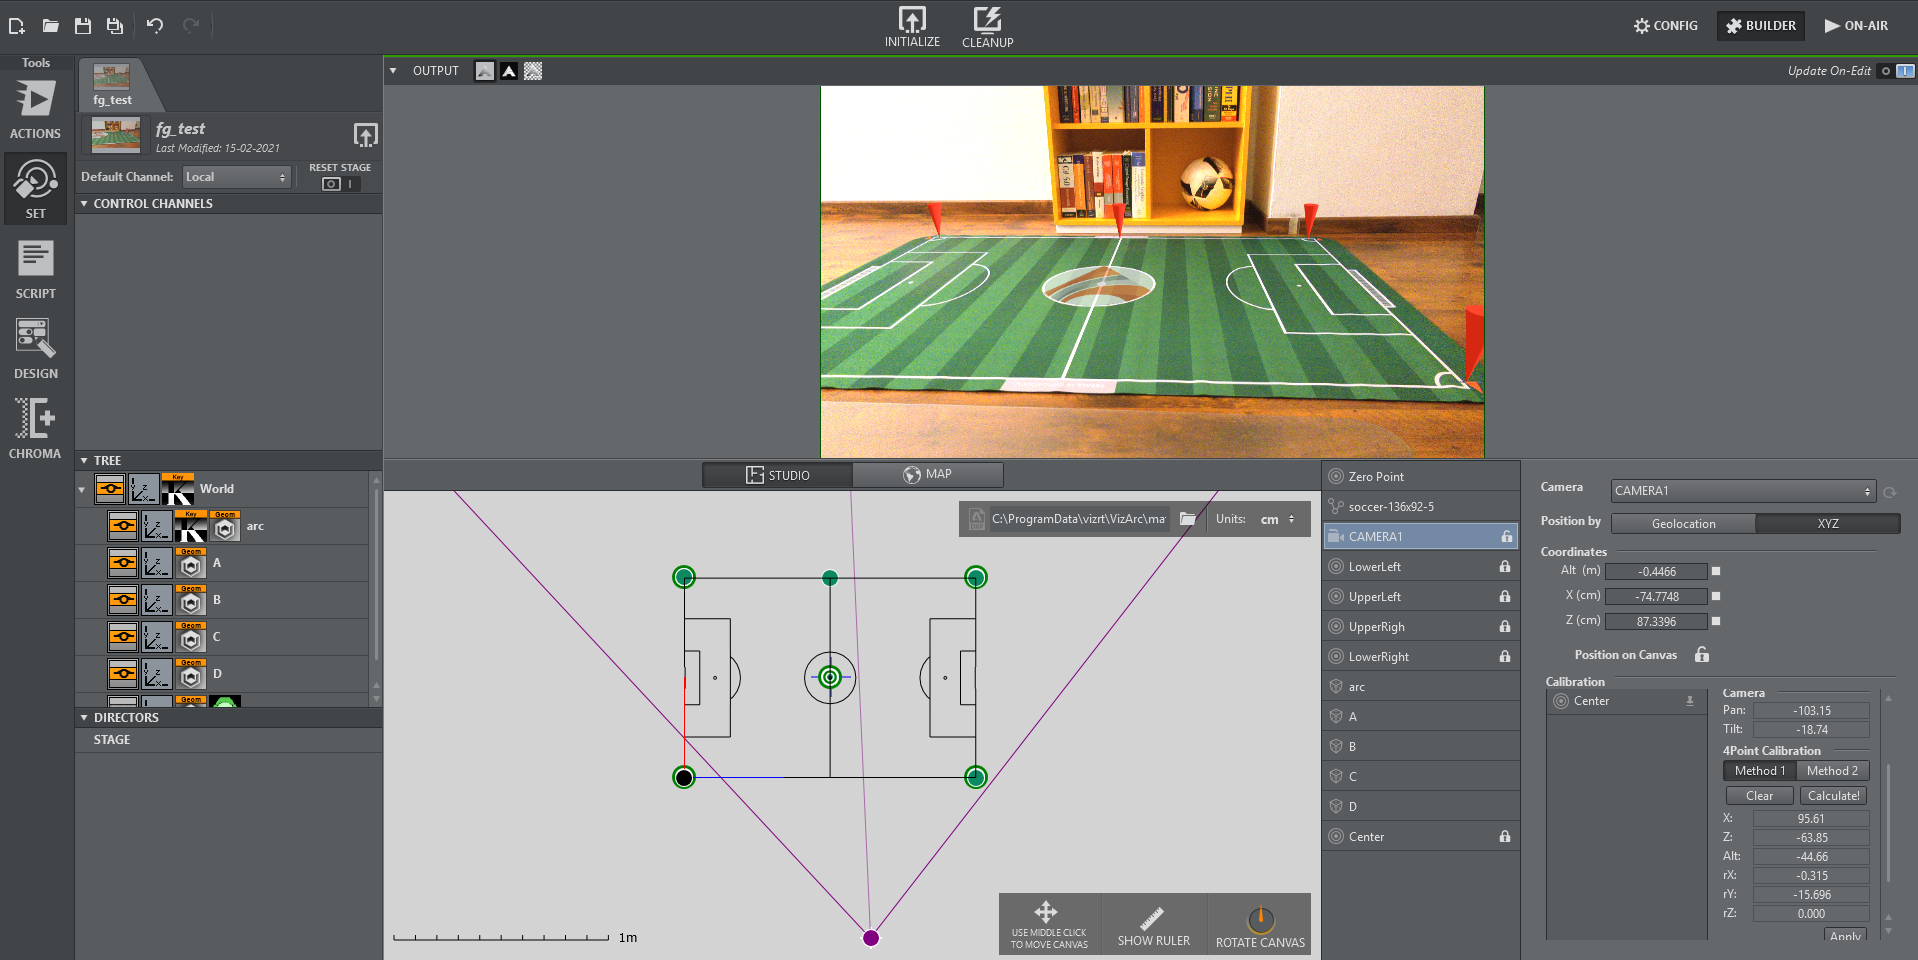
Map View showing a soccer pitch and four calibration points.
Prerequisites
-
The calibration points must all be on the XZ plane (same height).
-
The camera must be on a fixed position and can't be moved in space.
-
At least four points need to be measured/known on the tracking domain.
-
The points must define a surface and not just a one dimensional line.
-
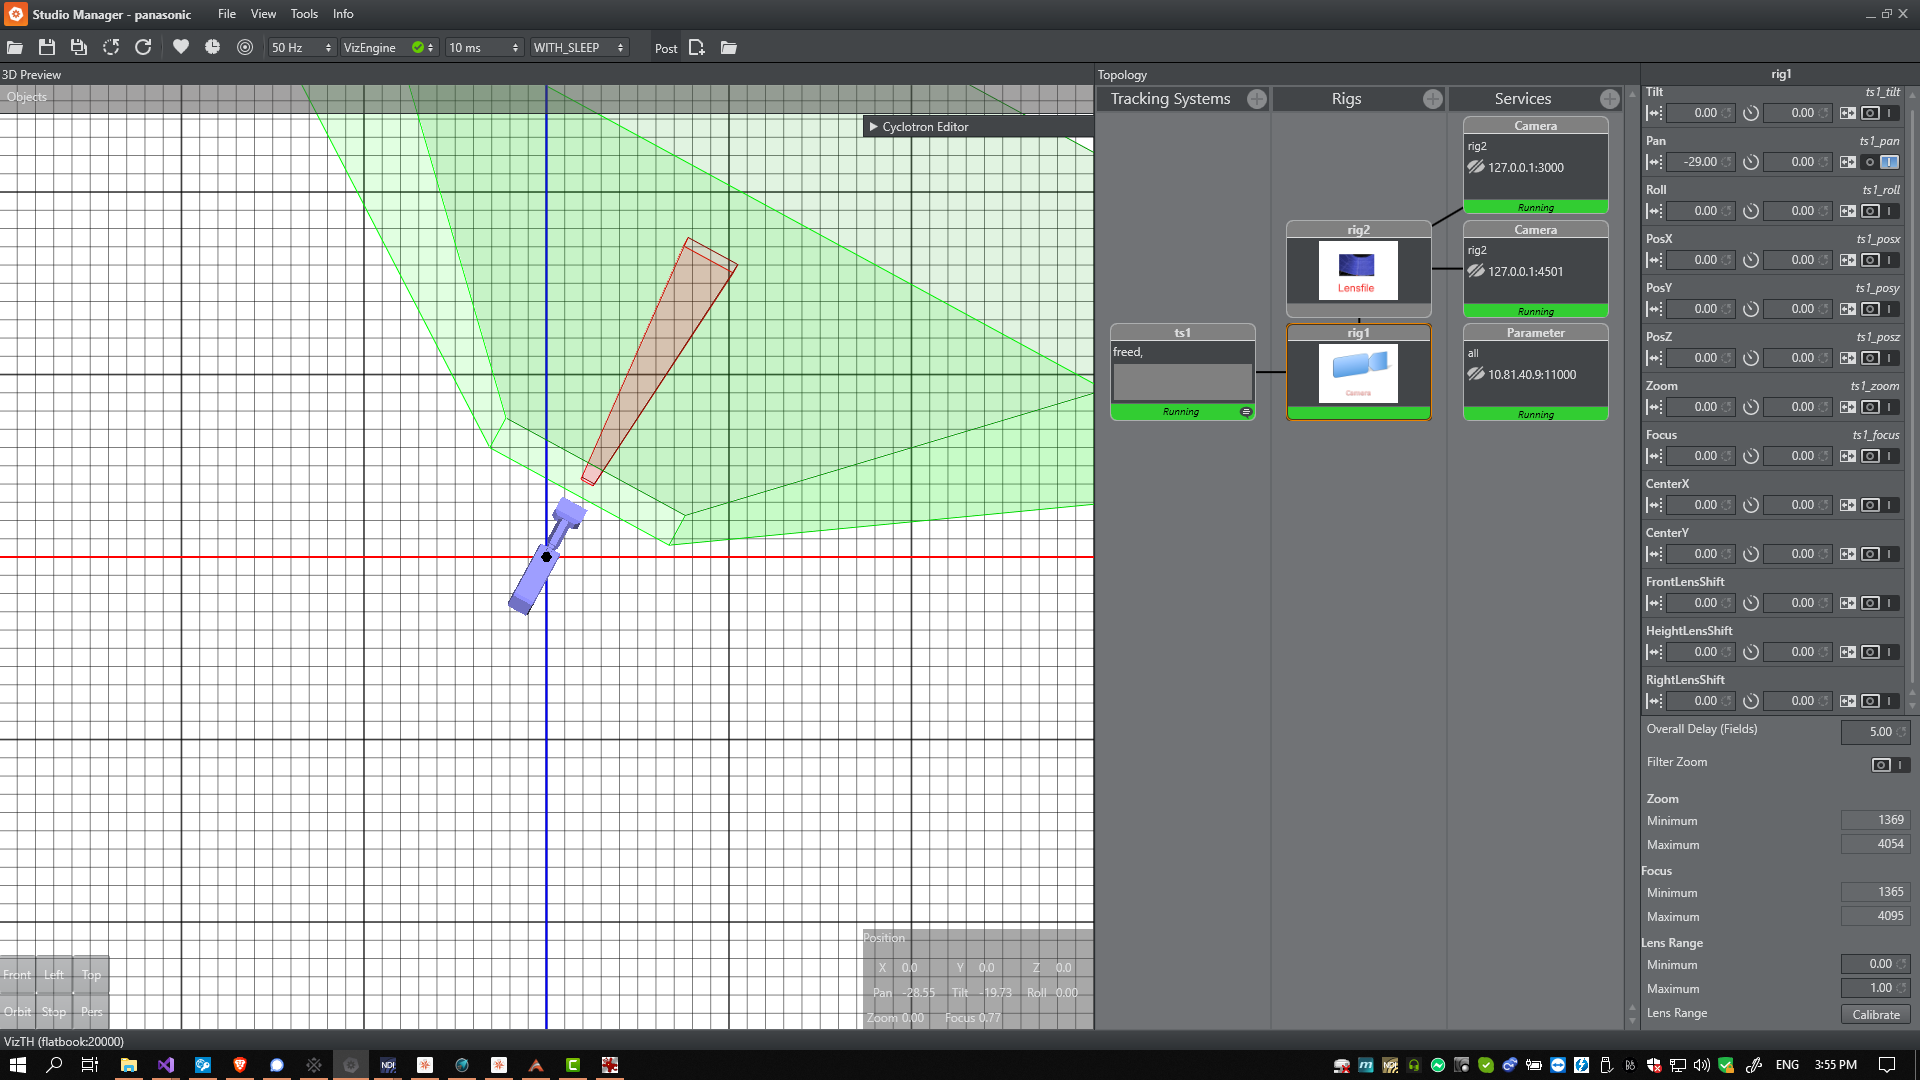
Make sure the tracking hub sends the tracking information to Viz Arc and make sure it includes the camera lens rig containing a valid calibration.
Note: Do NOT use a parent transformation rig on top for 4 Point calibration. The translation and rotation will be handled inside the root node of the Viz Artist scene.
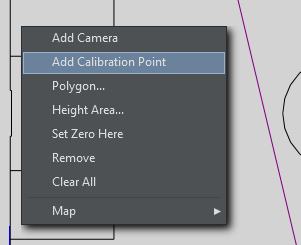
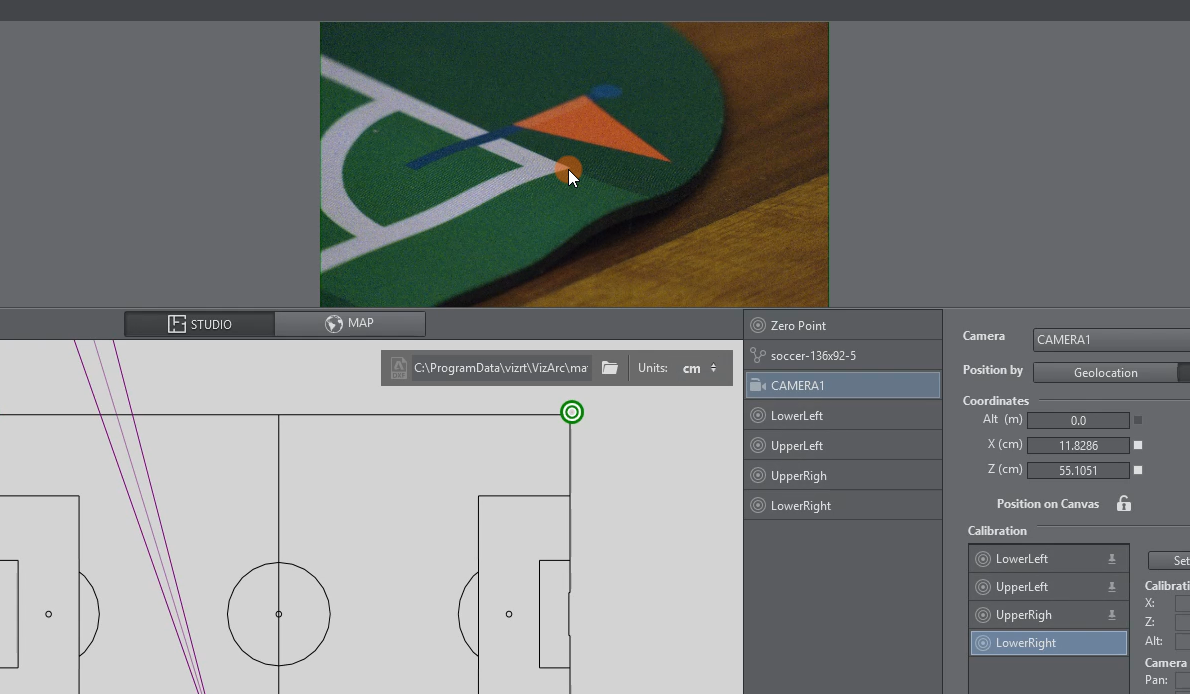
To Add Calibration Points
Add calibration points from the map's context menu:
Select the calibration point you just added and move it on the map, or enter its coordinates manually:
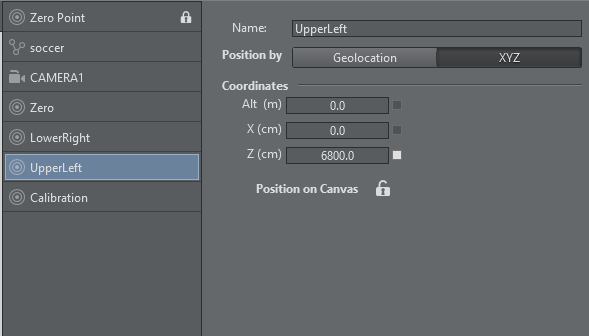
Once all calibration points have been added and positioned, the actual calibration process may start.
Calibration
Select the camera to be calibrated.
-
On the camera user interface select the marker towards which you want to point the camera. The calibration point is colored yellow on the map canvas.
-
The physical camera should now fully zoom into the marker and try to center it as best as possible.
-
Once the marker is centered, click the Set button. If your preview has been set up so that the camera is visible and you have a valid lens calibration, you can also click the position in the view instead of using the Set button.
-
Continue this procedure for all or at least four calibration points.
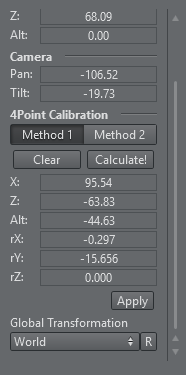
Applying Calibration
-
Once at least 4 points have been set, click the Calculate! button to calculate the presumed position and orientation of the camera. You can choose between Method 1 and Method 2, hit Calculate! after switching algorithm. Generally Method 2 is more accurate but needs more and more accurate calibration points. Try both and pick the one that gives you better visual results.
-
Under the Global Transformation dropdown, select the transformation action holding the world transformation of the main scene (typically the root node of the AR/VR scene).
-
Click Apply to apply the calculated transformation and rotation.
Use the R button to refresh the list of available transformation actions.
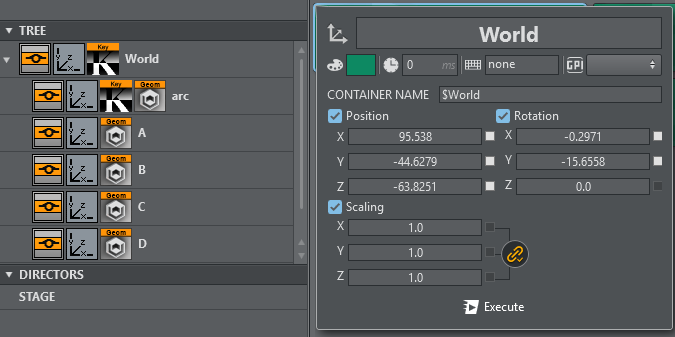
Typically the transformation to be used is the root node of the scene.
Once calibrated you should be able to position AR graphics on your pitch.