Viz Arc User Guide
Version 1.8 | Published October 13, 2023 ©
Configuring Graphic Hub
Configuring Graphic Hub for the Viz Arc Template Workflow
Note: This step is only necessary if you want to use the template based workflow or if you want to store projects on Graphic Hub and is not required for other use cases.
As there is currently no way to automatically generate and publish add-ons in Viz Graphic Hub, a few manual steps must be performed in Graphic Hub. You need to use Viz Graphic Hub Manager to connect to your Graphic Hub.
There are two ways to create the necessary add-ons on Graphic Hub: importing an archiving or creating them manually. This section covers the following topics:
Import an Archive Containing Add-ons
The archive to be imported anywhere on the Graphic Hub is located in the program-data folder (typically C:\ProgramData\vizrt\VizArc) under the Resources\AddOns folder and is called VizArcAddOns.via. It contains a dummy image with all necessary add-ons attached.
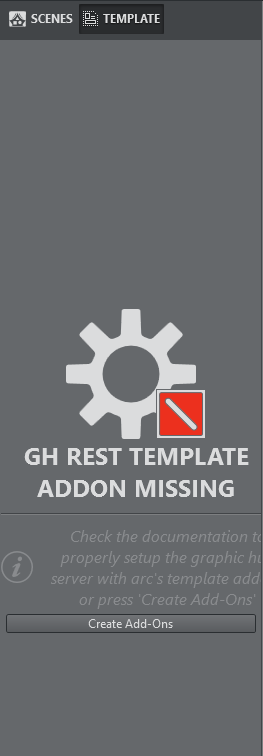
You can also import the add-ons through Viz Arc. When Viz Arc detects a missing add-on, e.g. on the template section, you can use the Create Add-Ons button to import the above archive automatically. After importing the archive you will be able to create and import templates and store projects on Graphic Hub.
Manually Creating Add-ons
-
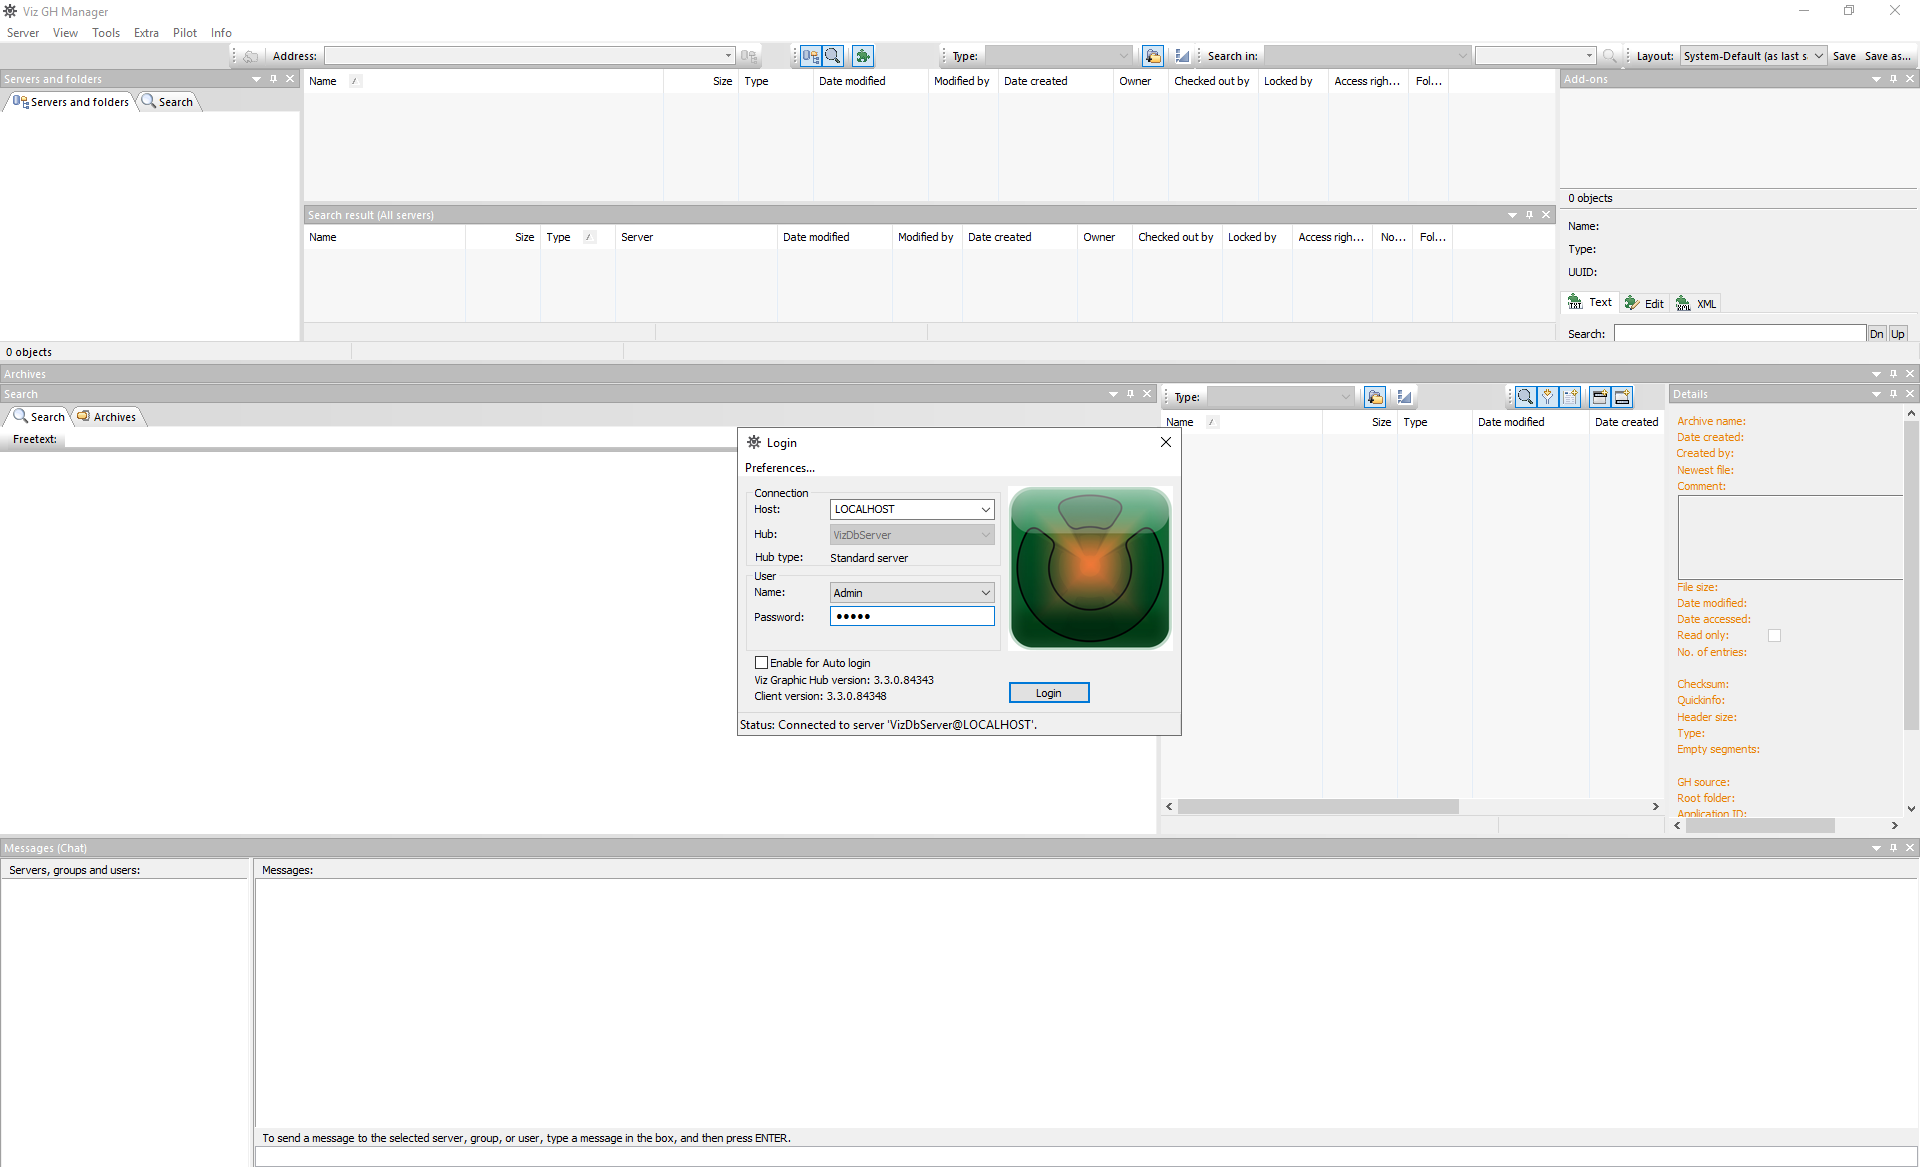
Log in to Graphic Hub using Graphic Hub Manager:
-
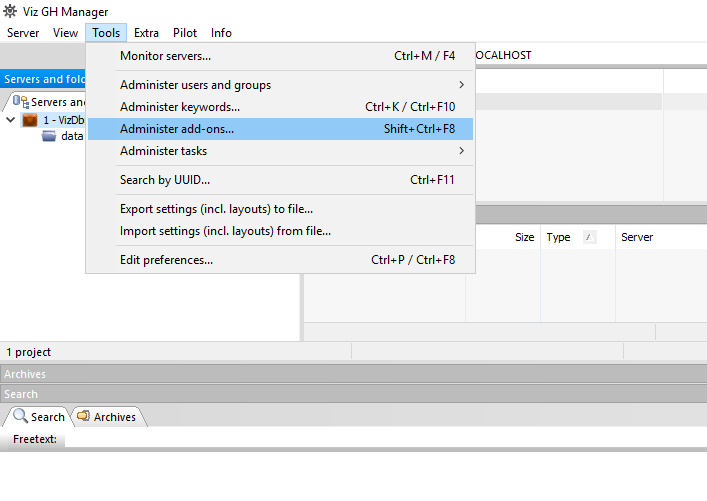
Go to Tools and select Administer add-ons...:
-
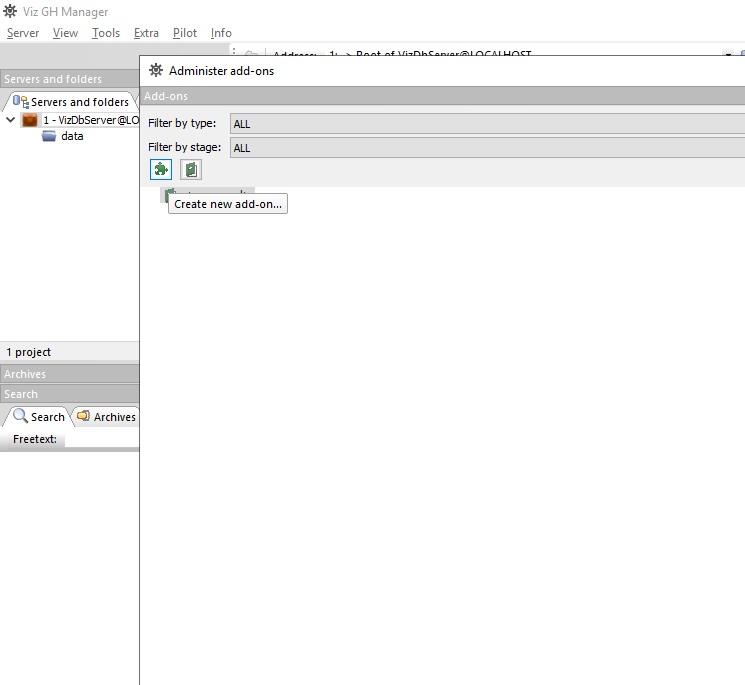
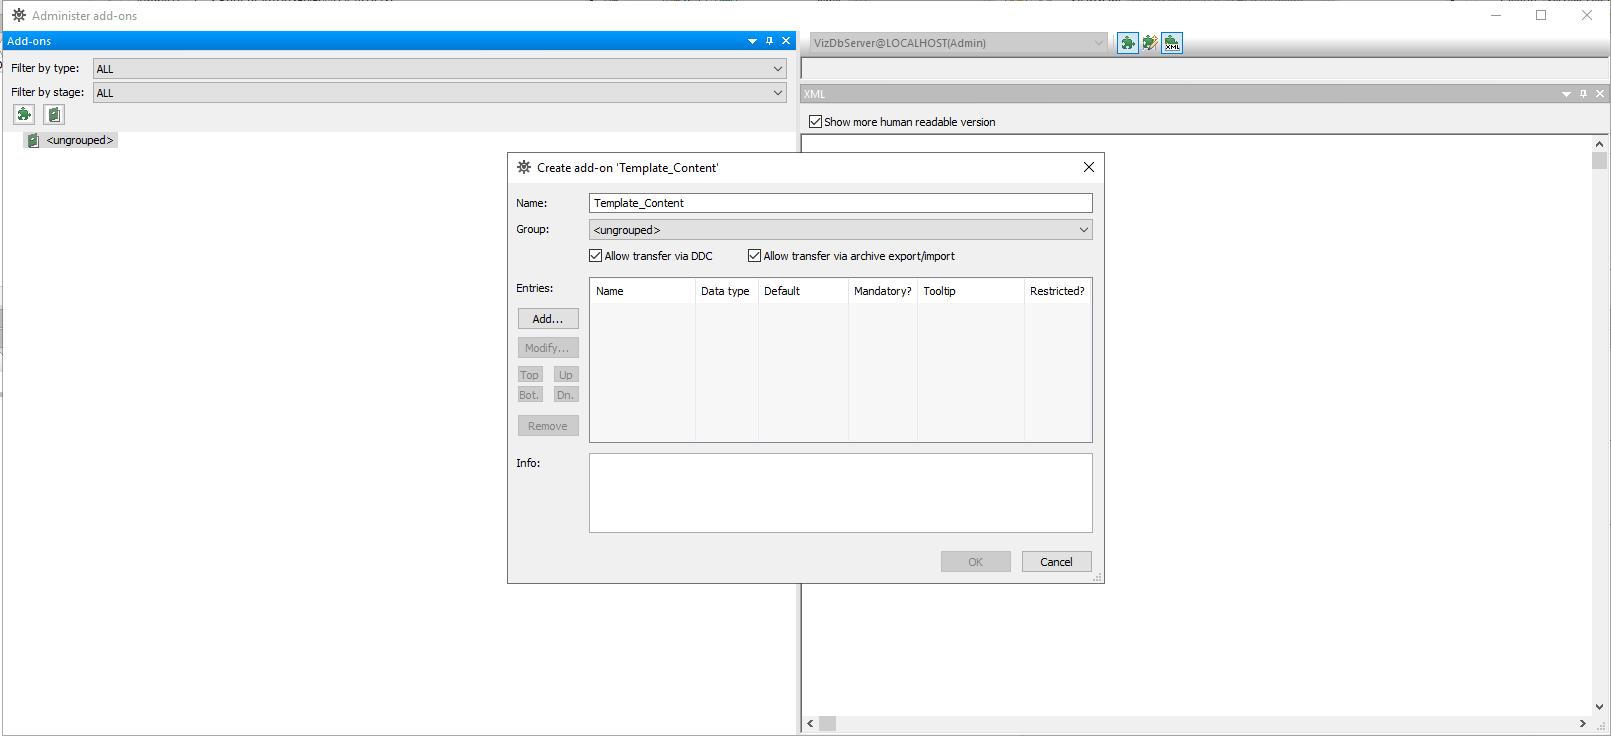
Create a new add-on.
-
Name the new add-on Template_Content. Note that the name is case-sensitive. Tick the boxes Allow transfer via DCC and Allow transfer via archive export/import.
-
Click Add… to add an entry.
-
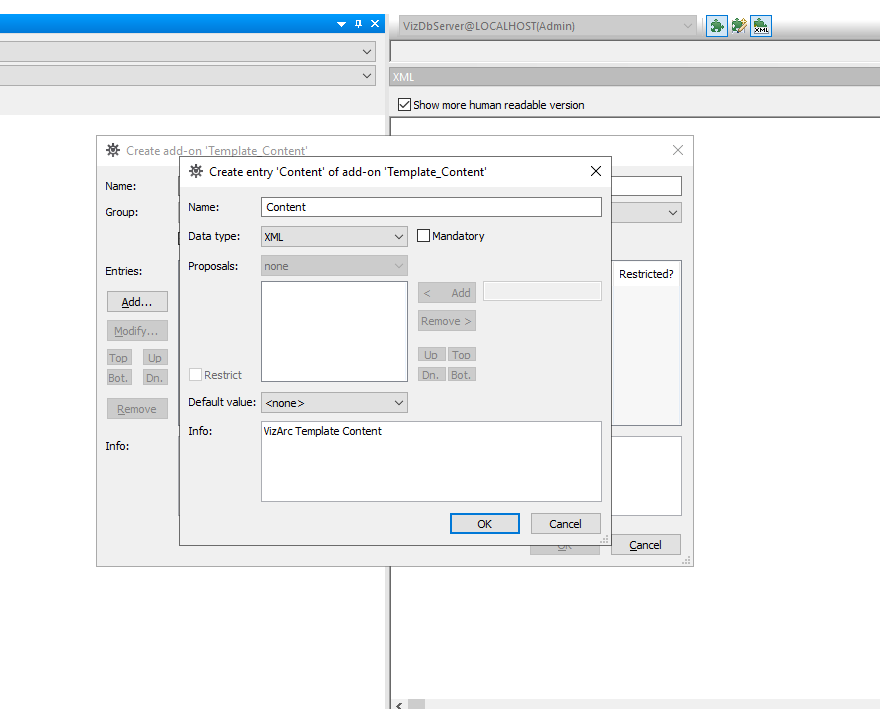
Call the new entry Content.
-
Select XML as data type.
-
Add something like Viz Arc Template Content under Info.
-
-
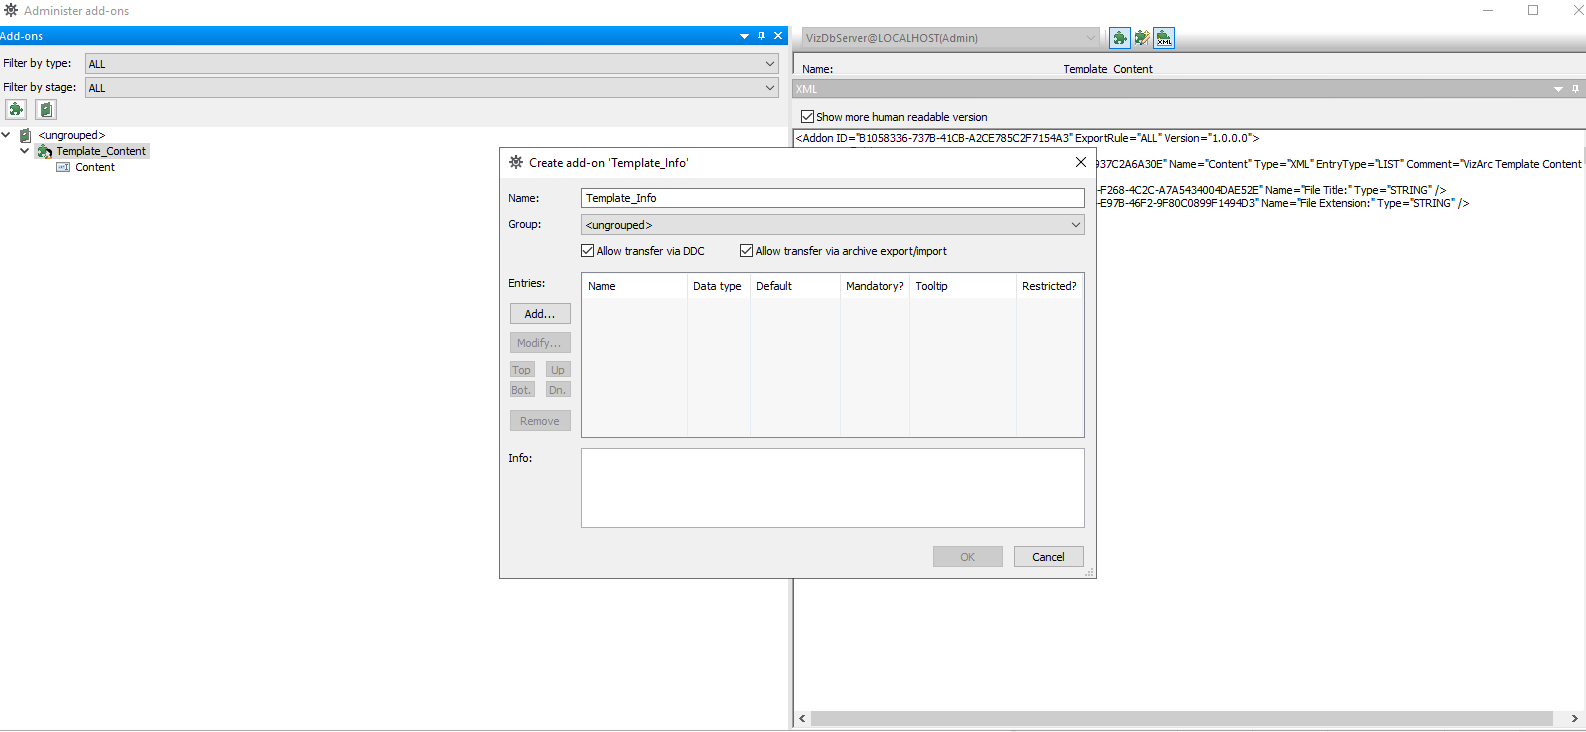
Return to step 3 above and add another add-on:
-
Name the add-on Template_Info. Bear in mind that the name is case-sensitive.
-
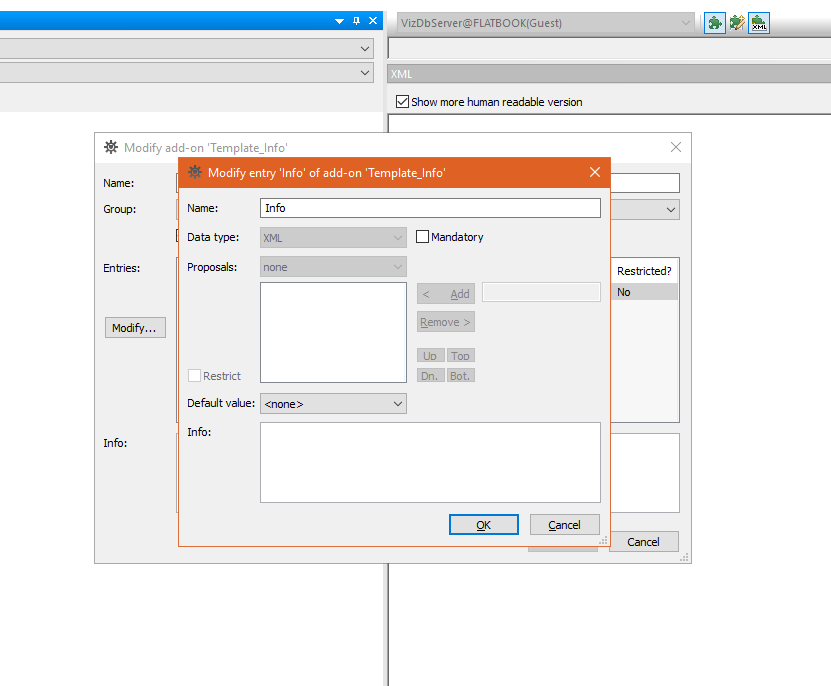
Add an entry under Info, something like Viz Arc Template Info. The data type must be XML.
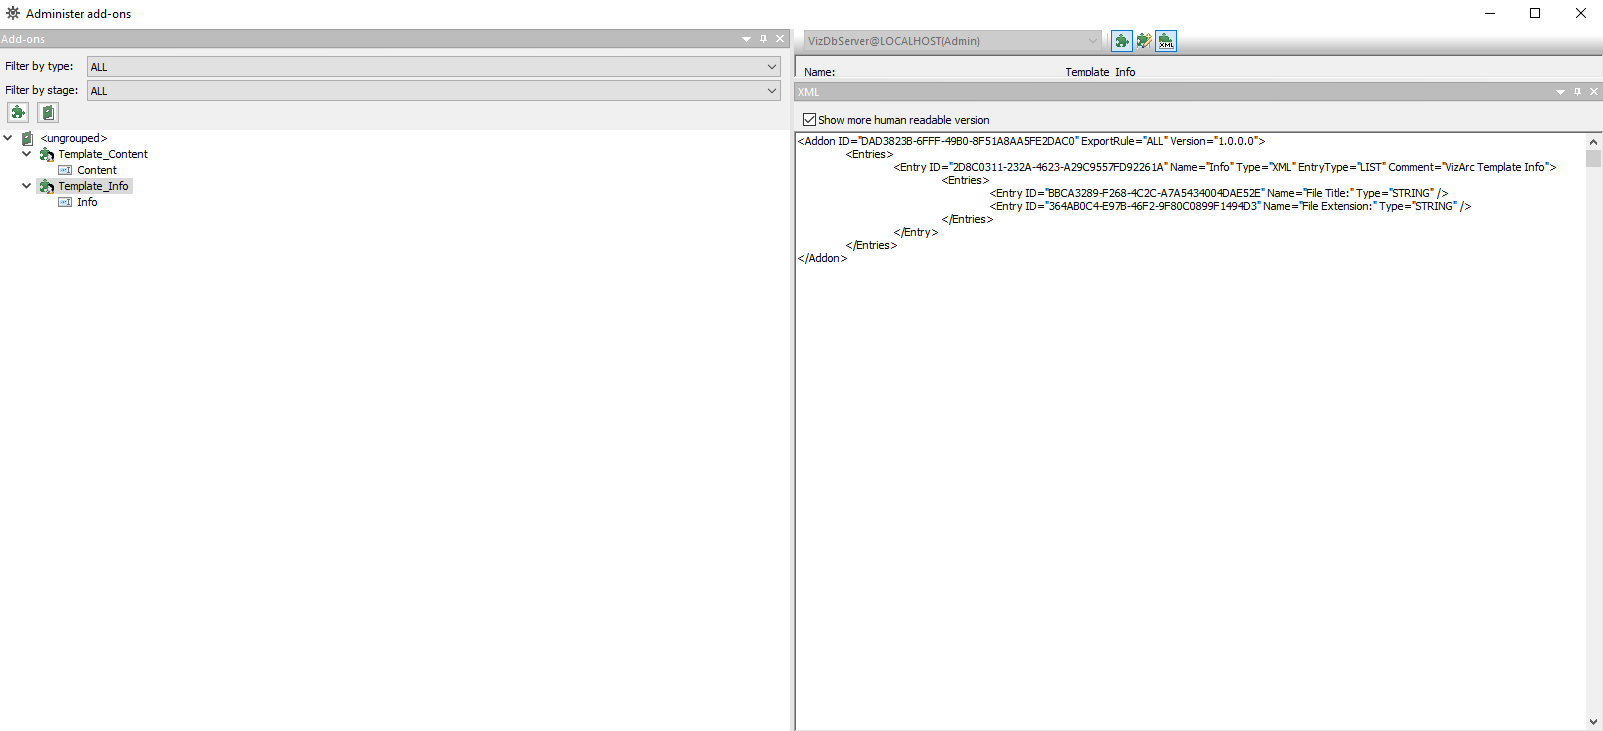
Your add-ons should now look like those in the screenshot above.
Note: You can add the add-ons to a group if you wish. Viz Arc finds them regardless of which group they belong to.
-
-
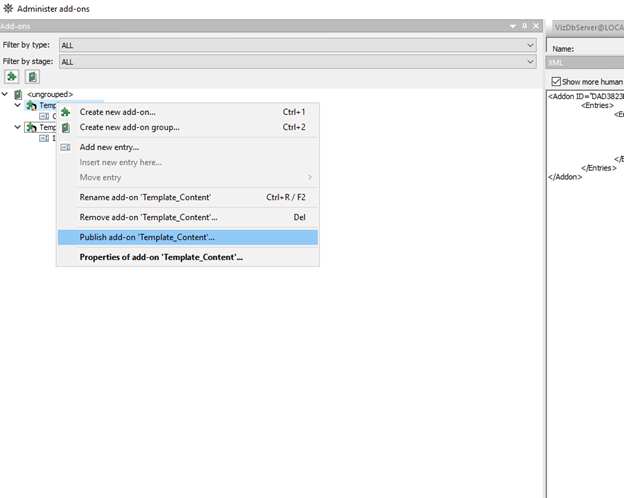
Publish by right-clicking the two add-ons and selecting Publish add-on ….
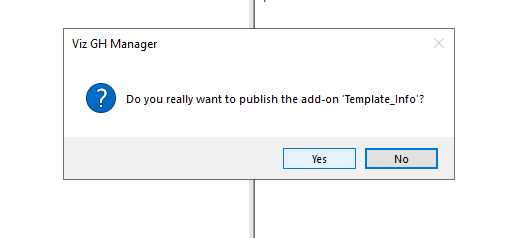
A warning message appears:
-
Click Yes.
-
Make sure to publish both add-ons.
-
Once you have restarted Viz Arc you can use the Design tab to create your own templates.