Viz Arc User Guide
Version 1.8 | Published October 13, 2023 ©
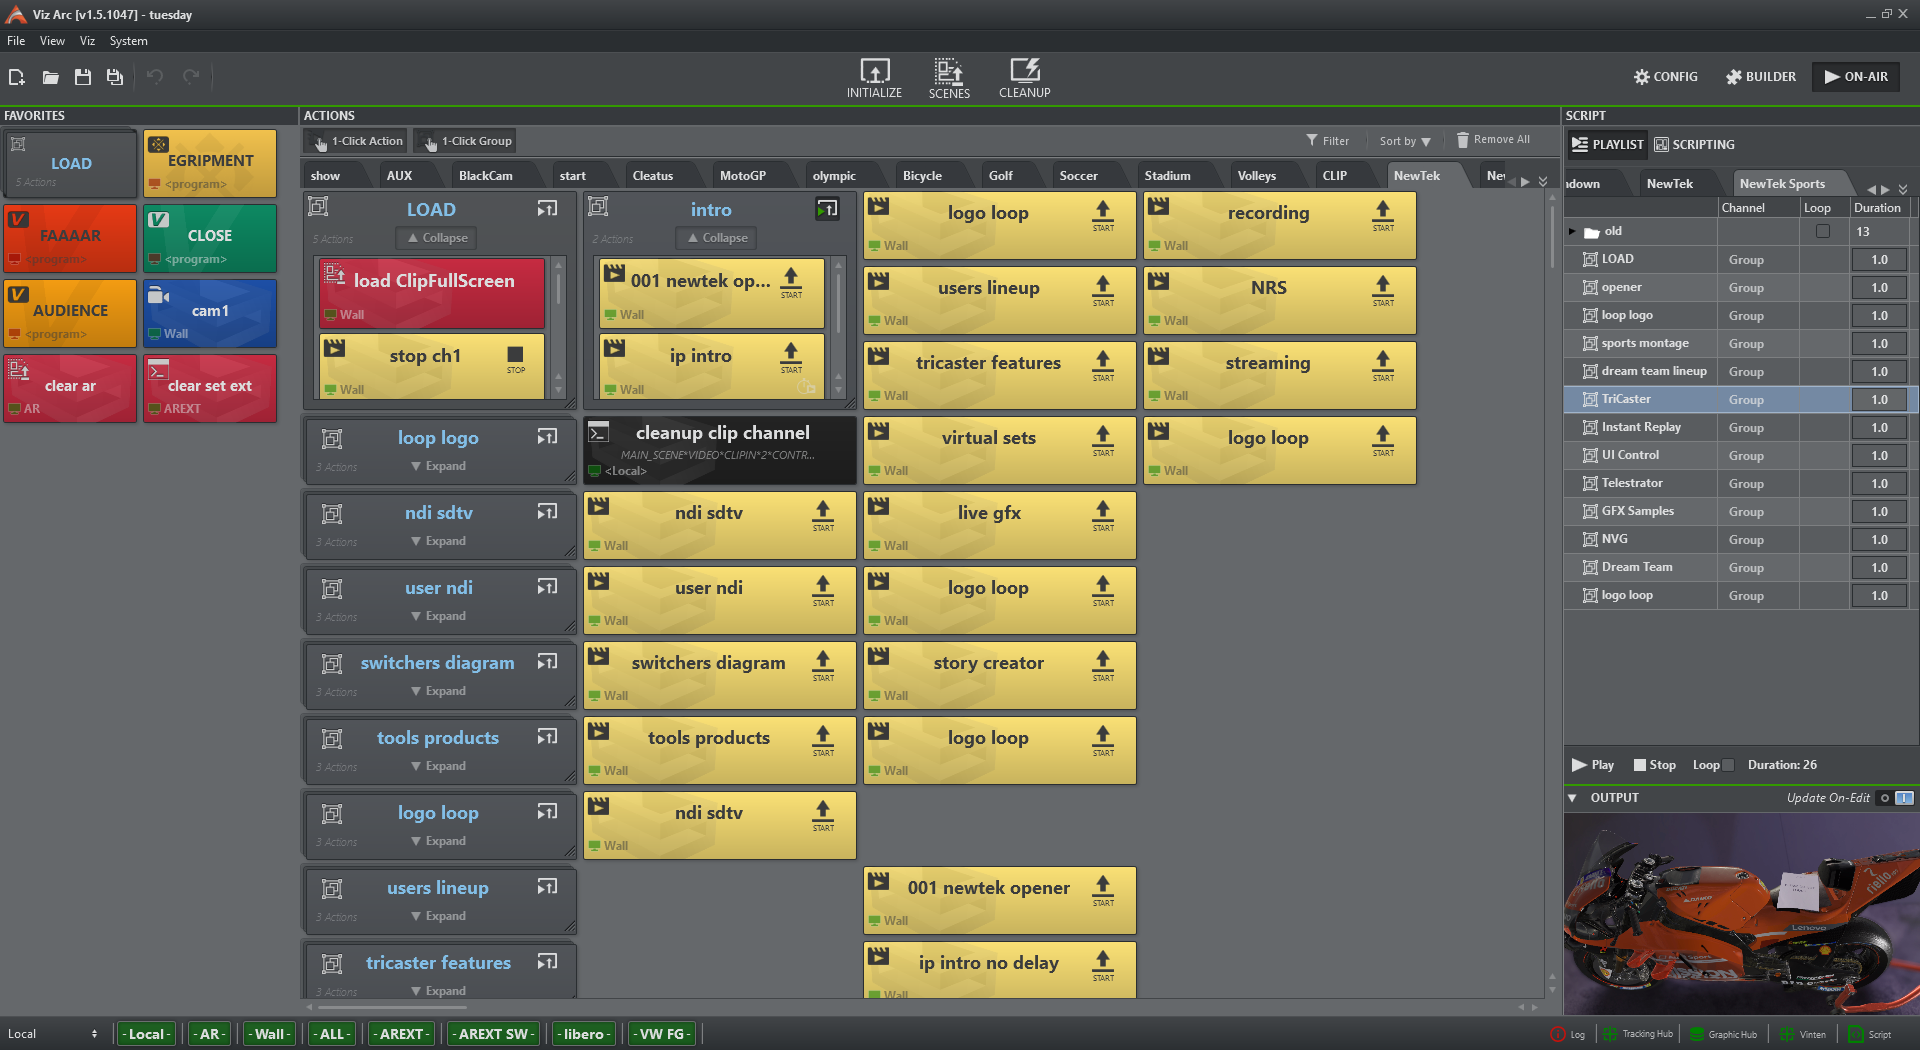
Actions View
Actions View contains all the actions that are part of your Viz Arc project.
-
Actions can be arranged in any way throughout the canvas.
-
Easy access to the most used actions can be gained by adding them to the Favorites Bar.
-
Actions can be filtered for quick access.
This section covers the following topics and procedures:
Working with Playlists
Creating a Playlist
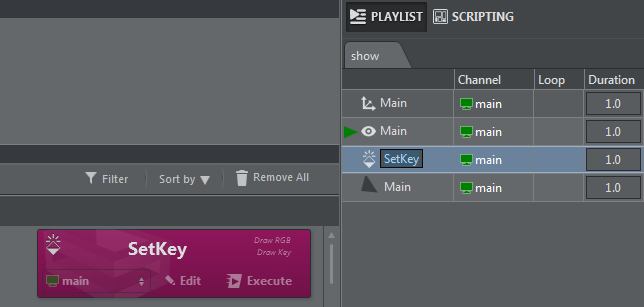
You can create a PLAYLIST in the upper right section in ACTIONS view. Playlists are useful for arranging actions and creating a rundown.
Import by dragging the desired action into the playlist pane while holding in the SHIFT key. Release the action inside the playlist pane to include it in the playlist.

Creating Groups
Create groups and sub-groups by right-clicking Create Group:

Loop Mode
To set a full playlist in loop mode, simply enable the main Loop selection at the bottom of the playlist pane.
![]()
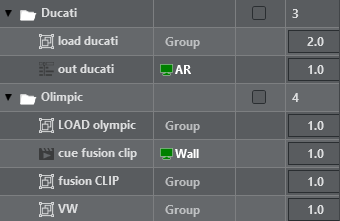
Group Duration
It's possible to specify the duration in seconds of each action (the default is one second). The group’s duration is the sum of the duration of all of the actions it contains.
Executing an Action in Playlist
Right-click on on action and select Execute Action from the drop down menu:
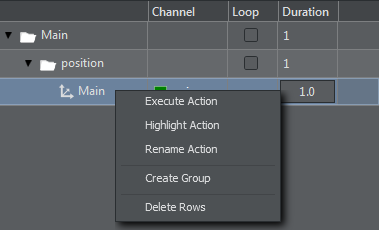
Renaming an Action in a Playlist
To rename an action, right-click on the selected action and click Rename Action:
Note: The action is also renamed in Actions view.
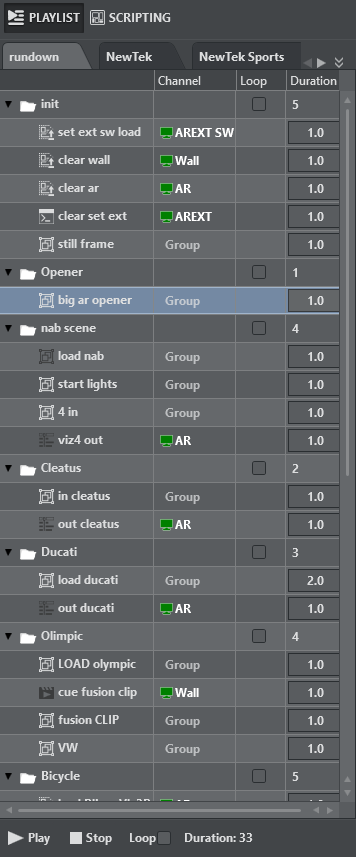
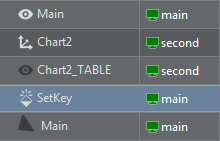
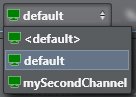
All actions imported in playlist keep their associated channel, so it is possible to send actions to different engines from the same playlist rundown:
Working with Multiple Playlists
A single project can handle multiple playlists. To work with multiple playlists, right-click inside the Tab pane and select Add Tab.
![]()
Once you are finished creating playlists, you can control the rundown by pressing PLAY, STOP or LOOP.
![]()
Note: The duration value is the total duration in seconds of all the elements in playlist (or the currently active playlist, if a project contains more than one playlist).
Creating and Editing Scene Actions
Note: All actions share a common set of tools and properties. For more details, see Common Action Tools.
Scene Actions
Before creating scene actions, select the scene tab from the scenes panel and load the scene to retrieve properties.
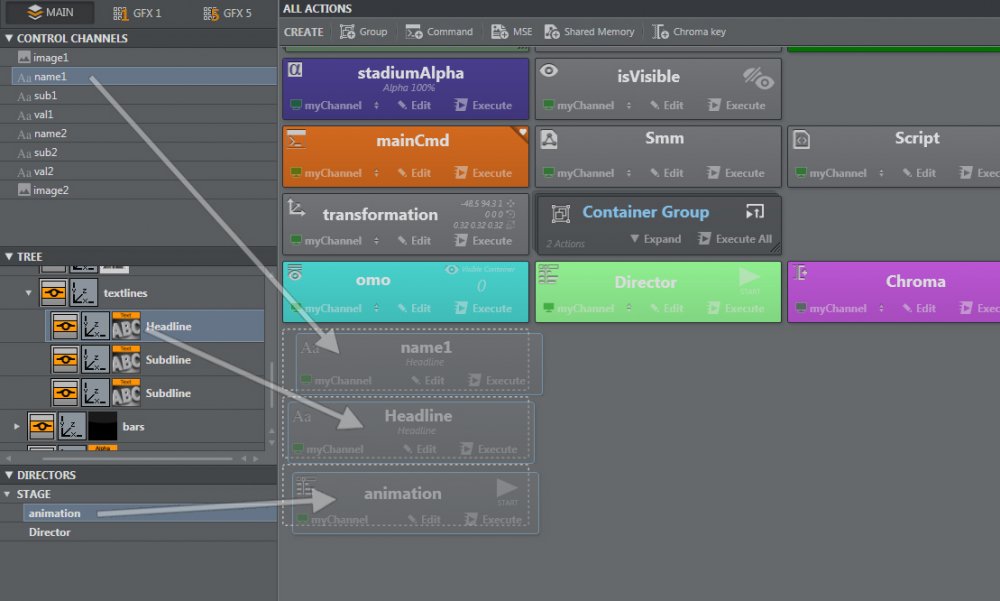
-
Drag and drop any of the supported properties from either the Control Channels, Scene Tree or Directors section in the scene panel to the actions canvas
-
Enter the desired values in the editing popup
-
Click anywhere outside the editing popup to save and close your creation
Project Actions
Project Actions can be created even when no scene is loaded or added into the working project. These action types are not linked to any particular container or scene and can, for example, be used to group actions together or to send viz commands to a channel.
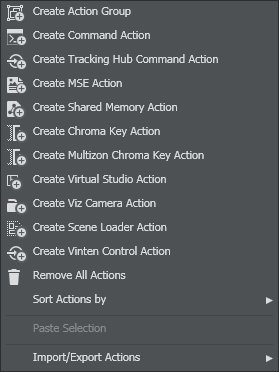
To Create Project Actions

Click on the desired Project Action Types button on the CREATE toolbar
OR
-
Right-click on the actions canvas
-
Select the desired Project Action Types from the context menu
Info: Other actions can be also found by right-clicking on an empty area in the project. For more information see Other Action Types.
Editing Actions
Any action in a project can be edited to change the logic of the action.
Actions can be edited either:
-
By pressing the
 Edit button on any of the actions.
OR
-
By right-clicking on any action and selecting Edit from the context menu.
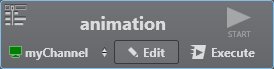
Common Action Tools
All actions created in Viz Arc share a common set of tools.
-
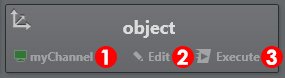
Channel : Selected channel to execute actions.
-
Edit Mode: Press the Edit
button to expand the editing box to modify general action settings. -
Execute: Executes the action.
Channel
When executed, all actions send the relevant commands to Viz Engine to manipulate the scenes. These commands are sent to the Engines defined in the selected channel for each action.
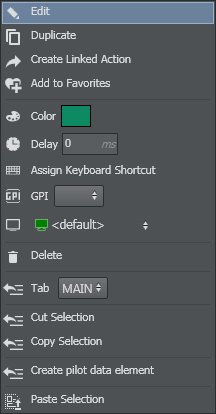
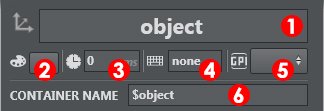
Edit Mode
Press the Edit ![]() button to expand the editing box to modify general action settings.
button to expand the editing box to modify general action settings.
-
Action name: Each action includes a name that can be used to filter actions.
-
Action Color: It's possible to assign a color to each action.
-
Action delay: Action delay adds an execution delay in milliseconds.
-
Keyboard shortcut: Assigned keyboard shortcut.
-
GPI: GPI Channel (HI-0/HI-15, LO-0/LO-15).
-
Control Channel/Container: The Control Channel or Container path to which the action is linked.
Execute
![]() The Execute button lets you send a specific action command to the selected channel.
The Execute button lets you send a specific action command to the selected channel.
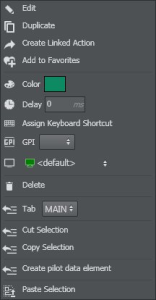
Note: It's also possible to access common action tools through the context menu by right-click on an action box:
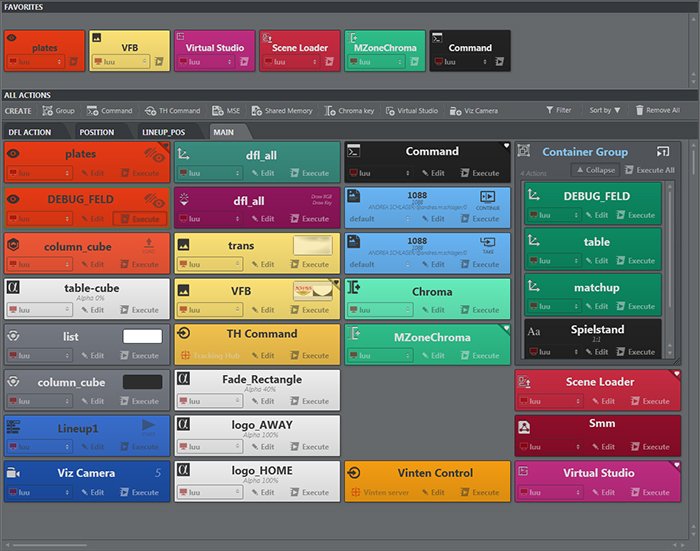
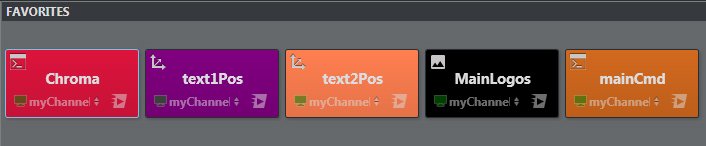
Favorites
Favorites is used for easy access to the most commonly used actions. Favorite actions appear in this section:
To Add Actions to Favorites
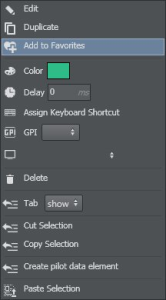
-
Right-click on the selected action or actions.
-
Select Add to Favorites from the context menu.
Note: It's possible to add more than one action to the favorites section at the same time. Select all the desired actions and follow the same steps as above.
To Remove Actions from Favorites
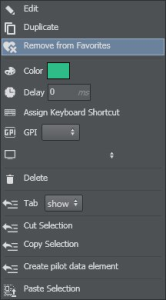
-
Right-click on the selected action or actions.
-
Select Remove from Favorites from the context menu.
To Remove All Actions from Favorites
It’s possible to remove all favorite actions from the favorites section.
![]()
-
Right-click anywhere in the favorites section.
-
Select Clear All Favs from the context menu.
Searching, Sorting and Removing All Actions
Actions can be searched by name in order to easily locate Actions in a project.
This section describes the different options in the actions tool bar.

-
Search: Search actions by name.
-
Remove all: Removes all actions from the project.
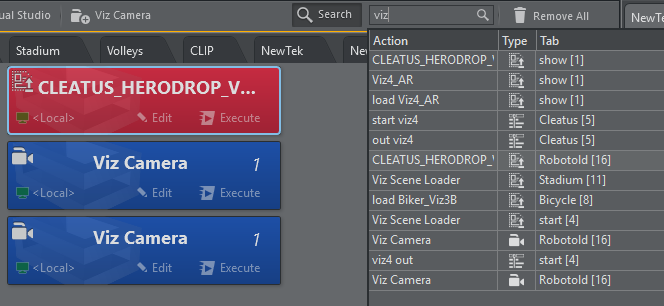
Search
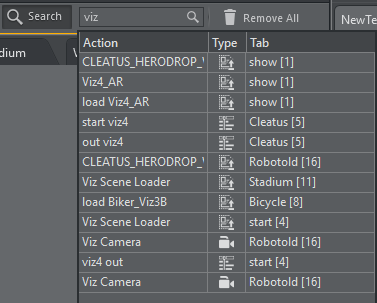
Click the Search button and a popup will initially show all available actions. Type a string to narrow down the search for an action containing the string in its name. By selecting an action it will be selected and shown on the action canvas.
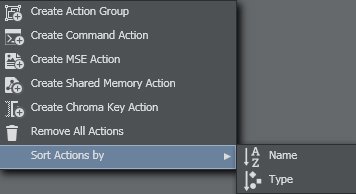
Sort By
It's possible to sort actions that are in the project by name (ascending) or type.

It’s also possible to sort by right-clicking on an empty space in the action area.
Remove All
Press the Remove All button to remove all actions in the project. You can undo this operation by clicking the UNDO icon on the Projects Toolbar.
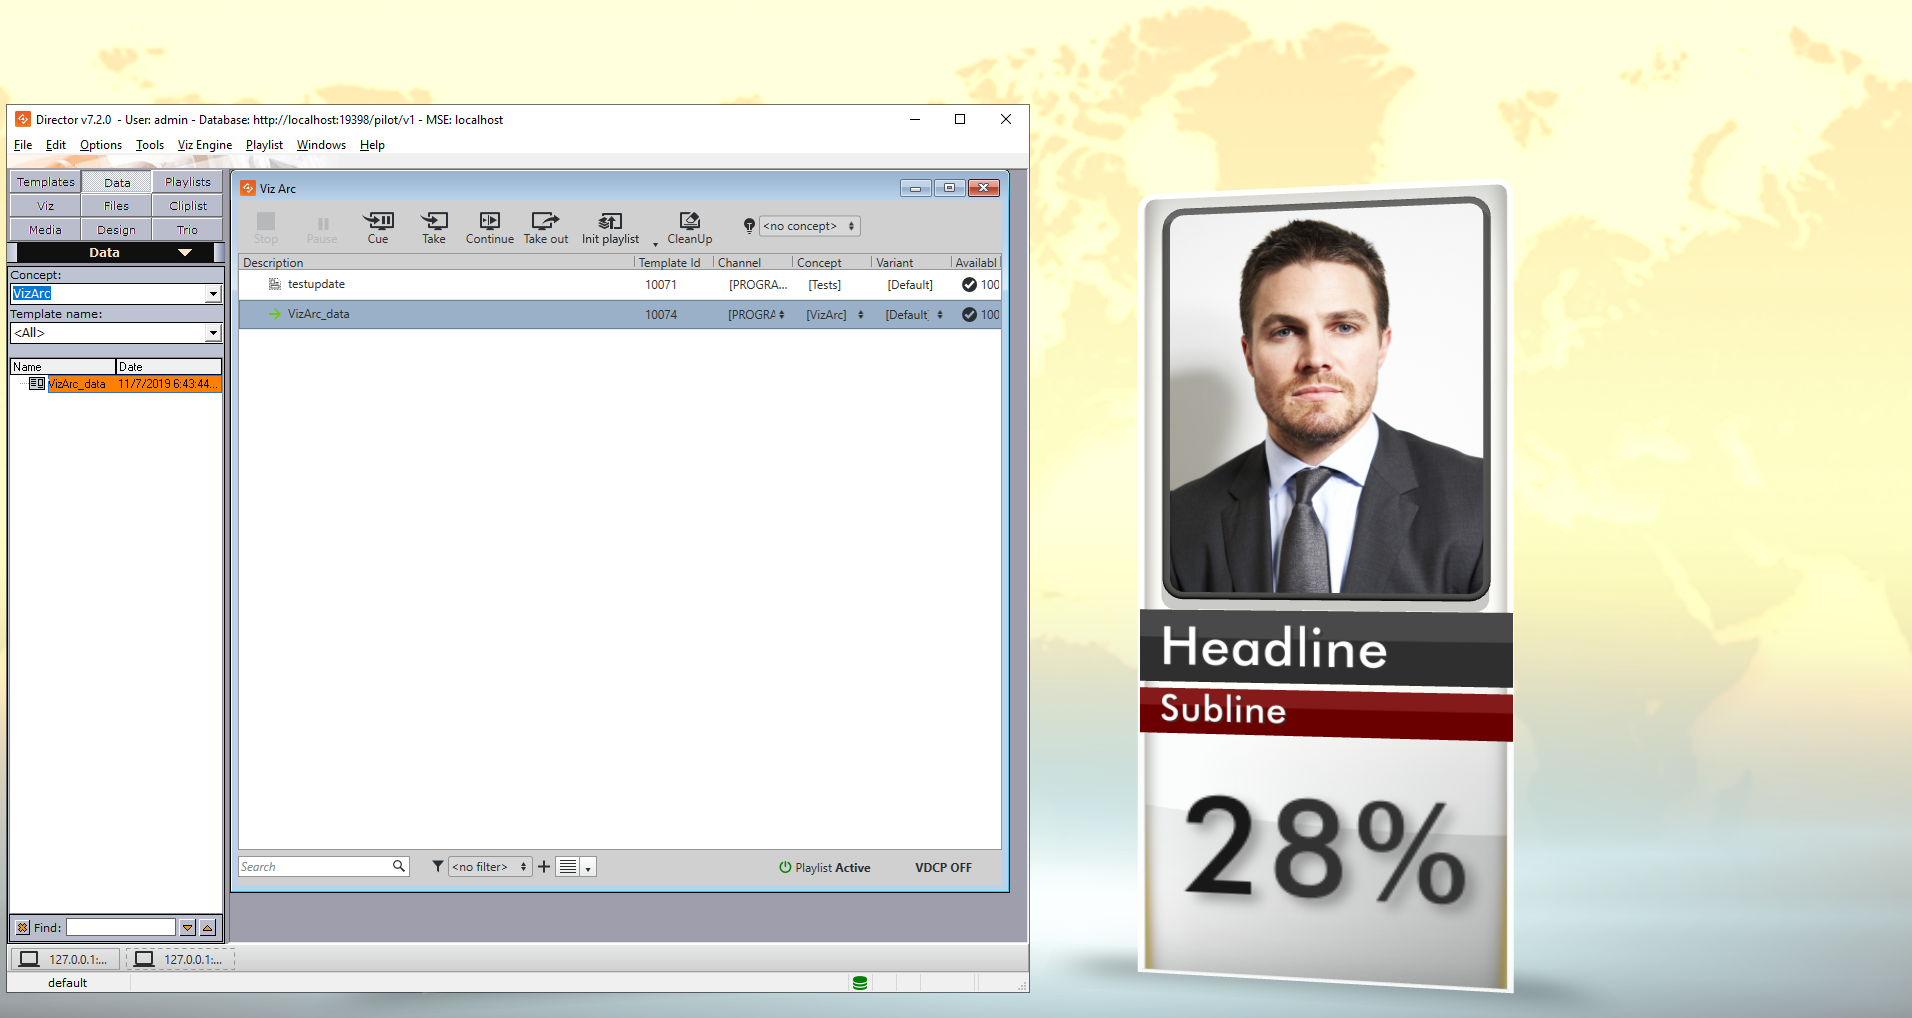
Save Action as Data to Viz Pilot
Once you have created an action in Viz Arc, you can create a Viz Pilot data element and use it in Viz Director as a normal data element.
-
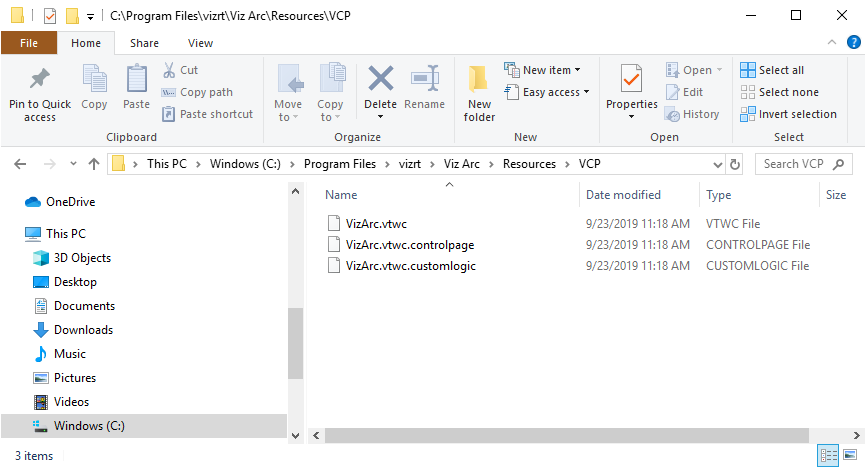
First, import the Viz Arc pilot template using Pilot Template Wizard. The template can be found in the program-data directory (typically C:\ProgramData\vizrt\VizArc”) under “Resources\VCP.
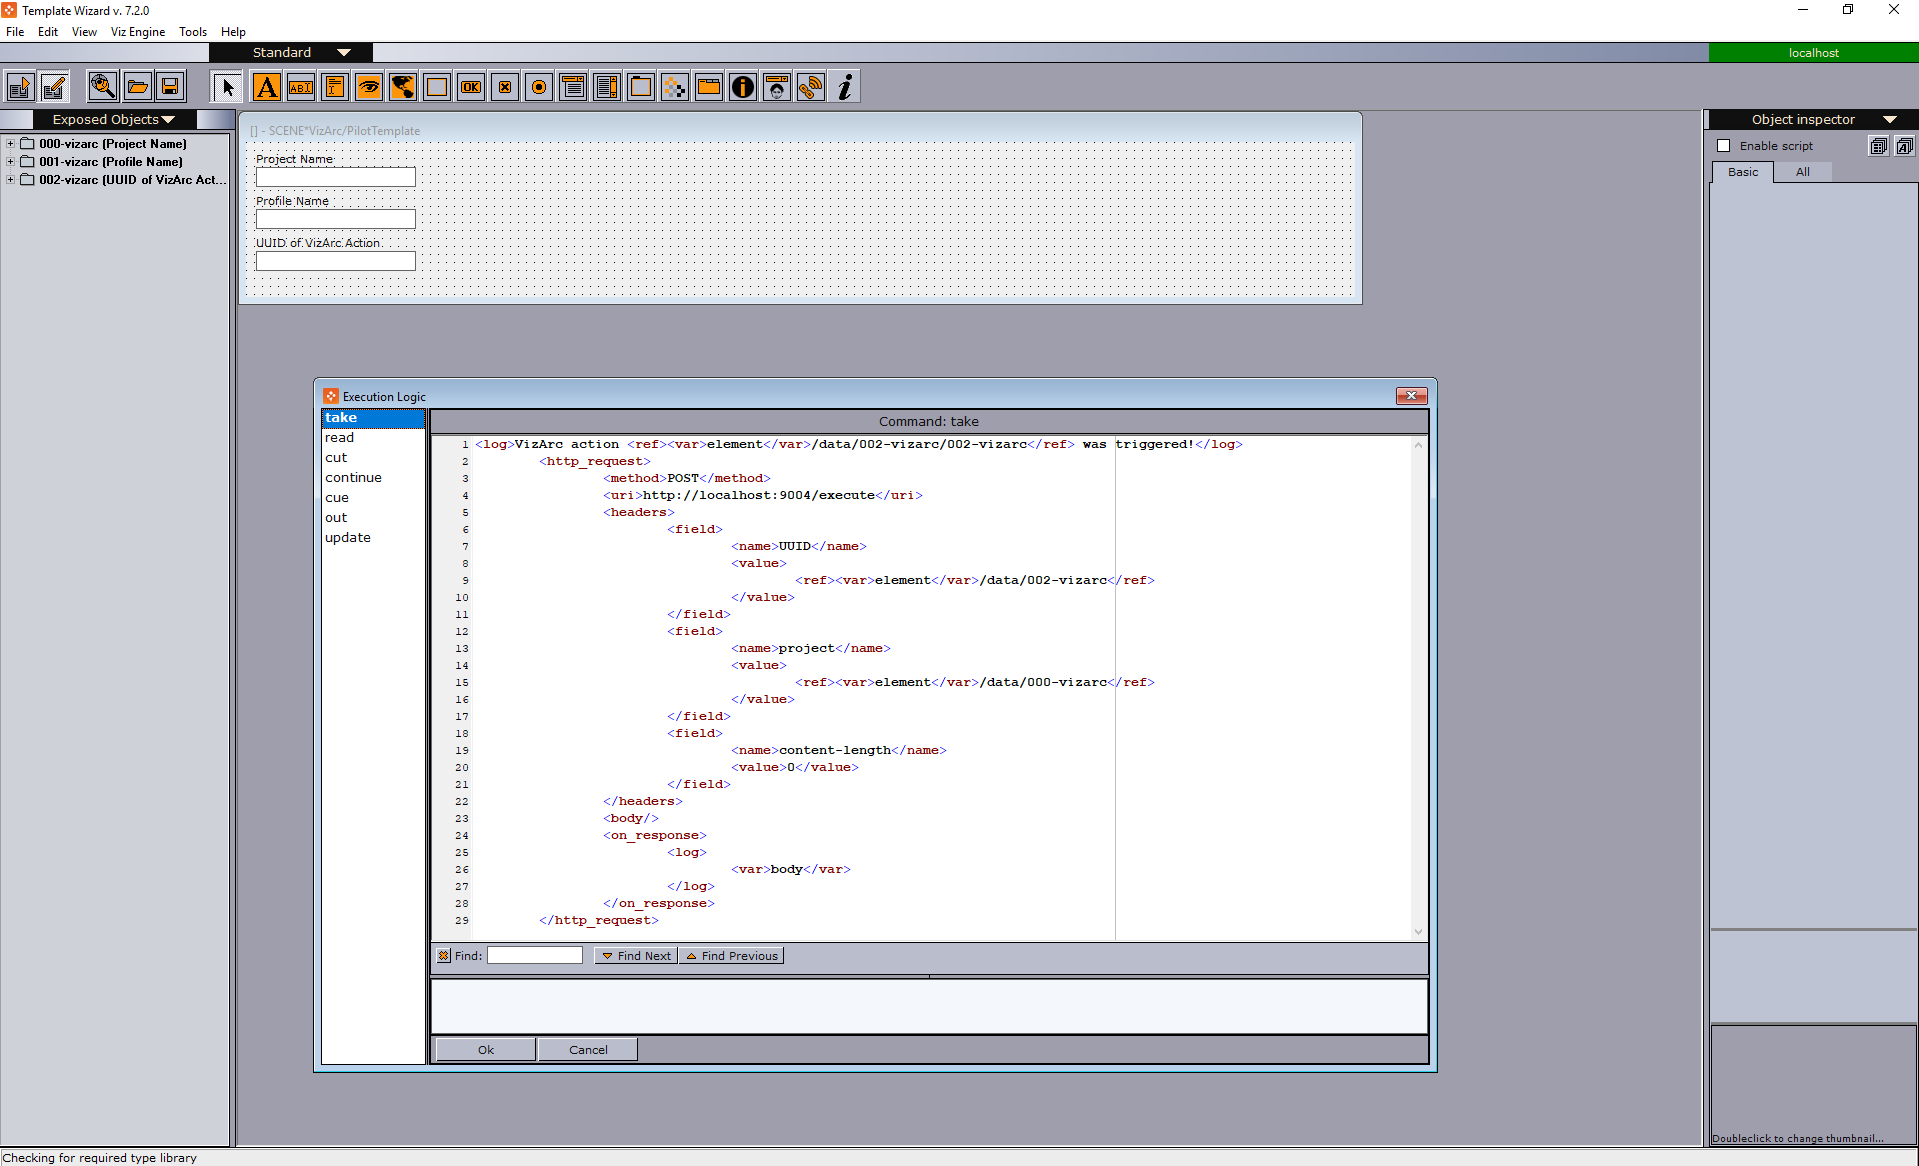
Note: The template has a custom execution logic that performs a REST call when the pilot data element or template is taken On Air.
-
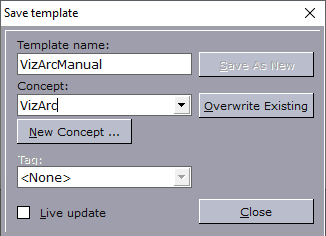
Create your template and save it.
-
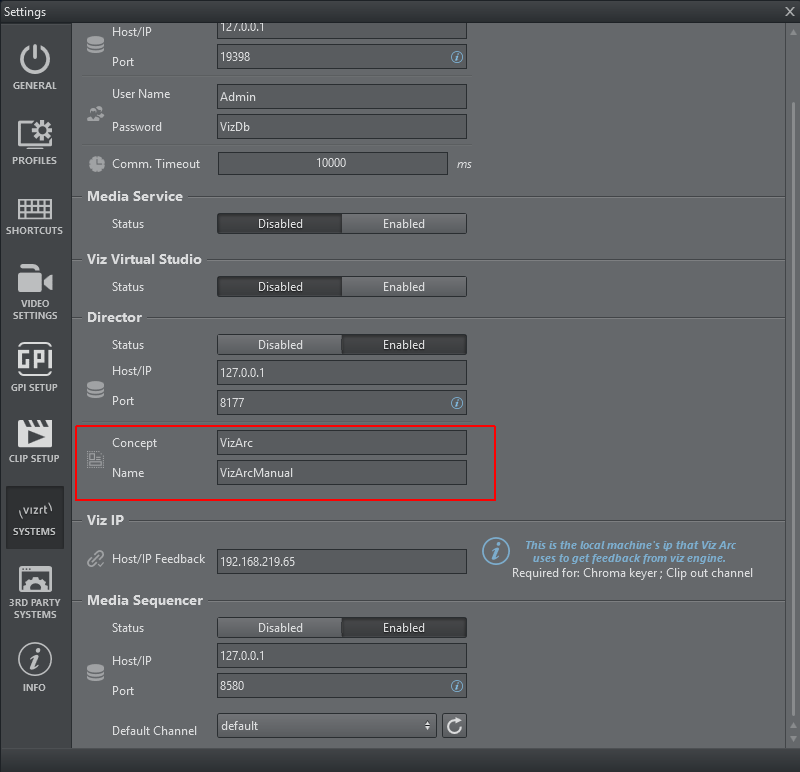
Once you have saved the template, you need to set up a Concept and template in the config panel in Viz Arc.
-
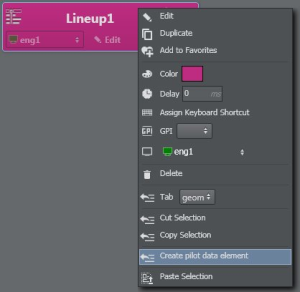
Create an action or select an existing action and right-click on it.
-
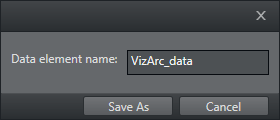
Select Create Pilot data element. The window below appears. Insert a name for the new Viz data element.
-
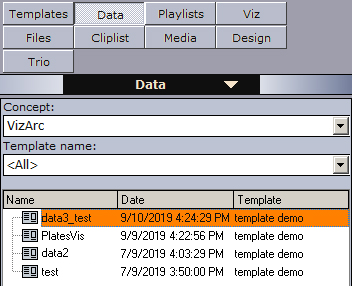
Now, switch to Viz Director and you should see your new data in the Data section. If you can’t see it, right-click on the data list and press Refresh.
-
Once this data is saved, you can operate Director like normal; for example, you can create a playlist and import all Viz Arc data.
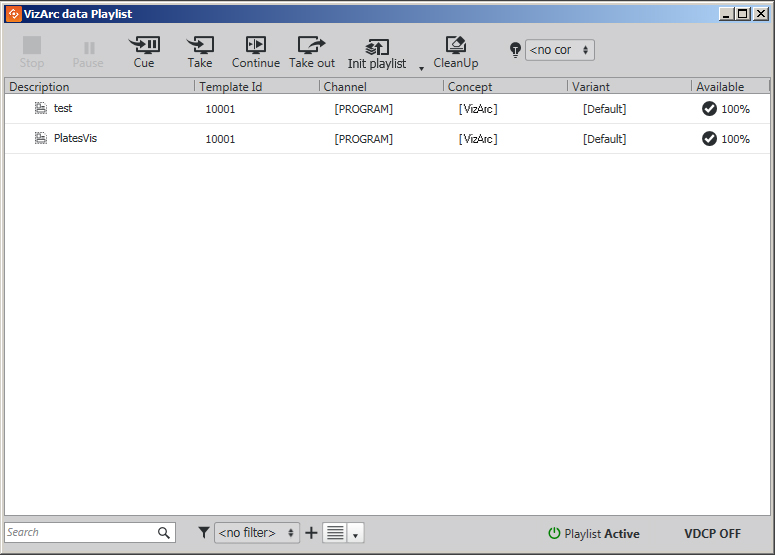
-
Once you have a full playlist, you can go On Air with the Director.
See Also