Viz Arc User Guide
Version 1.8 | Published October 13, 2023 ©
Templates
Viz Arc lets you create custom templates for both Viz Engine scenes and Unreal Engine levels. The templates are fully customizable and a script can be used for even more flexibility, including data integration and custom logic.
Note: Before creating a new template, you must ensure that Graphic Hub has the required Add-Ons to store the templates, see Configuring Graphic Hub.
Creating a New Template
-
Under the Tools section, select DESIGN.
-
Next, click Create New Template.

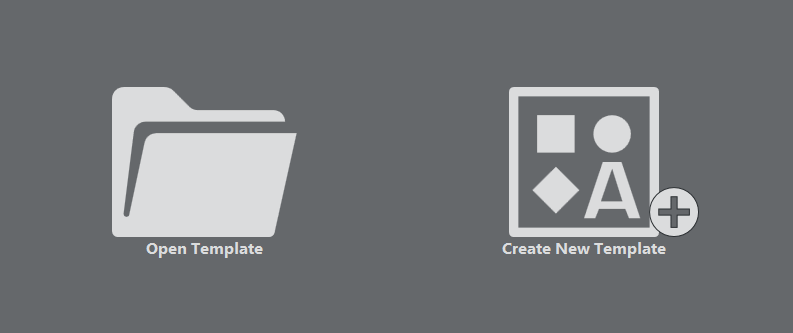
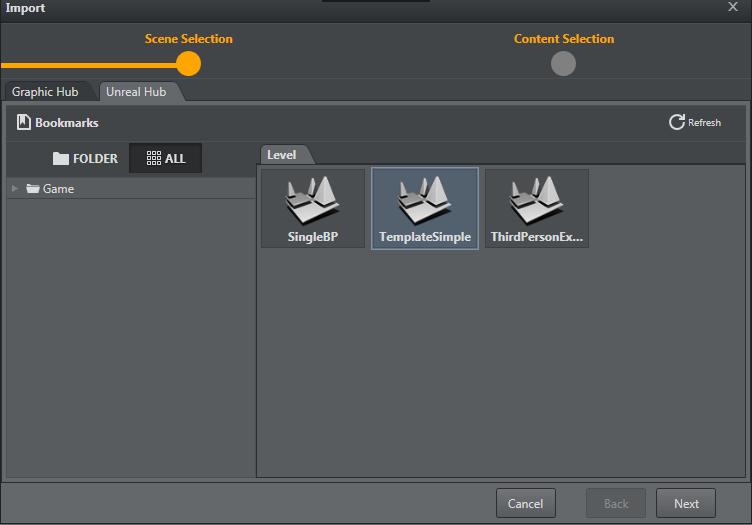
A browser window appears where you can select either a Viz or an Unreal scene:
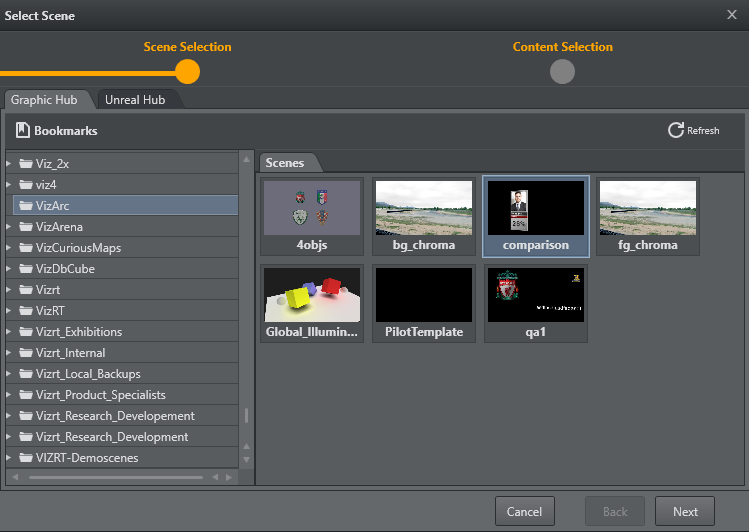
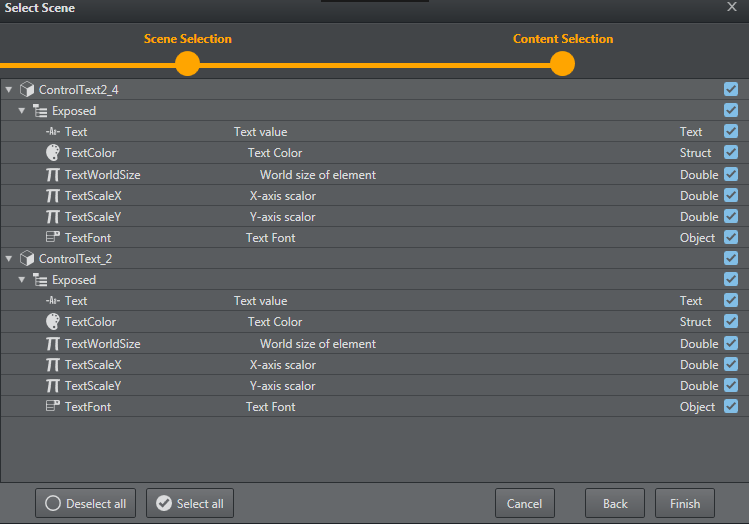
Click Next to view Control Objects found within the scene. Select the Control Objects for which a default UI is to be created:
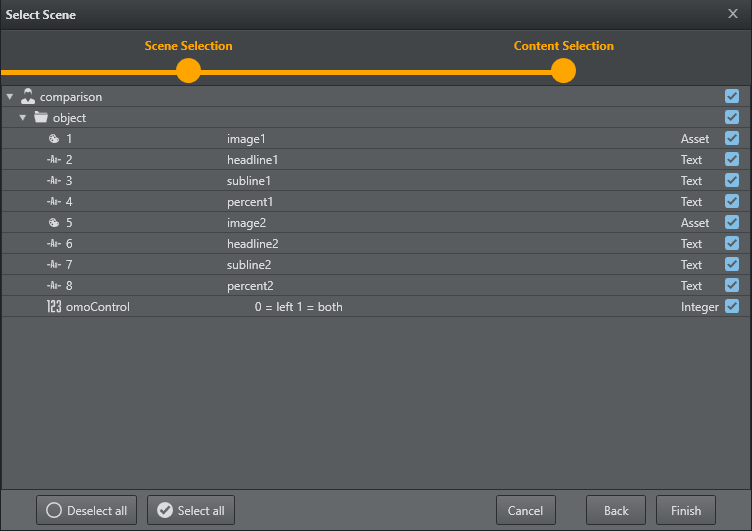
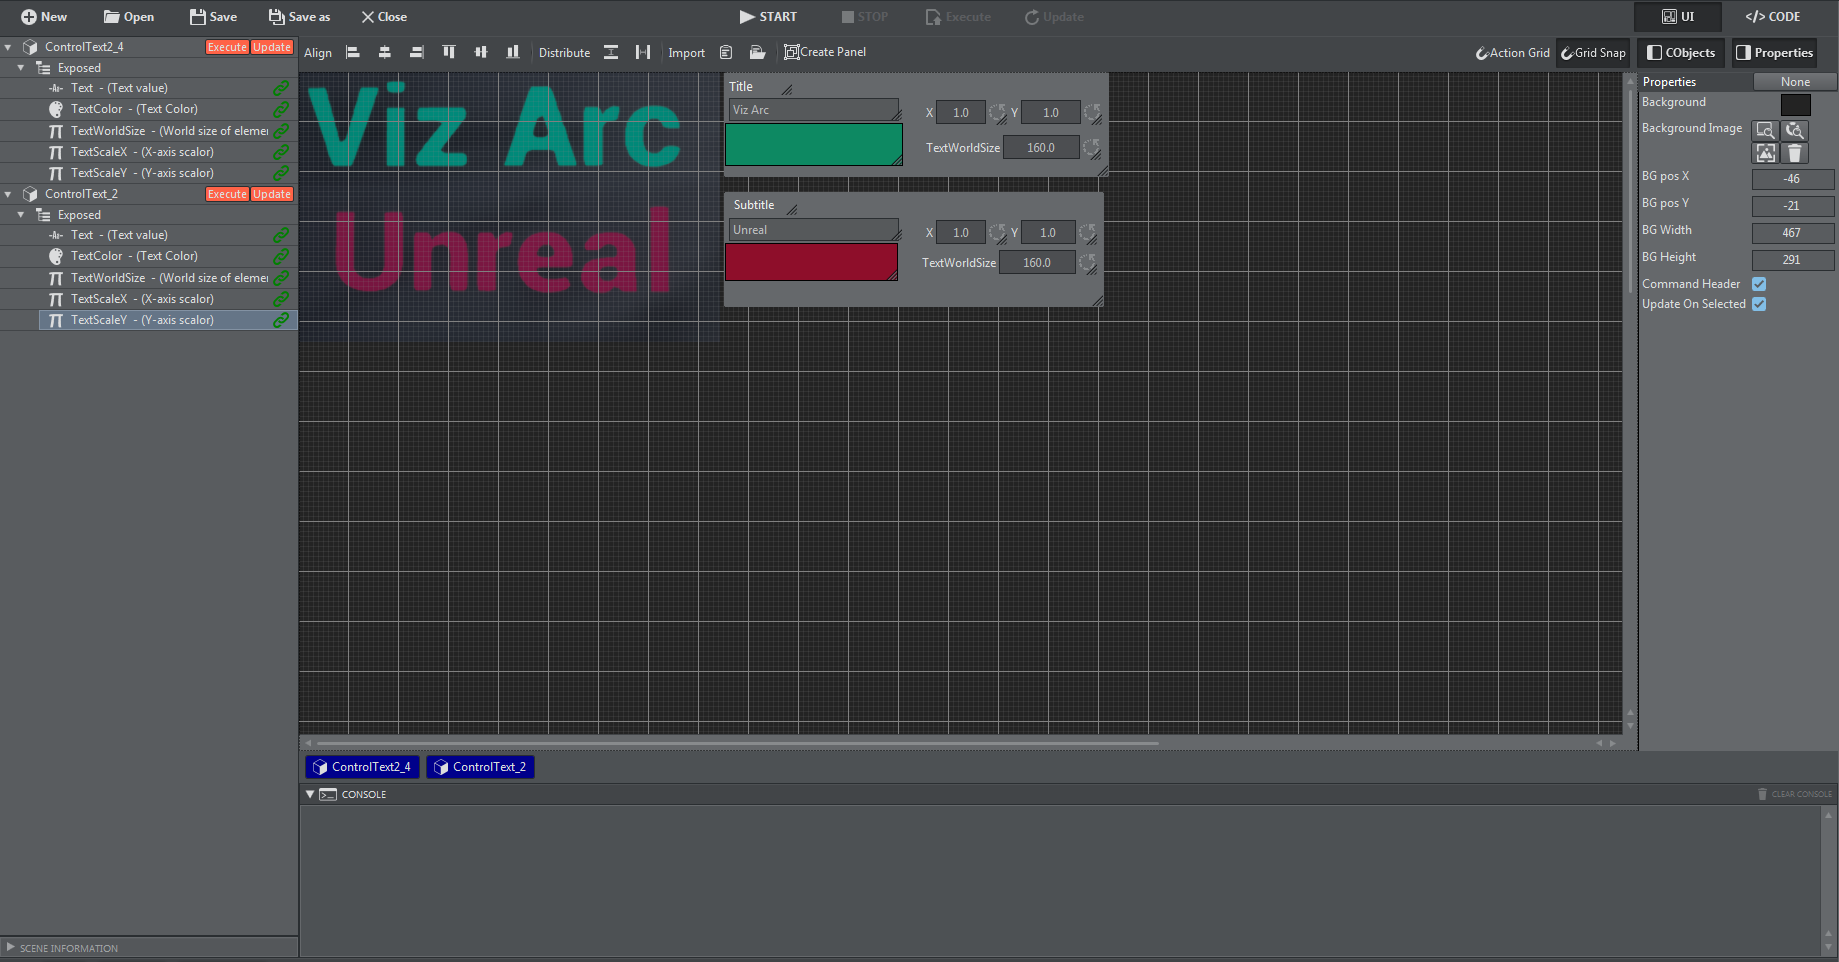
Click Finish. A default UI based on the selected Control Objects has now been created:
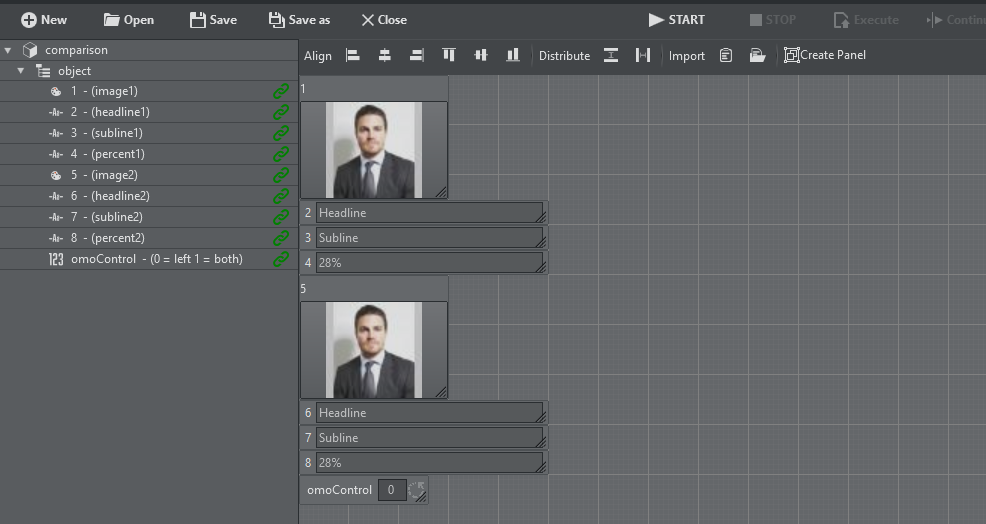
The left hand side contains a list of the Control Objects' IDs along with their description. A green link icon indicates whether the Control Object is linked to a UI element.
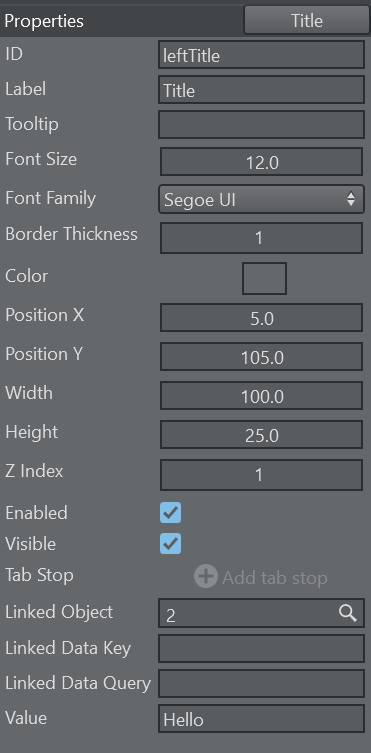
A property panel on the right shows editable properties of the selected UI element, or, in case of multi-selection, the properties that are common to the selection. A sample of a text parameter property:
-
ID: The unique internal ID of the parameter that can be used in the script code to reference the parameter.
-
Label: The label of the parameter.
-
ToolTip: An optional ToolTip.
-
Font Size: The size of the font used in the textual parts of the component.
-
Font Family: The font used in the textual parts of the component.
-
Border Thickness: The border thickness of the parameter.
-
Color: The background color of the parameter.
-
Position X: The horizontal pixel position of the upper left corner of the parameter.
-
Position Y: The vertical pixel position of the upper left corner of the parameter.
-
Width: The width of the parameter.
-
Height: The height of the parameter.
-
Z Index: The z sort index of the parameter. In case of overlap with other parameters this value can determine whether the parameter is in front or behind the overlapping component.
-
Enabled: Whether the parameter is usable for user interaction.
-
Visible: Whether the parameter is visible to the user.
-
Tab Stop: The order of the tab-stop.
-
Linked Object: In case the parameter is linked to a ControlObject ID or a Blueprint variable.
-
Linked Data Key: The name of the DataMap key (see DataMap Linking).
-
Linked Data Query: The query for the DataMap value (see DataMap Linking). Can be empty for simple data mapping.
-
Value: The actual value of the parameter.
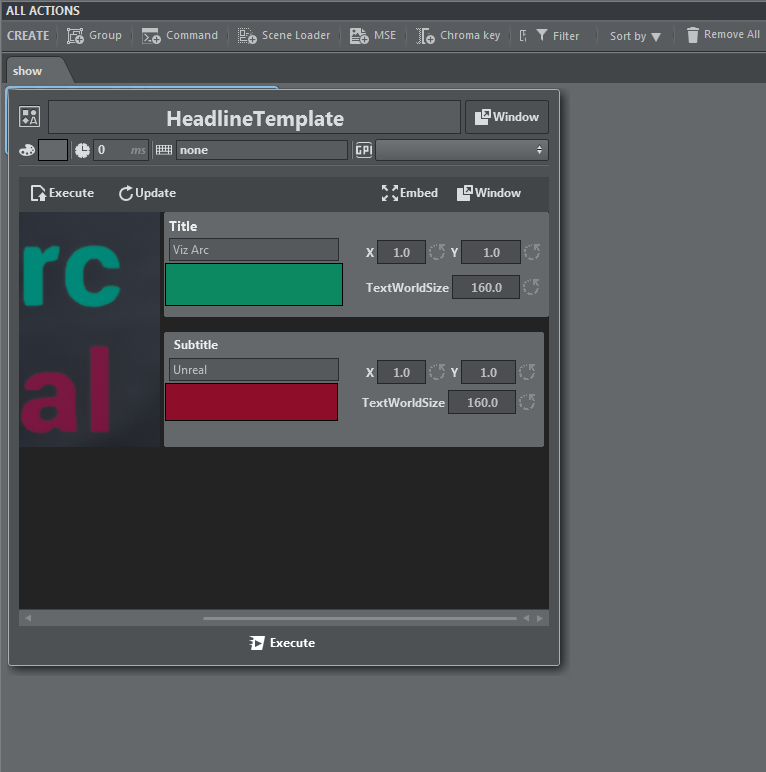
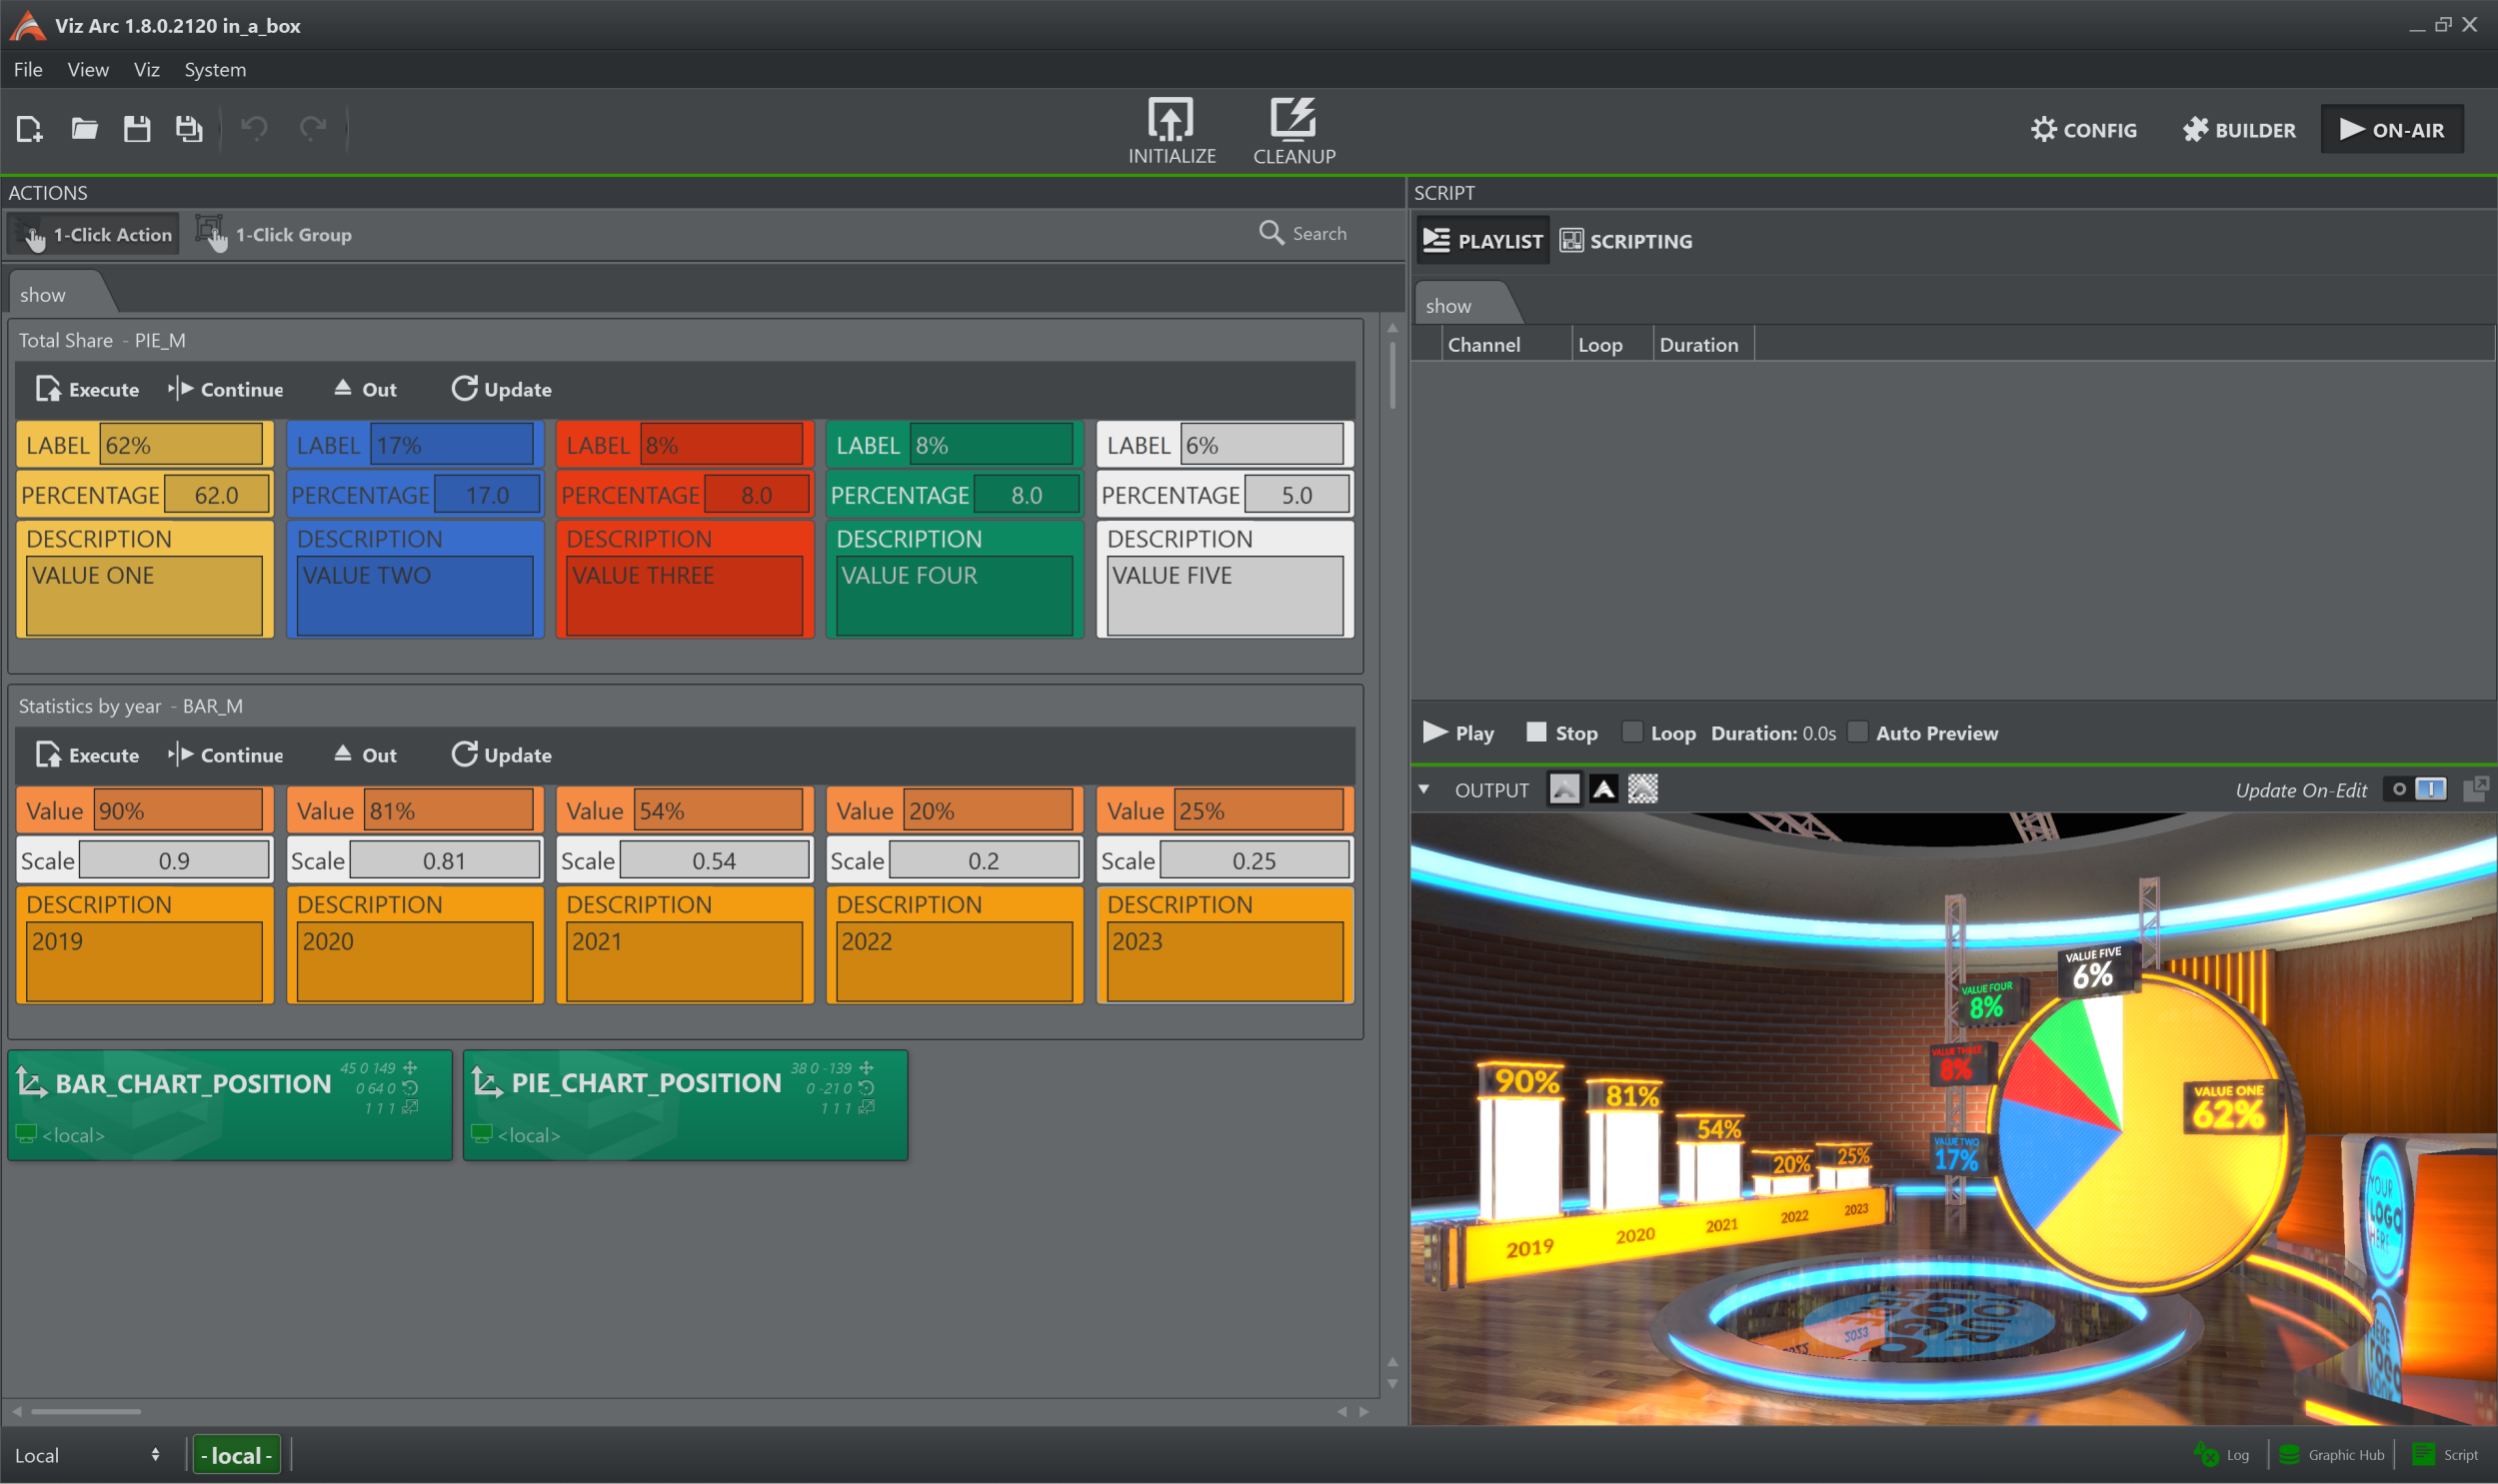
Using a Template
Templates are available in the action panel.
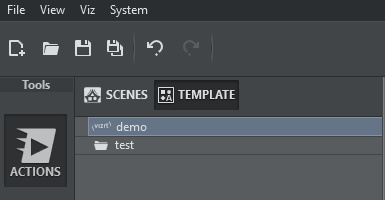
The list of templates can be refreshed by right-clicking on the template list canvas and selecting Refresh from the context menu.
To create an instance of a template, drag and drop it to the action canvas.
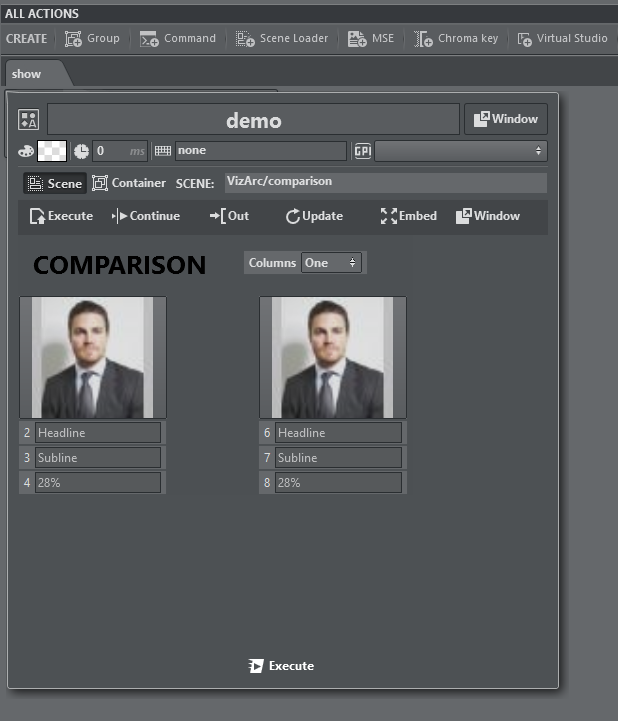
The template action can be opened in the same way as all other actions in a popup window. It can detached as a window that always stays on top, or embedded into the action canvas using the Embed or Window buttons  .
.
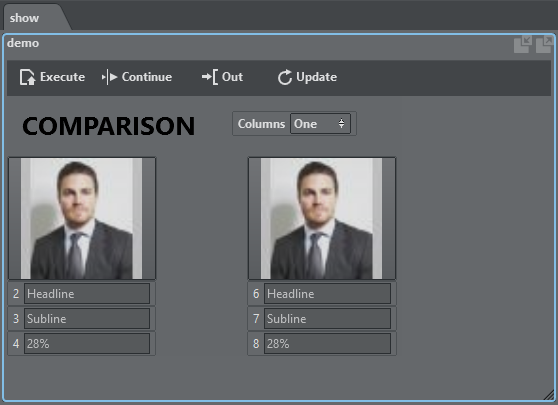
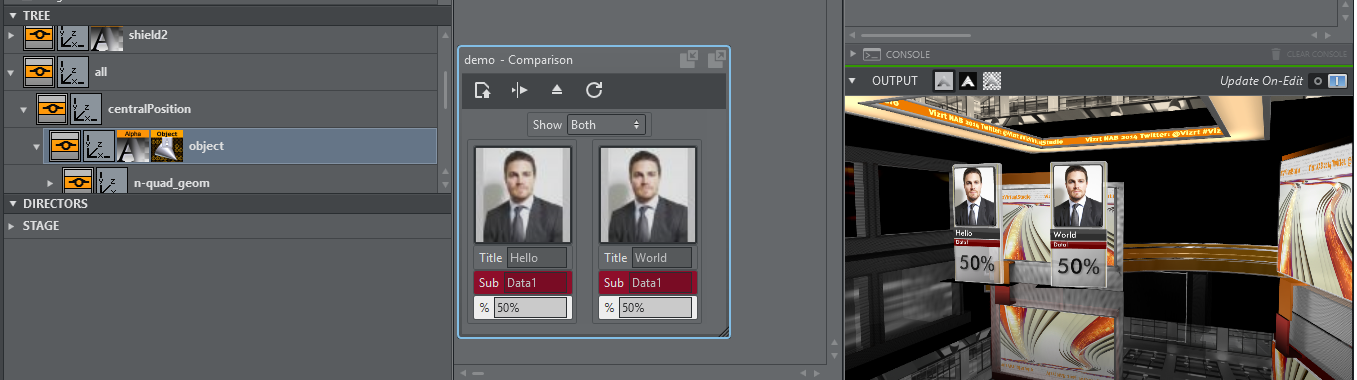
Template action as an embedded window is shown above. The embedded window can be resized by percentage or by using the resize grip in the bottom right corner of the action.
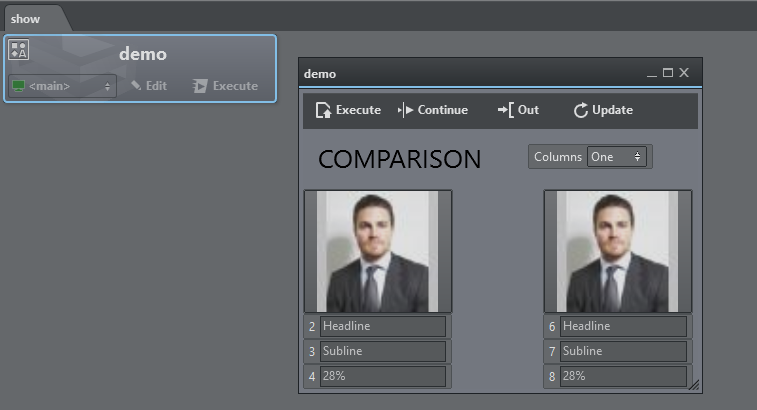
Template action as a detached window is shown above.
You can zoom in and out of each template action using the shortcuts CTRL + to increase size, CTRL - to reduce size, and CTRL + 0 to restore the original size.
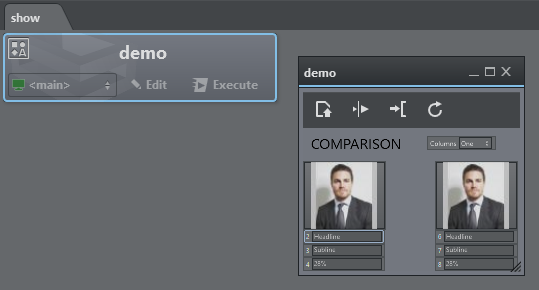
A zoomed out version of a template action window is shown above.
Global Template Properties
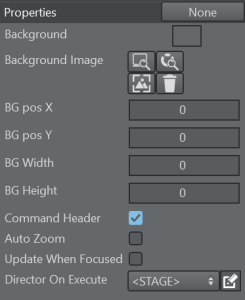
When creating or modifying a template and when in the UI editing mode, click on the background canvas to access a template's global properties:
-
Background: Sets a default background color. When dragging the template onto the action canvas, the action color will be the background color.
-
Background Image: Lets you choose a background image for the template either from a local file system, the GH or the Media Service. The snap button grabs the current frame of the editing Engine.
-
BG pos X: The horizontal pixel position of the background image.
-
BG pos Y: The vertical pixel position of the background image.
-
BG Width: The pixel width of the background image.
-
BG Height: The pixel height of the background image.
-
Command Header: Whether the template will display the default command header (Execute, Continue, Update, Out).
-
Update When Focused: When enabled, the template will receive callbacks only when the template is selected, has focus, and is opened in either embedded or window mode. Relevant callbacks are: OnTimer, OnStreamDeckKey, OnDataMapValueChanged.
When disabled, the template will receive those callbacks when instantiated on the action canvas in any form (embedded, windowed or closed and without being explicitly selected). -
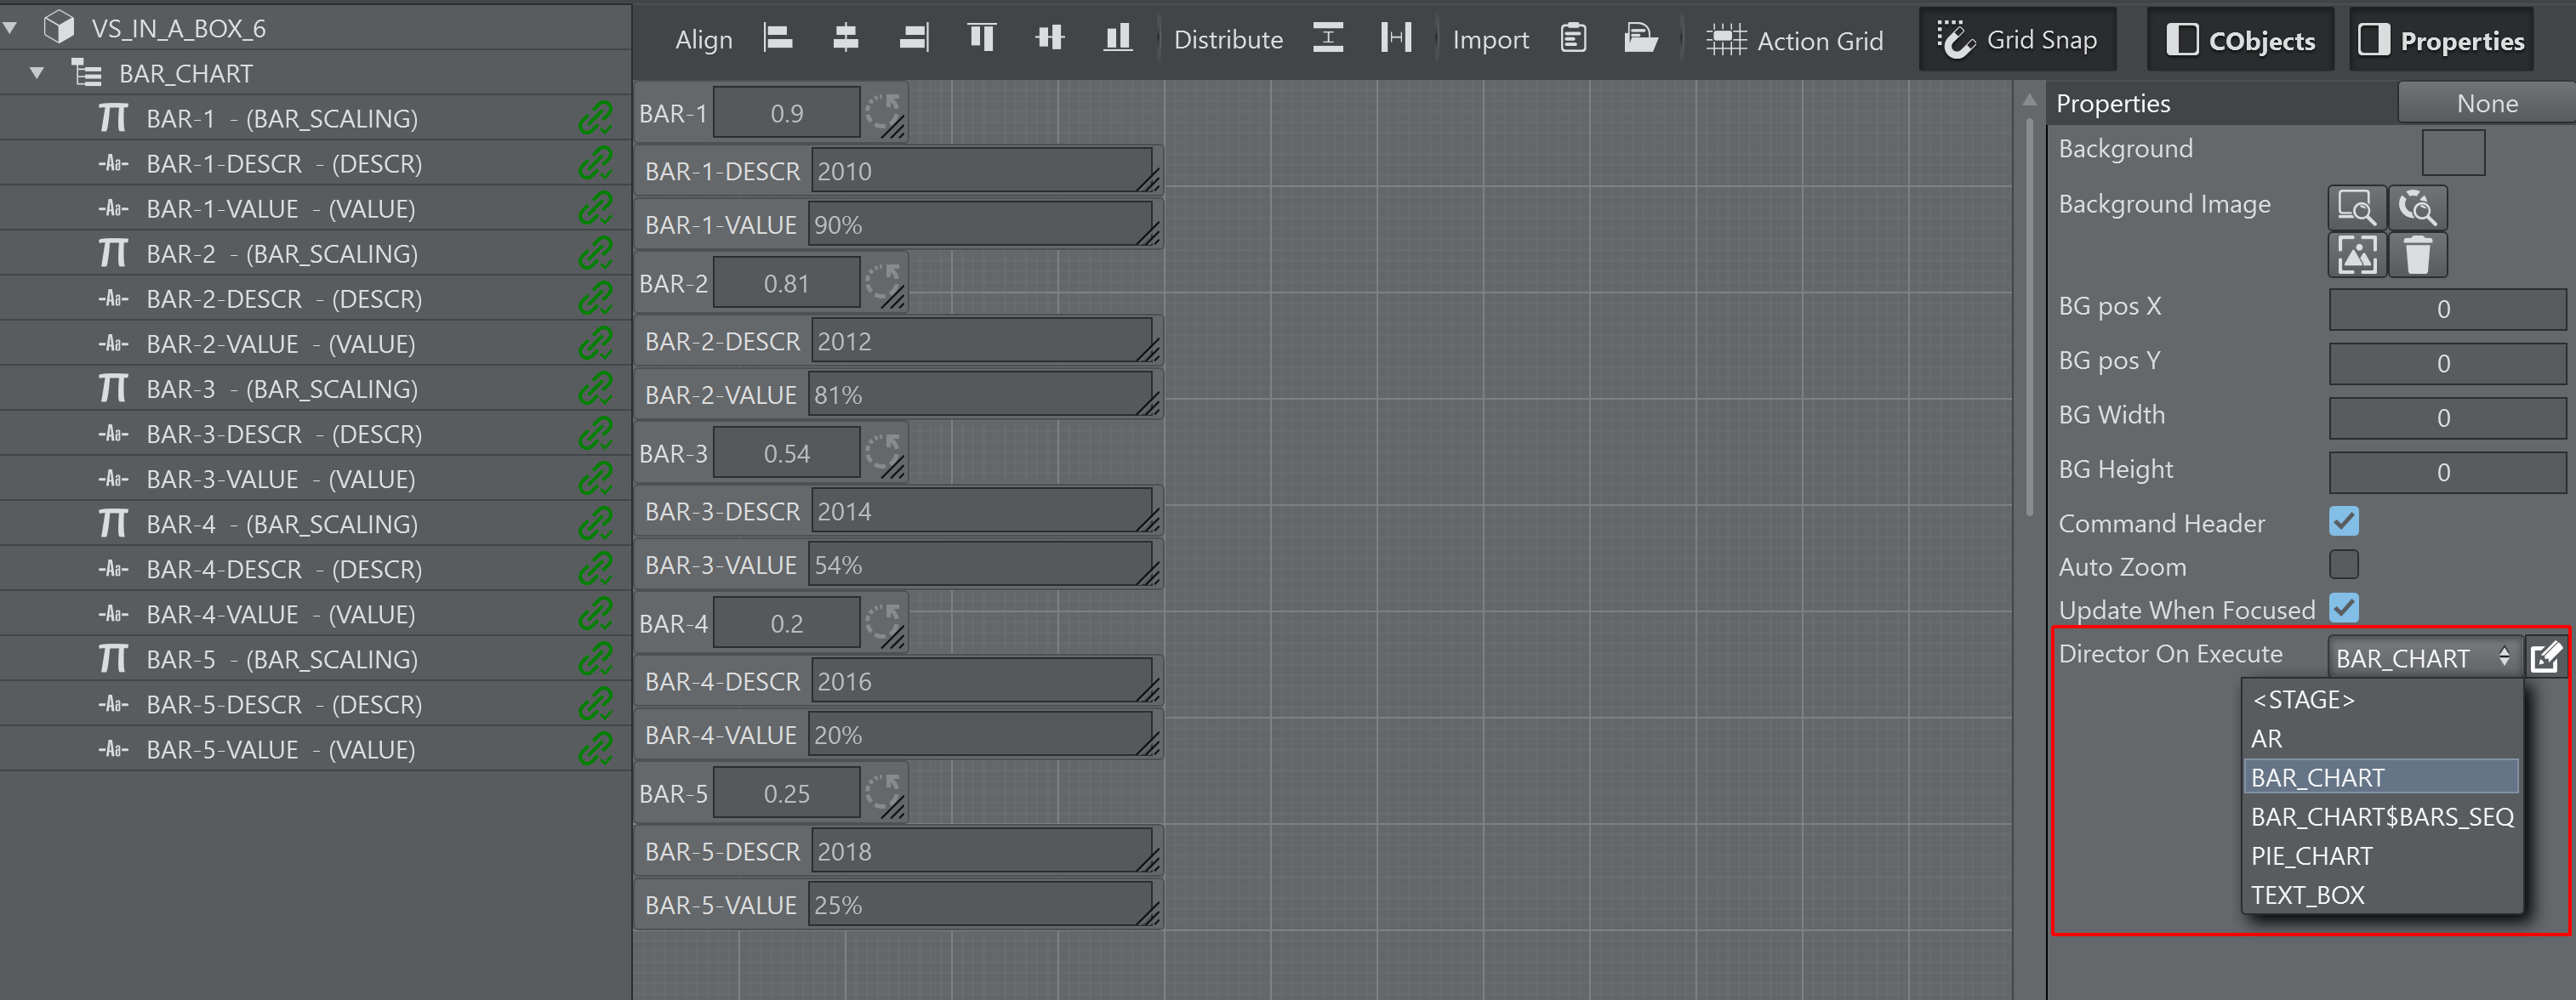
Director On Execute: This dropdown menu contains the list of directors of the scene. Select a director that should be triggered when executing and continuing the template. By default the entire Stage is animated when <STAGE> is selected.
Template Controls
![]()
Execute
A template action can be triggered using the Execute button above the template or through the system keyboard shortcut Execute Selection. When the action is collapsed, the regular Execute button on the action does the triggering. When executing, the scene that is associated with the template is loaded, the Control Objects are being updated and the stage is being played. In case an engine of the associated channel has a Concept configured, the scene in that concept is loaded.
Continue
The Continue button or the Continue Selection keyboard shortcut sends a continue command to the scene stage. When the action is collapsed, the Execute button executes a Continue when clicked with the right mouse button.
Out
The Out button or the Out Selection keyboard shortcut removes the scene associated to the template from the renderer, thereby causing a hard out.
Update
The Update button or the Update Selection keyboard shortcut sends the currently set Control Objects to the renderer and update the values accordingly. This can be useful for updating live data while a scene is on-air.
Info: The system Execute Selection, Continue Selection , Out Selection and Update Selection shortcuts only work when a single action is selected.
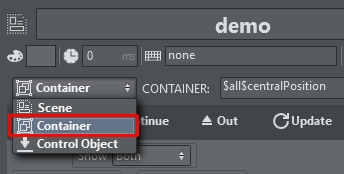
Adding Templates to a Master Scene
By default, a template action is triggering a stand-alone scene and is thus useful for simple lower third graphics, tables etc. When editing the template action, it's possible to toggle the destination of the template's action to a container path of another scene.
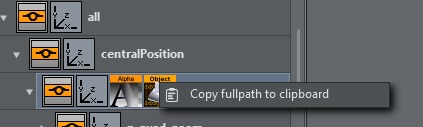
The container path can be entered manually or can be obtained from the scene tree by right clicking the desired container and selecting Copy full path to clipboard.
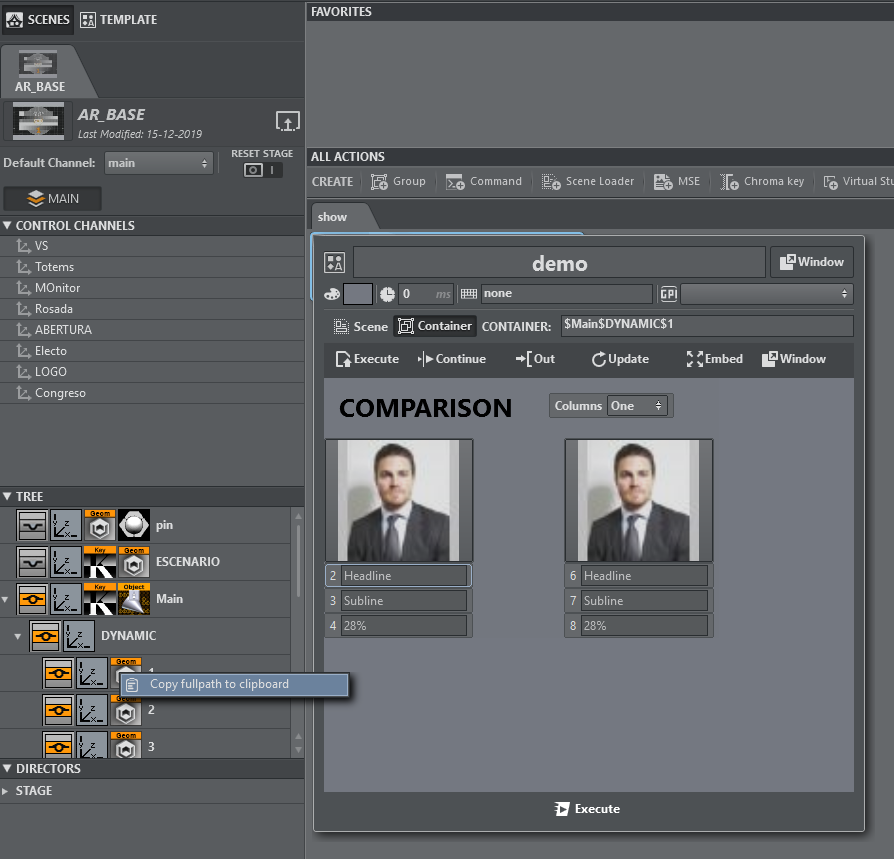
Executing those actions results in the objectified object being loaded into the destination container path and the respective Control Objects being updated.
Another way to insert template scenes into a master scene is the following:
-
Create your template based on a separate scene.
-
Insert manually the objectified geometry into you master scene.
-
Split the merged geometry.
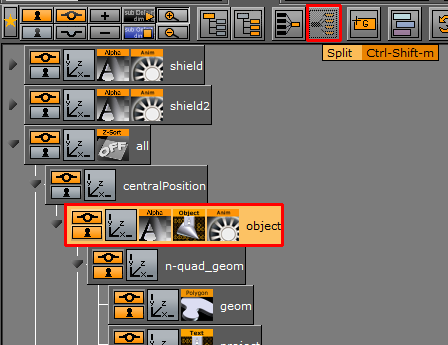
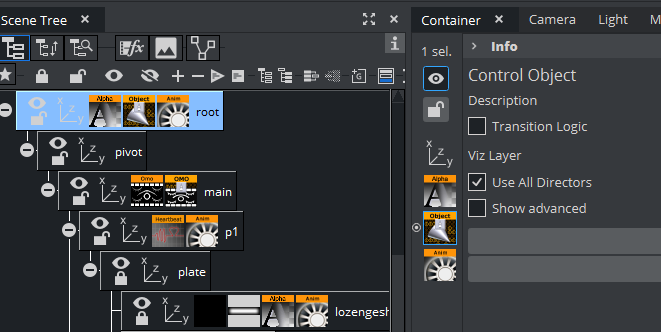
You'll obtain a container containing your top ControlObject as in the stand-alone scene. -
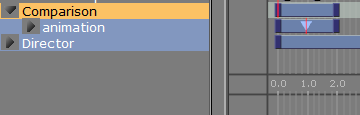
Locate the director and re-arrange and rename in the Viz Artist stage, if necessary.
-
Save the scene and reload it in Viz Arc.
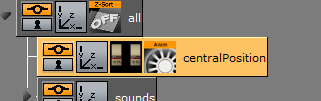
Copy the full path of the container containing the Control Object. -
In the template select Control Object, paste the container path to Control Object and the path to its Director to Director.
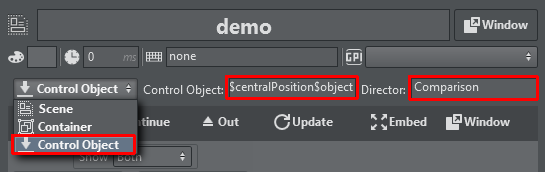
You'll be able to operate your template with execute/continue, while the scene is embedded in the AR/VR master scene.
-
In case a scene is loaded in the scene tree as a SUBSCENE, manually append the string *SUBSCENE*TREE*$PathToControlObject .
As an example, consider a scene with a container $scene1.
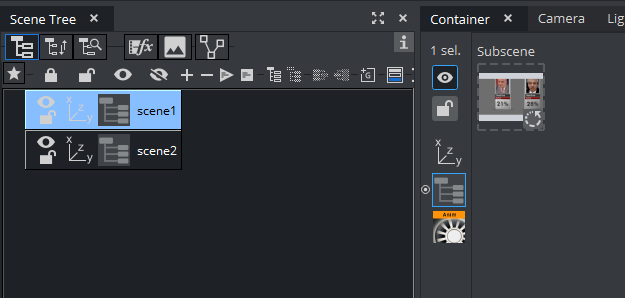
This container contains a SUBSCENE, on the subscene another scene is loaded that has a ControlObject on the $root container.
A template can now be used to control the controls of the subscene using the path $scene1*SUBSCENE*TREE*$root in the Control Object input field.
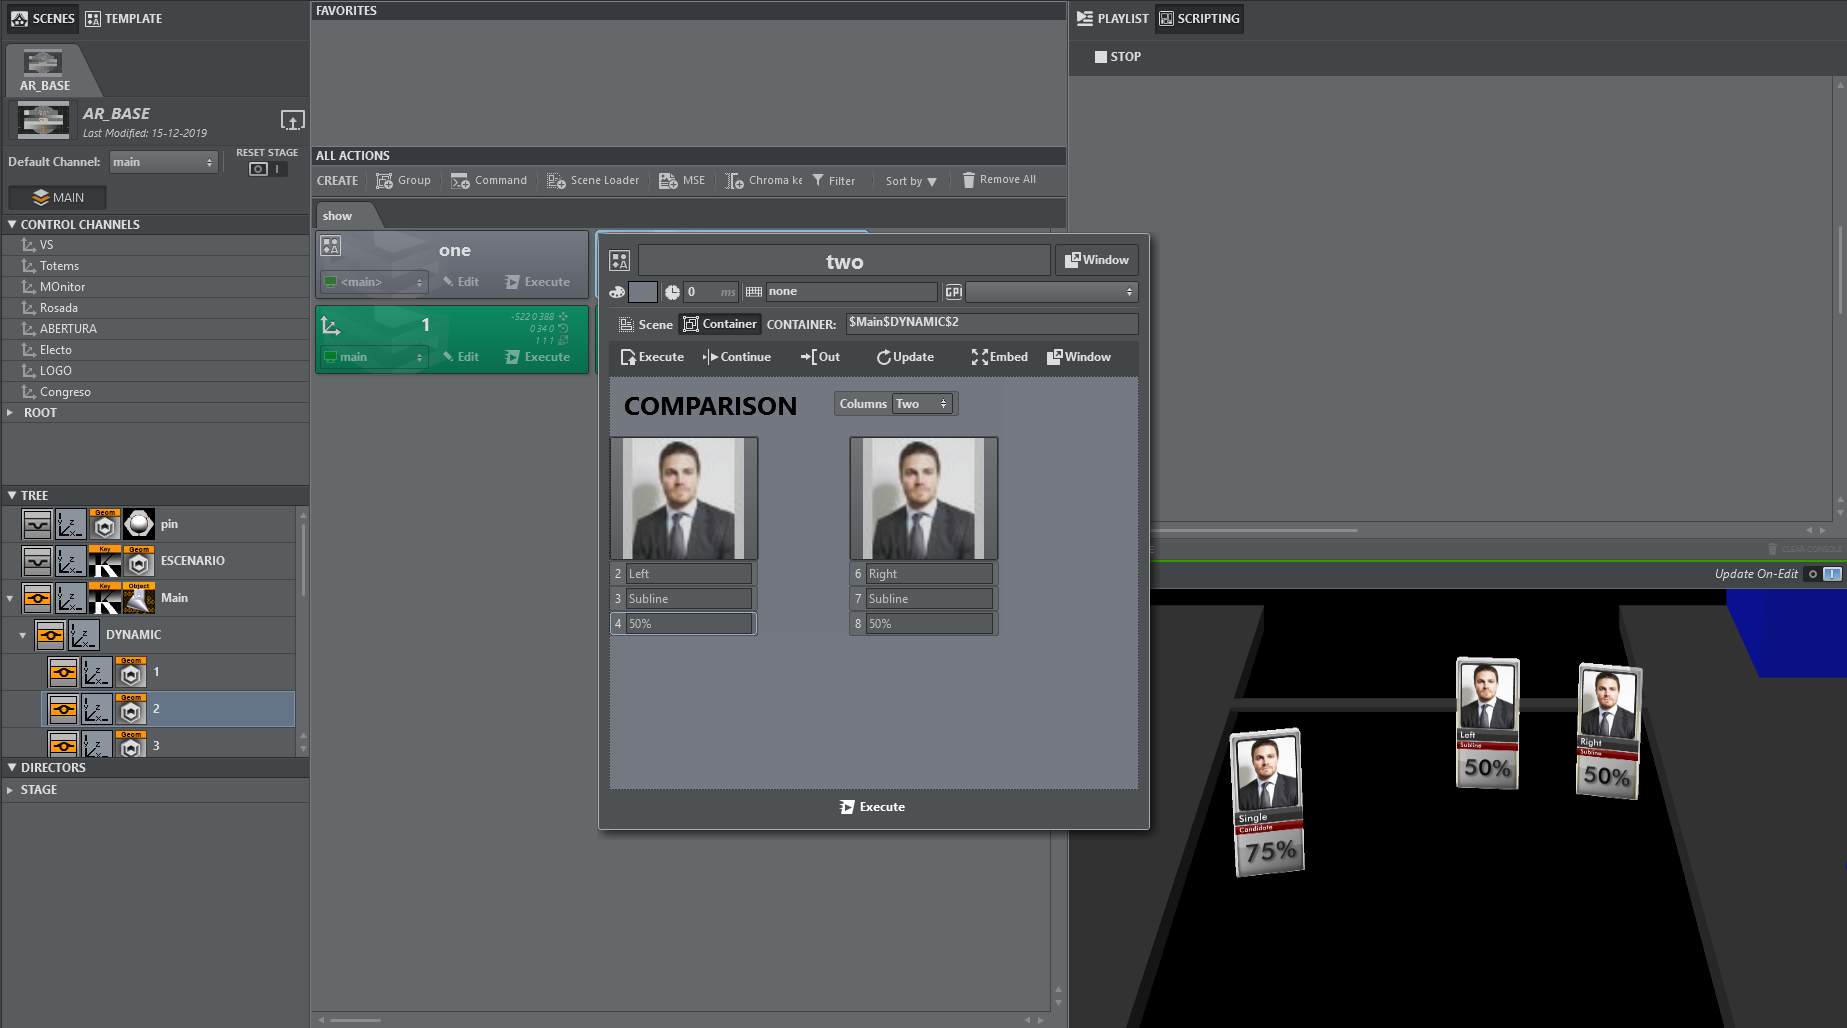
Using Templates on a Scene Containing Multiple Top Level Control Objects
Within a large AR scene, you might want to create subtrees separating different graphics elements. For example, a subtree containing a bar chart and another subtree containing a pie chart graphics.
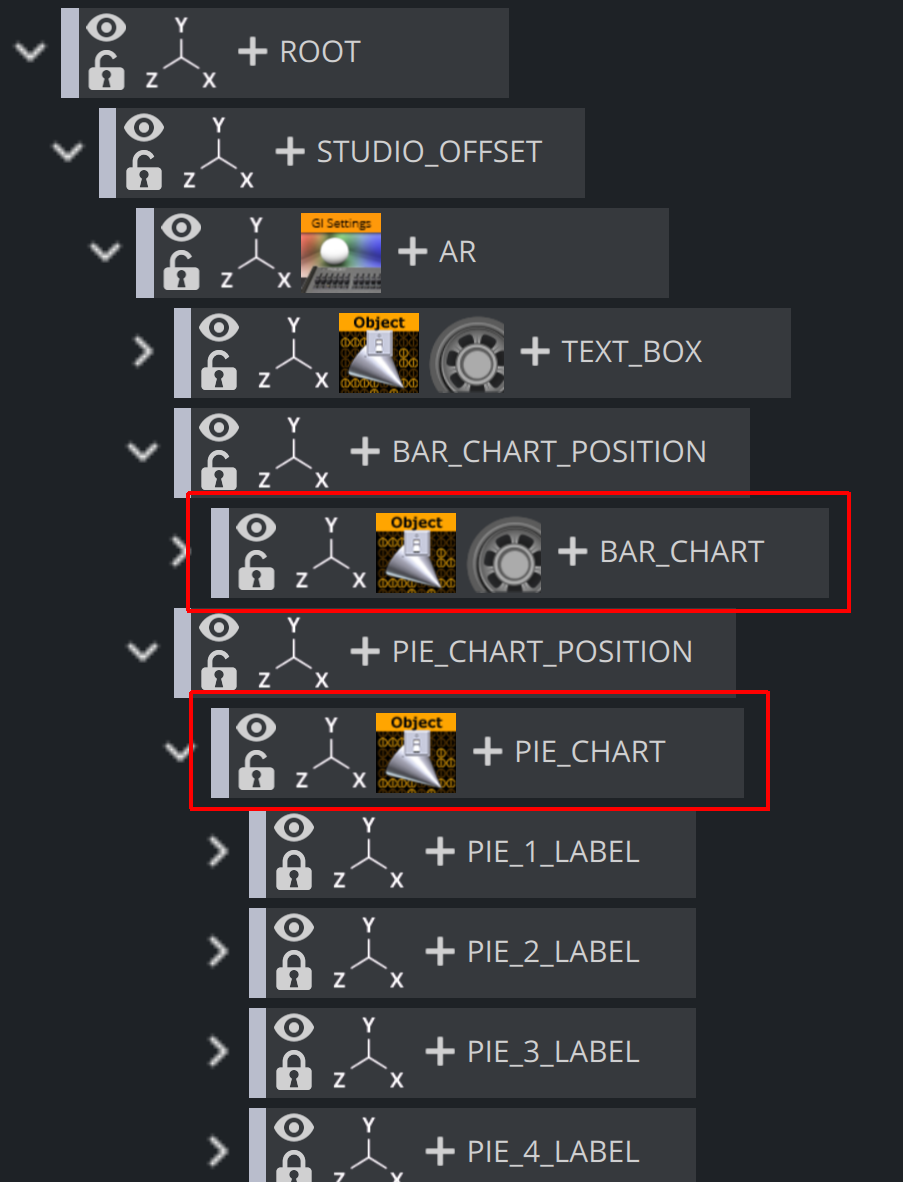
When using this kind of tree structure having Control Objects spread around the scene as sibling nodes, it is possible to directly create templates for each individual top level Control Object.
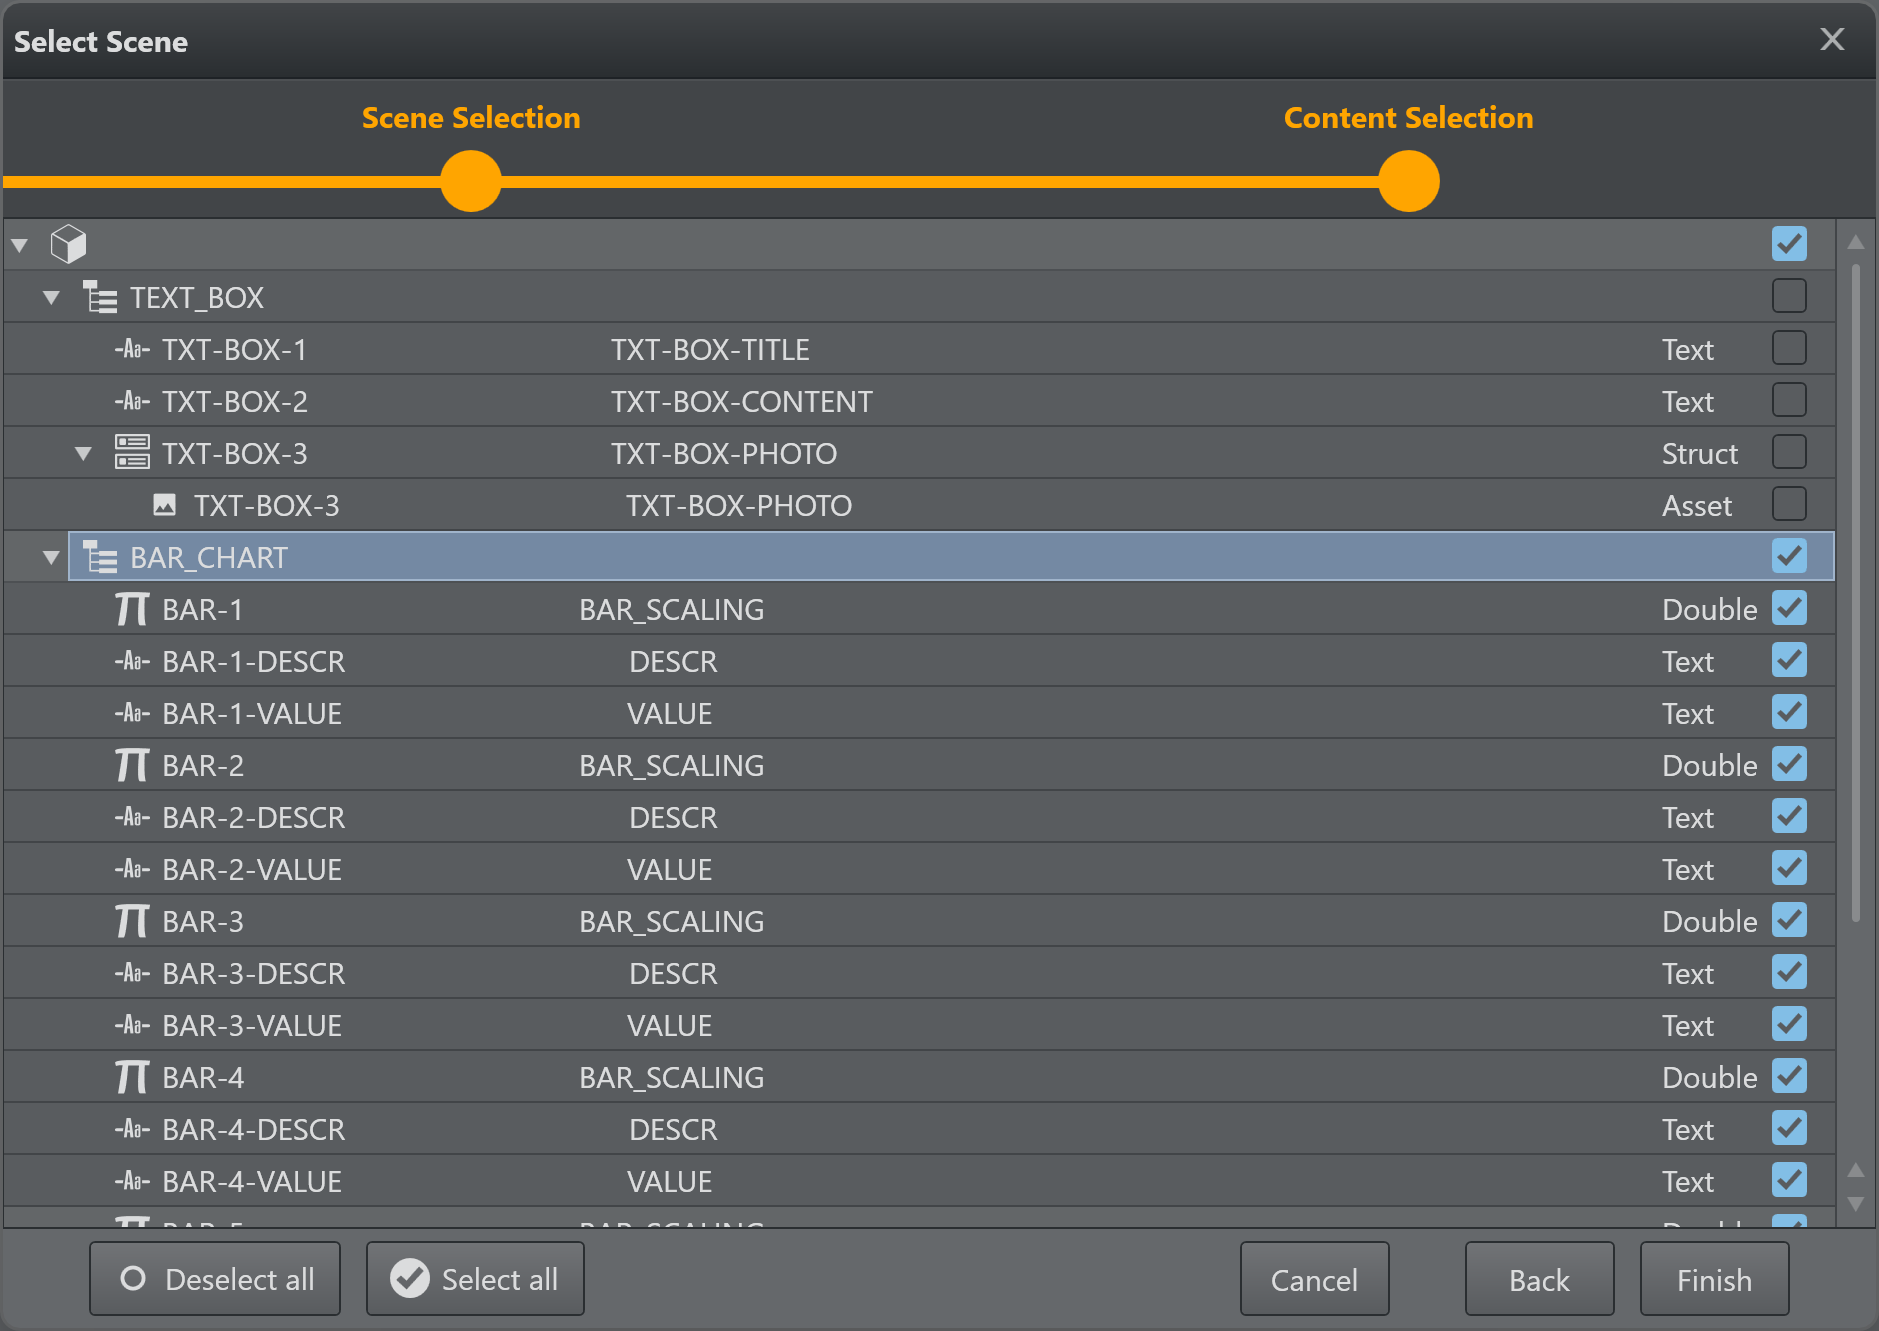
While creating a new template by selecting the scene from the Graphic Hub, you'll be able to select either one of the top level controls. You cannot control multiple top level control objects from within a single template.
Once a Control Object is selected for the template, choose which director should be used when executing the Execute and Continue buttons of the template. The selection can be found on the template background property when clicking any empty space on the template canvas. The subscene director has to be built in such a way that there is a stop point when the graphics are fully animated in and that a continue command animates the graphics out again.
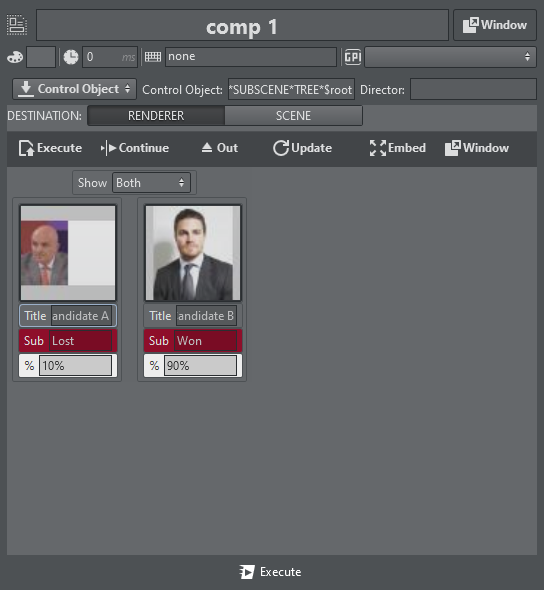
Once the templates are finished they can be uses as embedded templates on the action canvas. The operator can trigger the different elements individually.
Unreal Templates
Creating a New Unreal Template
The process of creating an Unreal template is almost the same as that for creating Viz templates, with a few slight differences.
Creating an Unreal Template
-
Go to the DESIGN section.
-
Click Create new template to open the wizard.
-
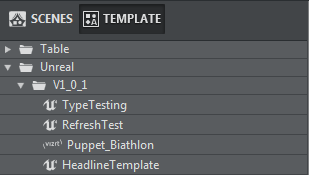
Select the Unreal Hub tab and select a level.
Upon selecting a level and clicking Next, the level is set on the configured Unreal editing Engine and all of the blueprint actors and the level blueprint are parsed and displayed on the following screen (as shown below).
The list displays all the blueprint actors found and a list of their categories and exposed objects. You can then select which are to be created when finalizing the template creation.
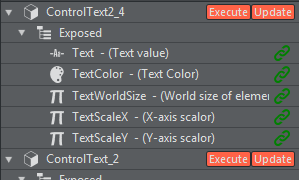
Unreal-specific Features
The Unreal template in the screenshot above contains the following Unreal-specific features:
Template Controls
Only Execute and Update are available for Unreal templates.
Unreal Function Integration
Under the parameter canvas, there is a horizontal bar containing all the existent blueprint actors. Clicking the bar opens a popup where you can decide if the template should call a function on Execute and/or on Update, and which function (defined on the Unreal blueprint) should be called.
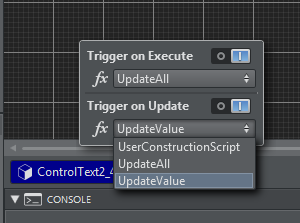
Note: The list of blueprint functions (function drop-down) will only display those functions that have no input parameters.
Blueprint actors with functions set for Execute/Update have an orange indicator after their name on the left side panel of the DESIGN section, as seen in the Unreal template screenshot at the beginning of this section above.
Using a Template
You can access all saved templates on the action panel. Unreal templates can be identified by the UE4 icon that precedes the template name.
Unlike the Viz templates, the edit popup of an Unreal template contains no option for how the template should load (Scene or Container); the available controls also differ.