Viz Arc User Guide
Version 1.8 | Published October 13, 2023 ©
General Workflow
This section provides an overview of the general workflow in Viz Arc.
Viz Arc is based on Projects. A project defines the scene or scenes to be used in any given production as well as the different buttons called Actions that control the desired scene properties, such as transformations or triggering animations.
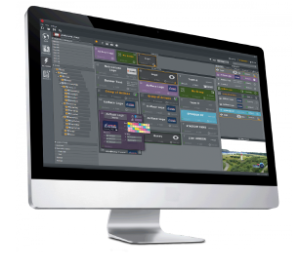
The interface has two main modes, Builder and On Air:
-
Builder mode: Users are able to configure and build all the needed actions for the operation.
-
On Air mode: Users can execute and manage existing actions, but have limited functionality on creating new ones.
Creating and working with projects is simple, just follow the steps below.
-
Add a scene to a project to start creating actions that control your scene.
-
Actions can be created by dragging and dropping the property you wish to control such as Transformation, Text, Alpha, etc. from the Control Channels, Tree or Directors sections to the Actions Panel. For more details, see create actions and supported action types.
-
Optionally Configure the different tracked cameras, zero point and transformation properties of the different elements within your Virtual Studio or Augmented Reality elements by importing an AutoCAD (.dxf). For outdoor productions, configure directly over a map in the Set section of the interface.
-
Go On Air and initialize your project to load all the imported scenes into the selected Channels and start executing your actions.
Note: Viz Arc also lets you write your own custom Scripts.