
Viz World Classic User Guide
Version 23.0 | Published December 12, 2023 ©
Adding Shape Overlays to a Map Layer
As well as constructing drawings out of shapes in separate shape layers, you can also add shape overlays to map layers. Shapes drawn on a map layer appear in the Details list on the layer’s Contents panel and are referred to as shape overlays. They include all the same features as shapes drawn in shape layers with some extra features that make them particularly useful for highlighting areas on maps:
-
You can draw shape overlays by automatically tracing borders, coastlines, built-in roads and railways, or imported lines on the map.
-
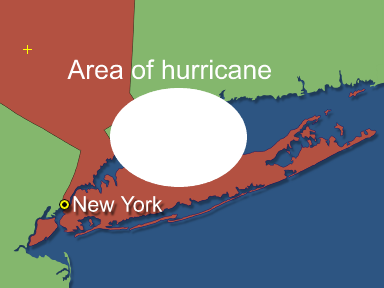
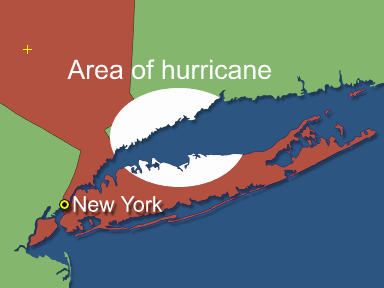
You can clip shape overlays to the land, so that any areas overlapping the sea are effectively transparent.
-
You can choose to draw shape overlays as land, water, relief, road, rail, or imported data to give the shape exactly the same scale and appearance as the corresponding features.
This section contains information on the following procedures:
To Define the Properties of Shape Overlays
-
Select the shape in the Details list.
-
Click the Shape tab to display the properties for the selected shape:
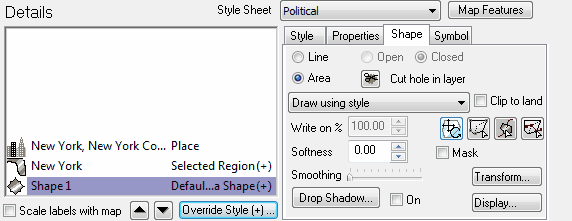
The options are the same as for shapes in shape layers, with the addition of Draw using style, Clip to land, and the edit tools of Shape, Points and Animation. All are described in the following sections.
To Draw Shape Overlays as Land, Water, etc.
-
Choose the appropriate option from the drop-down menu:
-
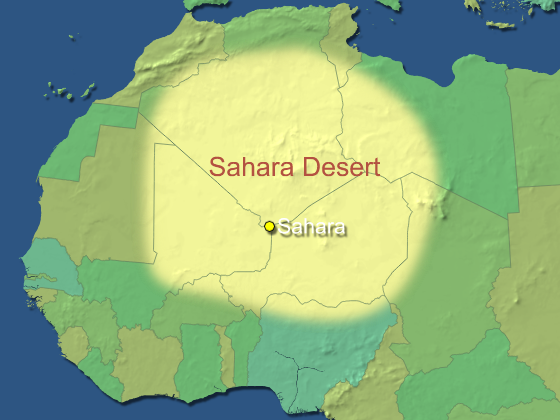
Treat as Land: Colors the land and relief.
-
Treat as Water: Colors the sea and depth contours.
-
Draw with Border line width: Scales with region borders.
-
Draw with Road/ Rail line width: Scales with built-in roads/railways.
-
Draw with Imported Data line width: Scales with imported data.
-
For example you can use a shape set to Treat as Land to mark out an area of a particular terrain type, such as desert:
To Clip a Shape Overlay to Land
-
Select the shape detail in the Details list and select Clip to land in the Shape panel.
To Draw Shapes by Tracing Map Features
Note: You can only trace features on the map once the high quality rendering of the map layer has completed.
-
Select the map layer on which you want to create the shape.
-
Select the Add Point Shape tool and click the arrow to the right of the tool to display a submenu of options for the tool:
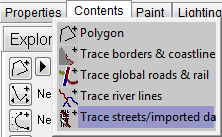
Press ESC if you want to cancel the submenu without making a selection. -
Select Trace borders & coastline, Trace global roads & rail, Trace river lines, or Trace streets/imported data according to which features on the map you want to trace.
Note: River tracing cannot be used on rivers that are wide enough to be drawn as area shapes rather than simple lines.
-
Move the mouse pointer near the feature you are tracing; for example, the coastline or border between regions.
-
The mouse pointer changes shape (cuts the tail) to show that the border has been detected:
-
-
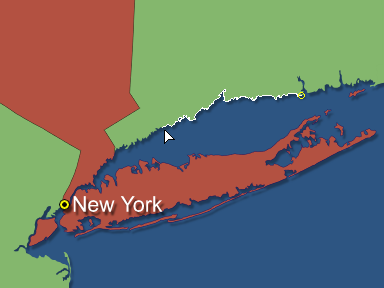
Click to create a point, and then move to the next point along the border you are tracing.
-
A line indicates the outline of the shape being traced. If the line being traced follows the wrong path, take smaller steps between points.
-
As you are drawing the shape you can use the Add Point Shape tool to turn tracing on or off, or change the feature being traced, to achieve exactly the effect you want.
-
-
Finally complete the shape in the usual way, by clicking on the starting point to create an area shape, or clicking (for example, double-click) again on the previous point to create an open shape:
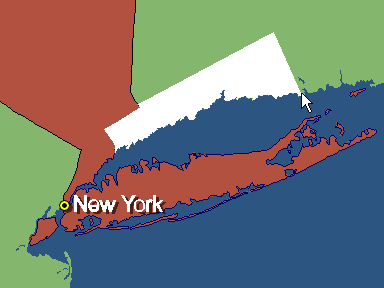
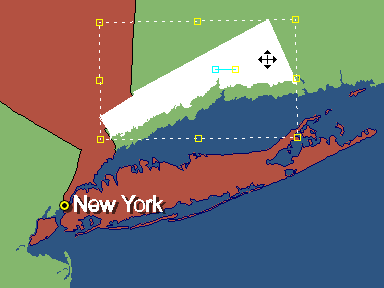
Once you have traced the shape, you can edit it or transform it in exactly the same way as for other shapes you draw.
To Zoom or Pan while Tracing
You can only trace areas of the map that are actually visible on the screen, but if necessary you can zoom or pan the map while you are tracing to change the part of the map that is in view
-
Type Z to temporarily select the Zoom tool or P to temporarily select the Pan tool while you are tracing.
-
Press either key again to switch back to the Add Point Shape tool.