
Viz World Classic User Guide
Version 23.0 | Published December 12, 2023 ©
Exporting 3D Models
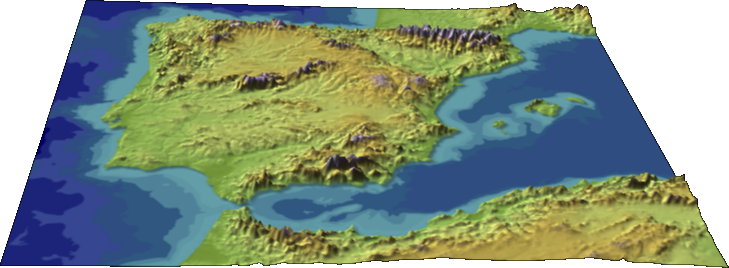
An option is available to allow you to output a 3D model of the land relief in a specified 3D object file format to allow you to import it into a suitable 3D package such as Maya, Softimage XSI, 3D Studio Max, ORAD CyberGraphics, or Discreet Frost. Alternatively you can export the 3D model to Viz Artist.
The texture can be output at the same time, to color the relief, and this can optionally be scaled up to provide more detail on the resulting 3D model:
This section contains information on the following procedures:
To Export the Currently Selected Map Layer as a 3D Model
-
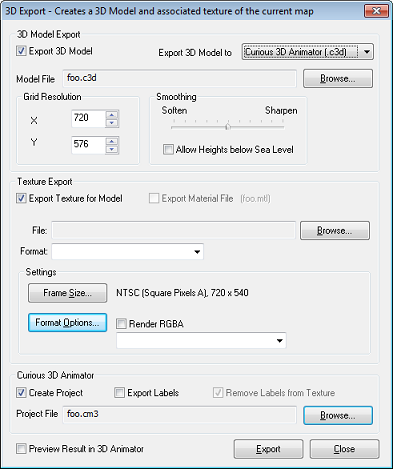
On the File menu, click Export 3D Model. The 3D Export dialog box allows you to specify the filenames for the model and texture, and optionally preview the result in the 3D Viewer:
-
Select the 3D object file format from the Export 3D Model to drop-down menu.
-
In the 3D Model Export section, click the Browse... button, and specify a name for the 3D model.
-
If required, edit the Grid Resolution and Smoothing, to determine the mesh used for the 3D model.
-
In the Texture Export section leave Export Texture for Model selected if you want to export a texture bitmap, and select Export Material File if you also want to export the texture as a material file.
-
Choose the format from the Format drop-down menu.
-
Click the Browse... button, and specify a name for the texture file.
-
The Frame Size... button gives you the option of scaling the image to a different frame size; for example to provide greater detail on the resulting model. Note that this produces a true optical scaling of the image, whereas changing the project size leaves features, such as road and river line thicknesses, unchanged.
-
For certain formats the Format Options... button gives you control over of the parameters of the format.
-
-
Select Preview Result in 3D Viewer to preview the exported files in a 3D viewer.
-
Click the Export button to export the model.
To Preview the 3D Model
If you checked Preview Result in 3D Viewer in the 3D Export dialog box, the 3D model is displayed in the 3D Viewer for previewing.
-
Drag the model to change the viewpoint.
-
Hold down CTRL and drag up and down to zoom in and out respectively.
-
Hold down SHIFT and drag up and down to increase or decrease the scale of the relief.
-
Hold down ALT and drag left and right to rotate the model about the viewpoint.
-
Click the Play button in the toolbar, or choose Play from the File menu, to rotate the model continuously.