
Viz World Classic User Guide
Version 23.0 | Published December 12, 2023 ©
Creating Cutouts
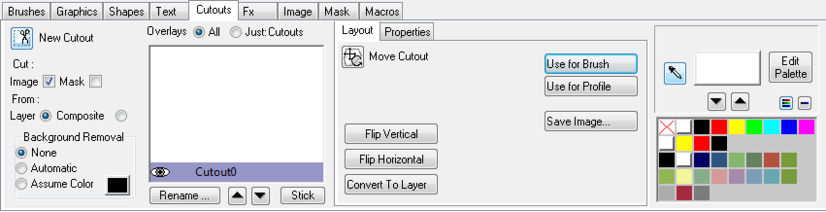
To Cut a Section of an Image

-
Select Cut: Image.
-
Select the New Cutout tool (button).
-
Select From: Layer to create a cutout from just the current layer, or From: Composite to create a cutout from the composited layers.
-
Drag to draw a rectangle defining the size of the cutout you want to create:
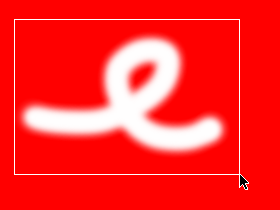
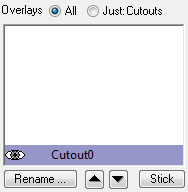
The cutout is displayed in the Overlay list on the Cutouts panel:
-
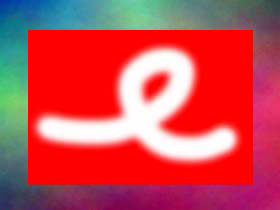
You can then drag the cutout to displace it from the original image, or display it on another layer:
To Cut an Object Defined by a Mask
-
Draw a mask over the part of the image you want to cut out:
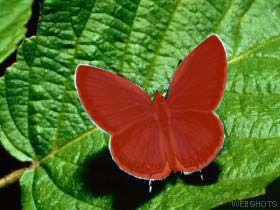
For more information see Specifying the Brush Settings. -
Select Cut: Image and Cut: Mask
-
Select the New Cutout tool
Selecting Cut: Mask uses the image’s mask to cut out the image from its background. -
Drag to draw a rectangle defining the size of the cutout you want to create, enclosing the image:
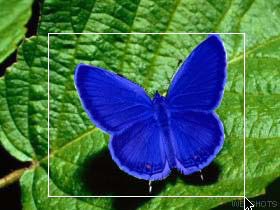
The Move Cutout tool is automatically selected so you can drag the cutout to see it independently of the original image:
The cutout is available to any other layers in the project:
When using Cut: Mask, the Background removal options can be used to remove edge effects around the mask.
Assume Color allows you to specify a color to be removed from the edge of the mask, and Automatic uses the average color within the cutout rectangle, but outside the mask.
To Create a Cutout Using the Magic Wand Tool
If the feature you want to cut out is clearly distinguished from its background, you can use the Magic Wand tool to mask the feature, and then create a cutout using the mask.
-
On the Graphics panel click the Magic Wand tool:
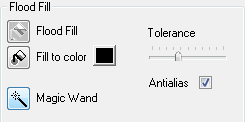
Display Mask is automatically selected in the paint controls to show the mask when you create it. -
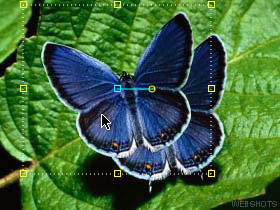
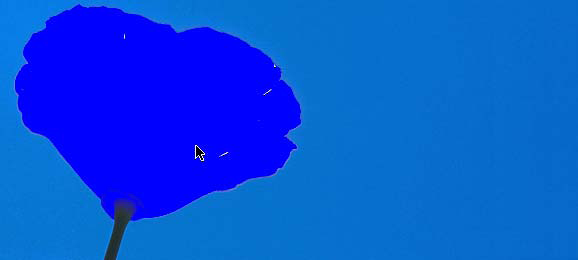
Click the feature you want to mask. If necessary, adjust the Tolerance control and click again with the Magic Wand tool until the feature is completely masked:
-
On the Cutouts panel select Cut: Image and Cut: Mask.
-
Select the New Cutout tool.
-
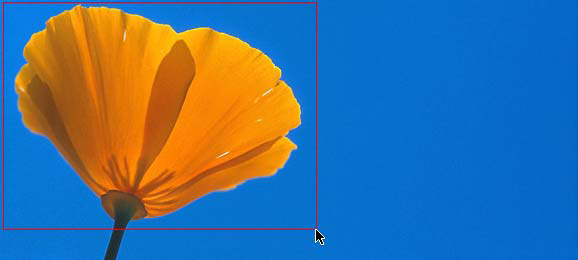
Drag to draw a rectangle enclosing the feature:
-
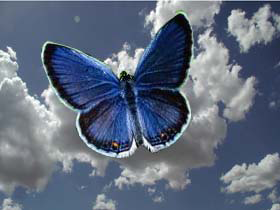
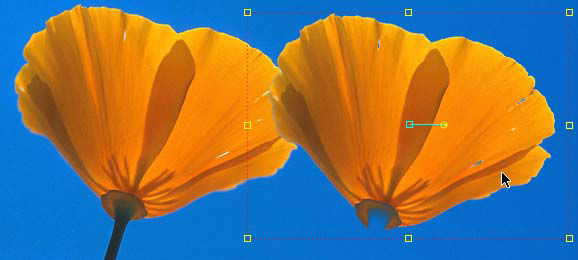
Drag the cutout to see it independently of the original image:
To Stick a Cutout to an Image/Movie Layer
-
Select the cutout in the Overlay list.
-
Click the Stick button.