
Viz World Classic User Guide
Version 23.0 | Published December 12, 2023 ©
Defining the Style of Details
The Style, Properties and Shape panels on the Contents panel allow you to define the individual appearance of each of the map details and shape details you have added to your project.
Each detail is initially drawn using the style defined in the Styles Editor for the corresponding type of object. These include:
-
Sea.
-
Unselected Land.
-
Selected Region.
-
Place.
-
Latitude/Longitude.
You can redefine these styles in the Styles Editor, to change the appearance of all details of the corresponding type. You can also create your own named styles, and apply these to specific details to draw them in a specific style.
Finally, you can override the style of any selected detail to modify its appearance from that specified in the Styles Editor.
This section contains information on the following procedures and topics:
To Apply a Predefined Style to a Detail
-
Select the detail in the Details list.
-
Click the Style tab and choose the style name from the Style list:
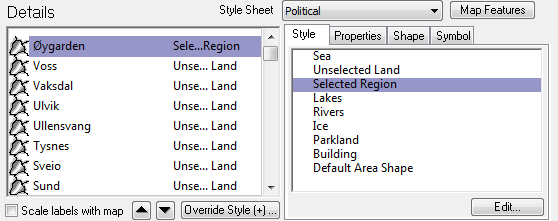
To Redefine the Style Applied to a Map Detail
-
Click the Style tab and select the style in the Style list.
-
Click the Edit... button.
The Styles Editor is displayed to allow you to edit the style. For more information see the Styles Editor.
To Override the Style of a Map Detail
-
Select the detail in the Details list.
-
Click the Override Style (+)… button.
The Settings dialog box displays to allow you to override the style:
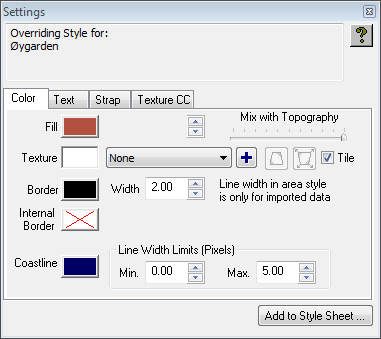
If the style has been overridden a +, it is displayed after the style name in the Details list. After overriding a style you can click the Add to Style Sheet… button to add the new style to the current style sheet, so you can use it for other details.
The following dialog box displays to allow you to name the new style:

Color Panel
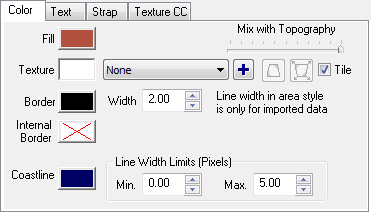
Allows you to specify the fill, border and coastline colors for the object, the width and line width limits, and an optional texture.
For more information see the Color Panel when Working with Styles.
Text Panel
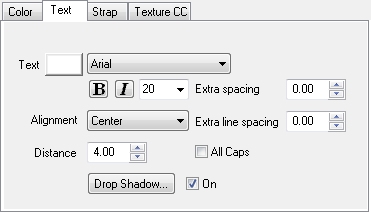
Allows you to specify the color, font, size, style, alignment, and opacity of the feature’s label. For point styles it also allows you to choose the marker which is drawn at the location of the feature.
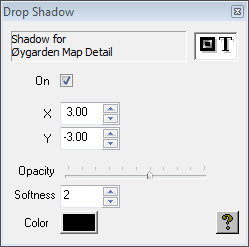
-
Select On to apply a default drop shadow.
-
Click the Drop Shadow… button to define the characteristics of the drop shadow:
For more information see Text Panel when Working with Styles.
Strap Panel
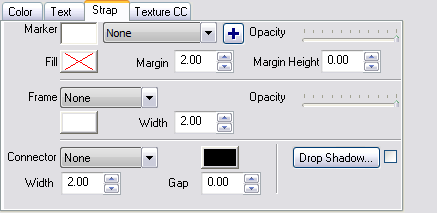
Allows you to draw a marker at the label position, and a background (strap) for the label with an optional frame and connector. You can also add a drop shadow to the strap in the same way as for the label.
After defining a strap with a connector you can move the end of the pointer using the Text tool.
For more information see Strap Panel when Working with Styles.
Texture CC Panel
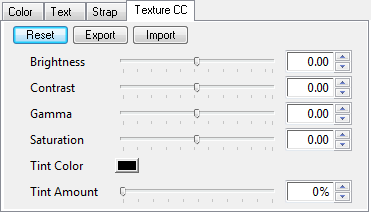
Allows you to color correct textures.
See Also
-
Texture CC panel when Working with Styles