
Viz World Classic User Guide
Version 23.0 | Published December 12, 2023 ©
Using ESRI Shape File Data
Once you have created a data set definition, you can use this to load the ESRI Shape File data with the attributes you have specified.
This section contains information on the following procedures:
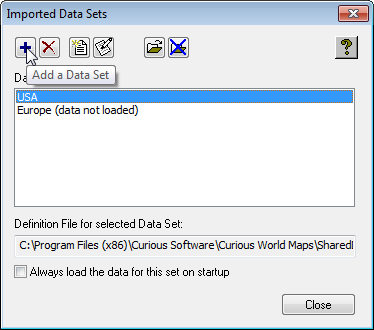
To Load a Data Set Definition
-
On the Import menu, click Map Data (Shape files)... and click the Add a Data Set button.
-
Select the data set definition file and click the Open button to load it. The data set is displayed in the Data Sets list.
-
Click the Close button to close the dialog box.
Once you have added a data set, it is remembered for future use of Viz World Classic, so there is no need to add the data set to the list every time you start the software. If you want the data for the data set to be loaded automatically on start-up you can select the Always load the data for this set on startup box.
To Load the Data
Adding a data set to Viz World Classic does not load the map data by default. This prevents very large data sets being loaded before you are ready to use them. You can instruct Viz World Classic to automatically load the data for a set, in the Import Data Sets dialog box (see how To load a data set definition), or you can load the data manually when you need it as follows:
-
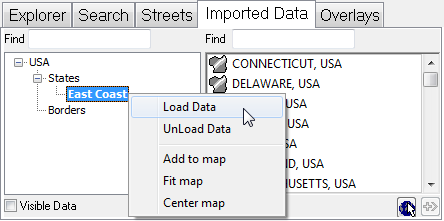
Click the Imported Data tab in the map layer’s Contents panel to display the data sets you have imported. The data set definitions are shown in the left list.
-
Click the data set you want to import with the right mouse button and select Load Data from the appearing context menu.
You can unload a data set (for example to free up some memory to load a different set) at any time by clicking the set with the right mouse button and choosing UnLoad Data from the appearing context menu.
To Use Imported Map Data
You can expand the tree to show the data layers and subsets for each data set.
-
Select the data layer or subset in the Imported Data list to show the features it contains.
-
Click each data layer, subset, or feature with the right mouse button and select Add to map from the appearing context menu, or click the Add To Map button to add it to the map layer.
You can also search for imported features in the Search panel, in exactly the same way as for built-in map data.
To Add Labels to Imported Data Features
Initially the features in imported data are drawn unlabeled, but you can add labels to selected features to label them on the map just as you would with other map details.

-
Select the Browse Imported Data tool.
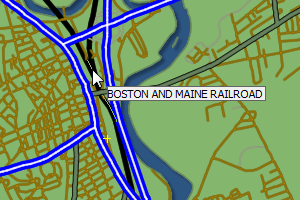
As you move this over the map the tool tip shows you the name of each imported data feature.
-
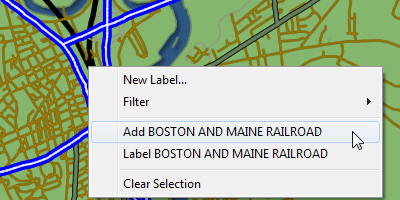
Right-click and from the appearing context menu click the appropriate label option.
If you are labeling a street, the label is drawn aligned with the direction of the street. You can then use the Text tool to move or rotate the label as desired.