
Viz World Classic User Guide
Version 23.0 | Published December 12, 2023 ©
Image Rotoscoping
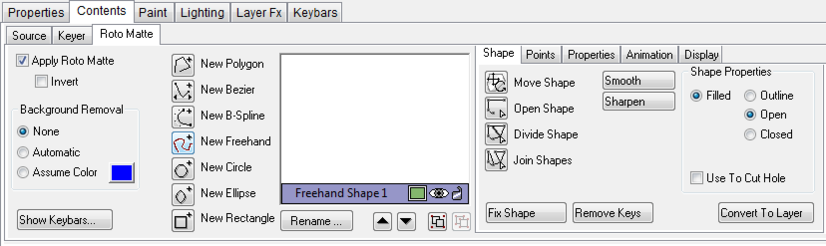
The Roto Matte panel on the Contents panel allows you to add one or more shapes to an image or movie layer to mask dynamically, tracking them as they move in successive frames. This is often referred to as a roto matte or rotoshape.
For more information about creating and editing shapes see Working with Shapes.
To Create an Animated Shape
-
Move to the first frame of the movie.
-
Create one or more shapes using the shape tools to outline the feature in the movie that you want to process.
-
Move to the last frame in the movie, and adjust the shape so that it matches the feature.
-
Check the intermediate frames, and make any necessary adjustments to keep the shape tracking the feature.
To View the Effect of the Roto Matte
-
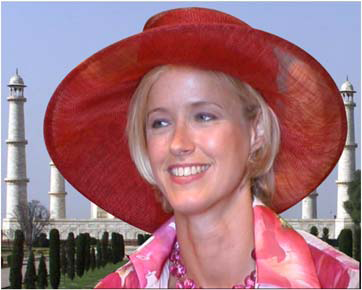
Select Apply Roto Matte. The roto matte dynamically cuts out the image to reveal the background:
-
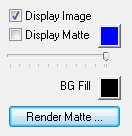
The paint controls to the right of the Roto Matte panel allow you to choose whether the Viewer shows the keyed image, roto matte, or both:
To Render the Roto Matte
Click the Render Matte... button in the paint controls. This is equivalent to the Render Matte... command on the Layer menu, and displays the Render Layer Matte dialog box to allow you to render the Keyer matte and/or the roto matte as a separate movie.