
Viz World Classic User Guide
Version 23.0 | Published December 12, 2023 ©
Setting the Image Properties
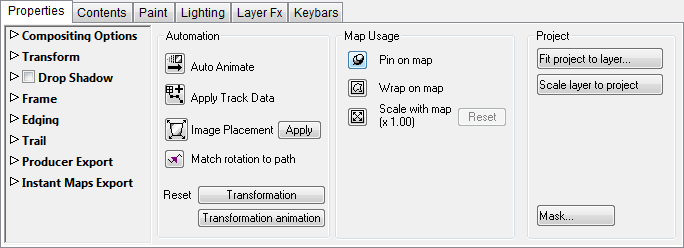
The options on the Properties panel allow you to specify the compositing options for the image or movie, transform it, and add a drop shadow, frame, edging, or animation trail. It also provides several animation options.
This section contains information on the following topics:
Compositing Options
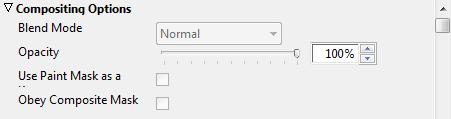
Blend Mode specifies how the layer is combined with the other layers, and can be one of.
Normal, Add, Subtract, Difference, Multiply, Darken Only, Burn, Color Burn, Screen, Lighten Only, Dodge, Color Dodge, Hue, Saturation, Value, Color, Overlay, Soft Light, Hard Light, Pin Light, Exclusion, or Negation.
The Opacity determines the layer opacity, and can be animated.
Animating the opacity from 0% to 100% can be used to cause the image to fade in smoothly over a specified period of the animation.
Transform Options
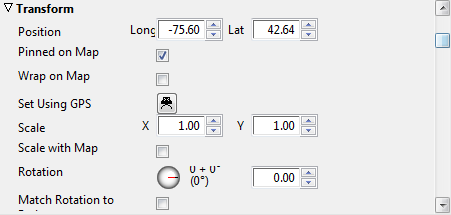
These options allow you to specify the position, scale, rotation, and origin numerically.
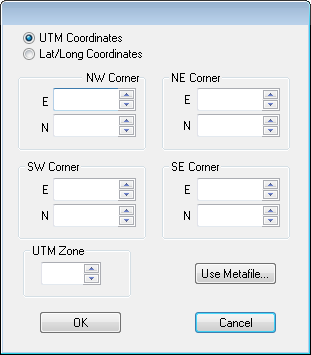
The Set Using GPS button is used to position the image using UTM coordinates, which are normally supplied with aerial photographs and satellite imagery, or using latitude/longitude coordinates.
Latitude and longitude coordinates can either be entered in decimal degrees, such as 20.175, or in degrees, minutes and seconds, such as 20d10m30s.
For images provided by Global Terrain Inc., the Use Metafile... button reads the UTM coordinates directly from the metafile provided with the image.
The Pinned on Map, Wrap on Map, and Scale with Map options duplicate the options in the Map Usage section of the Properties panel; for more information see how To choose how the image moves relative to the map.
To Change the Origin of the Image
The origin determines the point about which the image is rotated or scaled, and defaults to the center of the image. Edit the Origin values to specify the position in pixels relative to the lower left corner (south-west) of the image, or choose one of the predefined options from the Origin drop-down menu.
Drop Shadow Options
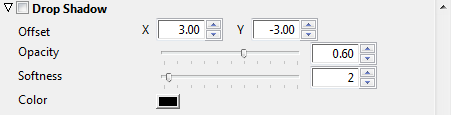
Select Drop Shadow to turn on a drop shadow for the layer. The following parameters are provided:
|
Parameter |
Description |
|
Offset |
The offset of the drop shadow, in pixels. |
|
Opacity |
The opacity of the drop shadow. 0% gives no drop shadow. |
|
Softness |
Blurs the drop shadow to smooth the edges. Values in the range 0–5 are recommended. |
|
Color |
The color of the drop shadow. |
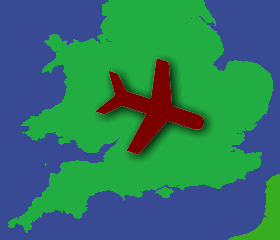
The following example shows a drop shadow with offset X=3, Y=3, and Softness=2:
Frame Options

Allows you to add a colored fill, and/or border to the layer. Border Width specifies the width of the border in pixels.
Edging Options

The Edging options allow you to add a vignette to the image or movie.
-
Choose Rectangle or Circle from the Type pop-up menu to vignette the image with a soft border of the corresponding shape.
-
Use the Size control to adjust the size of the shape.
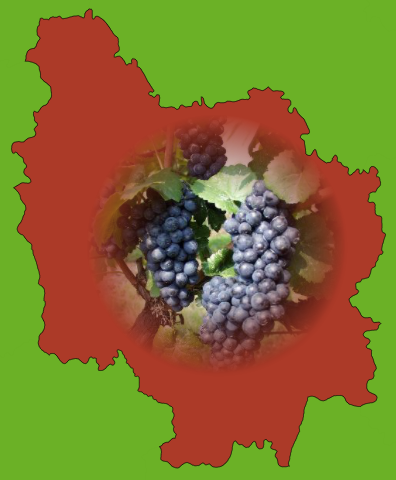
This option is especially useful when superimposing one image on another, to hide the edges of the top image.
The following example shows a circular vignette with a size of 100:
Trail Options
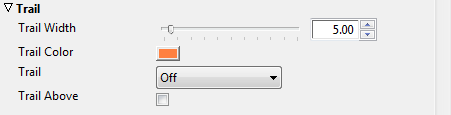
The Trail options allow you to leave a trail as the image animates. For more information see the Leaving an Animation Trail section.
Export Producer Options

Note: No longer supported.
Instant Maps Export Options

Allows you to make maps available to the Viz World Instant Map tool.
Automation Options
The Properties panel includes an Image Placement tool, to help align images accurately to positions on another image.
-
Click the Image Placement tool in the Automation section of the Properties panel.
Two arrowhead controls are displayed in the Viewer to allow you to indicate the transformation you want.
-
Position the circles on two appropriate points on the image.
-
Position the arrowheads on the background to indicate where the points should be mapped to.
-
Click the Apply button.
The image is transformed to align the points on the image with the points on the background you have specified.
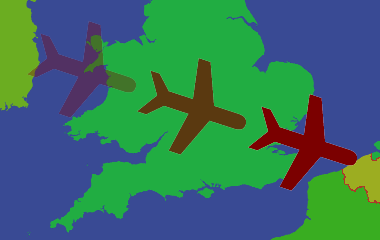
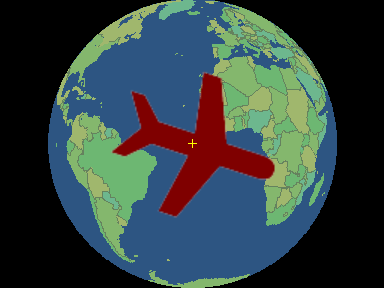
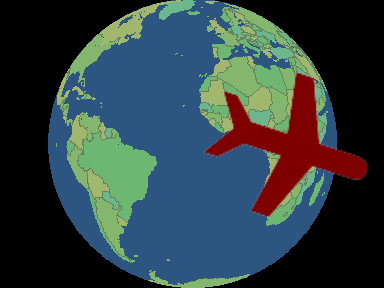
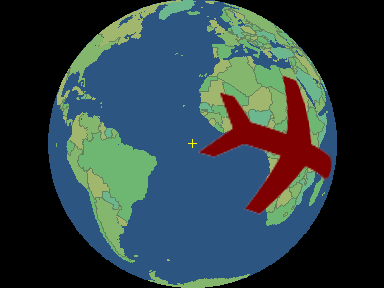
To Choose How the Image Moves Relative to the Map
Viz World Classic provides several options that allows you to control how the image moves relative to the map layer.
By default the image position is independent of the map position. Pin on map keeps the image at the same latitude and longitude as the map moves. Wrap on map projects the image onto the map, according to the map projection. Only available if Pin on map is selected. Alternatively, Scale with map scales the image as the map is zoomed. Only available if Pin on map is selected.
These options are selected in the Map Usage section of the Properties panel.
The images below show a map with default, pin, wrap and scale modes:
Mask Options
See Controlling Layer Compositing.
See Also
-
Auto Animate and the Automatically Animating a Layer section.
-
Match rotation to path and how To Align the Image, Text Item, or Drawing to the Angle of the Animation Path.