
Viz World Classic User Guide
Version 23.0 | Published December 12, 2023 ©
Layers List
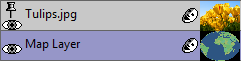
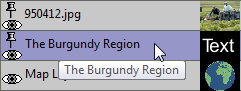
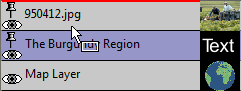
Each of the layers in the project is shown in the Layers list to the right of the Viewer. For each layer this shows whether the layer is visible, the name of the layer, an icon representing the composite mask options, and a thumbnail image of the layer. For map and image/movie layers, a thumbnail image of the contents of the layer is shown.
A selected layer is highlighted, and the panels, controls, and tools all operate on the currently selected layer.
The order of the layers in the Layers list determines the order in which they are composited in the Viewer.
The displayed names for layers are as follows:
-
Layer type: Name displayed.
-
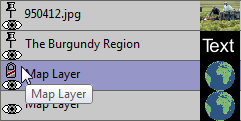
Map: Map layer.
-
Image/Movie: The filename of the image.
-
Text: The text on the layer.
-
Shape: Shape.
For text, image, or shape layers a pin icon to the left of the name shows whether the layer is pinned to the map layer below it.
For map layers, a lock icon is displayed if the layer is locked to another map layer below it.
This section contains information about the following procedures:
To Display the Composite of All Layers

Select the Composite display option above the Layers list. This displays the result of compositing all the layers in the project, taking into account the layer mask options for each layer.
To Display an Individual Layer

Select the Single Layer option above the Layers list. The Viewer then shows only the currently selected layer. This is convenient if you want to work on a single layer without seeing the effect of other layers within the project.
In single-layer mode the Layers list shows an eye-dropper icon to indicate which layer is used as the background layer, for operations such as onion skinning and the merge brush. Click the eye-dropper icon to change the background layer.
To Show or Hide a Layer
Click the eye icon to the left of the layer name.
To Create a New Layer
On the Layer menu, point to Add Layer, and then click the appropriate option. See the appropriate chapter Working with Maps, Adding Text to a Project, or Working with Images and Movies, or Working with Shapes for information about adding a map, text, image, or shape layer respectively.
To Select a Layer
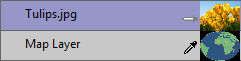
Click the layer in the Layers list. The currently selected layer is shown highlighted in the Layers list.
To Rearrange the Order of Layers
Drag the layer to the new position in the Layers list.
To Cut or Copy a Layer
Either:
-
Select the layer.
-
On the Edit menu, click Cut or Copy, or click the Cut Selection or Copy Selection button on the toolbar.
Or:
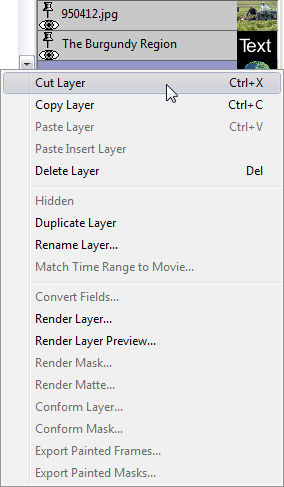
-
Right-click the layer and from the appearing context menu select Cut Layer or Copy Layer.
To Paste a Layer
Either:
-
Select the layer.
-
On the Edit menu, click Paste or Paste Insert, or click the Paste button in the toolbar.
Or:
-
Click the layer with the right mouse button, and click Paste Layer or Paste Insert Layer on the pop-up menu.
-
Paste Layer: Adds the layer to the top of the Layers list.
-
Paste Insert Layer: Adds the layer above the currently selected layer.
-
To Delete a Layer
Either select the layer, then in the Edit menu, click Delete Selection , or click the Delete Selection button in the toolbar. Alternatively, you can click the layer with the right mouse button, and click Delete Layer on the pop-up menu.
To Duplicate a Layer
Hold down CTRL and drag the layer you want to duplicate to the appropriate position in the Layers list.
To Pin a Layer to a Map
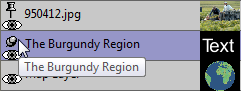
Click the pin icon to the left of the layer name. The text or image then moves (and optionally scales) with the map layer below it. To unpin the layer click the pin icon again.
To Lock Two Map Layers Together
Click the lock icon to the left of the layer in the Layers list. Locking a map layer fixes it at the same size, scale, and projection as the base map. This is useful for drawing selected regions of a map using a different style sheet from the main map. For more information see the chapter Working with Maps.
To Rename a Layer
-
Either:
-
Select the layer.
-
On the Layer menu, click Rename.
-
-
Or:
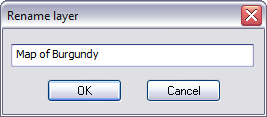
-
Right-click the layer and from the appearing context menu click Rename Layer. The above dialog box allows you to enter a new name for the layer.
-
-
Then enter the name and click OK.