Viz Artist User Guide
Version 5.0 | Published December 20, 2022 ©
Archives
The archive function exports graphical resources, such as one or several Scenes including fonts, images and so on to a file (archive) on disk. The archive has, by convention, a .via filename extension. The archive can be used for the safekeeping and/or for transferring of data to another Graphics Hub.
Archive Workspace
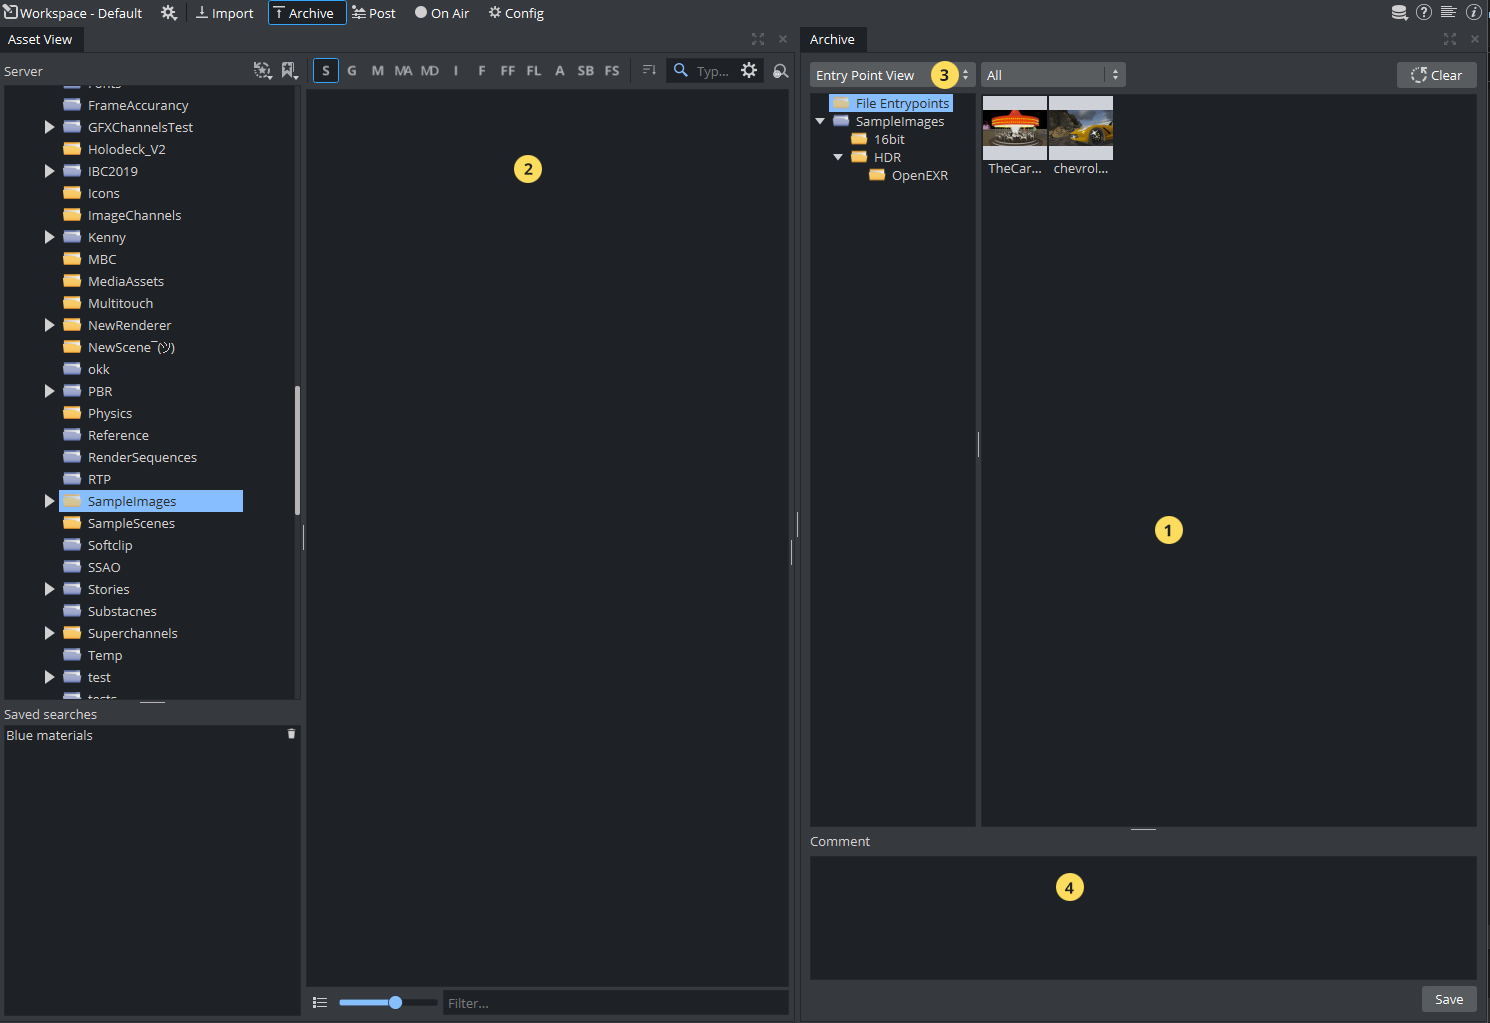
The archive workspace is divided into the following areas
-
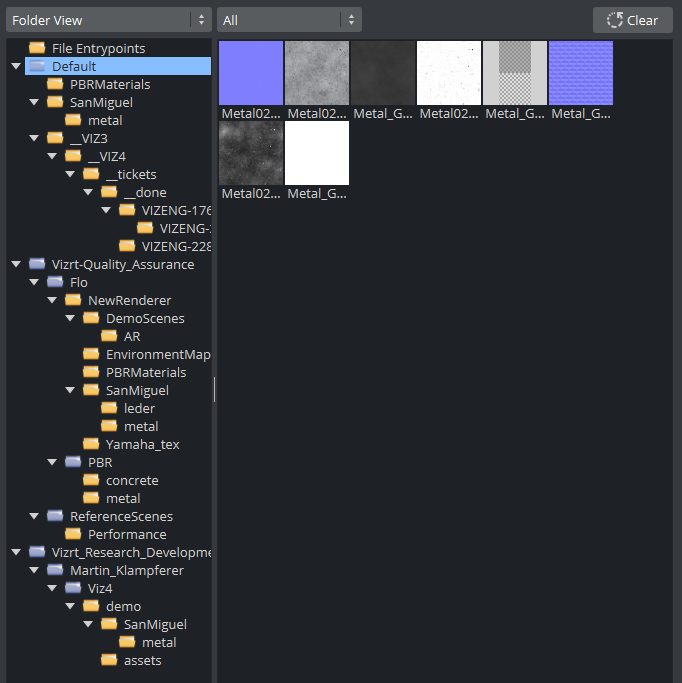
Archive View (1): Shows which items are going to be included in your archive.
-
Asset View (2): Displays the content of your Graphic Hub. Drag items from (2) into (1) to add content to your archive.
-
Entry Points Menu (3): Switches between folder view and Entry point view.
-
Comments (4): Provides an area to add descriptive comments about the archive.
Entry Point vs Folder View
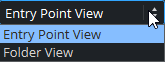
At the top of the archive view there is a pull-down menu enabling you to switch the way the content of your archive is displayed. Entry points represents what was added to the archive. This can be folders, project scene or single items. A scene, for example consists of many different types, like textures, fonts, etc. A entry point represents this scene only (without any file links and references), whereas the Folder View shows all files that will be added to the archive.
-
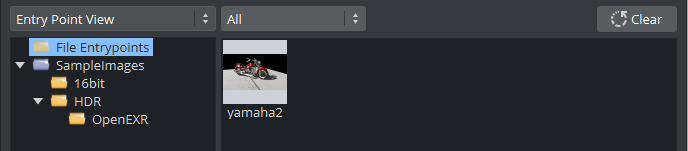
Entry Point View: Shows only entry points. This is a compact view of your assets.
-
Folder View: Shows the whole folder hierarchy, including all folder links.
You can choose which items are displayed on the item dropdown. to filter the content being displayed.
Information: If a scene contains an item with folder links, all folder links are added in your archive.
To Create an Archive
-
In the default workspace, click
 The Archive view is shown.
 -
From the Asset View (2), drag folders or projects the the Tree view (left) of the Archive View (1). Any other item (scenes, images, etc.) need to be dragged to right part of the Archive View (1).
-
If required, enter a comment in the comments area (4).
Note: Comments can be a maximum of 255 characters.
-
The Archive is updated as soon as entry points are added.
-
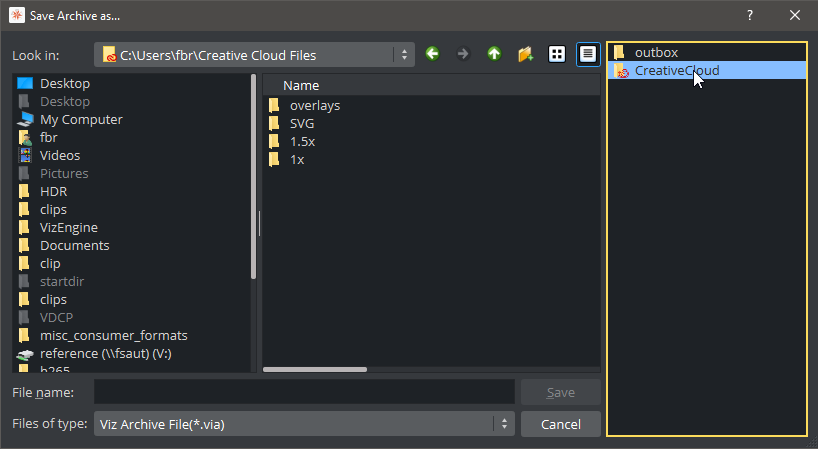
Click the Save button, and choose location and filename.
-
To reset the content of your archive, use the
 button. This removes any item previously added to your archive.
A .via file is written. This file can be shared and re-imported again on another Graphic Hub by either using Viz Artist, Viz Engine in On-Air Mode or by using Viz Graphic Hub Manager.
Note: Content can not be added to your archive after it has been written.
To Use Path Aliases
Like Path Aliases for importing Files, a list of given export locations can be defined in Config Path Aliases.
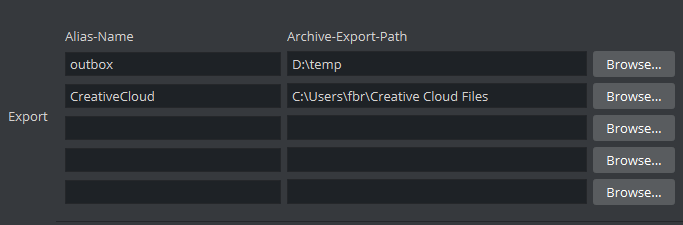
Set a Name for your Path Alias and provide a destination. They can be used within the export dialog when creating an archive.