
Viz Artist User Guide
Version 5.0 | Published December 20, 2022 ©
Rendering Panel
In the Rendering panel, basic rendering parameters can be modified.
This section contains information on the following topics and procedures:
Rendering Properties
-
Render Engine

-
Classic: Uses the Classic Render Pipeline (from Viz 3).
-
Viz Engine: Uses the Viz Engine Render Pipeline (introduced in Viz 4).
-
-
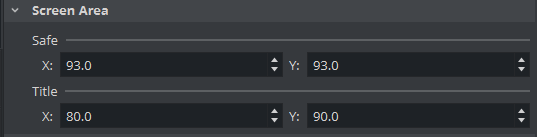
Screen Area
-
Safe X/Y: Sets the size of the Safe area X and Y values in percent of the screen resolution.
-
Title X/Y: Sets the size of the Title area X and Y values in percent of the screen resolution.
-
-
Auto Key Plane:

Makes it possible to define the X, Y and Z Position, that serves as a threshold between objects with and without key. The position can be set according to a tracking device carried by a person on the set, or it can be controlled by an operator. The auto key position decides which objects or parts of objects in the Scene that are to be part of the key signal. Only objects positioned between the auto key position and the camera are rendered with the key signal. A typical setup for a Virtual Studio would be that the scene background is put into a separate channel of the external Keyer. The objects of the background do not have a key function attached. The objects that are meant to be in front of the person on the set are placed in another channel/layer of the external Keyer and have a key function attached. If the person on the set moves against the camera, the auto key function disables the key function of those objects that now are placed behind the person, thereby moving them into the background layer of the external Keyer. To learn more about this, see the separate Viz Virtual Studio documentation. -
Lens Distortion: Enables the lens distortion for this scene, see Advanced Lens Distortion.
-
Sequence: Enables the new Render sequence. See Render Sequence.
-
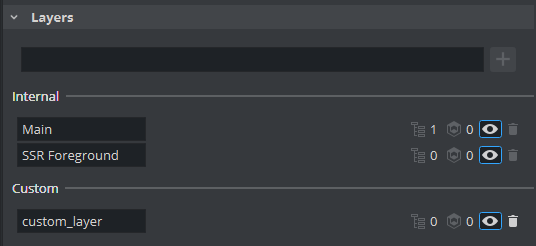
Layers
-
Internal: Shows information about the two fixed layers Main and SSR Foreground and allows to set the visibility to be toggled.
-
Custom: Allows to create and modify new Render Layers. This is for future features.
For more information about Render Layers see Screen Space Reflection
-
-
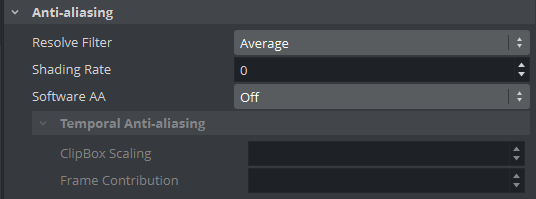
Anti-Aliasing
-
Off: Uses hardware antialiasing only.
-
FXAA: Removes pixel jiggering through an additional post processing effect based on the final rendering.
-
Temporal AA: Uses multiple frames to calculate smooth edges (best quality).
Note: For more information about anti aliasing methods, please see To improve your Render Quality.
-
-
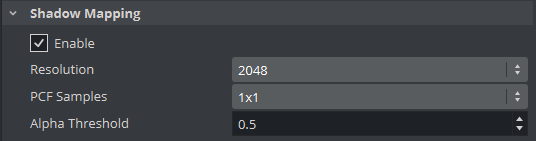
Shadow Mapping
-
Sets the resolution of the shadow map (higher means more compute time).
-
PCF Samples defines the quality of the shadow map.
-
The Alpha Threshold defines at which opacity an object starts to cast a shadow.
-
-
Post Processing
-
Depth of Field: Emulates the behavior of a real camera where objects further away from the focal plane show blurred and objects close to the focal plane show sharp. The respective parameters can be set in the camera settings under the Focus settings (see Camera Editor).
-
Screen Space Reflections: See Screen Space Reflection.
-
Bloom: See Blooming Effects.
-
Screenspace Ambient Occlusion: See Ambient Occlusion.
-
Fog: See Fog.
-
Chromatic Aberration: See Chromatic Aberration.
-
Light Glares: See Light Glares.
-
-
Color Space
-
Gamma Correction: Modifies the luminance of the final rendered image.
-
Color Grading/ Tonemapping: See Tonemapping.
-
-
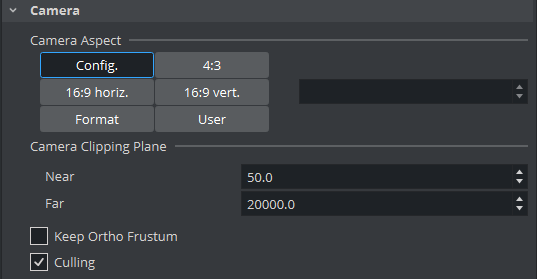
Camera
-
Camera Aspect: Sets the camera aspect.
-
Config: Makes the camera aspect equal to the settings in the Output Format panel of the Viz Configuration (see the Configuring Viz section of the Viz Engine Administrator Guide).
-
4:3, 16:9 Horizontal and 16:9 Vertical: Makes the camera aspect independent of the aspect for the rest of the scene.
-
Format: Uses the aspect ratio of the selected format (See Adaptive Scene Format)
-
User: Enables the user to set a user defined camera aspect ratio. When building a Scene with a customized aspect ratio for a Video Wall, set the user-defined camera aspect to the same value as the Aspect shown in the Viz Configuration (Output Format > User Defined > Aspect (which is set dynamically based on the other values). When building a Scene with a customized aspect ratio for other (for example, hand-held/mobile devices or online publishing), set the Keep Editing Aspect (Render Options in Viz Configuration) parameter to Editor as this does not affect on the On Air or Viz Engine output (see also To Design Graphics with a User Defined Aspect Ratio).
-
-
Camera Clipping Plane: Sets the range of the virtual camera. Near sets the close range while Far defines the far range. Only containers within this range are rendered. This setting also affects the shadow rendering.
Note: The camera range is where the Zbuffer is within. So if Zbuffer problems arise, they may be solved by editing the camera clipping plane settings.
-
Keep Ortho Frustum: Takes the original frustum stored and does not allow its re-computation after changes have been made to the camera parameters in the orthogonal mode when active.
-
Culling: Saves performance for a scene when set to Active. Objects whose bounding box is outside the camera view are not rendered. This is of great importance to performance in large scenes and virtual studio. Normally Culling should be Active.
-
-
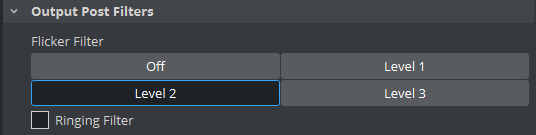
Output Post Filters
-
Flicker filter: Makes it possible to change the level of the flicker filter from Off and up to Level 3. The flicker filter is used to remove/reduce flickering from a scene. If a flicker filter is applied and the scene still flickers, try using the next level.
-
Ringing Filter: Reduces the ringing artifacts on the SDI output and applies only to SD formats. The ringing filter can be set to Off (see Render Options (set Force Ringing Filter Off to Active) under Viz Configuration in the Viz Engine Administrator Guide). The default Ringing Filter is located in Scene Default Values in Viz Configuration).
-
-
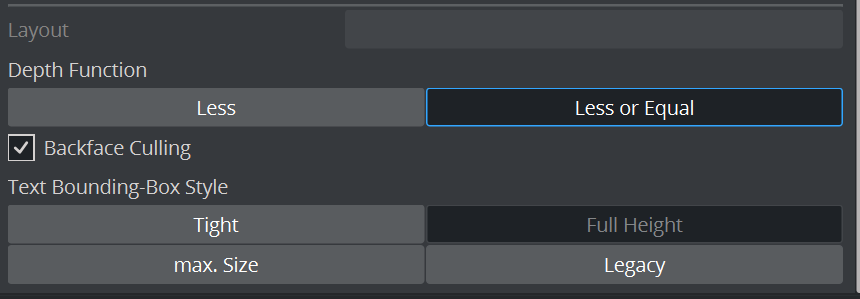
Misc
-
Backface Culling: Draws geometry usually not visible to the camera. This can be enabled for certain objects using the Expert plug-in.
-
Depth Function: Defines the depth function calculation.
-
Text Bounding-Box Style: Defines how the bounding boxes for texts are calculated. This is for compatibility reasons only and usually does not need to be changed.
-
Tight: Draws the bounding box tightly around the text.
-
Full Height: Default and recommended setting.
-
max. Size: Only required for imported old scenes from 2.x.
-
Legacy: Uses the same algorithm as in 2.x versions (not in use anymore).
-
-
Layout: Not in use anymore.
-
To Design Graphics with a User Defined Aspect Ratio
-
Start Viz Artist.
-
Click Config (or press F11).
-
If you plan to render graphics in many different aspects (for example, still images for online publishing) you should select the Render Options section and set Keep Editing Aspect to Editor. This makes sure your graphics are rendered according to the scene’s configured camera aspect (and not be affected by the Output Format aspect).
-
In the Output Format section, set the format that best fits the screen resolution and aspect (for example, 16:9).
-
Viz Artist is resolution independent and its workspace is optimized for designing in 16:9 and 4:3 aspects.
-
When designing graphics with a user defined aspect, only set the Output Format to size the aspect of your Scene Editor and adjust the camera aspect further to define it according to your scene’s required and final aspect.
-
-
Close Viz Artist.
-
Start Viz Artist.
-
Click the Server button.
-
From the Properties Panel click the Scene Settings tab.
-
Under the Rendering Panel tab set Camera Aspect to User.
-
Enter your aspect ratio in the field beside the User field. To calculate your aspect ratio simply divide width with height (for example, 1600:900=1.778).