Viz Artist User Guide
Version 5.0 | Published December 20, 2022 ©
Using Multiple Textures in Viz Engine
In Viz Engine 5, the Viz Engine Render Pipeline now also supports blending multiple textures like the multi-texturing feature in the Classic Render Pipeline. The new implementation has several advantages compared to the old classic one.
Blending textures is done by using the Texture Slot plug-in. For details on this plug-in, please refer to the Viz Plug-ins User Guide.
Texture Slot allows to use an (almost) unlimited number of textures to be blended directly into PBR or Phong materials available in the Viz Engine Render Pipeline.
This can be used for several use cases, such as:
-
Traditional blending and masking.
-
Adding imperfections to 3D objects.
-
Masking of geometries.
-
Special Transitions.
-
Glares and Flares.
-
Much more.
To Setup Multiple Textures
The blend multiple textures in Viz Engine Render Pipeline, a PBR or Phong material needs to be added to act as a base. As these materials already utilize various different textures (for example, normal or height maps), the Texture Slot plug-in is capable to blend into all of these.
In our example, we will start with a simple rectangle and add a few textures to illustrate how the plug-in works.
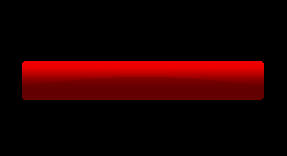
Lets start with a simple rectangle and a Phong Material. Add a rectangle, add a Phong Material and assign a base color (red).
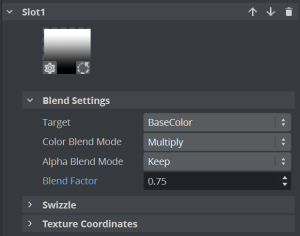
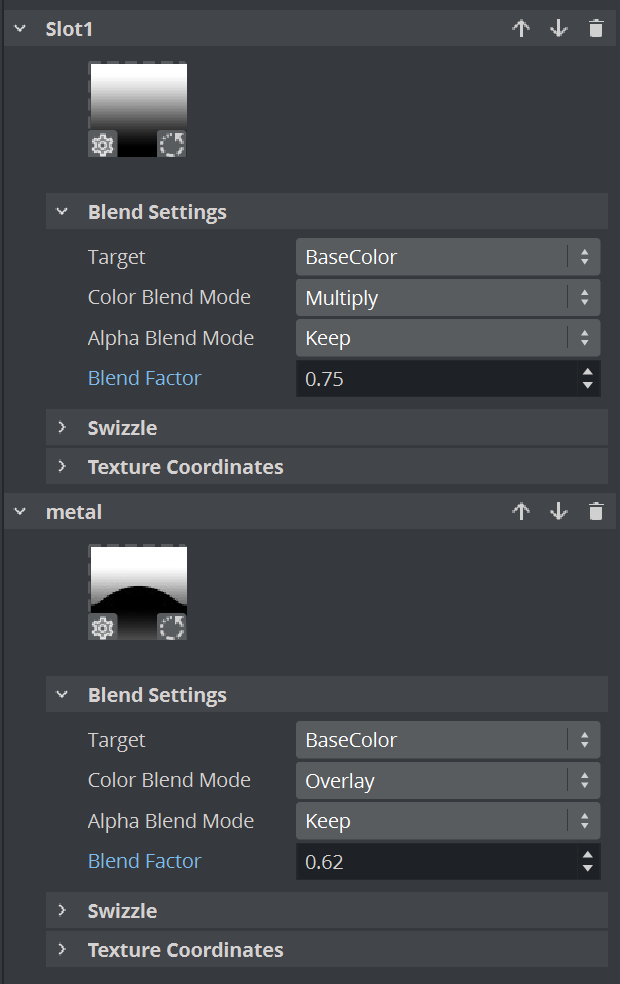
Now we want to add some gradient effect to our base color. We add a Texture Slot plug-in and assign a gradient texture into Slot 1. It blends into the Base Color. Find the best blending method to apply the gradient. As an example we use Multiply. To reduce the effect, we can lower the blend value to something around 80%.

We use another texture, applying some metallic effect: Create another slot named metal and apply the texture to the slot. In this case, we use blending into the Base Color again, und using Overlay with a factor of ~60% or higher.
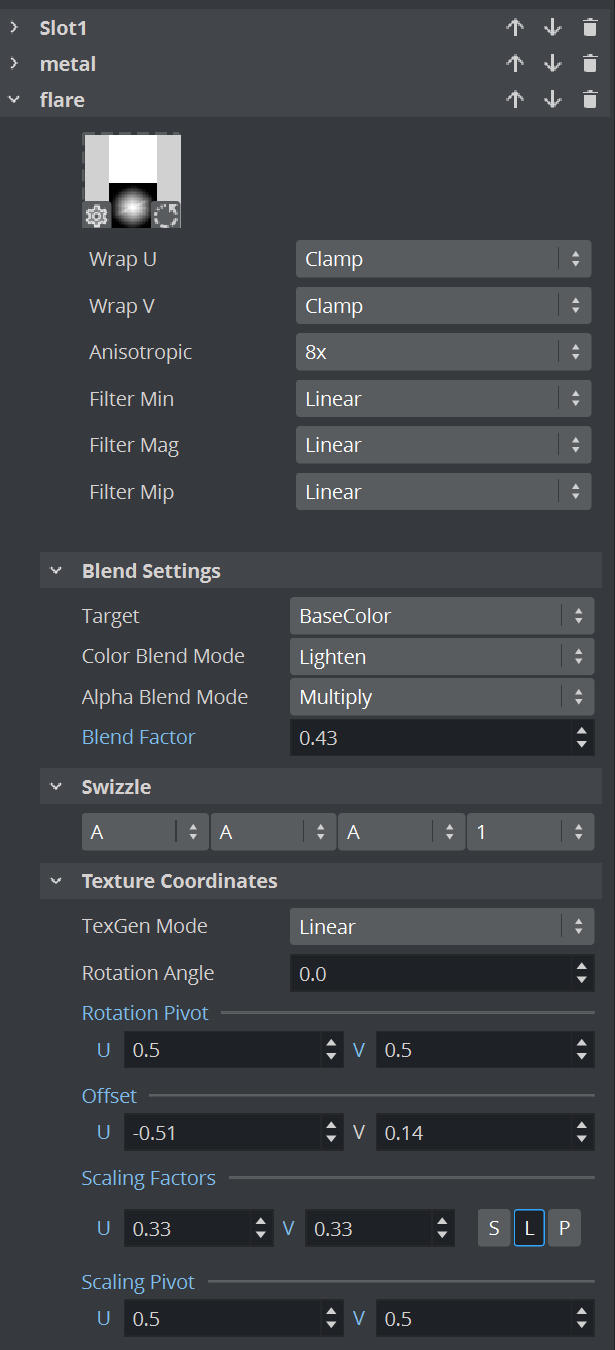
Next we could add some flare effect to our rectangle:
We use a flare with an alpha channel embedded.

Create another Slot and drag the image to it. As this texture has its own alpha channel, we need to change the alpha blend mode to Multiply or Add to keep the alpha. As an alternative, we could also replace the RGB channels with the Alpha information by using the Swizzle function:

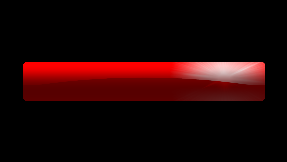
This use the Alpha Channel as RGB and fill the existing alpha with pure white. The image we use scales up and fills the whole rectangle, therefore we change the mapping mode to be linear. We do not want to tile it, change the image properties to Warp U and V to Clamp. A bit of offset and Scaling and play around with the blend modes ends up with something like this:
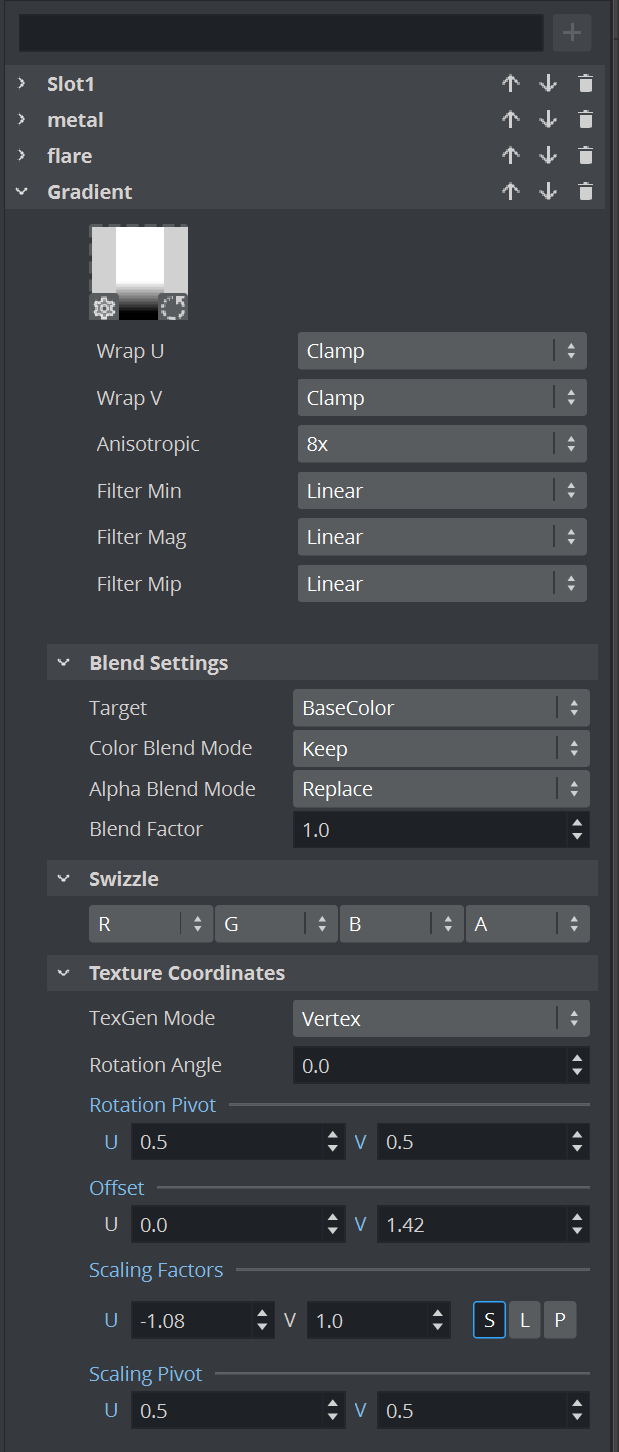
Finally lets add a gradient to act as an IN-Effect:
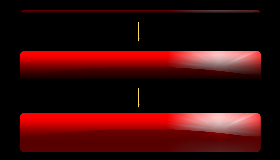
We replace the alpha of your image with this new one and animate it to achieve a soft wipe effect:
Add a new slot, name it Gradient, and apply the image.
The Alpha Blend mode needs to be replace. Setup you mapping and offsets and animate it from out to in for example by moving the V offset:
To Use Multiple Textures on Objects
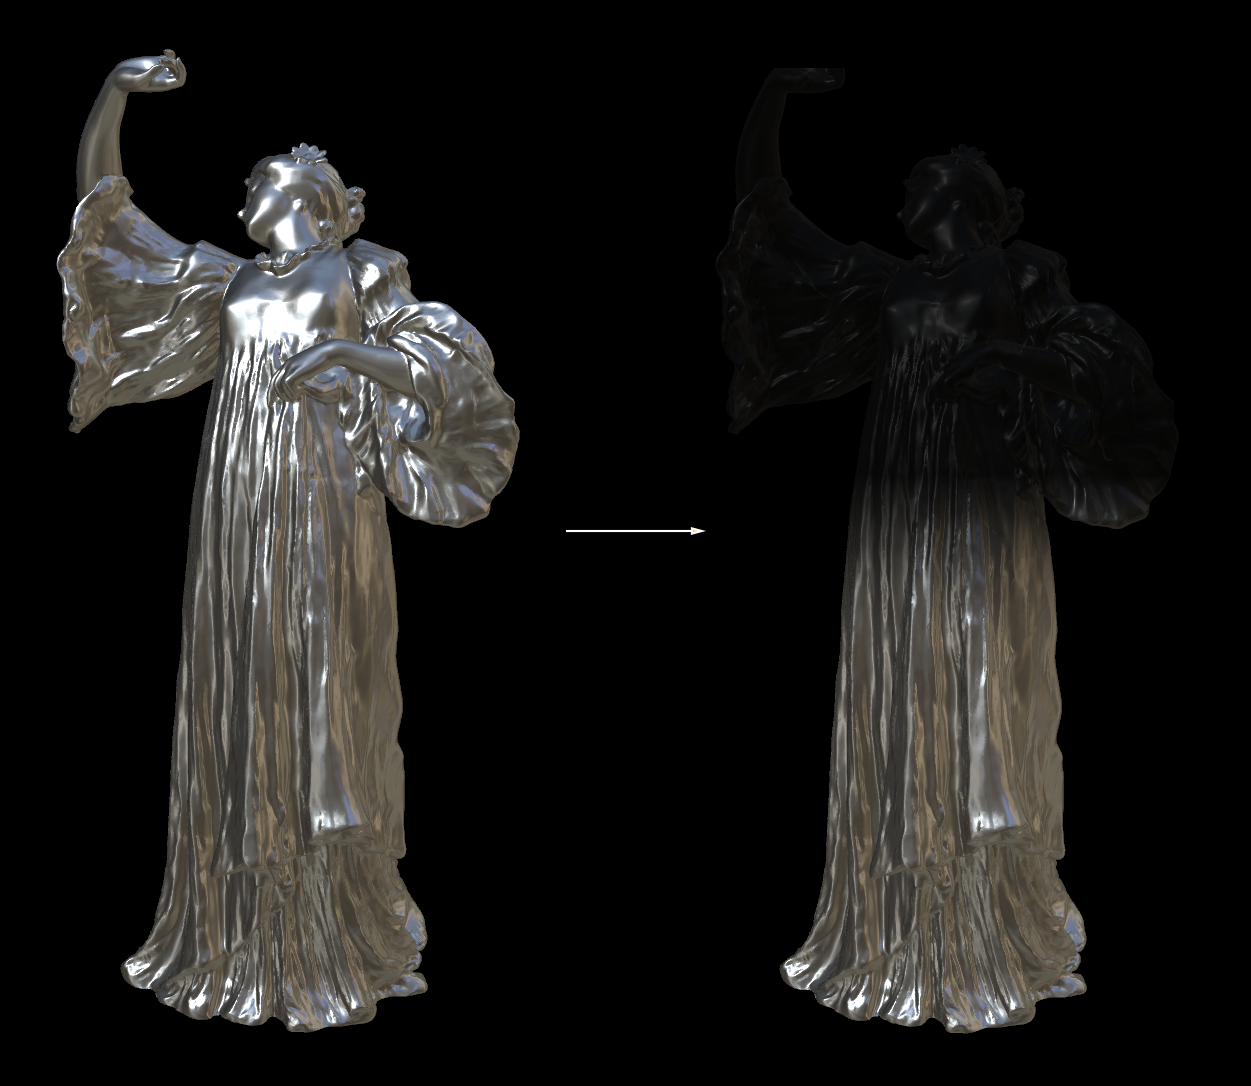
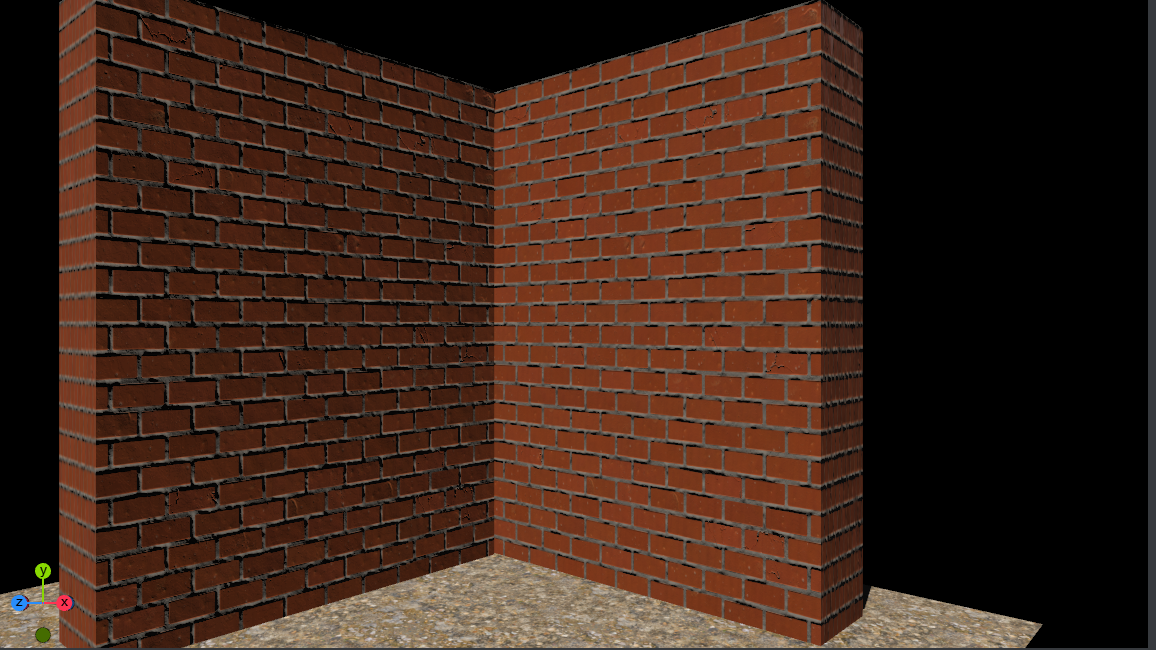
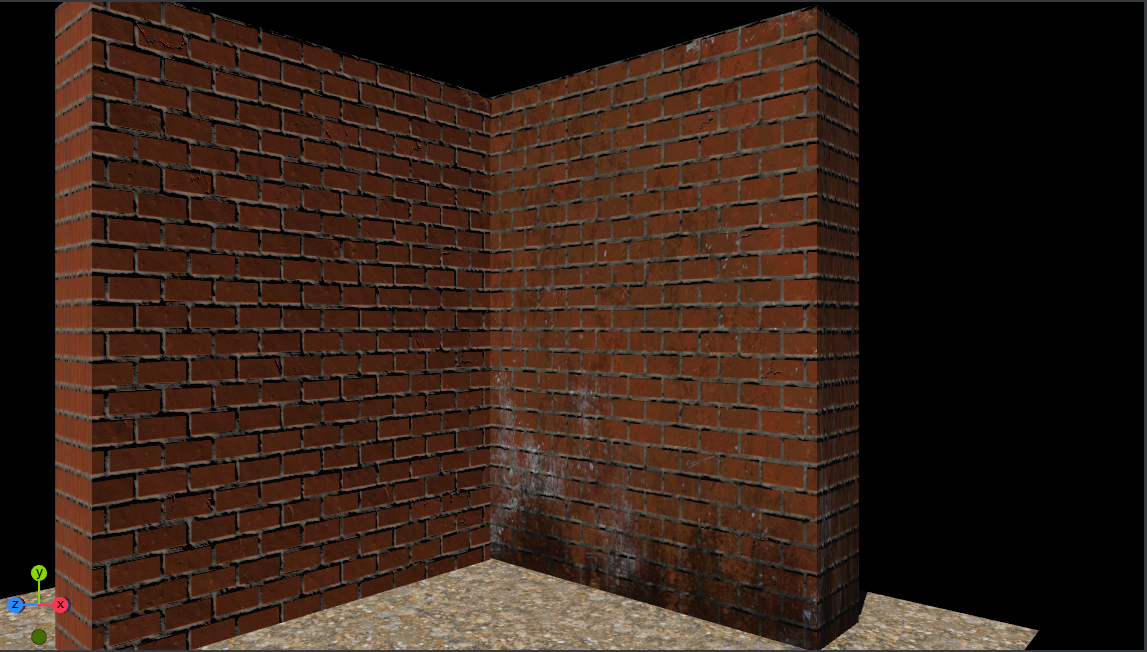
Multi-texturing can also be used to add imperfections or decals to textures to give them a more realistic look. If we take for example this wall, it looks way too perfect. No wall looks like this.
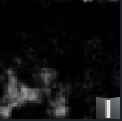
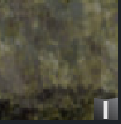
We can now add various textures to add some dirt to it, these are the textures used:
|
Texture |
How it is used |
|
|
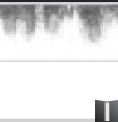
Rotated by 180 degrees and placed on the bottom. |
|
|
Multiplied onto the whole wall to add some dirt effect with a factor of 0.5. |
|
|
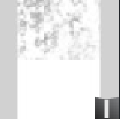
Also mapped into the Base color, but as exclusion. This adds the white dirt on the final wall. |
|
|
Finally, more dirt is added by blending onto the wall using Pin-Light and a factor of 0.5 |
This renders into a much more realistic brick wall (right side).
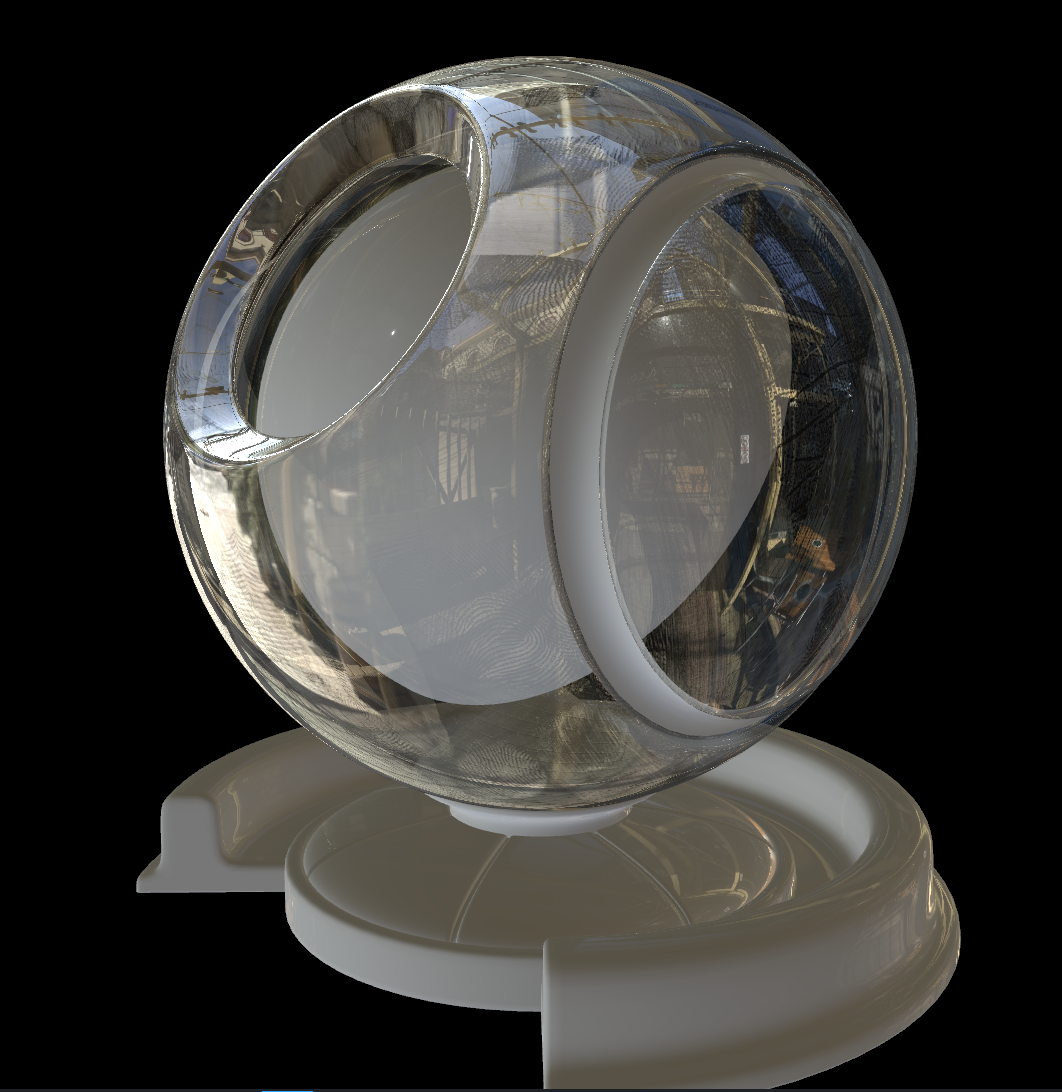
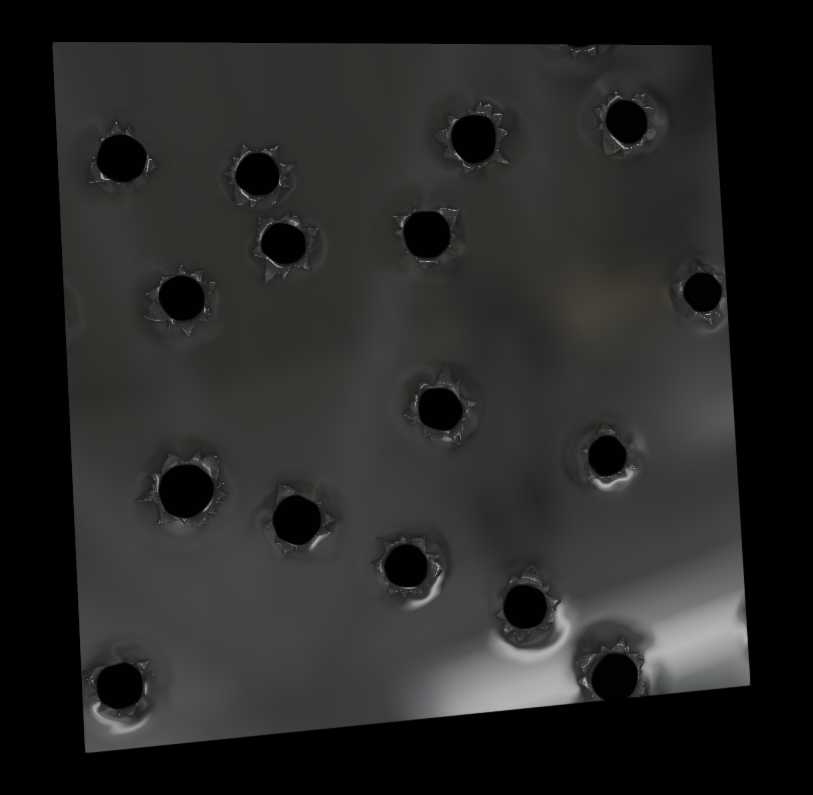
Another example could be to add footsteps on a surface, fingerprints on a glass ball, bullet holes, etc.:
Another quite often used method is to use gradient or mask and animate them to create some transition effects. This even works with 3D objects: