Viz Artist User Guide
Version 5.0 | Published December 20, 2022 ©
Logicmaker
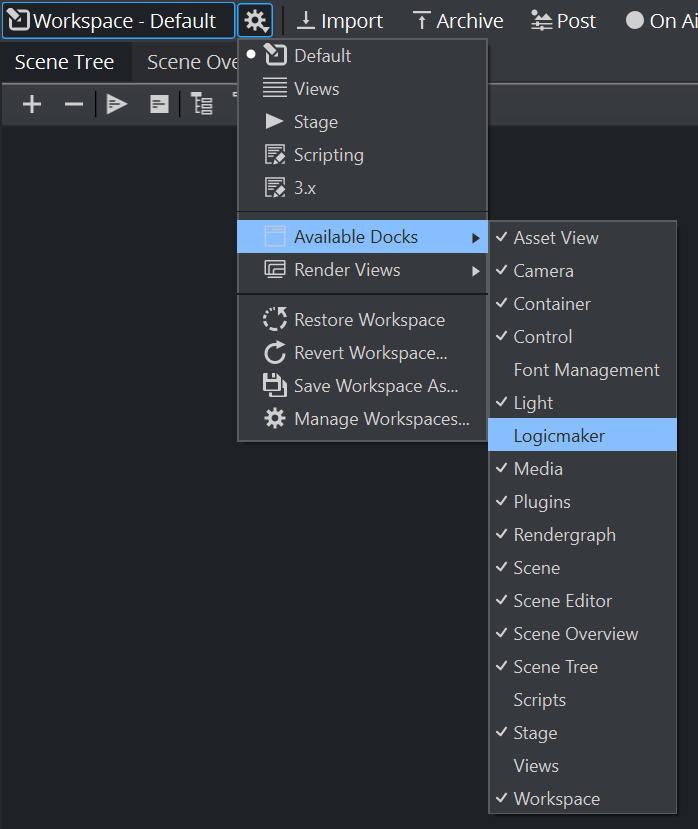
Logicmaker is a tool for creating and simulating Transition Logic scenes. Launch by selecting the Logicmaker dock under the list of available Docks. This starts Logicmaker in a floating dock.
This section contains information on the following procedures and topics:
Main Features
-
Create and modify Transition Logic scenes.
-
A simplified workflow for Transition Logic editing operations.
-
Test Transition Logic scenes directly inside Viz Artist.
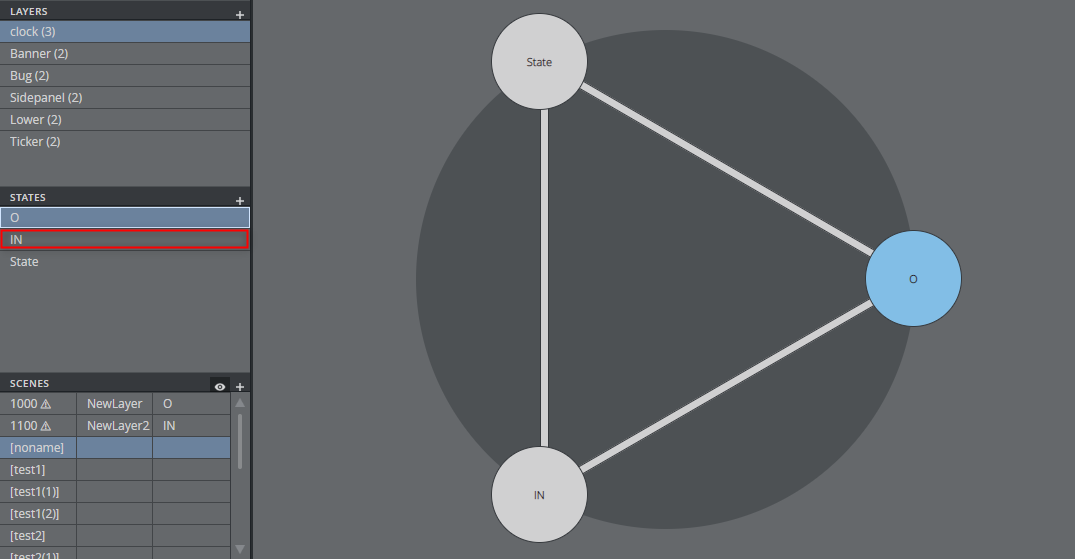
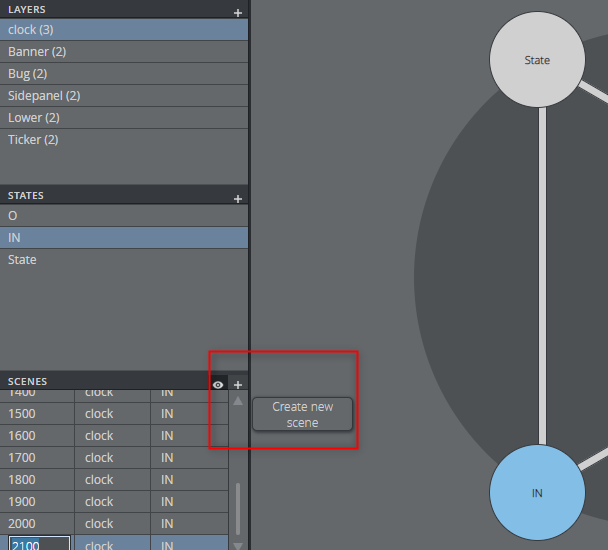
User Interface
The interface consists of four main areas:

-
The Layers List , located at the top left corner of the side panel.
-
The States List , located in the middle of the side panel.
-
The Scenes List , located at the bottom of the side panel.
-
The State Graph containing the State Nodes, located to the right of the side panel.
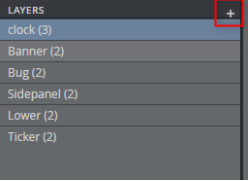
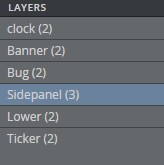
The Layers List
The Layers List shows the transition toggle layers associated with a scene in the Viz Artist editor.
Note: Toggle Layers are placeholders in Viz Artist containing toggle plugins that are used to load scene content in the form of geometry objects.
To Add a Layer
To add a transition toggle layer to the current scene in the Viz Artist editor interface implement the step below. This makes the scene a transition logic master scene if it is not already one.
-
Click the plus sign (+) in the top right corner of the Layers List panel.
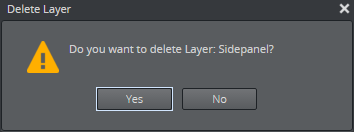
To Delete a Layer
Remove a transition toggle layer from the current scene in the Viz Artist editor. If the last transition toggle layer is removed from a scene, the scene is no longer a transition logic master scene.
-
Select a layer from Layers List.
-
Press DELETE.
-
Click Yes to confirm the deletion.
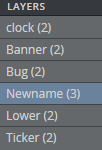
To Rename a Layer
Rename a transition toggle layer.
-
Double-click a layer from the Layers List.
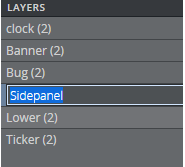
-
Type in the new layer name.
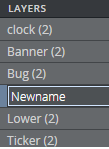
-
Press RETURN.
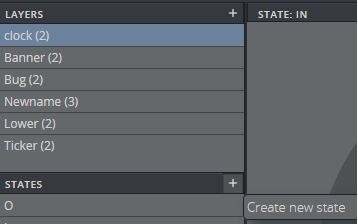
The States List
The states list shows the states associated with a scene in the Viz Artist editor.
Tip: States refer to points in a scene, for example start, pause or end points. Typically, a scene has two states: an Out (O) state, where a toggle layer is no longer visible on the screen; and an In (I) state, where the toggle layer is visible on-screen.
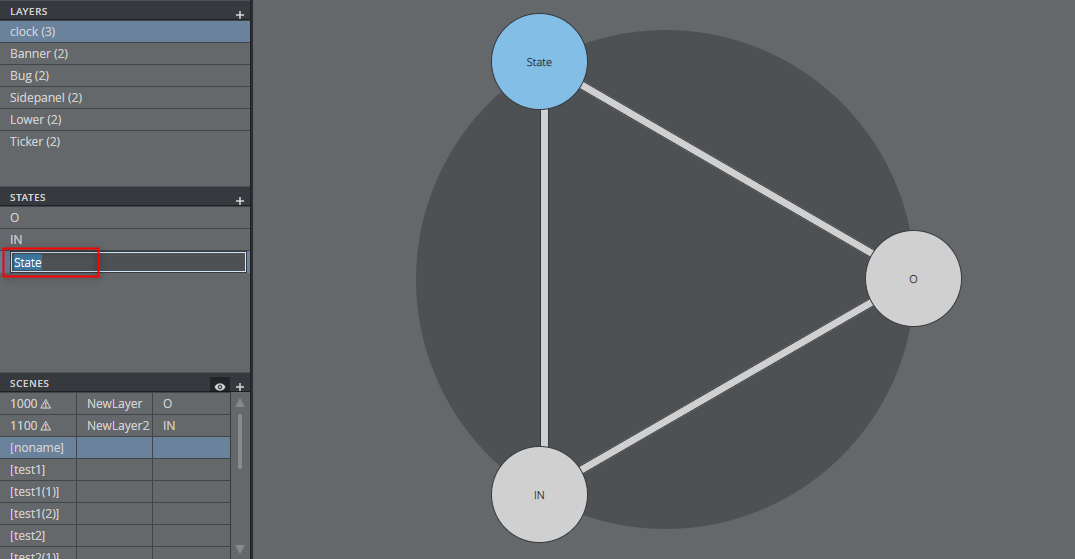
To Add a State
Add a state to the set of states supported by a transition toggle layer.
-
Select a layer in the Layers List.
-
Click the plus sign (+) in the States List (or use the context menu or the INSERT key).
To Rename a State
To Rename a Layer State in the State List
-
Select a layer in the Layers List.
-
Double-click the state from the States List or press F2.
-
Enter the new state name.
-
Press RETURN.
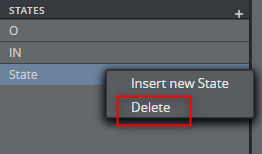
To Delete a State
To Delete a Layer State
-
Select a layer in the Layers List.
-
Select a state in the States List.
-
Press DELETE.
-
Click Yes to confirm the deletion.
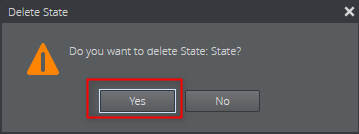
Note: Click No to cancel the deletion of a state.
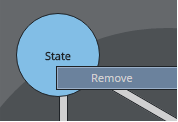
To Delete a Layer State from the State Graph
-
Right-click a state node.
-
Click Remove.
To Jump to a State
There are two ways to jump to a state: in the States List or the State Graph. This shows a specific state in the Viz Artist render output. Each method also has the option to animate the state jump, as explained below.
To Jump to a State in the State List
-
Click the desired state in the State List.
Tip: To animate the state jump, hold down SHIFT and click the left mouse button when pointing to a new state in the State List.
To Animate a State Jump in the State Graph
-
Click the desired state in the State Graph to animate the state jump.
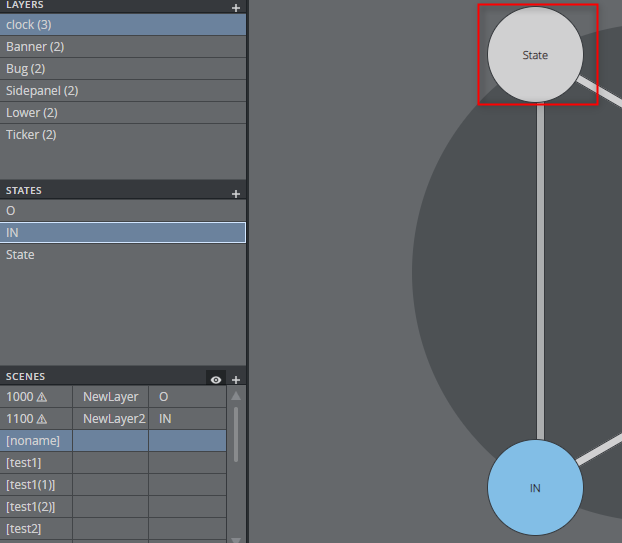
Tip: To jump to a new state without animation, hold down SHIFT and click the left mouse button when pointing to a new state in the State Graph.
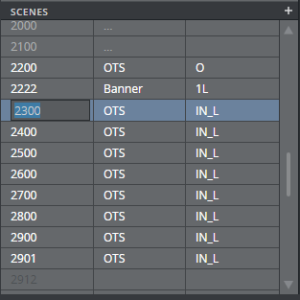
The Scenes List
The Scenes List displays a list of all scenes within the same folder as your master scene.
It shows the scene name, the layer and the state this scene is attached to.
Click on a scene to load it and check if it can be used as an object scene inside your master template.
To only check the scene, right click on it and select Check Scene.
Colors indicate the status of a scene:
-
White indicates a correct Object Scene.
-
Red indicates a scene not suitable for the loaded Master Scene.
-
Dark grey is for scenes not related to the Master Scene.
-
Orange is for old legacy combo box scenes.
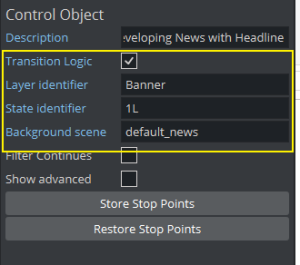
A valid scene has a control object plug-in assigned, Transition logic enabled, a valid Layer identifier, a valid state identifier and a Master or Background scene.
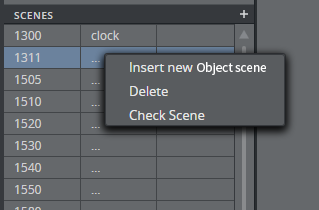
To Add an Object Scene
Create a new object scene targeting a specific layer and state.
-
Select a layer in the Layers List.
-
Select a state in the States List.
-
Click the plus sign (+) in the Scenes List.
To Load and Animate a Object Scene
-
Click a scene in the Scenes List.
To Rename an Object Scene
-
Double-click a object scene in the Scenes List.
-
Enter the new name of the scene.
-
Press RETURN.