
Viz Artist User Guide
Version 5.0 | Published December 20, 2022 ©
To Setup Precision Keyer
Sample
Key FOREGROUND Asset
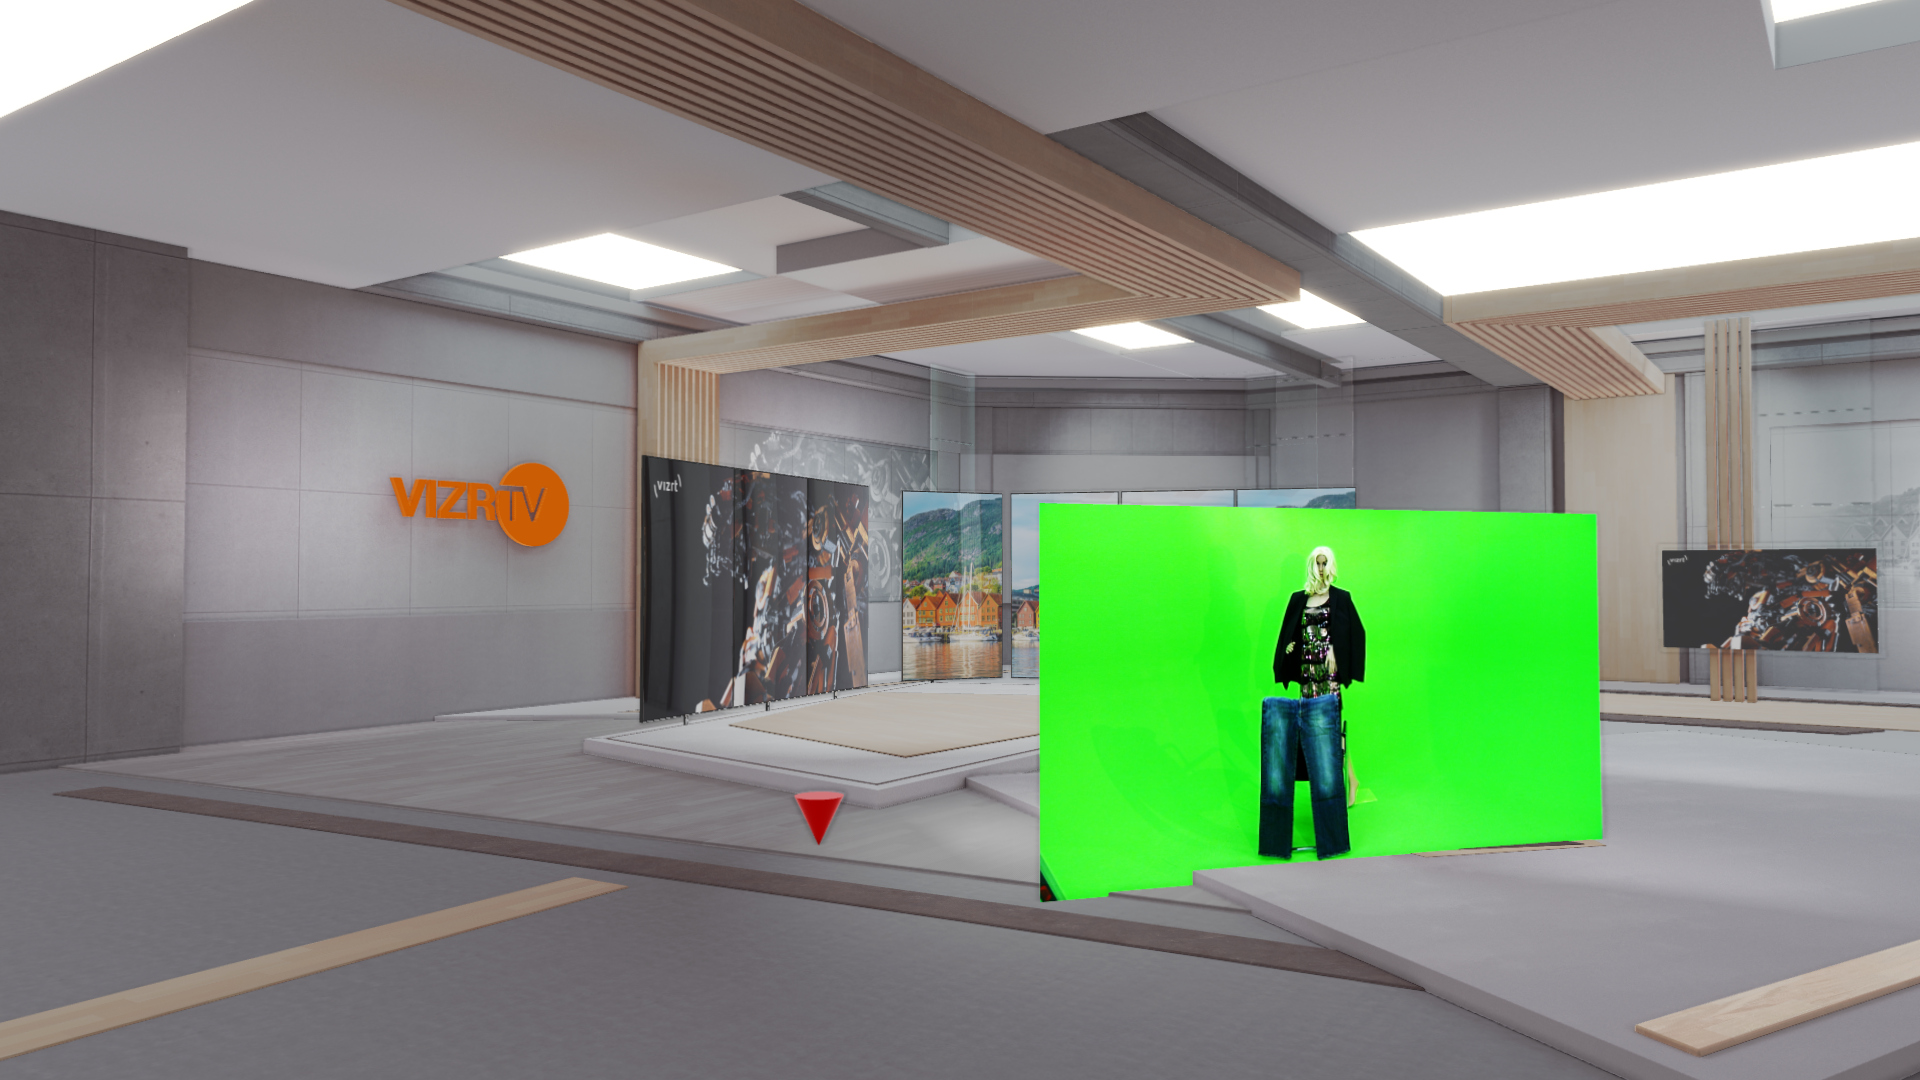
The Precision Keyer can work on foreground assets (SCENE > Foreground) or on texture which are used within the scene.
|
|
Virtual Studio |
|
|
Live input as FOREGROUND asset |
|
|
Result with configured the Precision Keyer |

Key Textures in Scene Tree
If used within the scene, simply drag the media asset in the scene tree and enable the Keyer. Do not add any geometries (for example, Rectangle) on the container!
|
|
Virtual Studio |
|
|
Live input added as texture in the scene |
|
|
Result with configured the Precision Keyer |


Prerequisites
The Precision Keyer works on live inputs (including streams and NDI) and clips. The asset must be used as a texture in the scene (either in the scene tree, or as "FOREGROUND" in the scene), and it requires a solid background color which is either green or blue.
As a first step, select the color mode which should be used by the Keyer, which is either Greenscreen (default) or Bluescreen.
![]()
Then, you need to adjust the base parameters of the Keyer. This can be done either by using the Auto Adjust functionality or manually.
NDI
If you want to use the Precision Keyer with active NDI output in a VS setup, please be aware that Viz Engine puts the matte of the Keyer on the key signal. Depending on the device which is used to read the NDI signal, this key might be already applied and thus Virtual Studio elements are not visible on the NDI output. To fix this, you need a fullscreen key or a device which shows fill (RGB) independently from key (Alpha). To enforce Viz Engine to send a fullscreen key, please enable verbose mode in the Viz Engine Configuration and search for ForceKey... in the configuration file and enable this flag.
Automatic Adjustment of Base Parameters
Use the auto adjust functionality of Viz Engine. The result looks like this:
The auto adjustment uses the current input signal to calculate:
-
Hue Adjust
-
White Point (Transparency)
-
Processed FG / RGB
Furthermore, it sets the following values based on some well-proven defaults:
-
Black Point (Opacity)
-
CMY Gain
-
BG Lightwrap
-
Radius/Sharpen of Matte Denoise
However, there still might be the need to slightly adapt the parameters, depending on your input signal.
Manual Setup of Base Parameters
Hue Adjust
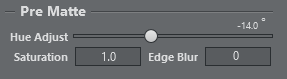
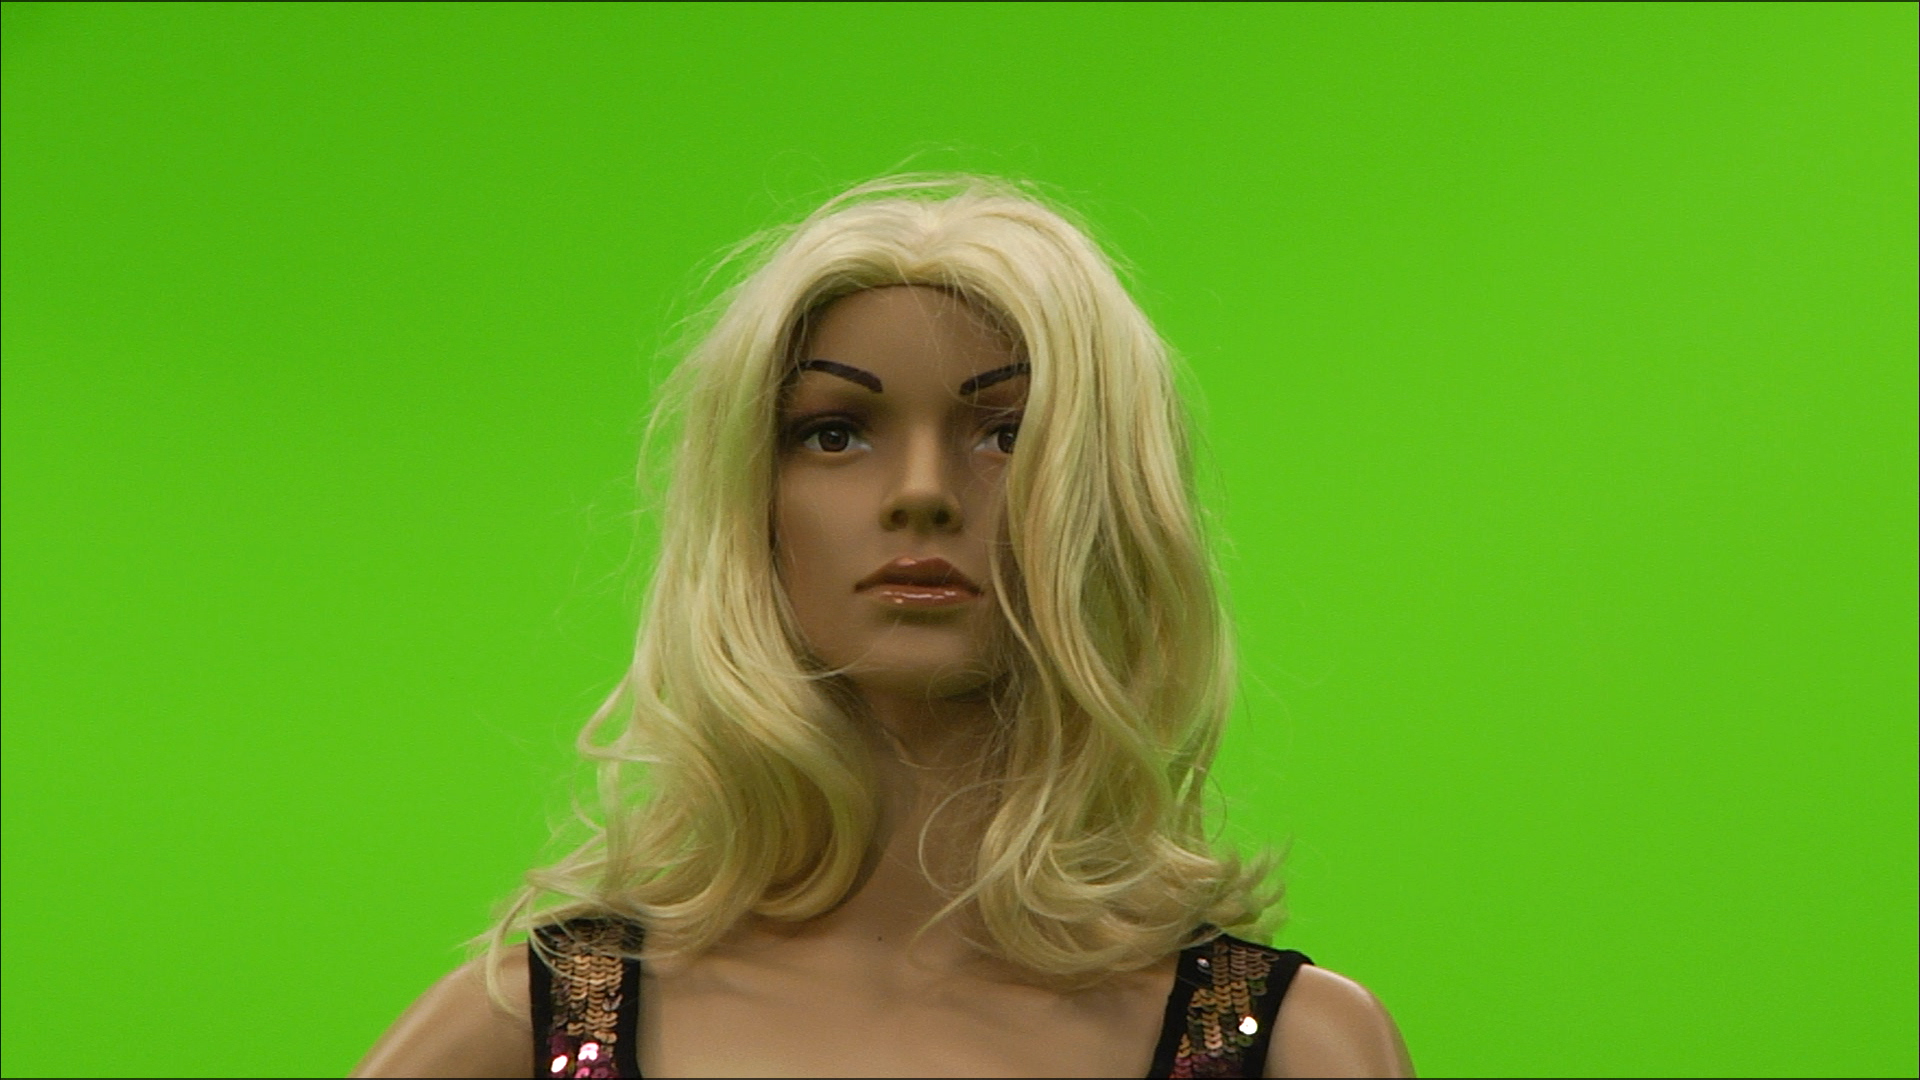
The Keyer works best if the background is perfect green (RGB(0, 255, 0)) or perfect blue (RGB(0, 0, 255)). As this is not what we have in most real-world setups, you need to color-shift the input signal until you get perfect green or perfect blue.
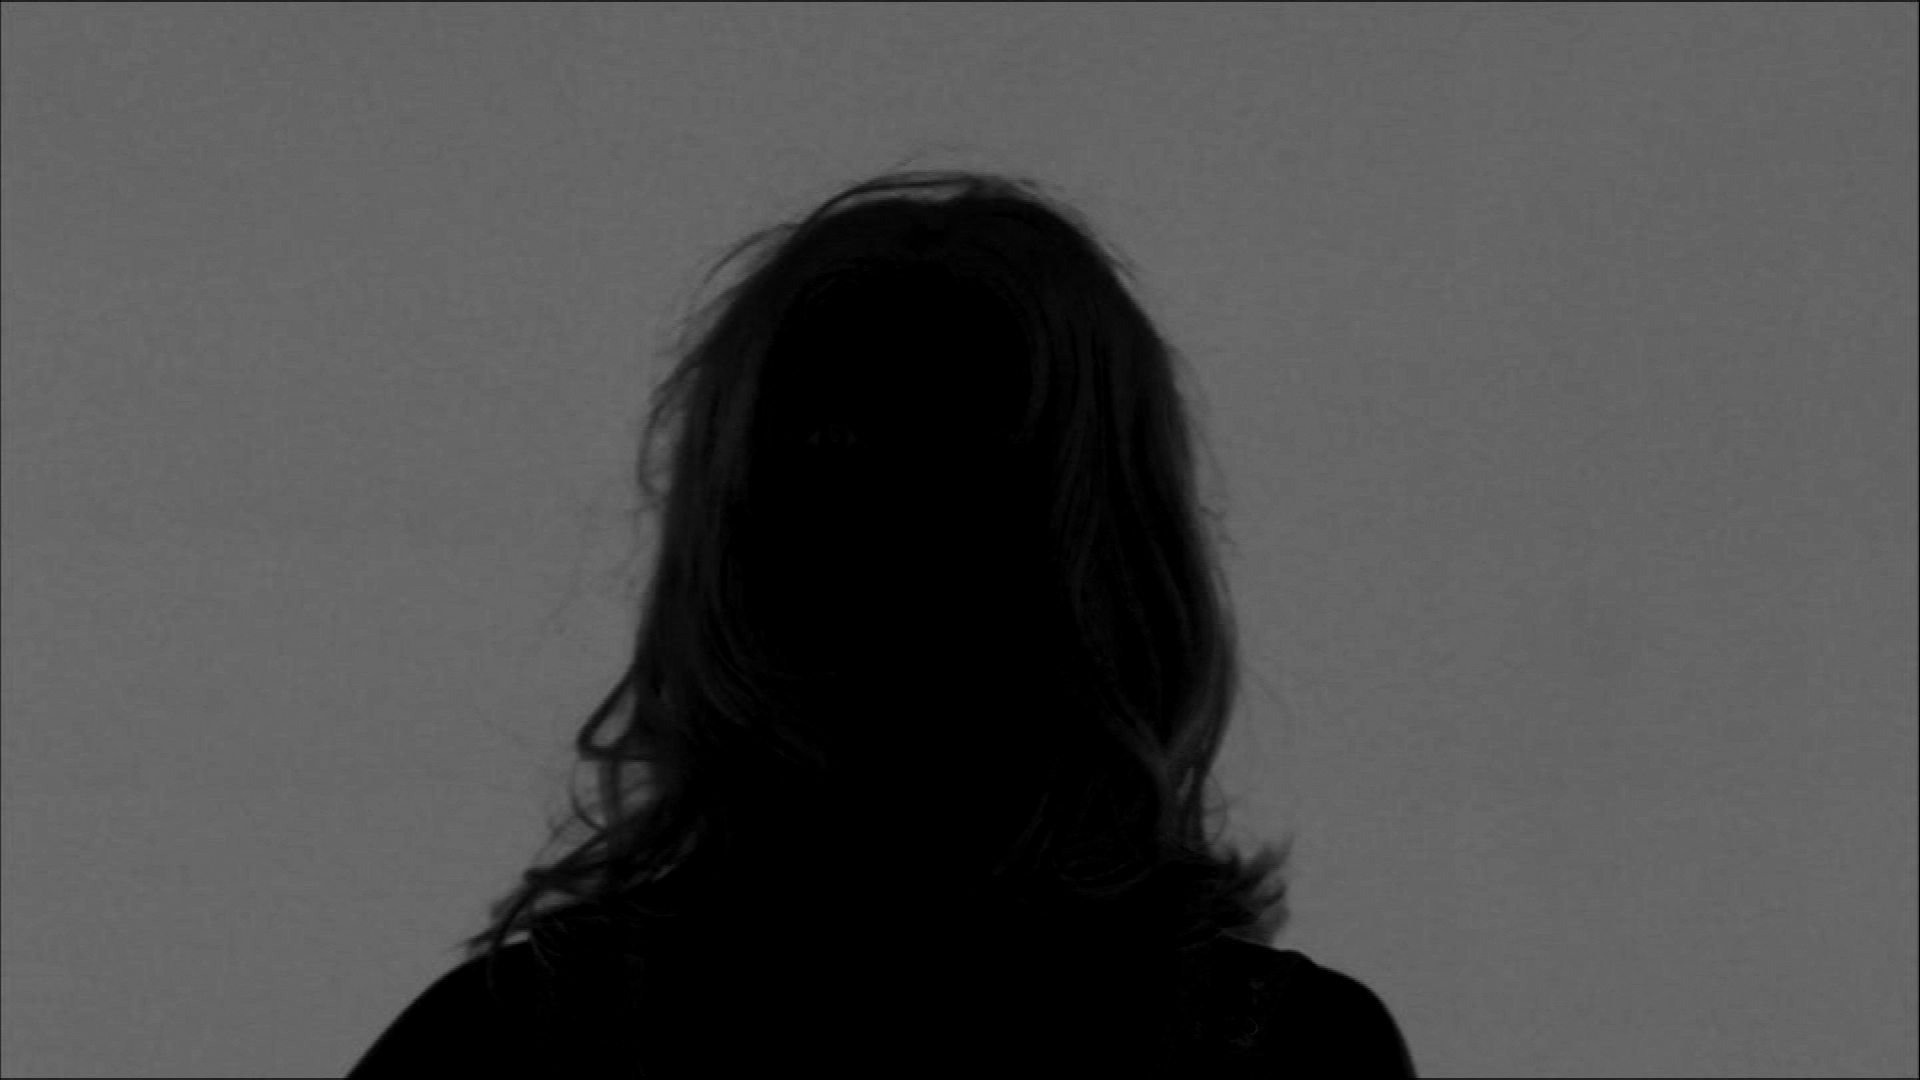
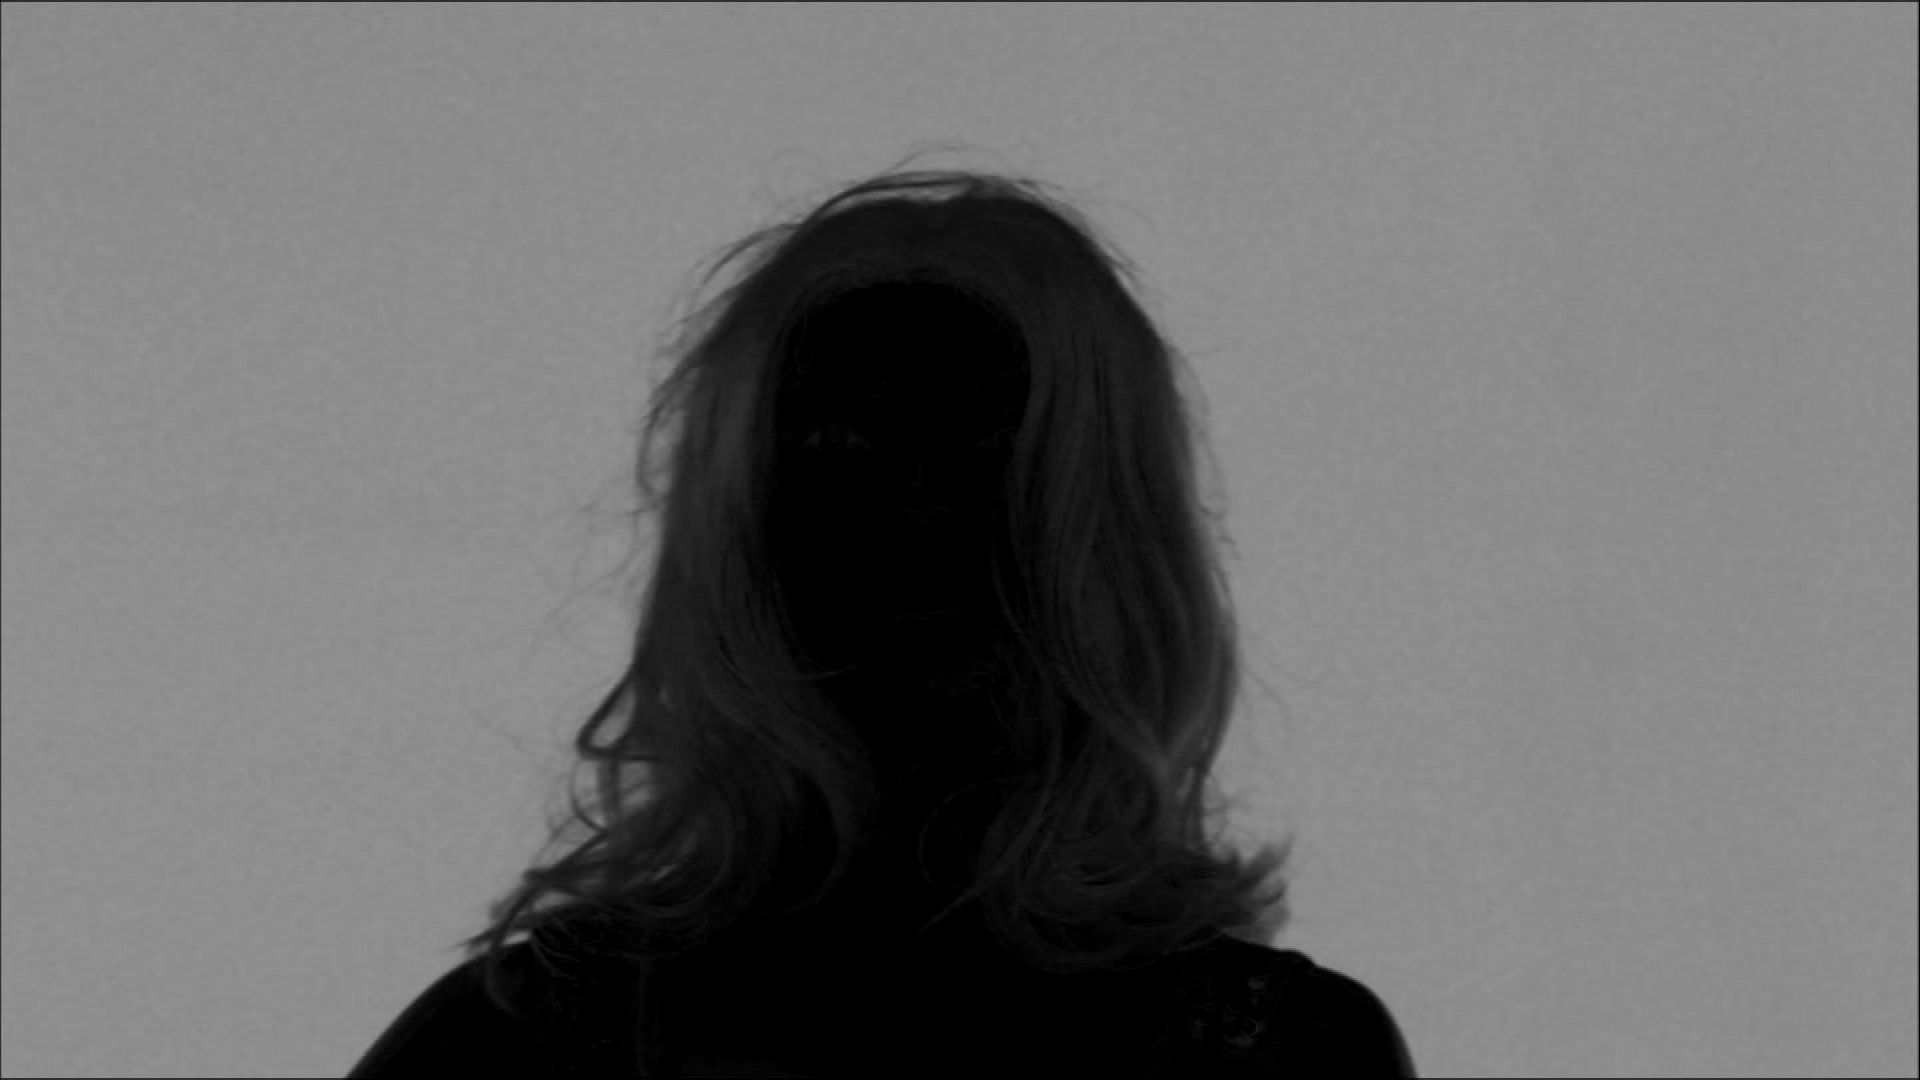
Enable the Matte view and adjust the hue shift until you have the maximum of contrast you can get. In perfect scenarios, this would mean that you get a full white background, and a opaque black foreground. Depending on your lighting situation, you will not get perfect white and black on the matte view, this is handled in the next steps. Try to find the hue shift which is the best you can get now, and use 100% for the white point (Transparency) and 0% for the black point (Opacity) to see the unscaled values while adjusting the hue shift.
|
Input Signal |
|
|
|
Matte Before Hue Adjust |
|
|
|
Matte After Hue Adjust |
|
|
White Point (Transparency) and Black Point (Opacity)
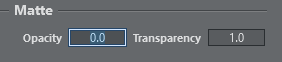
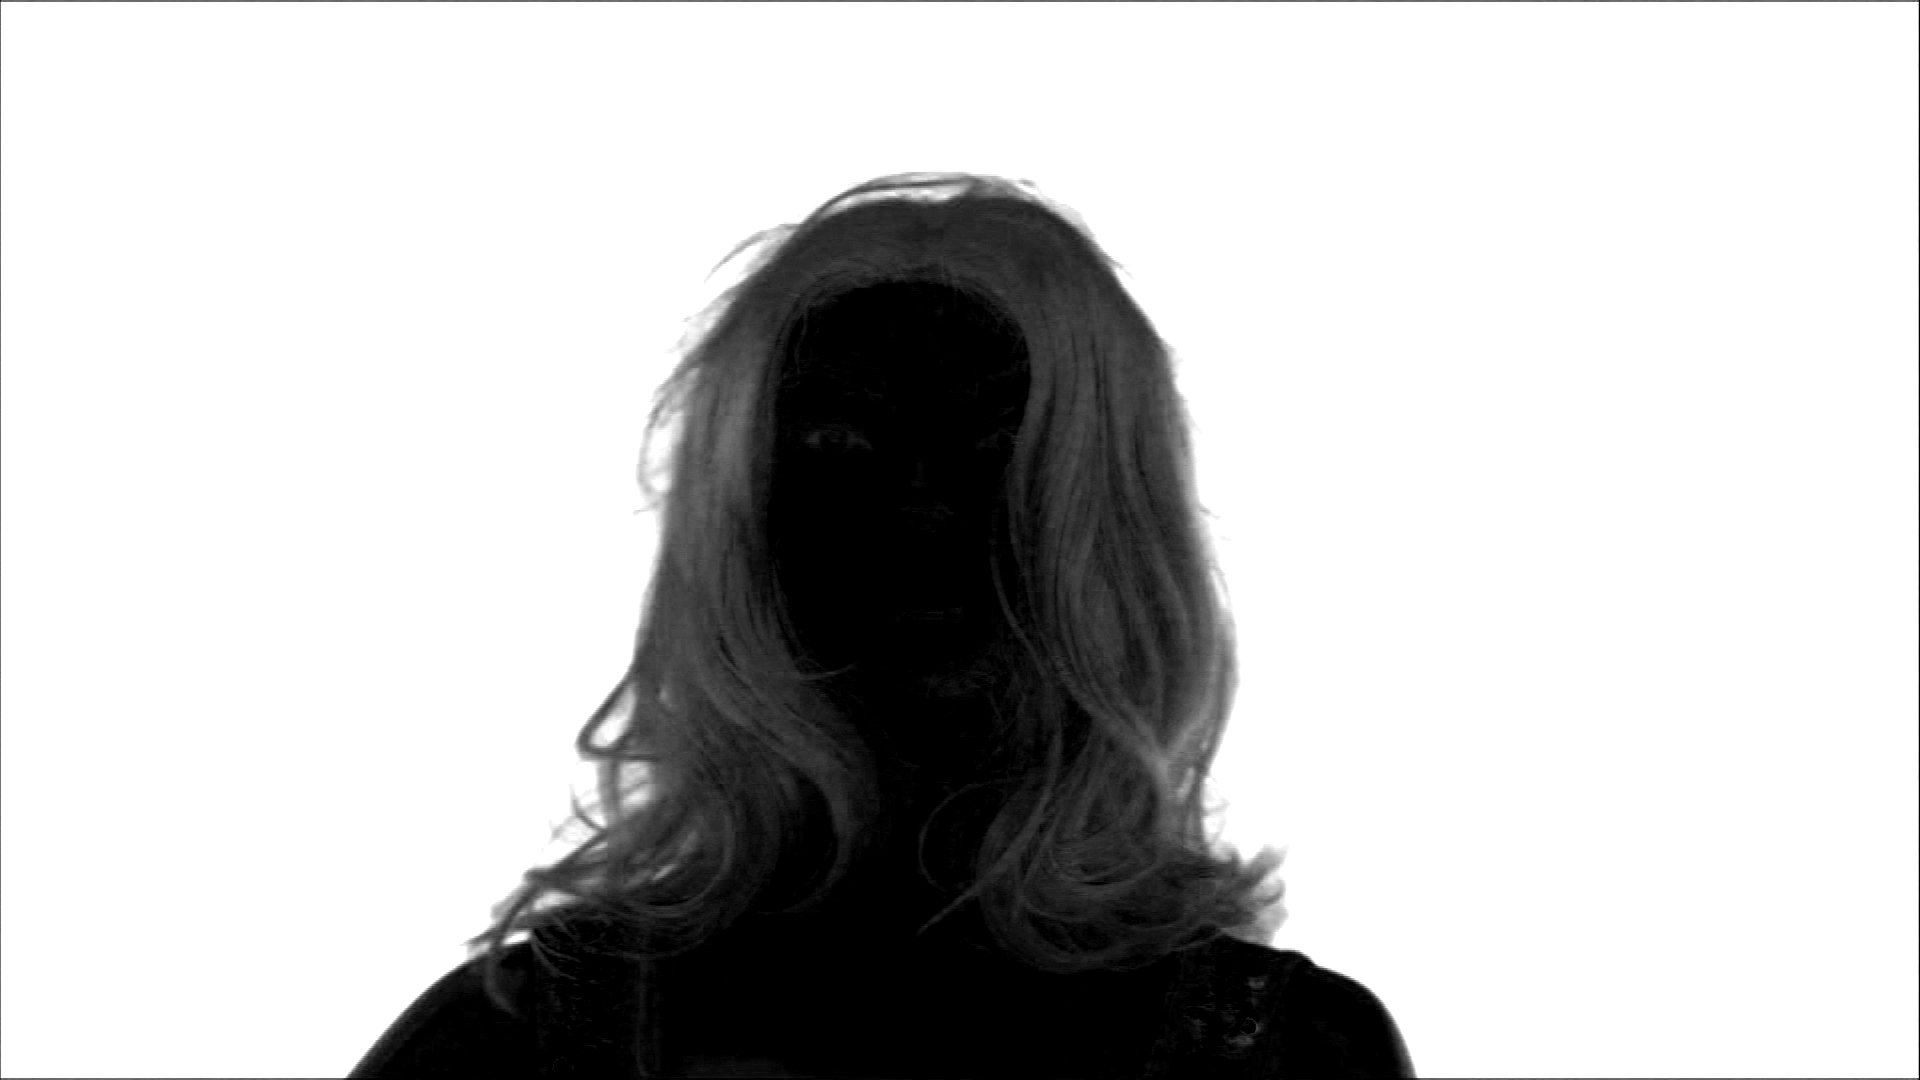
After the hue adjustment, we should adjust the white point. This scales the input values so that the background is fully keyed (full white on the Matte view). Start from 100% and reduce it until the background is fully white, Do not reduce it more as necessary, as it would start remove details at the border of the foreground.
Now we need to find the black point, which scales and shifts the input values so that the foreground is fully opaque. Start from 0% and increase it, until your foreground is fully opaque. Have a look on details and borders and do not increase it more as necessary.
|
Matte Before White Point Adjustment |
|
|
|
Matte After White Point Adjustment |
|
|
|
Matte After Black Point Adjustment |
|
|

Processed Foreground / RGB
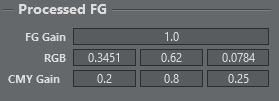
After the base adjustment of the hue and the white point and black point, you should adjust the RGB values of the processed foreground. These values are subtracted from the input signal and then are used in a linear keying mechanism, so the goal would be that these RGB values match the color of the background. Try to adapt the values so that they match the dominant color of the unprocessed input, but make sure that you do not use higher RGB values as needed. Incorrect or too high values decrease the quality of the linear keying and get noticeable with false colors around the edge between foreground and background.
|
Input Signal |
|
|
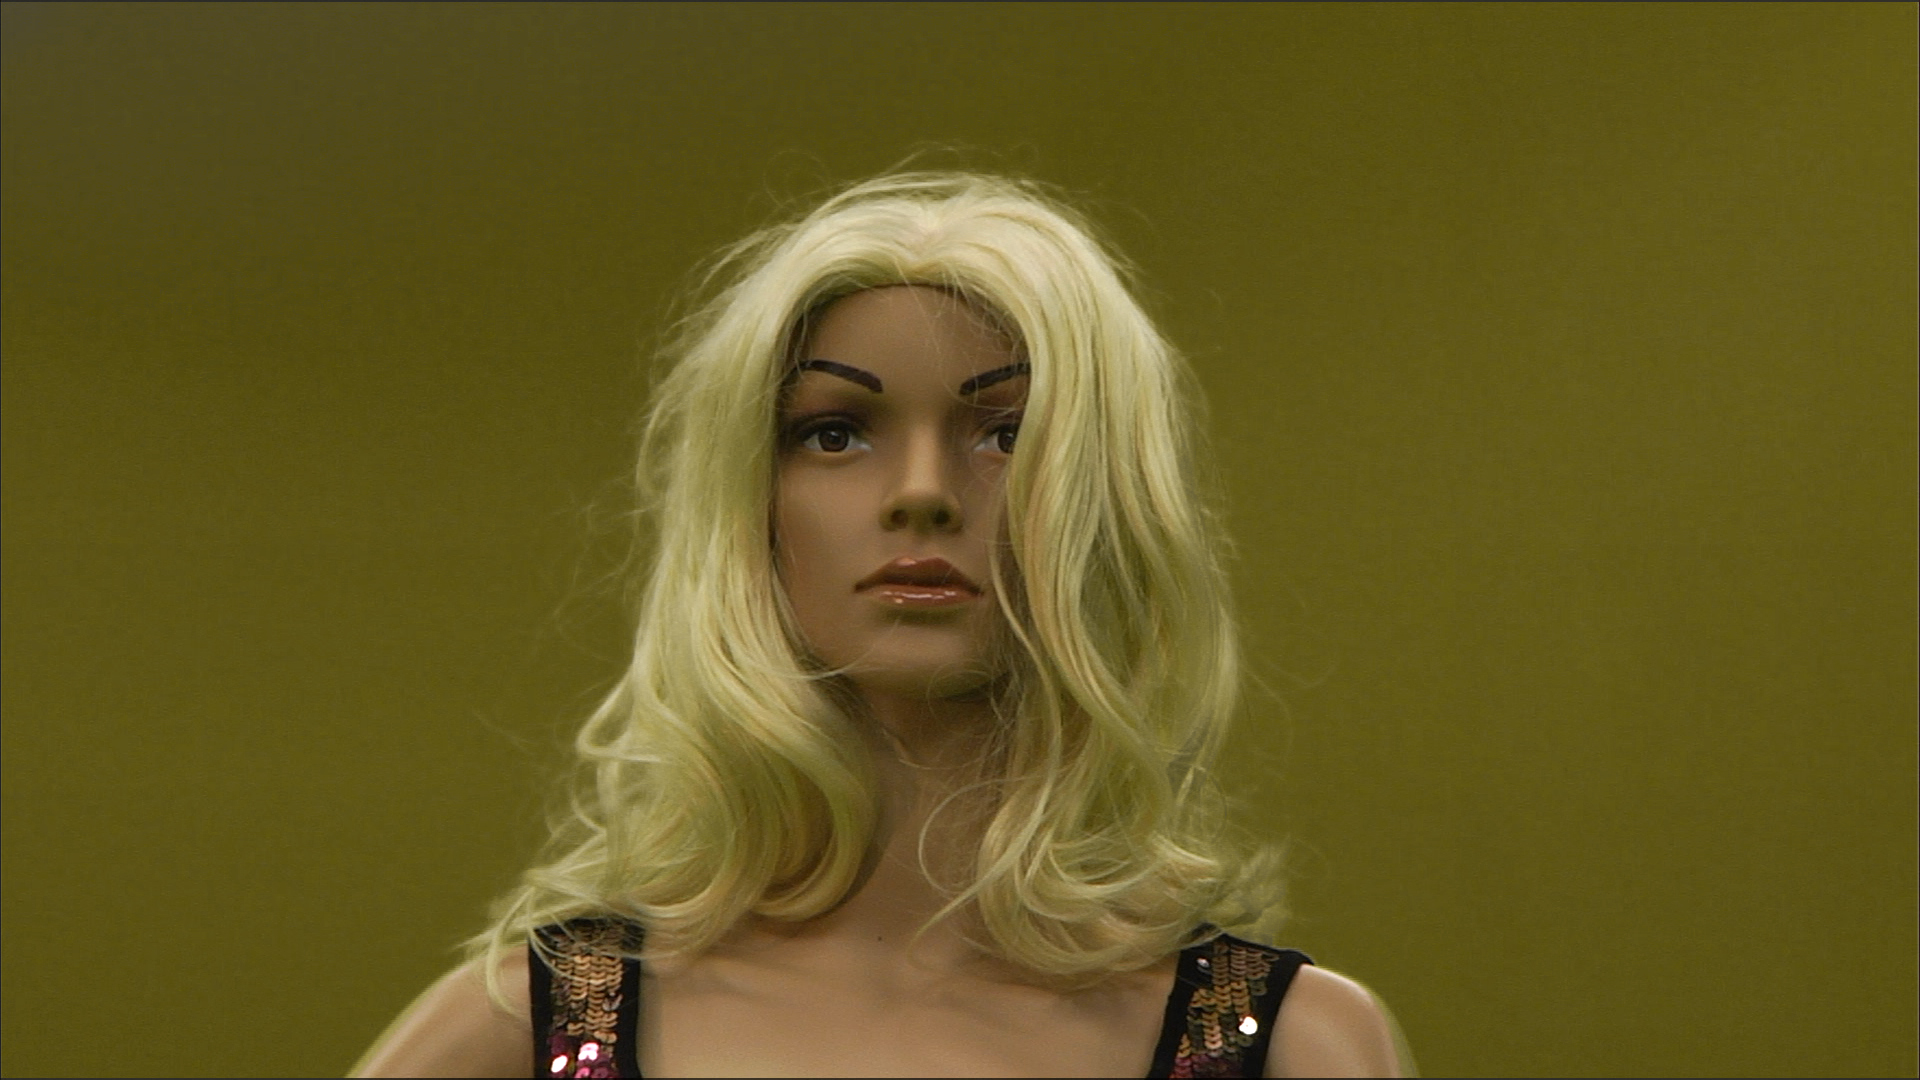
|
Processed FG before RGB Adjustment |
|
|
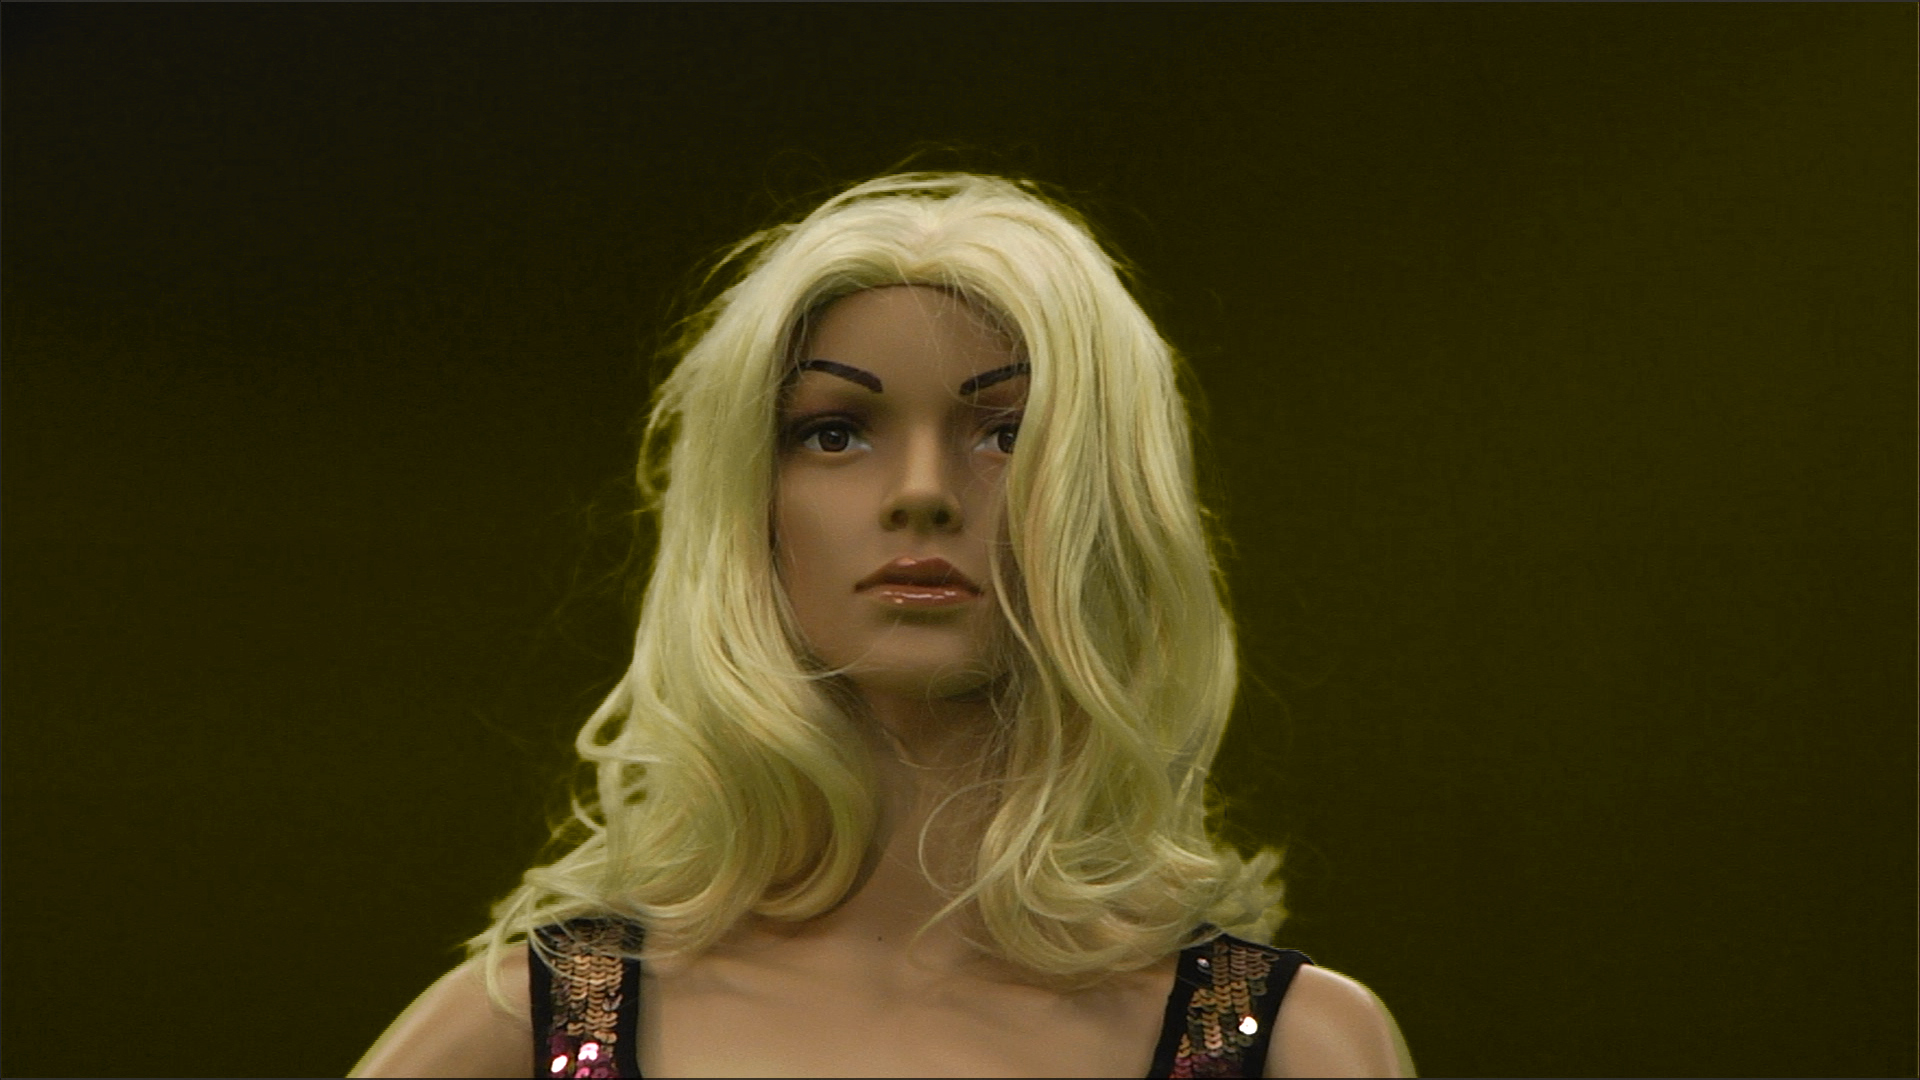
|
Processed FG after RGB Adjustment (0.345, 0.713, 0.078) |
|
|
Cyan / Magenta / Yellow Gain (CMY Gain)
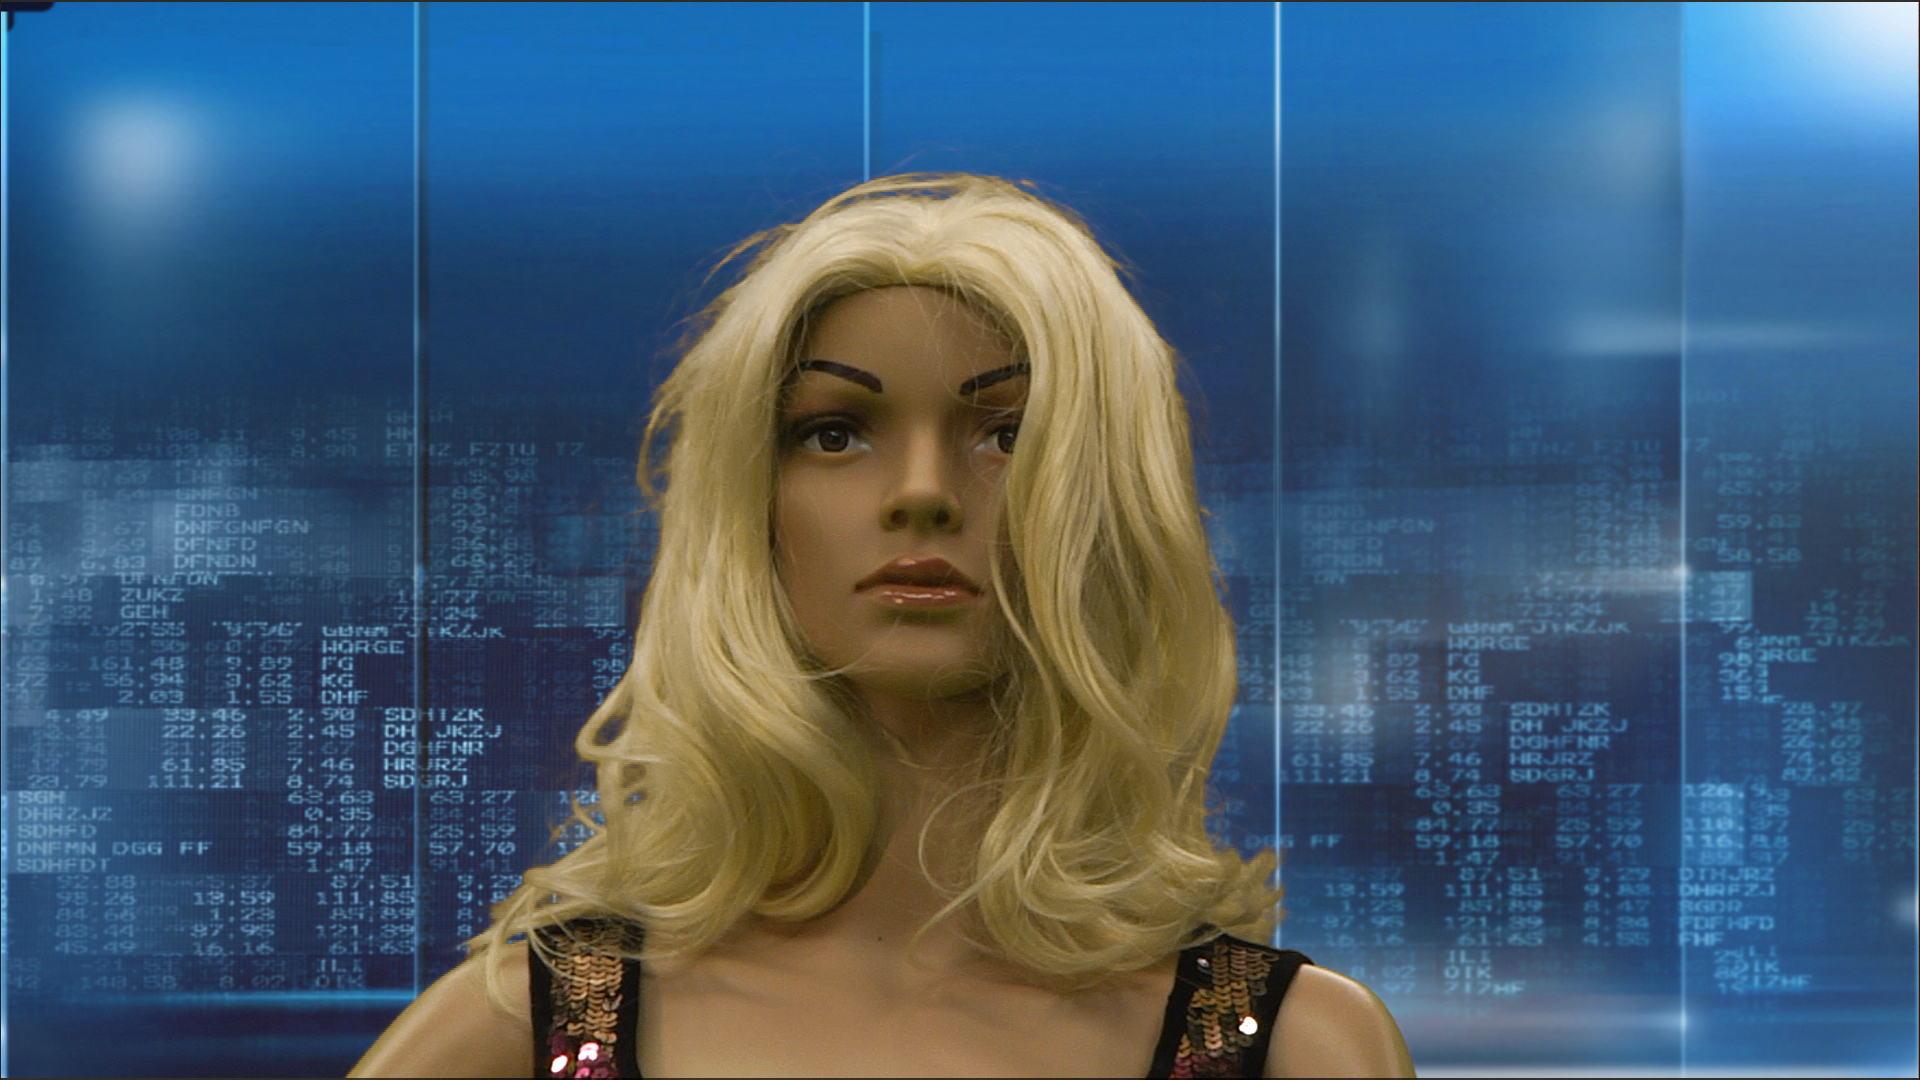
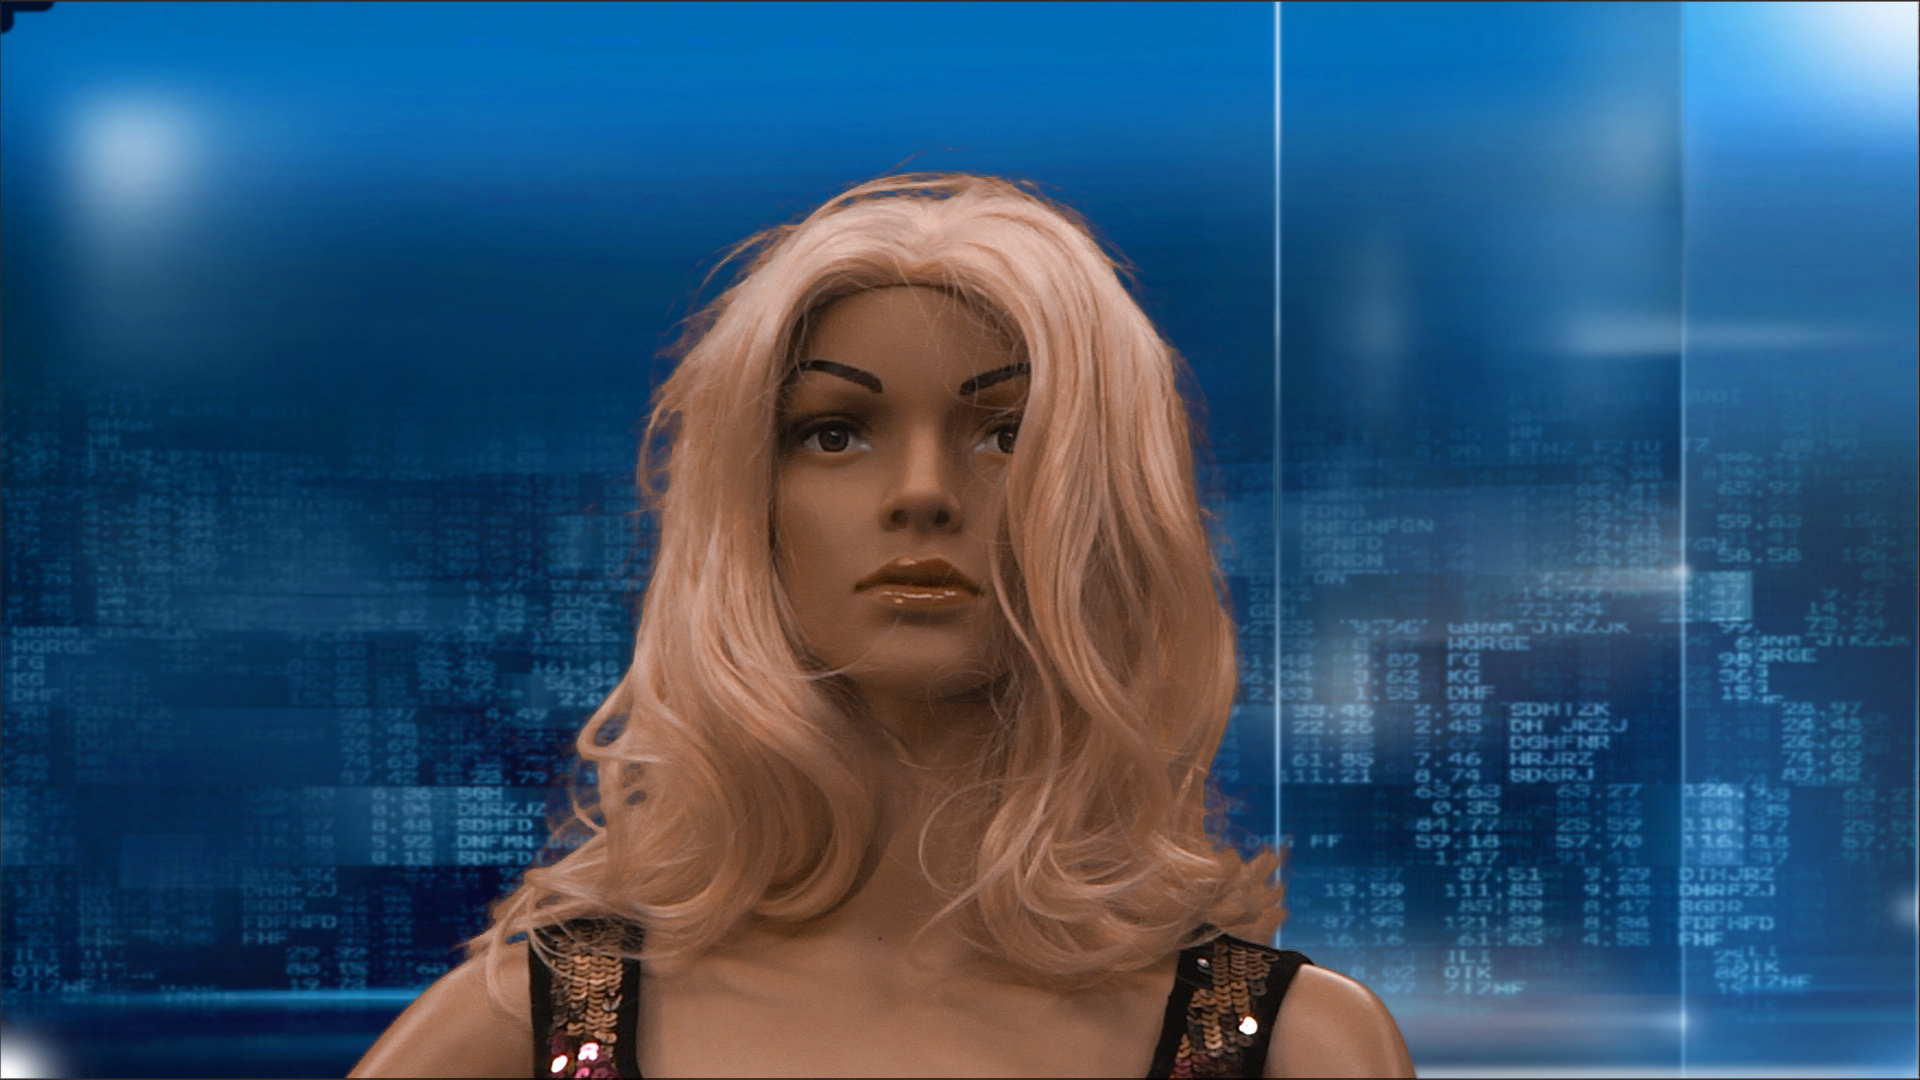
Due to the despilling process, which removes greenish / blueish parts of the skin, it can happen that the color tone is modified too much. Use the CMY gain adjustment to bring Cyan, Magenta or Yellow back as necessary.
|
Before CMY Adjustment |
|
|
|
After CMY Adjustment |
|
|
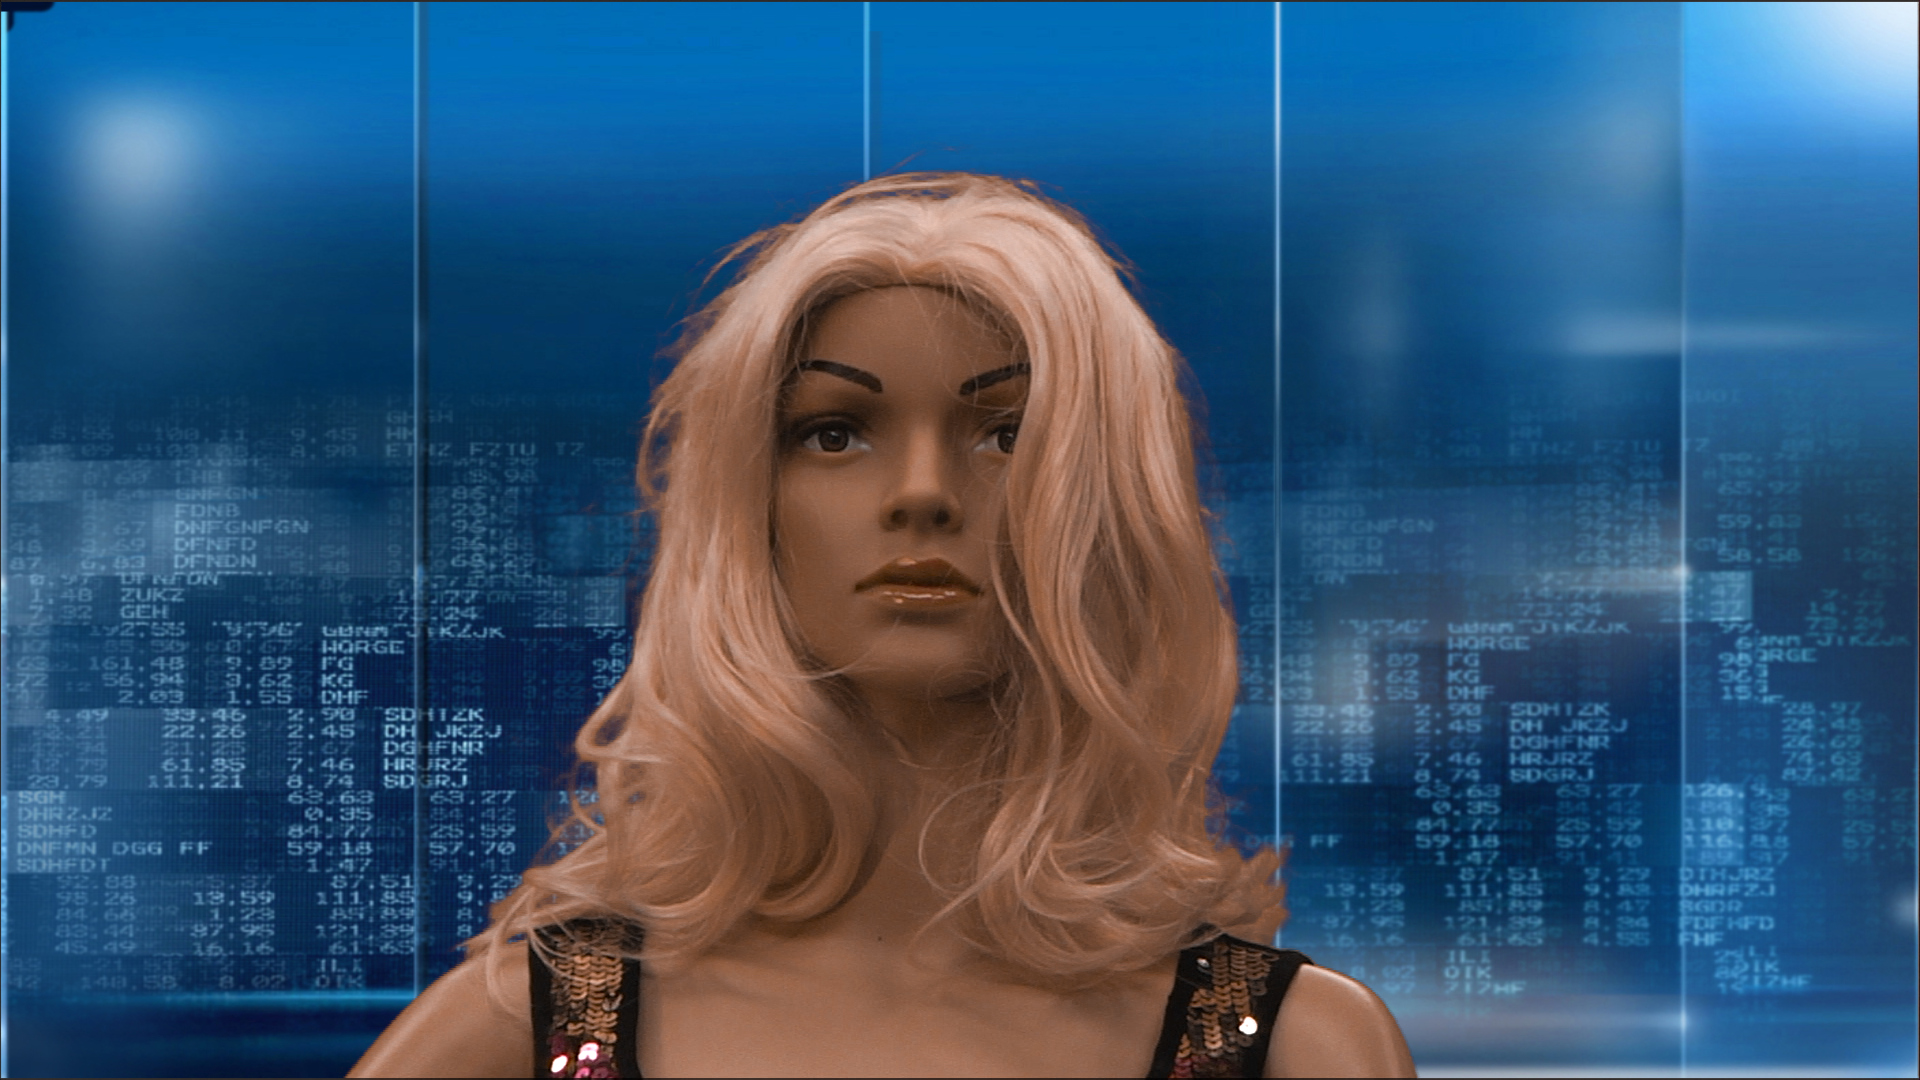
Final Result
Now add a background or your Virtual Studio and check the result:
Other Parameters
Background Lightwrap and Color Lightwrap
Color Lightwrap
Adds a specific color either around the edge (Edge Gain) or in the spill areas (Spill Gain).
Background Lightwrap
Blends with the background, either around the edge (Edge Gain) or in the spill areas (Spill Gain)
|
No Lightwrapping |
|
|

|
Color Lightwrap, Edge Gain = 0.5, Color = RGB(255, 0, 0) |
|
|

|
Color Lightwrap, Spill Gain = 0.4, Color = RGB(0, 0, 255) |
|
|

|
Background wrapping, Edge Gain = 0.3 |
|
|
|
Background wrapping, Spill Gain = 1.0 |
|
|
