
Viz Artist User Guide
Version 5.0 | Published December 20, 2022 ©
From 2D Logo to AR Object
The following workflow describes how to move from a simple 2D logo to a full AR object in Viz Artist:
This chapter covers the following techniques and describes the setup using these products:
|
Product |
Techniques |
Links |
|
Adobe Illustrator |
Converting to SVG to allow import in Blender |
|
|
Blender |
Extruding, triangulating, creating UV Maps and exporting |
|
|
Substance Painter |
Texturing |
|
|
Viz Engine |
Rendering |
|
Step 1: Preparing Data for Use in a 3D Environment
Adobe Illustrator File
Lets start with a Logo design as Illustrator File. This file format describes objects as a collection of paths and points. If these objects are going to be rendered in 3D space, all paths need to be closed. Adobe Illustrator is the de facto standard when dealing with vector documents and it can read and export the most common ones. In our use case, as Blender is not able to read the Adobe Fileformat (*.ai) natively, we need to convert it to a more common format. In this case, SVG (Scalable Vector Graphics).
To do so, simply open your given .ai document, select Save as and choose SVG as the target file format.
Step 2: Bringing the Object into the 3D World
In the next step, we use the open source software Blender to import our SVG Path object, extrude it, convert the paths to 3D vertices and prepare for the next step: Texturing in Substance Painter.
Info: The following steps are related to Blender, they work of course accordingly in any other 3D modelling Software like Cinema 4D, Maya or Autodesk 3D Max.
First, we need to import the previously exported logo design into a new Blender scene. We need to create a new empty document, this is done by selecting File/New... Delete the default cube by hitting the Delete key and confirm.
Next, import our 2D Shape. Select File > Import > Scalable Vector Graphics (svg). Browse to the location where you stored your .svg file and import it.
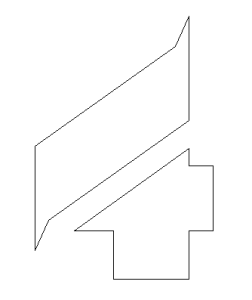
Use the mouse wheel to zoom in until your logo is visible. Scale your logo to the final dimensions. Select each path of your logo by using the right mouse button, and set a proper scaling. Changing the object's color is also a good idea, as it would give you a better impression about the extrusion.
|
|
|
|
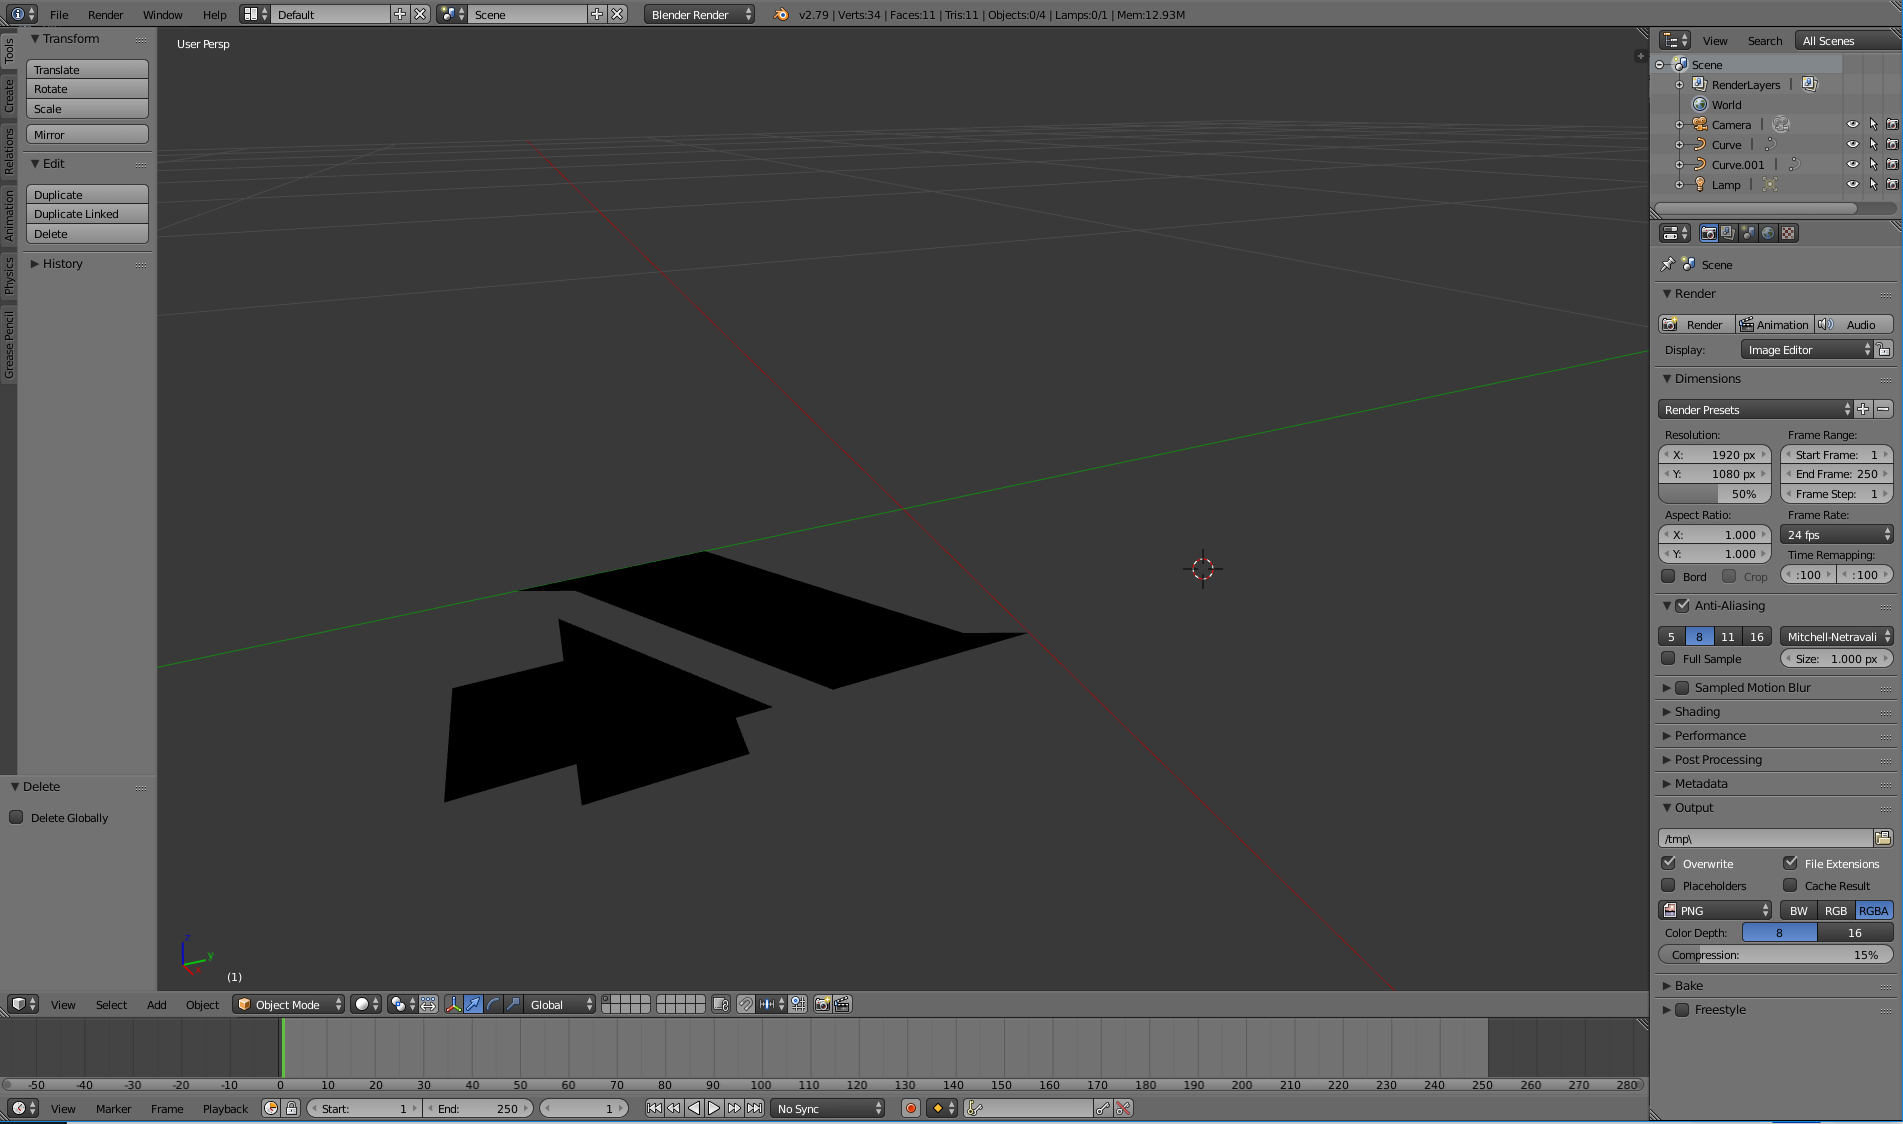
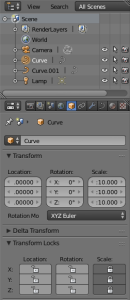

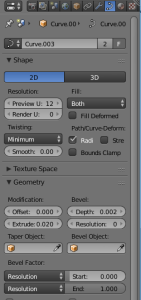
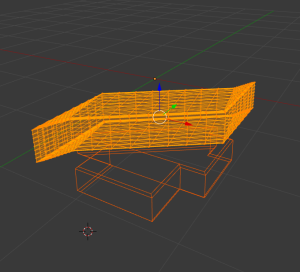
Now we extrude our object and make it a real 3D object. This is done by extruding the paths and transforming them afterwards into triangles. You can of course also convert it to triangles first and the extrude afterwards. This is done a bit differently (by using a path). Select the data tab first, select each face of our logo (right mouse button) and set the desired extrusion in the Geometry section:
|
|
|
Our object still consists of simple paths (nurbs) and not triangles. Viz Engine requires a mesh of triangles, therefore we now have to transform the object(s) into a triangle mesh. Select again each component and press ALT + C, choose Mesh from Curve/Meta/Surf/Text. To verify, if you switch to wireframe mode (press Z), your object should now show a few triangles.
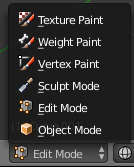
To increase the level of detail, we can now subdivide our geometry. Switch to Edit mode, select your faces (e.g. by using Border select: pressing CTRL + left mouse down/mode). From the tools menu, select Transform/Add/Subdivide and enter your number of cuts:
|
|
|

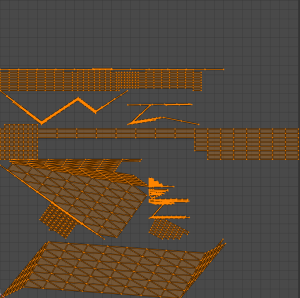
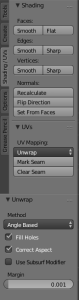
Switch back to object mode, select all your single objects and select Tools/Join. We want to have one big UV map for the textures. Although Substance Painter can deal with different set of geometry and multiple UV maps, geometry and UV map need be provided together. One single geometry and multiple UV maps won't work as stitching all UV maps together is currently not possible in Substance Painter. Switch back to Edit mode:
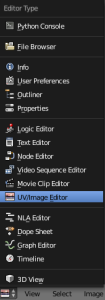
Select all faces (CTRL + Mouse Bounding Box), and select Shading/UVs and Unwrap from the UV menu. To verify the correct UV map, select UV/Image Editor. It should show the unfold object.
|
|
|
Now we are ready to export our object into a .fbx file for texturing it in Substance Painter. Select File/Export and choose FBX as file format.
Step 3: Texturing Using Substance Painter
In Substance Painter, create a new project. Select the previously created .fbx file as Mesh file and choose OpenGL as Normal Map format:
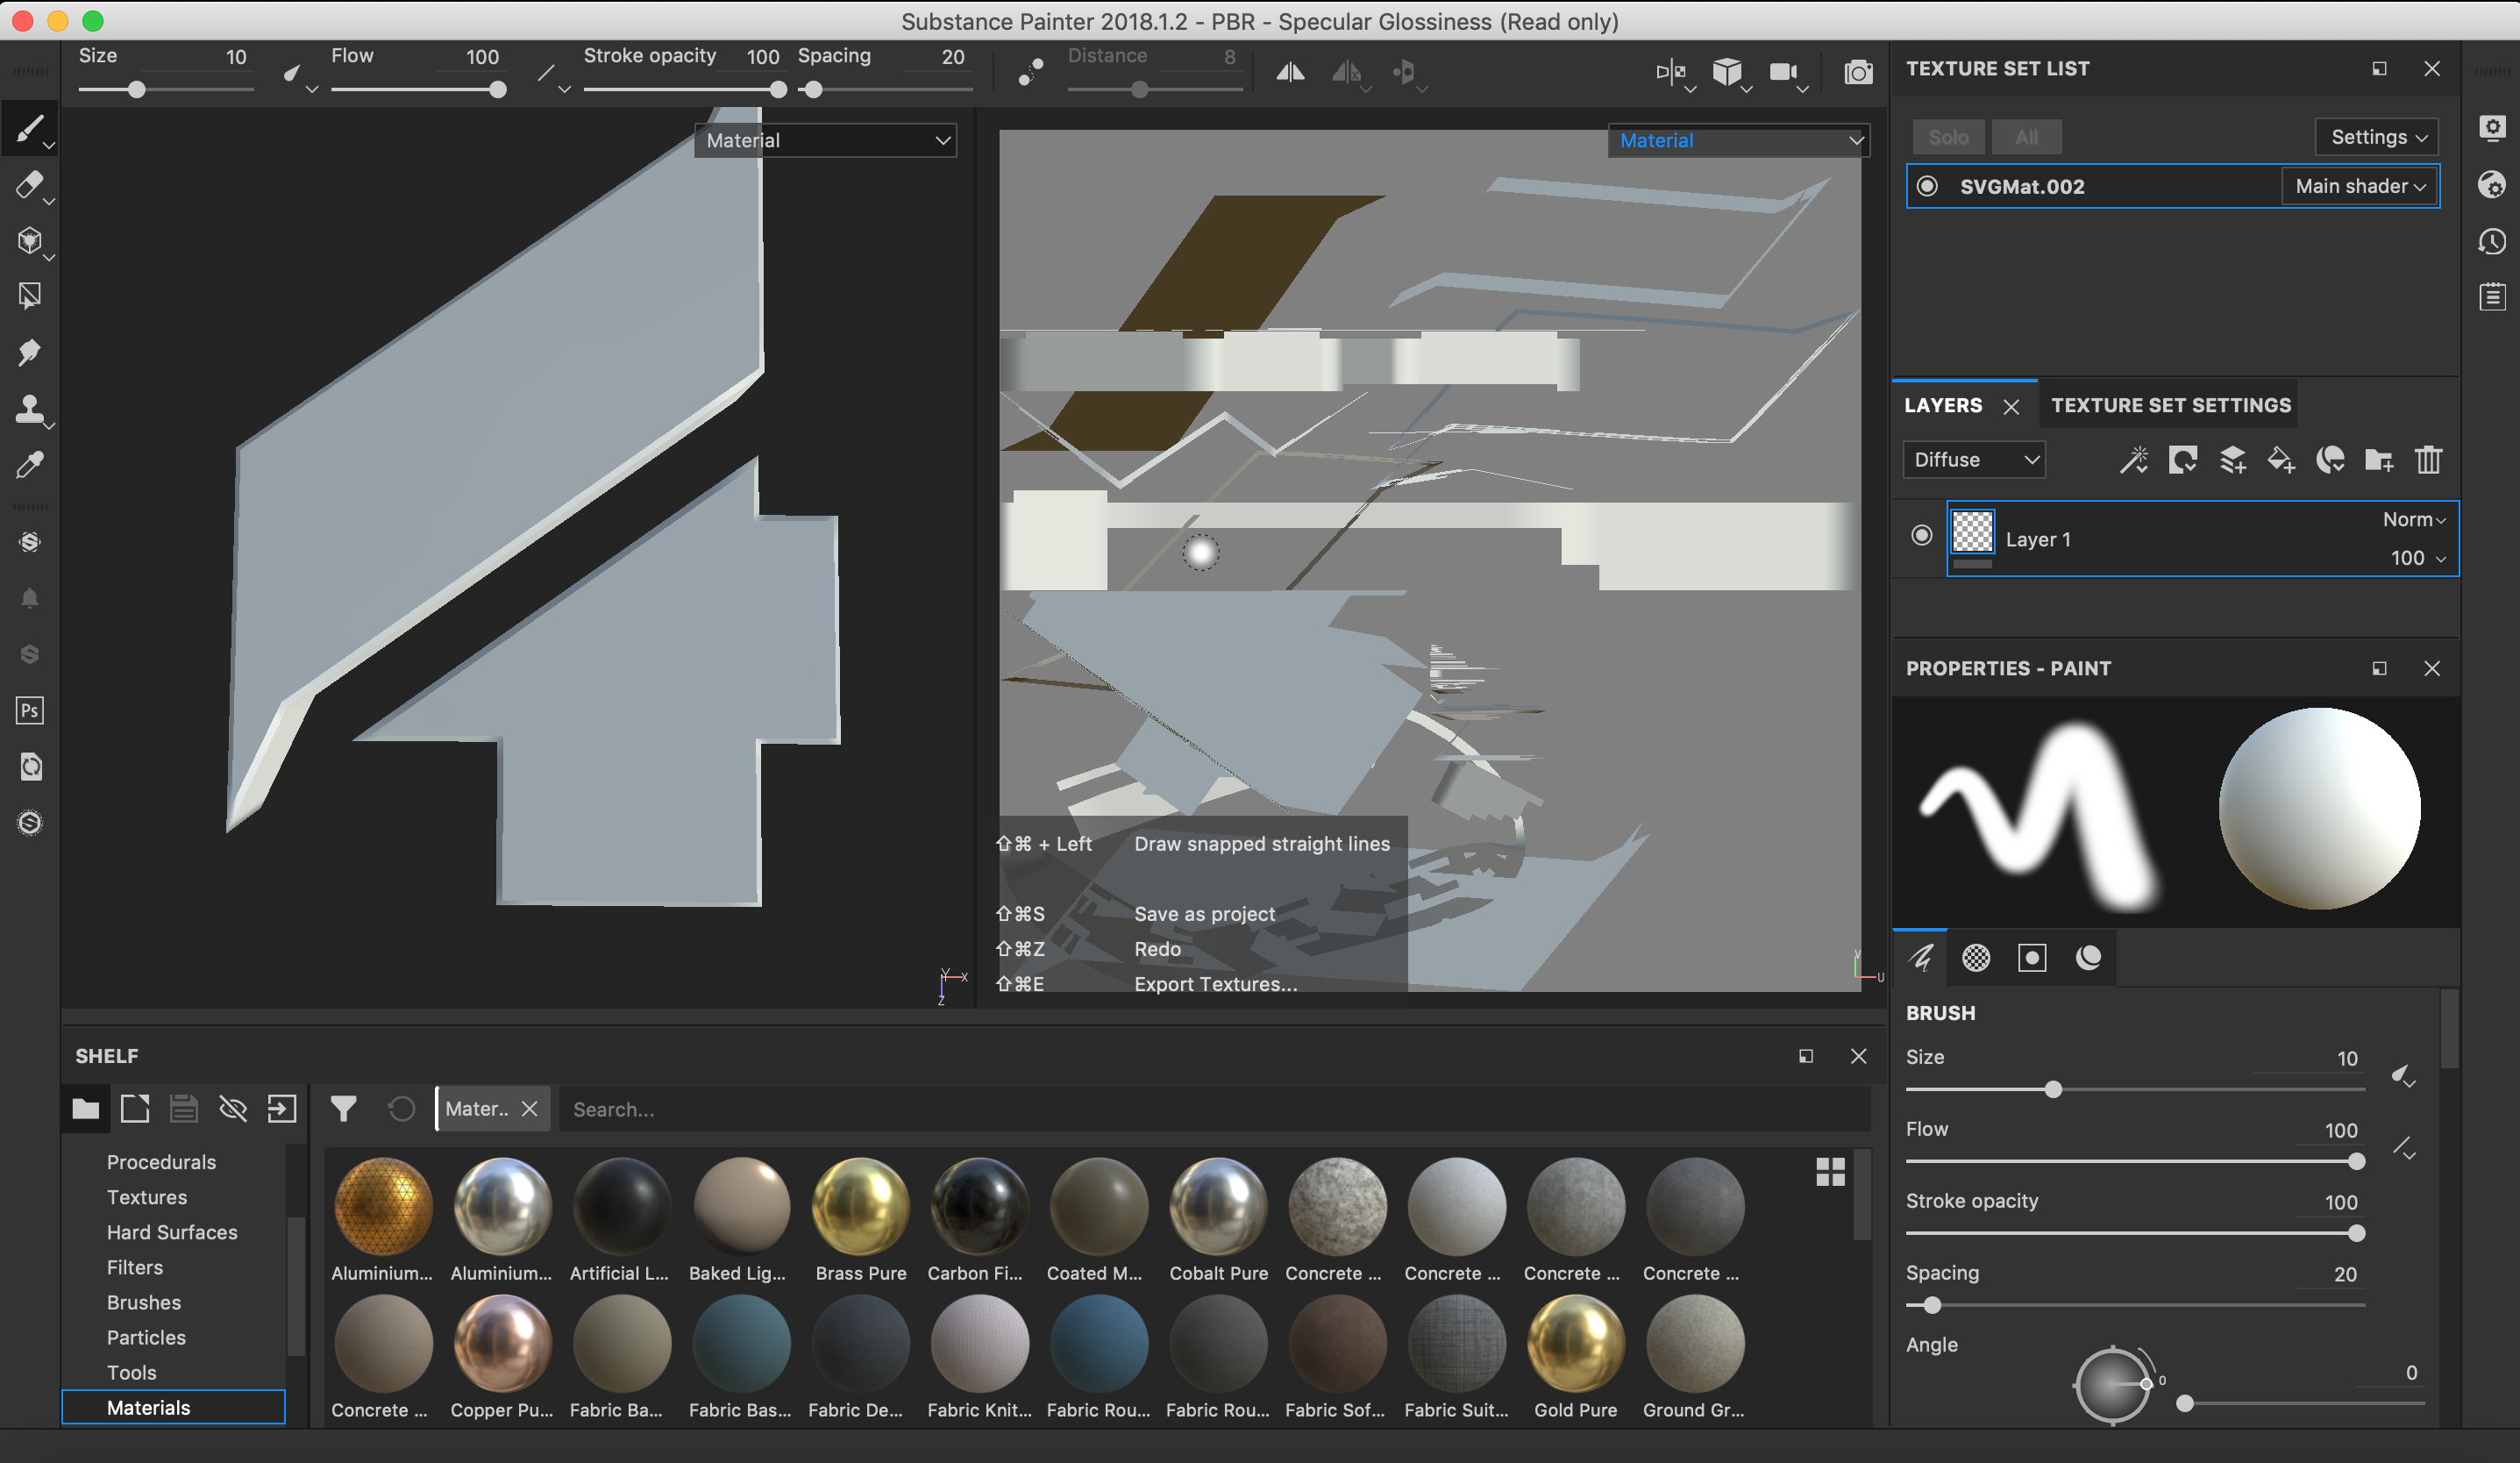
Now start painting your geometry by adding various materials, masks and effects.

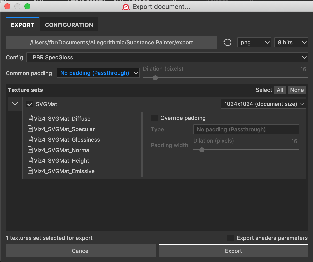
Export your textures by selecting File/Export Textures. Be sure to select 8-bit color depth, not 16-bit. This generates all needed textures to build our physical-based rendering (PBR) material in Viz Artist.
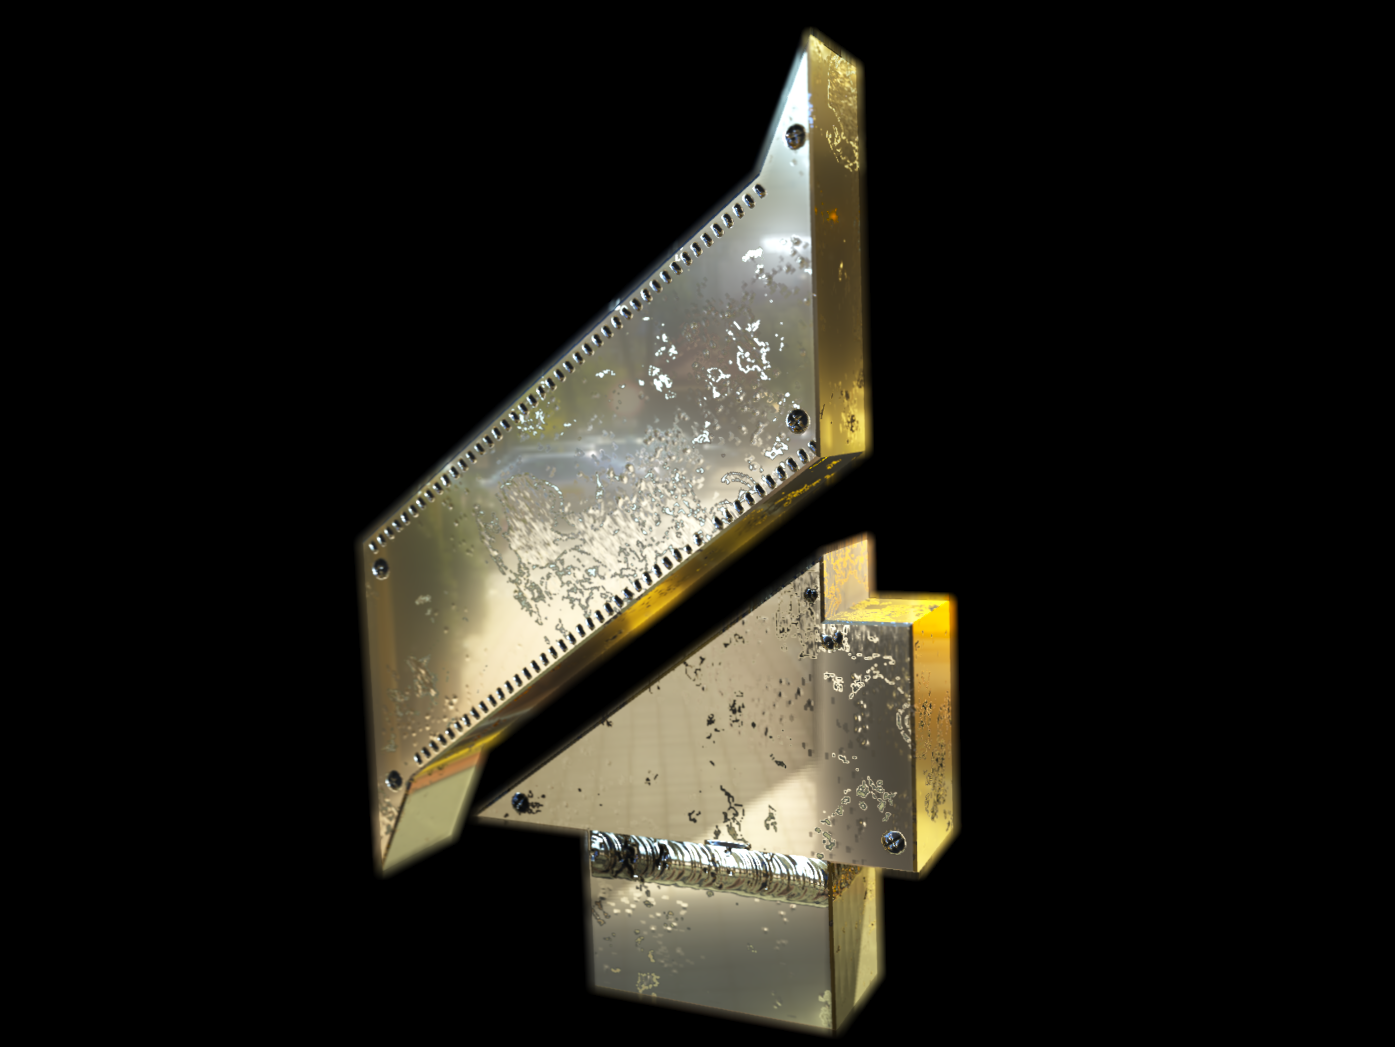
Step 4: Creating the AR Object
Now it is time to bring everything together in Viz Artist. Start Viz Artist and import the .fbx file (Import > Scenes) as new scene. .fbx files come with a light and a camera tracking object, they are currently not needed. Deactivate the Camera Tracking by resetting any Position and Direction Tracking, set all Positions and Rotations to 0.
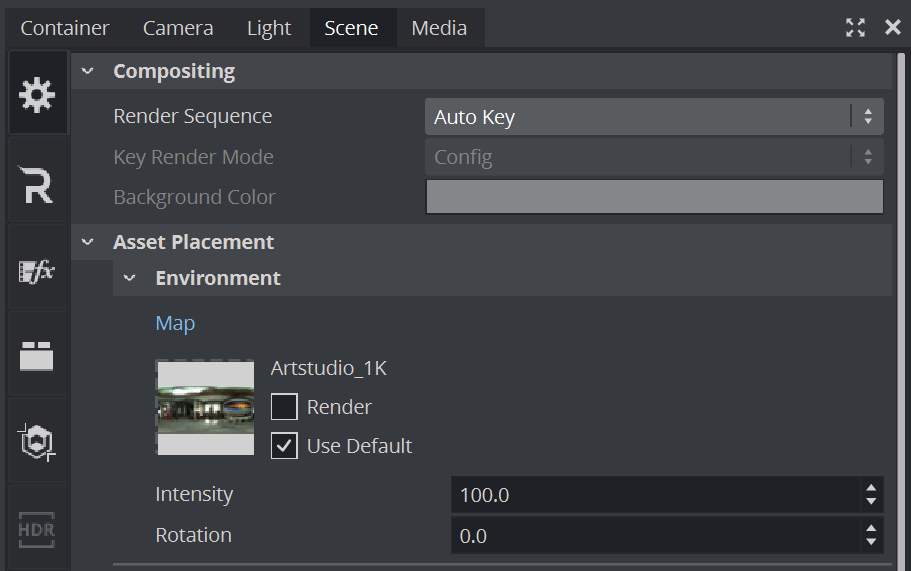
Select the object, switch to the transformation editor, reset position and rotation to 0 and bring the object into focus by clicking on Center to Camera and Face Camera. The object should now be visible, though it may be necessary to move the camera away a bit. Now switch to Viz 4 render pipeline in the scene settings and apply an environment map.
For realistic AR effects, you may need to build your own environment map that reflects your studio lightning and coloring. A good tutorial on how to create your own HDR environment maps, can be found here: https://sketchfab.com/blogs/community/how-to-create-your-own-hdr-environment-maps/.
On your objects container, add a Viz Engine PBR Material:
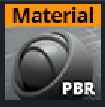
This adds a new PBR material onto your geometry. For more information on how to work with PBR materials, see Working with PBR Materials.
Now, we can import the generated textures and assign the ones we need:
|
|
|
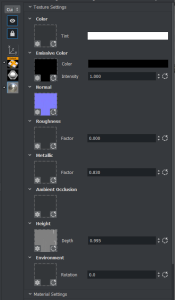
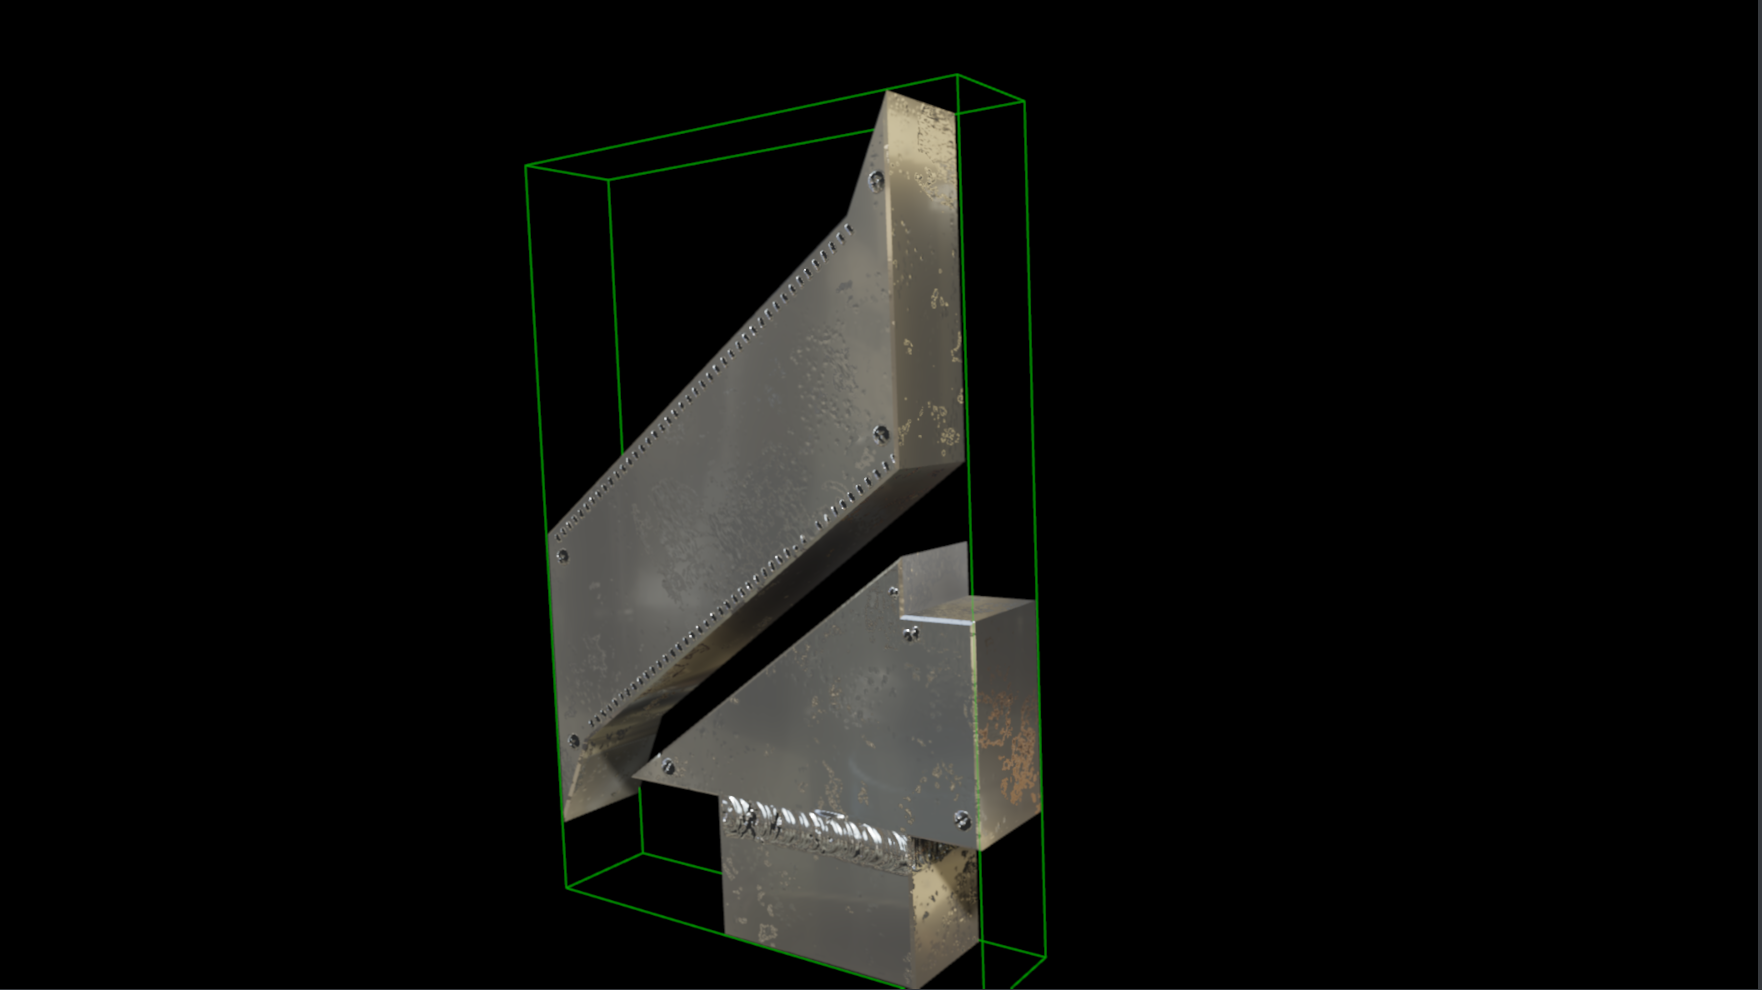
Adjust the parameters for Roughness and Metallic to match your needs. As this object is going to be used as an AR element, a key plug-in is required. As a TV Studio typically has variable lighting conditions, this can also be simulated by adding additional Light like spot lights or direction lights. They should also match your real lighting conditions.
Adding a Caster on the Light sources and Caster/Receiver plug-in to your objects adds photo realistic shadowing. Cinematic Depth of Field also enhances your object. Any fine-tuning for Tonemapping and Depth of Field or should be done in real lighting conditions with a tracked camera connected.
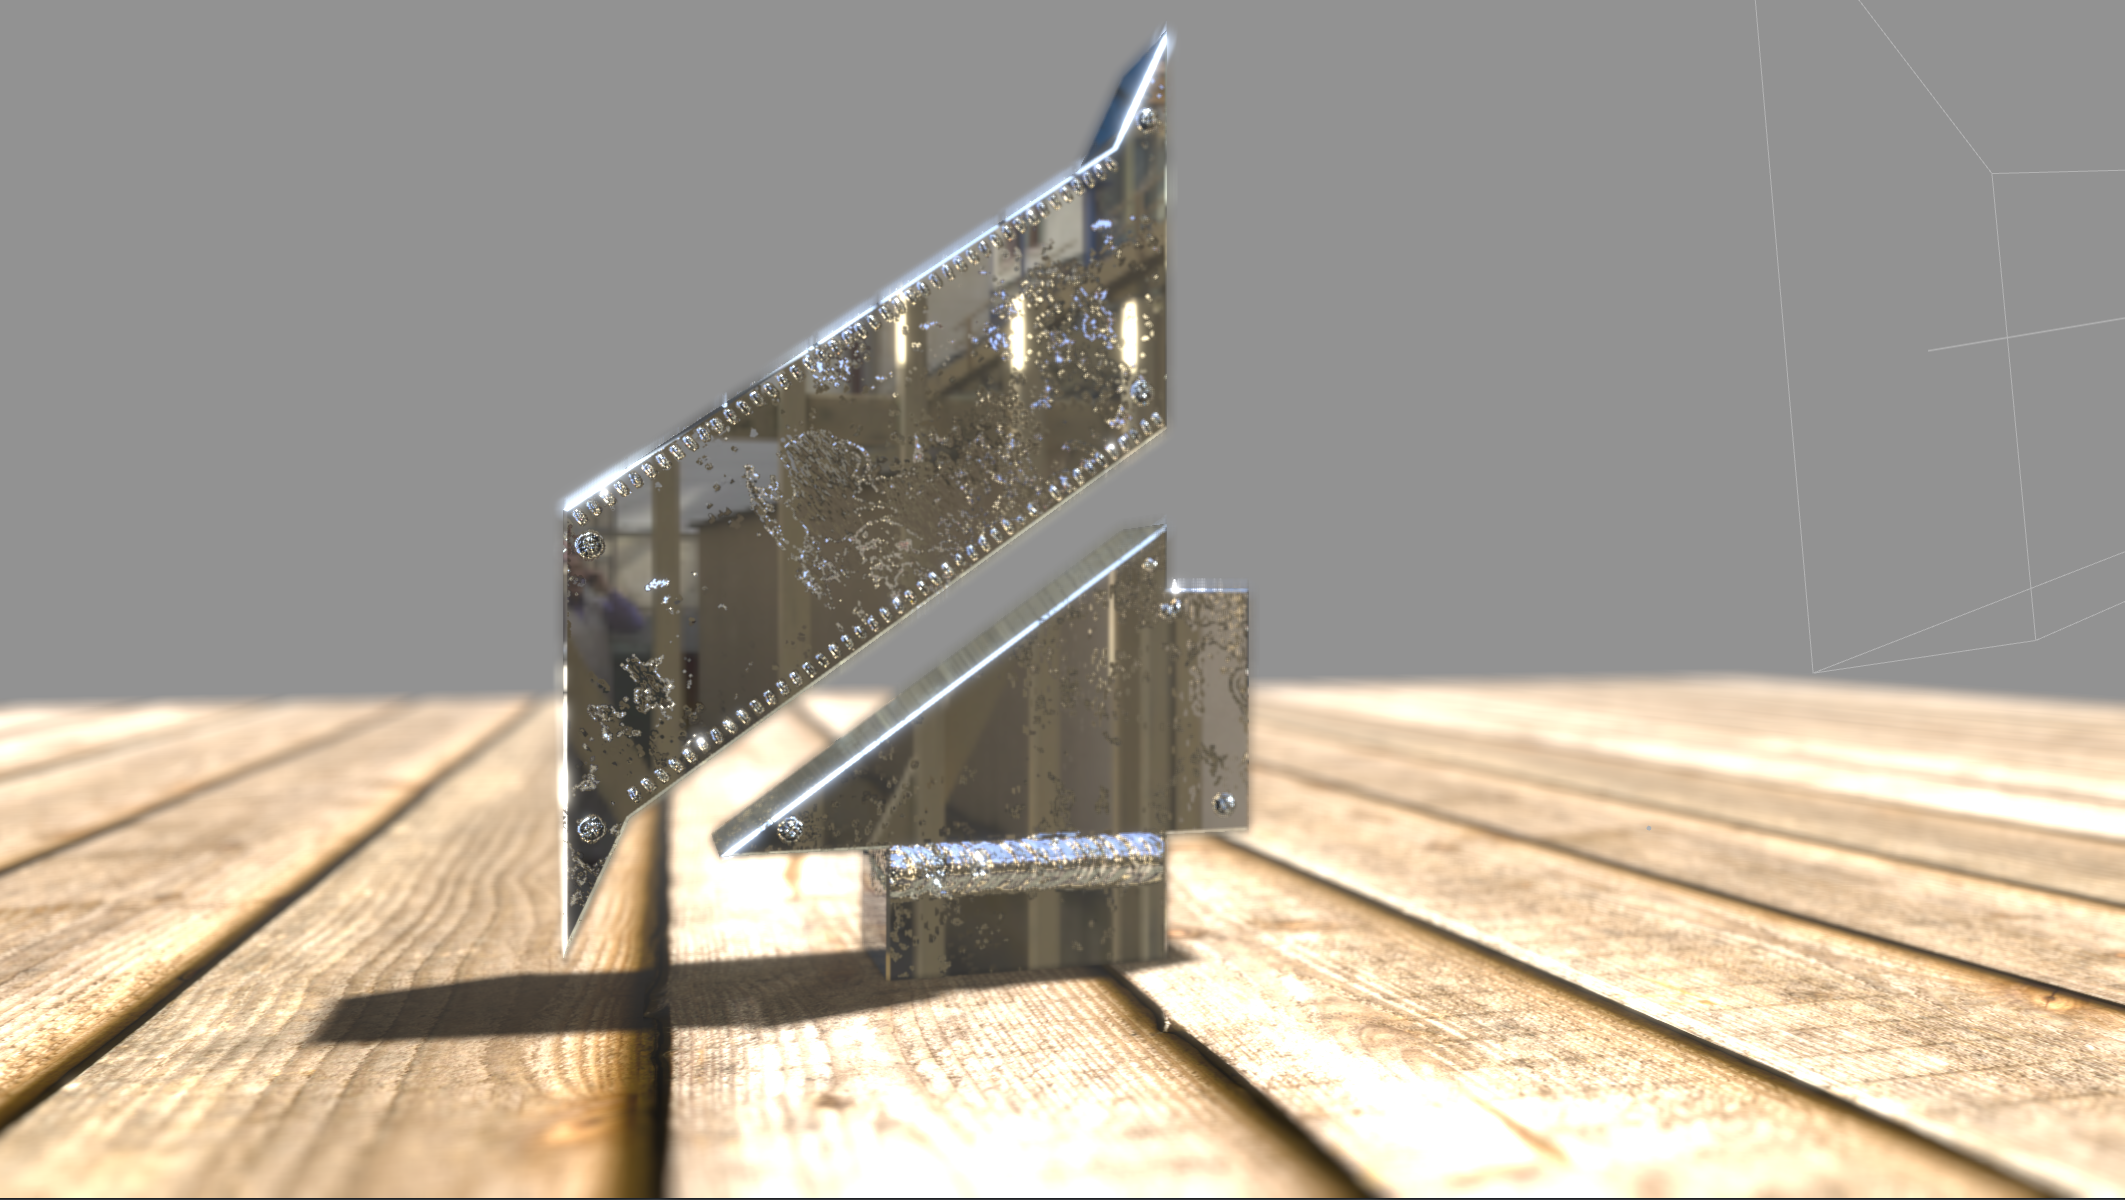
Now as your object is ready, you should think about how you want to bring your object on stage, maybe by opening a virtual floor and lift it up?