Viz Artist User Guide
Version 5.0 | Published December 20, 2022 ©
Media Assets Manager
This section contains the following topics:
Global Settings for Media Assets
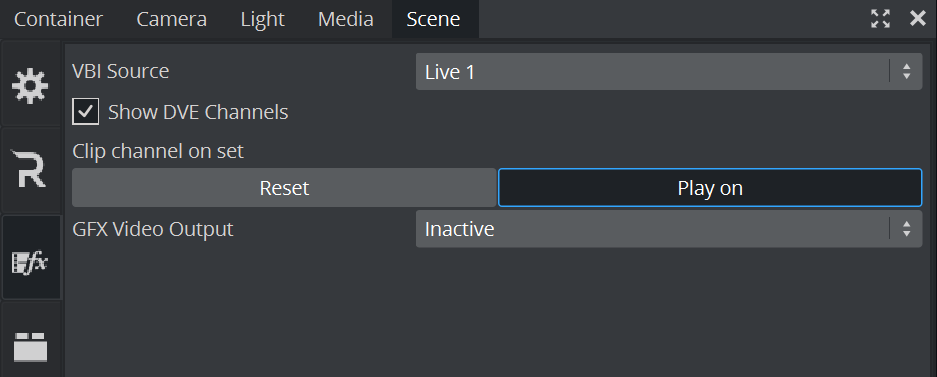
The Global Settings for Media Assets are available in Scene Media Assets: See Global Media Assets Settings.
The Media Asset Manager is used to add and manipulate Media Assets. Media Assets can easily be added to a scene as either DVE or Texture asset types, depending on the scene’s requirements and hardware capabilities.
DVE Assets are processed on the video board, therefore only a placeholder is usually shown. Texture media Assets need to be downloaded first from the videoboard, then modified and uploaded back to the videoboard. Working with DVE is faster, working with Textures gives more flexibility.
The Media Assets panel has been re-designed in Viz Engine 5. It requires less screen space and brings the manager closer to the settings. In addition, a preview icon is shown if possible. The Media Asset panel is now a sidebar within the Media Dock.
|
DVE Mode |
Texture Mode |
|
|
|

Working with the Media Asset Overview
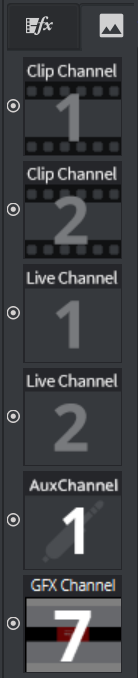
The Media Asset overview lists all Media Assets being used either as DVE, Texture or as Hybrid Surface.
The following Media Assets can be used:
|
Type |
Description |
Texture |
DVE |
|
FOREGROUND |
The Background and Foreground Media Assets represent the rendered background and foreground graphics on the DVE Compositor. |
|
|
|
Live Channel |
A SDI or IP live video feed. |
|
|
|
Clip Channels |
A Clip played by the Matrox- or VML clip player. |
|
|
|
GFX Channels |
A Scene rendered within another scene. |
|
|
|
Image Channel |
2D image representation with auto adjustment features. |
|
|
|
Superchannel |
A combination of Live/Clip/GFX or Image Channels with A/B transitions. |
|
|
|
AUX Channels |
Used to exchange data with 3rd party applications. |
|
|
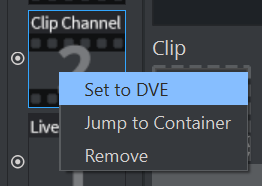
To Add Media Types
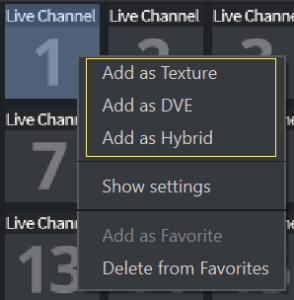
Media Types used as Texture automatically show up once assigned as a Texture. To add Media Assets either as Texture or DVE (or even as Hybrid),
-
select the entry in the Plugins Panel, section Media Assets and right click on it:
-
or activate the Media Dock (usually grouped together in the Container/Scene dock) and drag them from the plugins panel to the side bar.
Note: Live Inputs can be used in Hybrid mode, which means, both Texture and DVE are available at the same time in versions 3.12 and later.
-
or drag a Media Asset to the Background, Foreground or Aux drop zone in Scene > Asset Placement.
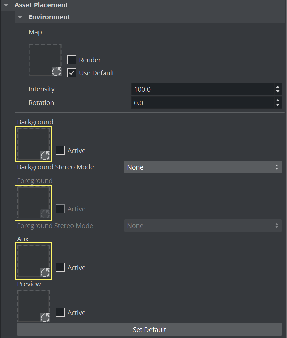
If a Media Asset is dragged to the Background or Foreground drop zones, it is applied in the Scene as a full screen texture.
-
GFX channels can be added by dragging a scene onto the Media Asset Manager. The GFX channel needs to be dragged to the scene if it is going to be used as texture.
Note: If the Video Input Layer Targets and Priority settings are made Active in Scene Default Values, each active Media Asset is added to either the DVE or Texture section of the Media Asset Manager. They are set in order of priority as set in Scene Default Values (see the Configuring Viz section of the Viz Engine Administrator Guide)
Media Assets as DVE
Important: Hardware surfaces in Viz Engine (such as a Live Media Asset or Clip Channel Media Asset) are rendered with the video hardware. Software based DVEs (such as Image Channels and GFX Channels) are rendered with the Graphics card and then composited on the video hardware as one surface. The software renderer ensures the correct ordering within this surface, but as there is only one final surface, multiple hardware-based surfaces and software-based surfaces cannot be blended interchangeably.
If your DVE surfaces do not show up correctly, check the console output for a line like:
[13:51:47.182] [E]: Error: (Clip9) No DVE supported in fast texture mode and/or DSX LE boards.
As DVEs are composed on video hardware, the graphics can be placed either in the front or in the back of the DVE layer. The main layer in Viz Artist defines this behavior. If the same scene is set into the background layer, this means the DVE effect is always drawn in the back of graphics.
To Remove Media Types
-
Right click in the Media Asset Manager and select Remove.
-
Drag and drop it to the Trash bin icon.
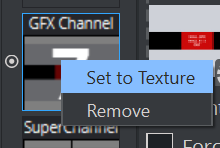
To Switch Media Types
Once a Media Asset has been added to the Media Asset Manager, certain Media Asset can be switch from DVE to Texture and vice versa. To do so, also right click on the icon:
To Switch Priority
The Media Manager lets you set the rendering priority of Media Assets, by the way they are ordered. To change an asset's priority, drag it to a new position, a white line indicates the final destination. The asset with the highest Order value is rendered on top, with declining Order values below it.
Information: Reordering is available for Media Assets as DVE only.
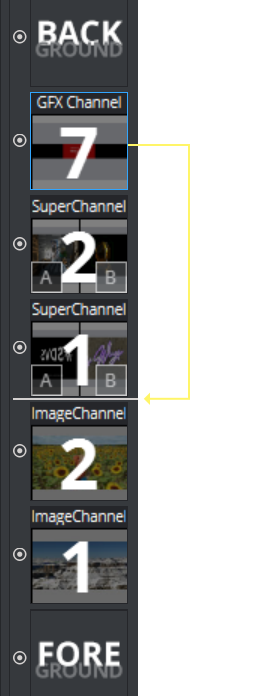
The Background and Foreground Media Assets are, by default, added as DVE layers. The Background Media Asset is always the first Media Asset to be rendered. The Foreground Media Asset can be ordered the same as other Media Assets.
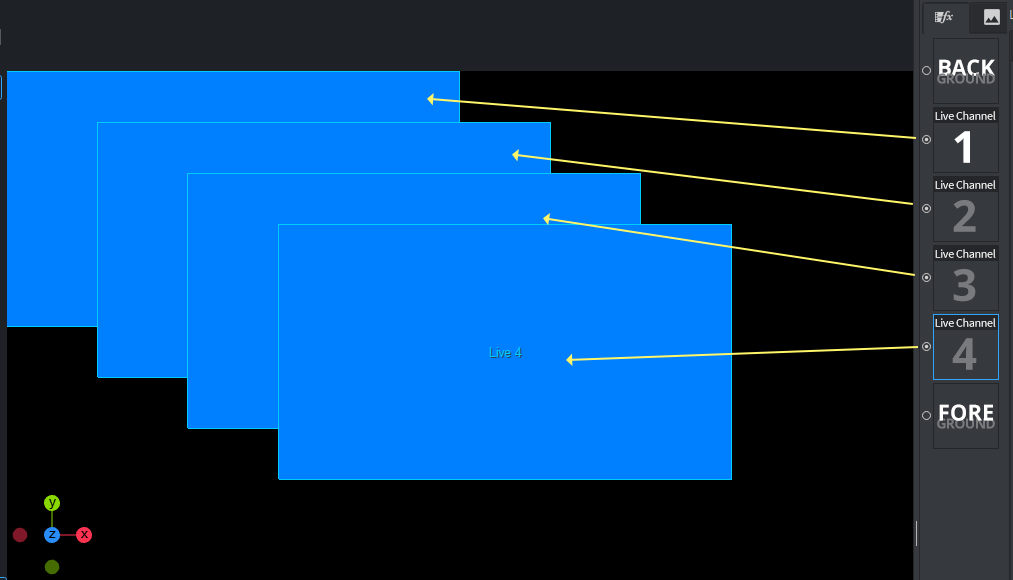
The order of each DVE Media Asset determine the order how each Media Asset is rendered. The first Media Asset in the list is rendered first, the second is rendered next, and so on. See the image below:
Example 1: The Live Input order is 1, 2, 3 and 4. So Live Input 1 is rendered first and Live Input 4 is rendered last.
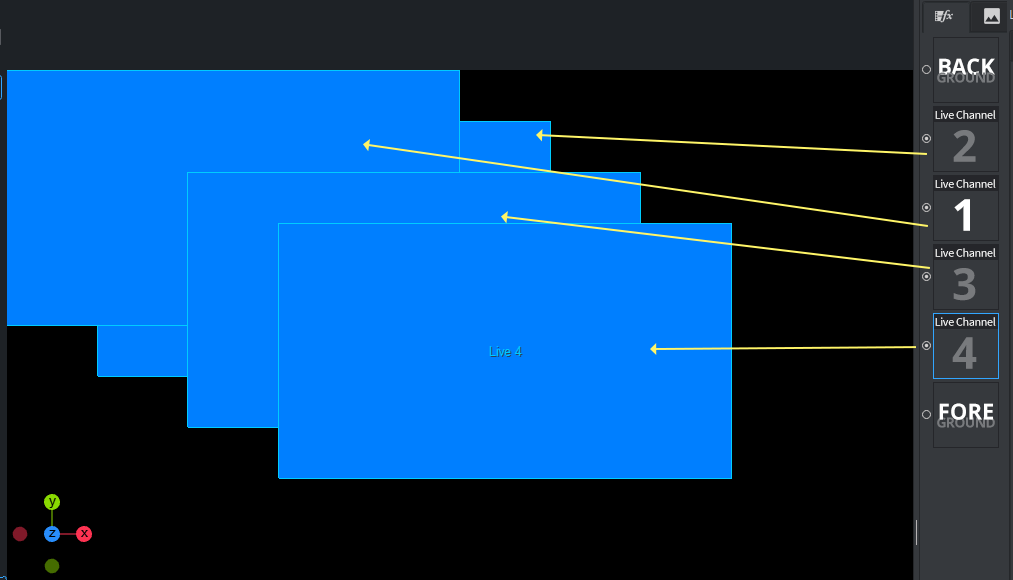
Example 2: The Live Input order is 2,1,3 and 4. So Live Input 2 is rendered first and Live Input 4 is rendered last.
To Activate Media Assets
Media Assets can be turned on or off, by using the small checkbox next to the Media Icon.
To Name Media Assets
Media Assets can be named.