
Viz Artist User Guide
Version 5.0 | Published December 20, 2022 ©
Working with Phong Materials
The Viz Engine Render Pipeline focuses on rendering photorealistic scenes. In some cases, the physically-based rendering (PBR) material is too complex. For such scenarios, the Phong material was added. This material type is less complex, has similar properties to the known classic materials, and is usable without a proper light setup, which makes it easy to use for simple 3D geometries and all 2D graphics like lower thirds.
Similar to the PBR material, this material is only usable in the Viz Engine Rendering Pipeline and can be added to a container by right-clicking and select Add Phong Material (Viz Engine Pipeline) which adds a default Phong material to your object. The Phong material is based on the material definition and has the same functionality in Graphic Hub as the PBR material.
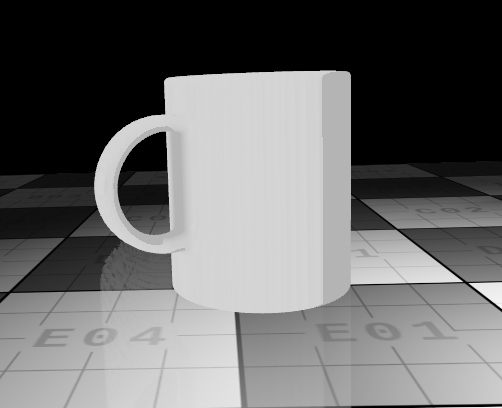
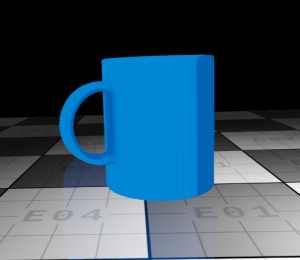
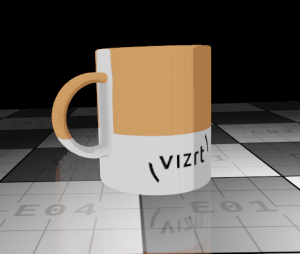
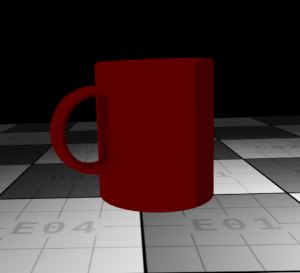
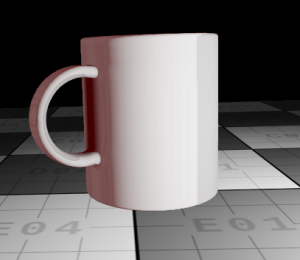
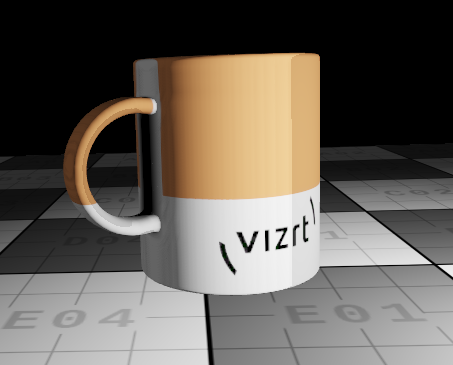
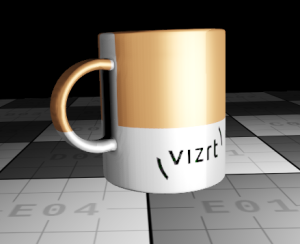
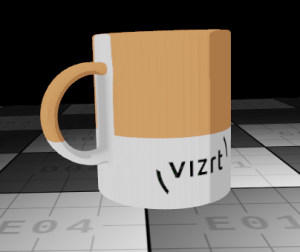
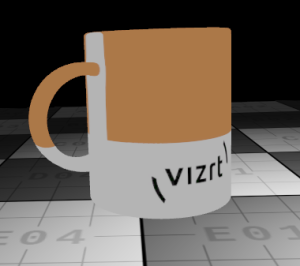
Color
Defines the basic color. Diffuse and specular channels get multiplied to this channel. If a texture is going to be used, the base color can be kept white, unless you want to recolor your image.
Alpha information on textures can be used, but only on the Basecolor component. All other maps discard the alpha information.
|
White Basecolor |
|
|
|
Blue Basecolor |
|
|
|
White Basecolor + Texture |
|
|
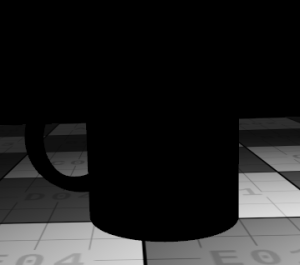
Ambient
The ambient component is used to mimic global illumination by giving it a base color that is present in the scene and unaffected by any other light. As this component is always added to the final color, it should be used with low intensity.
|
White Basecolor |
White Basecolor + Texture |
|
|
|

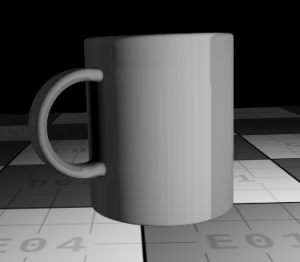
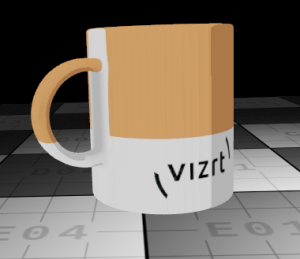
Diffuse
Defines the color of the reflection of incident light in all directions from a surface, so that diffuse illumination of a surface is independent of the camera position.
|
White Basecolor |
White Basecolor + Texture |
|
|
|
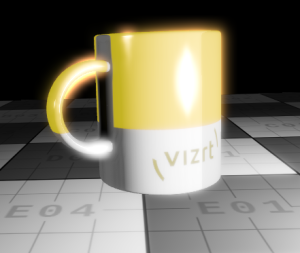
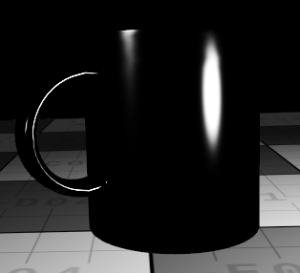
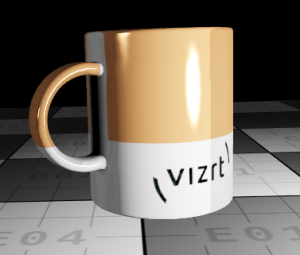
Specular
|
White Basecolor |
|
|
|
White Basecolor + Texture |
|
|
|
White Basecolor + Texture |
|
|
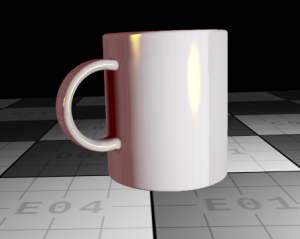
The specular component defines the mirror-like reflection of light rays from a surface. It is only visible if reflections on the surface of the light directly hit the camera. This shininess factor affects the specular channel and controls the sharpness of the specular effect. Small values create flat/smooth highlights and higher values create sharp highlights.
Emissive
The emissive color is used to color parts of the surface which should act like they are emitting light. This can be useful to create glow effects in combination with the bloom post-processing effect.
|
White Basecolor |
White Basecolor + Texture |
|
|
|

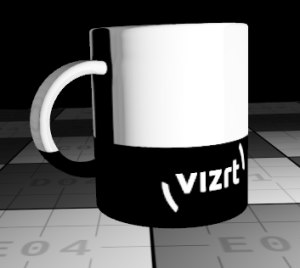
Final Result
Every component added together gives the final material look.
|
Base Color |
|
|
|
Ambient |
|
|
|
Diffuse |
|
|
|
Specular |
|
|
|
Emissive |
|
|
|
Final Result |
|
|
Unlit
Similar to the classic material, the lighting can be disabled. This means that no scene lights affect the material. This is usually desired for 2D objects and is controlled by the Lit checkbox. Unlit materials are defined by the color channel and the emissive channel.
In Unlit mode, it's possible that the geometry also receives shadows. This is controlled by the Shadow checkbox. In Lit mode, shadows are always visible.
|
Unlit w/o Shadows |
|
|
|
Unlit with Shadows |
|
|
|
Lit |
|
|
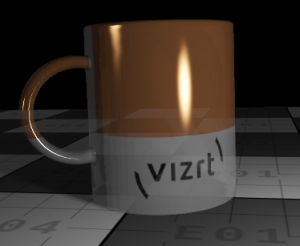
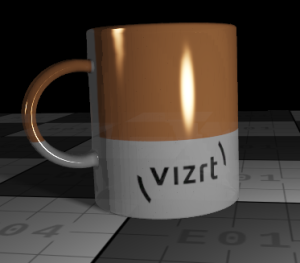
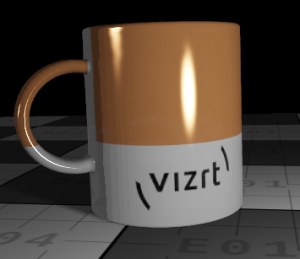
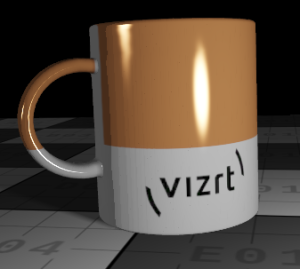
Reflectivity
The Reflective property defines if the material is able to reflect its surroundings. It has the same limitations as the screen space reflection. It can only reflect areas, that are rendered. Parts that are invisible to the camera, can not be reflected.
Alpha
Similar to the PBR material, the alpha can be controlled with the Alpha plug-in. Also, the color channel alpha value is taken into account.
|
25% |
|
|
|
50% |
|
|
|
75% |
|
|
|
100% |
|
|
Texture Generation
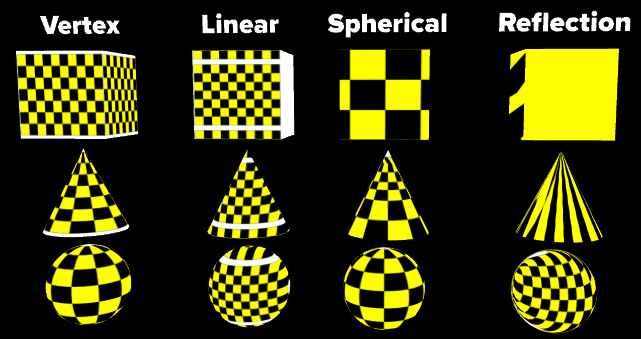
Besides using the texture coordinates from the geometry, it is also possible to automatically generate them.
-
Vertex: Uses texture coordinates from geometry.
-
Linear: Uses linear projection of texture coordinates.
-
Spherical: Uses spherical projection of texture coordinates.
-
Reflection: Uses texture coordination from the reflection vector of the surface.
Clamping
Textures can be set to clamp to a border color. This means instead of repeating the last pixels, they can be overridden by a border color. This can be set by using the Wrapping mode in U and/or V:
|
Repeat Mode |
|
|
Clamp Mode |
|
|
Clamp to |
|


Information: The Alpha mode of the border currently only works for RGBA images