
Viz Artist User Guide
Version 5.0 | Published December 20, 2022 ©
Light Editor
The Light editor modifies the light settings in a Scene. A Scene can have up to eight active, simultaneous, lights.
This page contains information on the following topics:
Light Editor
The Light Editor panel shows a list of all eight editable lights, and their current status.

-
 Number: The number of each available light, from 1 to 8.
 -

 State: Sets the light On or Off.
 -
Vis: Sets the visualization of a light On or Off (see Light Visualization):
-
 On: The visualization of a light can be seen in the Scene Editor (and the Scene Editor Views).
 -
 Off: The visualization of a light cannot be seen in the output window.
-
-
Type: The type of light used, which is selected in the Light Editor Right Panel.
-
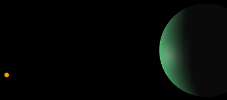
 Local: Gives off light equally in all directions (color and position).
-
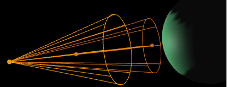
 Spot: Gives off light in a bright inner cone and a larger outer cone (color, position, direction/rotation, and spot).
-
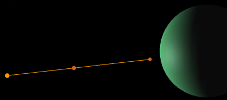
 Infinite: Gives off parallel light (color, position and direction/rotation). Infinite is selected by default.
-
-
 Copy: Copies light information from selected light.
 -
 Paste: Pastes copied light information to selected light.
Note: The Bounding Box (BB (see Scene Editor Buttons)) must be set to On. If it is set to Off, no light visualizations can be seen in the Scene Editor or Scene Editor Views.
Light Editor Properties
Selecting a camera from the Light Editor Panel expands to show the editable parameters for the currently selected light.
The Light Editor right panel shows the editable parameters for the currently selected light:

-
Color: Sets the color of the light.
-
Position: Sets the position of the light along the X, Y, and Z axis.
-
Direction: Defines the direction vector for Spot or Infinite light.
-
Rotation: Sets the values to rotate the Spot or Infinite light sources.
-
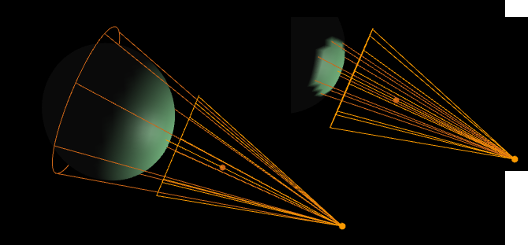
Tracking: A light can be configured to track the Position, and Direction or Orientation of a Container (see To Set a Light to Track Containers):
-
Position Tracking: The position of the light is the same as the target Containers position.
-
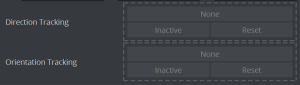
Direction Tracking: The direction of the light is updated to always point towards the current position of the target container.
-
Orientation Tracking: The rotation (orientation in space) of the light is the same as the target Containers rotation (orientation in space).
Note: Direction and Orientation tracking cannot be used at the same time. The results would contradict each other (both of them result in a potentially different rotation value for the container).
The following parameters can also be adjusted for tracking with light: -
Active/Inactive: Drag a Container to the drop zone, to automatically activate light tracking. To stop tracking, click the Active/Inactive button.
-
Reset: Disables light tracking.
-
-
Spot (available when Spot is selected):
-
Penumbra: Sets the concentration of the light (penumbra) within the light cone of the Spot light. When set to zero, the whole light cone has the same intensity. If set greater than zero, the intensity decreases away from the center
-
Cone Angle: Adjusts the cone angle to adjust the shape of the light.
Note: A Material item must be used to show light effects.
-
Light Editor Procedures
To Apply Light in a Scene
-
Click Built Ins.
-
Click the Geom plug-ins tab.
-
Drag an object into the Scene Tree.
-
Add a material to the same Container.
-
Click the Light tab to view the Light Editor.
Note: Light number 1 is On by default.
-
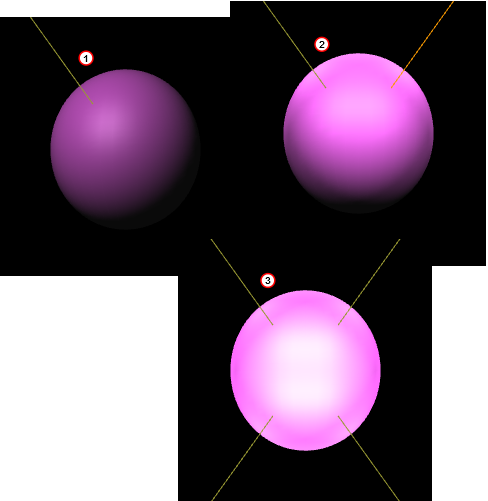
In the left panel, click any or all of the lights in the State column to show different light perspectives:
-
One light (1)
-
First four lights (2)
-
All lights (3)
-
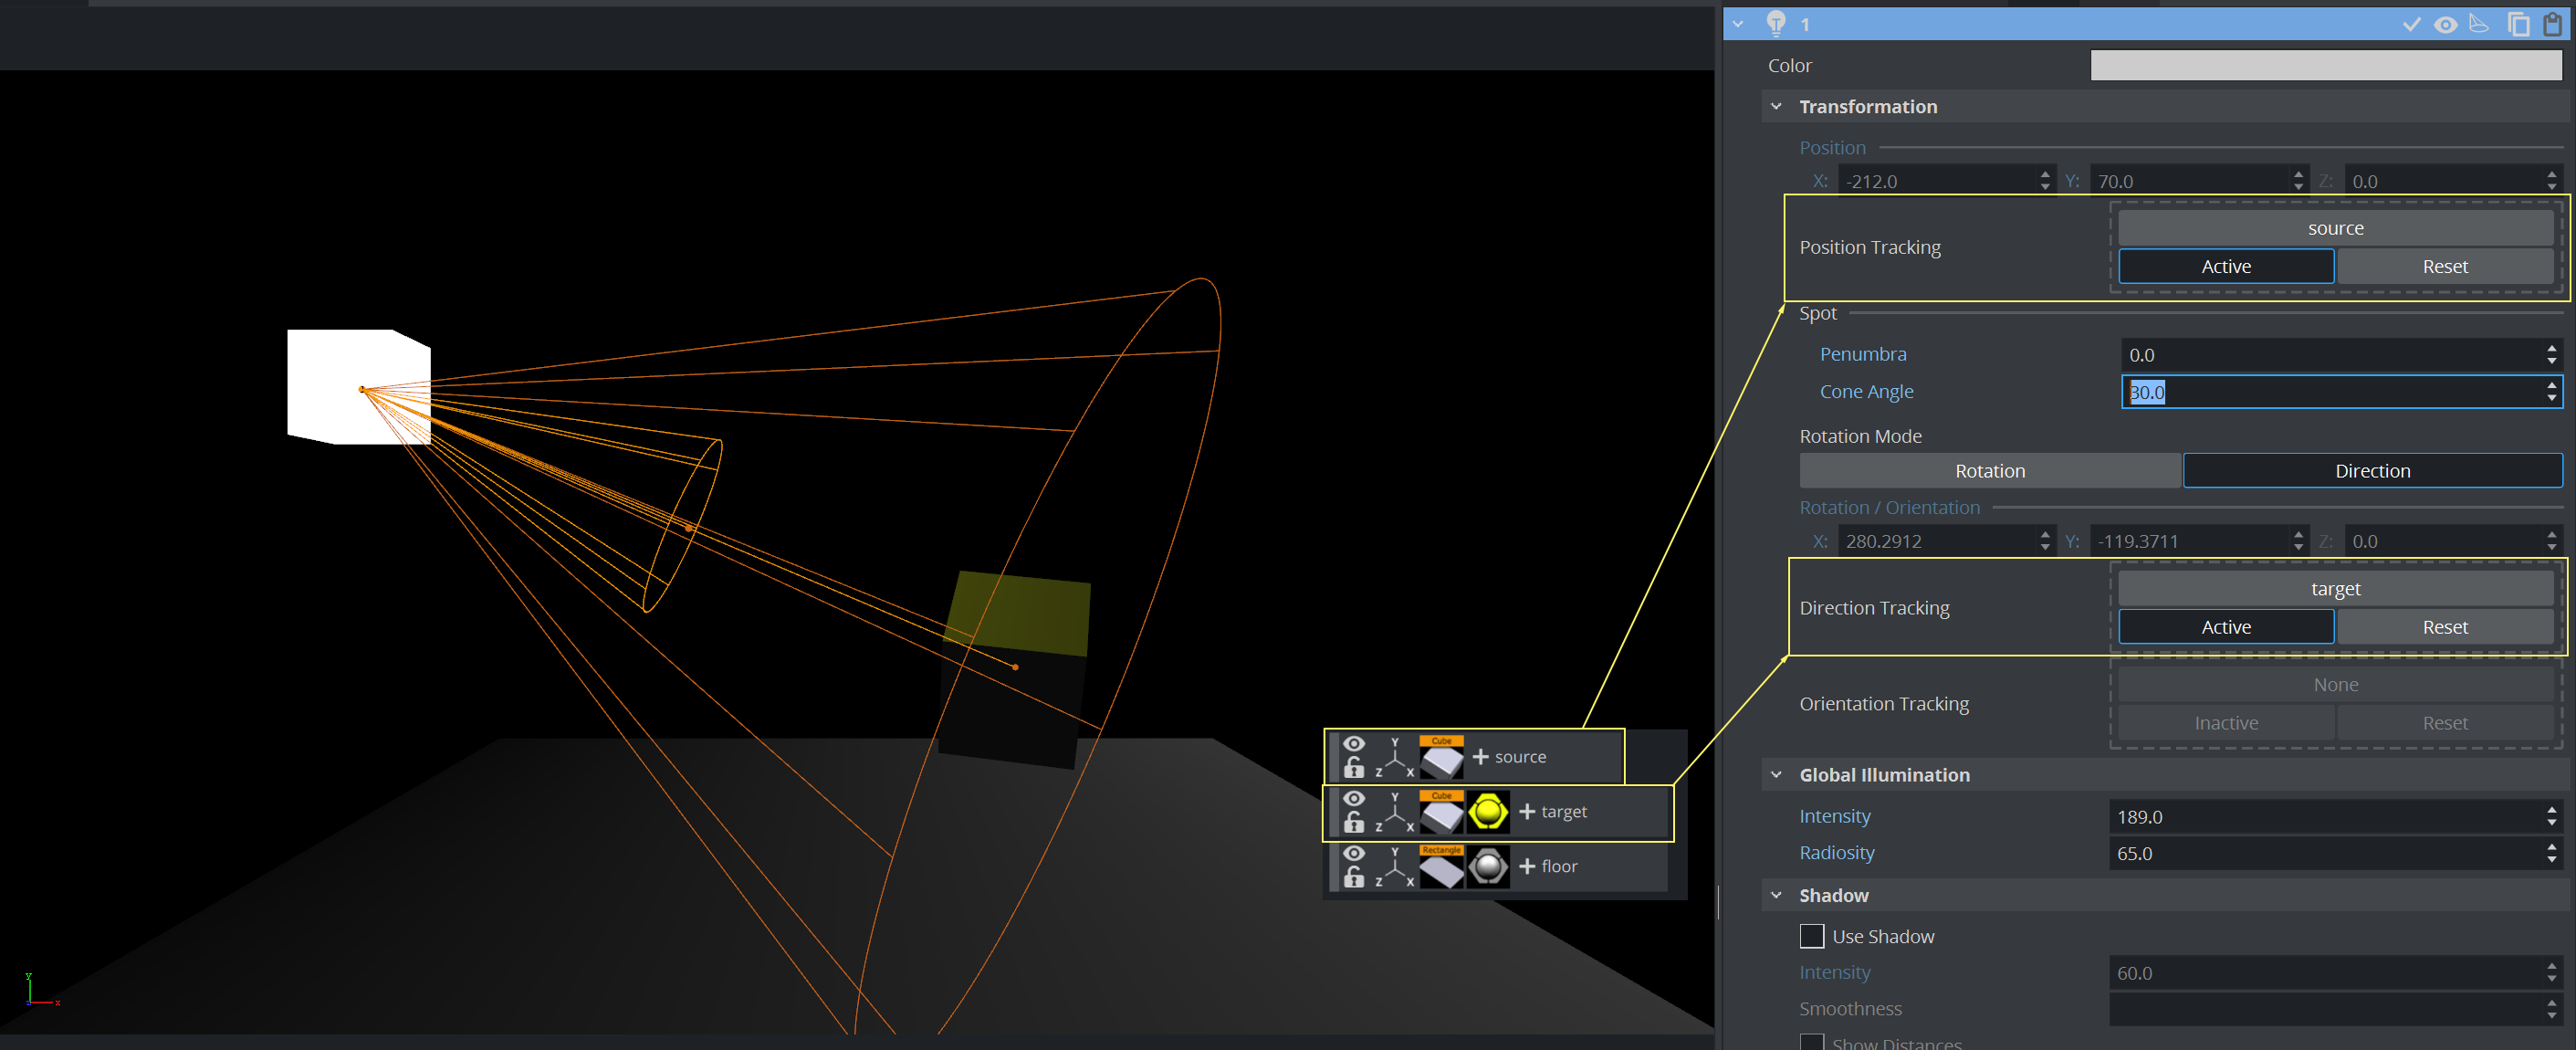
To Set a Light to Track Containers
A light can be configured to track containers in both position and direction (see Tracking in the Light Editor Right Panel)
-
In the Scene Tree create two Objects (1), one to track position (source) and one to track rotation (target).
-
In the right panel select the Light tab.
-
Drag source to the Position Tracking drop zone (2).
-
Drag target to the Direction Tracking drop zone (3).
-
In the Properties panel click the Container tab.
-
Adjust the Position settings to track the objects.
To Copy the Properties of One Light to Another Light
-
Select the light for the source properties. Click the Copy
button for that light. -
Select the light for the target properties. Click the Paste
button for that light.
The target light inherits all properties belonging to the source light.
See Also