
Viz Artist User Guide
Version 5.0 | Published December 20, 2022 ©
Docking and Workspaces
The Viz Artist interface is composed of several windows (docks), which are organized into workspaces. Each workspace is a different collection of docks which are laid out at specific positions and sizes on the screen. Placing docks on multiple monitors is supported, so that screen real estate can be maximized for individual windows like the Scene Editor.
The position, size, and behavior of docks can be customized to create window layouts that work best for individual editing workflows. These custom layouts can be saved as named workspaces and you can then switch between layouts with a single command. For example, a layout for animating and a layout for scripting, and easily switching between them by using the Workspaces menu at the top left of the main user interface window.
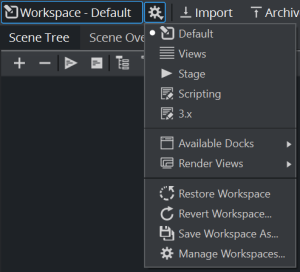
Workspaces Menu
The Workspaces menu contains a set of predefined workspaces with saved layouts for the most common workflows in Viz Artist, a list of available docks and an option to manage workspaces.
-
Default: Opens the default workspace of Viz Artist.
-
Views: Opens a workspace containing all views, the Scene Editor, Stage and Container/Camera/Light/Scene docks.
-
Stage: Opens a workspace containing the Scene Tree, the Scene Editor, Stage and Container/Camera/Light/Scene docks.
-
Scripting: Opens a workspace with a large area dedicated to Script editing.
-
3.x: Opens a workspace resembling the Viz Artist version 3 layout.
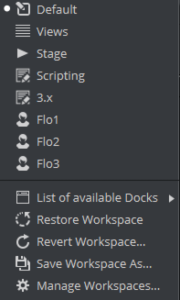
Any other workspace are user-created (see screenshot).
List of Available Docks

This menu contains all available docks of the Viz Artist user interface, which can be toggled by selecting the corresponding item. Visible and active docks are indicated with a check mark.
Manage Workspaces
-
Restore Workspace: Resets the workspace to the startup defaults.
-
Revert Workspace: Resets the workspace to hardcoded default values.
-
Save Workspace As...: Saves current layout as a new layout.
-
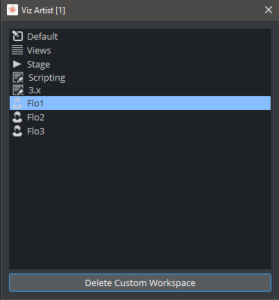
Manage Workspaces...: Brings up a dialog containing all existing workspace and allows to delete a user-created workspace. Default workspaces can not be deleted and are always available.
Working with Docks
Each dock contains several user interface elements to control its appearance.
![]()
-
1: A tab to detach the dock, allowing it to be dragged around and dropped into a new position.
-
2: A button to detach the dock and put it into its own floating window.
-
3: A close button to close the entire group of docks.
Clicking and holding the mouse button on the tab (1) detaches the dock into its own floating window and displays a positioning helper widget.
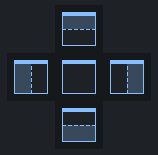
These controls allow the dock being dragged to be placed to the north, east, south, and west of the dock under the current mouse position. By selecting the center item, the dock is placed as a new tab in the same group. If none of these controls are selected for the dock being dragged, the dock stays in its own floating window, which can be placed anywhere on the screen, even on a separate monitor. Once a dock is in floating window state, these position controls can be brought up again by clicking and dragging the window title bar.
Tip: When a dock in floating window state is closed, it can be reopened using the List of available Docks menu item in the Workspaces menu.
Render Views
Individual Render Windows can be created. They can be used for Adaptive Scene Design to display more than one format at the same time. They can also be used to show different camera shots in traditional three-dimensional scenes. To create a new Render Window, select the Workspace Menu and Render Views.
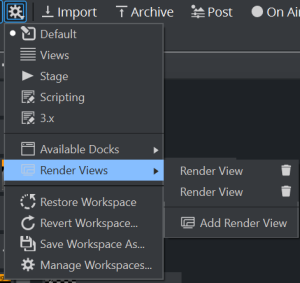
Click Add Render View to create a new view, click on an existing one to open it or use the trash bin icon to delete it. Render Views are docking windows, therefore they can either be used as floating windows or be docked into your working environment.
Examples
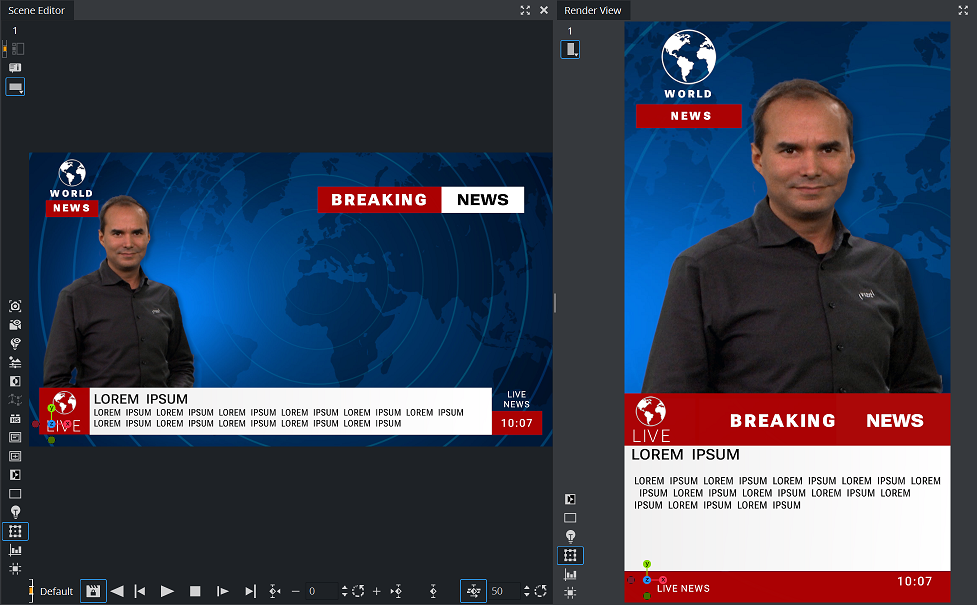
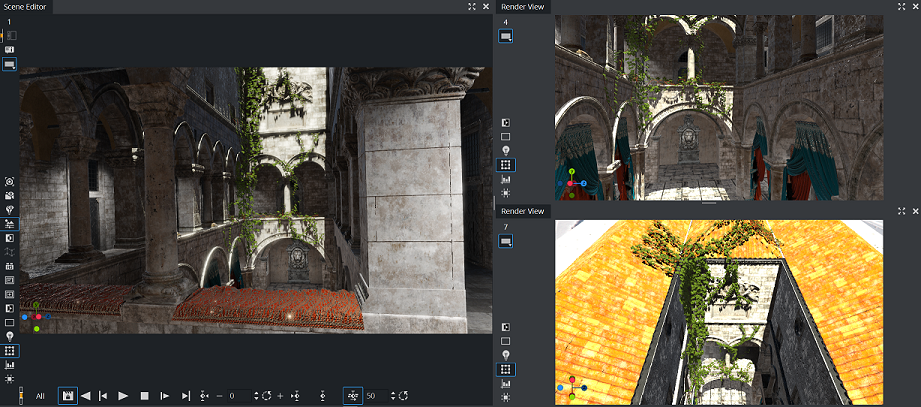
Note: Picking is not supported in Render Views.