Viz Artist
Version 3.10 | Published May 03, 2018 ©
Live Video Feeds
To be able to use a Live input channel, a Clip channel or a Stream channel, they first have to be set to active in Video Input (see Viz Configuration in the Viz Engine Administrator Guide). A live video feed can be can be applied through either DVE or Texture. If alpha is required for the external video, open Config and enable alpha in Video Input (see Viz Configuration in the Viz Engine Administrator Guide).
-
Specifically for Matrox cards: Enable w/Alpha when you require external video with alpha. The Matrox board combines two of the video inputs in pairs, to serve both fill and key. Inputs A and B, and input C and D are combined, respectively.
-
Use the Stream media asset to capture input using the Matrox X.mio 3 IP card.
Tip: When hovering the mouse pointer over a Live Video Feed asset, the tool-tip will display the resolution configured for that Live Video Feed.
This section details the following procedures:
To Feed Live Video as Texture
-
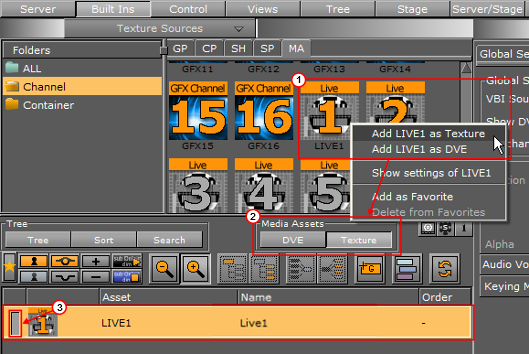
Click on Built Ins.
-
Click on Media Assets (MA).
-
<Right-click> on the required Live Channel, and select Add Live<1> as Texture (1).
-
The Texture button in the Scene Tree panel (Media Asset Manager) is automatically selected (2)
-
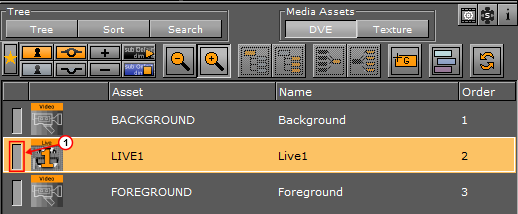
The selected Live Channel is added to the Scene Tree and a new Container is created (click Tree to view)
Tip: The Live<1> Channel can also be dragged to the Scene Tree, where it is added as a Texture in a new Container.
Tip: The Live<1> Channel can be made active or inactive. Toggle the active/ inactive button (3).
-
-
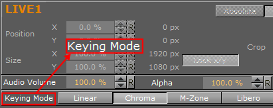
Click on Live<1> Channel, in the Scene Tree panel (Media Asset Manager) Texture view, to open its properties panel.
Tip: Also <right-click> the Clip<1> icon in its Container. Select Show settings of Live<1> to show its properties at any time.
Tip: Click the
 icon in the Scene Tree to view Media Asset properties at any time
 -
Select the required Keying Mode (see Keying Mode).
-
Click Tree.
-
Add a Geometry to the Container.
To Feed Live Video as DVE
Note: If a DVS board is installed, DVE is simulated through the software.
-
Click on Built Ins.
-
Click on Media Assets (MA).
-
<Right-click> on the required Live Channel.
-
Select Add Live<1> as DVE.
-
The DVE button in the Media Asset Manager (Scene Tree panel) is automatically selected
Tip: The Live<1> Channel can be made active or inactive. Toggle the active/ inactive button (1).
-
-
Click on Live<1> Channel, in the Media Asset Manager (Scene Tree panel) DVE view, to open its properties panel.
Tip: Click the
icon on the top of the Scene Tree to view Video settings, at any time. -
Adjust the parameters in the DVE control panel, as required.
-
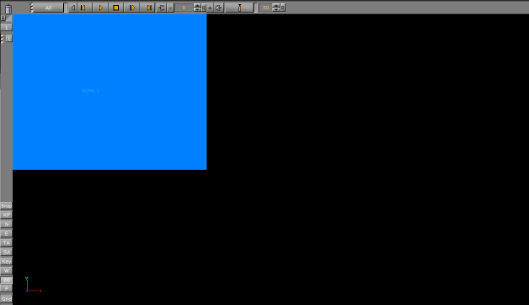
The Scene Editor shows a blue rectangle, which shows that the live input channel is correctly configured for live video.