
Viz Artist
Version 3.10 | Published May 03, 2018 ©
Wave
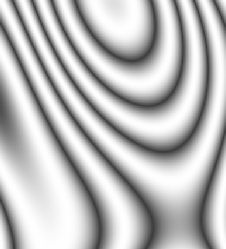
The wave allows you to create a wave sequence on a flat surface. The properties of the sequence are visualized in a graphical display in the wave editor.
Note: This plug-in is located in: Built Ins -> Geom plug-ins -> Default
This section contains the following topics:
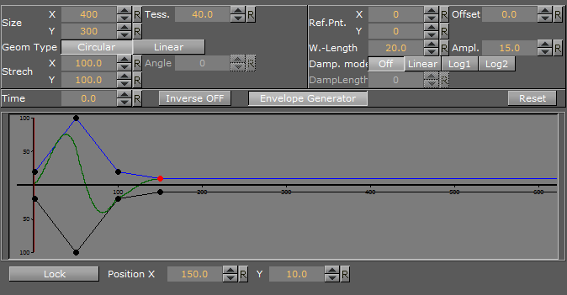
Wave Properties
-
Size X and Y: Sets the size of the rectangle where the waves show.
-
Geom Type: Allows you to select between Circular and Linear waves.
-
Stretch: Allows you to customize the form of the circular waves. By altering the stretch X and Y values, you can for instance obtain an oval or a compressed form of the waves.
-
Time: Is the time-line for a wave sequence. You see a thin red vertical line moving in the graphical display as you alter the time value. You can also alter the value by dragging the red line.
-
Tess.: Sets the tessellation / level of detail.
-
Angle: Sets the angle of the waves when a linear mode is chosen.
-
Ref.Pnt X and Y: Sets the position of the waves starting point.
-
W. Length: Sets the length of the waves.
-
Damp. mode: Enables damping of the waves. The amplitude of the wave is reduced by the damp length calculated from the center of the wave.
-
Damp. Length: Sets the length the distance that is used to damp the waves in the Damp. mode function.
-
Offset: Sets an offset value of the Ref.Pnt.
-
Ampl: Amplifies the waves, resulting in both bigger and higher waves.
-
Inverse OFF/ON: Inverts the wave curves.
-
Envelope Generator: Enable this option if you want to draw the wave manually. When disabled the wave is built by a sinus wave function.
-
Position X and Y: Allows you to edit the position values of the wave control points. Select a point by clicking on it. Its color changes to red to show that it is selected. Now you can drag it around.
-
Lock: Allows you to decide whether the points controlling the crest of the waves should be edited in a locked manner, with the points controlling the troughs of the waves or conversely, if they are to be edited separately.
-
Spline Curve: The control points of the spline curve, that shows the wave sequence, can be edited by using the cursor. Click on a point and drag it to the required position.
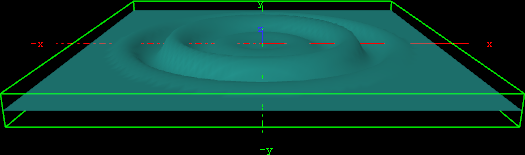
To Create a Wave
-
Create a new group and add the Wave plug-in to it.
-
Open the Transformation Editor and set Rotation X to -75.0.
-
Add a material and/or a texture to it.
-
Open the Wave editor and set the following parameters:
-
Set Size X and Y to 350.0.
-
Set W.-Length to 8.0.
-
-
Click the Lock button to unlock the spline curve editor.
-
Play with the spline curve handles, Time, Position X and Y values to see how the wave behaves with different settings.