
Viz Artist
Version 3.10 | Published May 03, 2018 ©
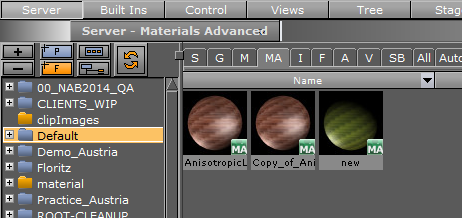
Working with Material and Material Advanced Items
This section contains information on the following:
Working with Material Items
When a Material has been added to a Container, the Container specific Material can be modified in a Material Editor that opens in the Properties Panel. Only the Container specific Material will be modified, the original Material in the Graphic Hub database will not be affected.
To create a new Material in the Graphic Hub database, see Material Editor.
To Create a Material Advanced
-
From the Item List, drag a Material and /or an Image to a Container in the Scene Tree.
-
From the Built Ins drag a Shader to the same Container in the Scene Tree (if required).
Note: A combination of at least two items (Material, Shader or Image) must be applied to create a Material Advanced.
-
Right-click the Container in the Scene Tree.
-
Click Merge to Material Advanced.
The Material, Shader, and Image icons in the Container will then be merged into one combined Material Advanced icon. -
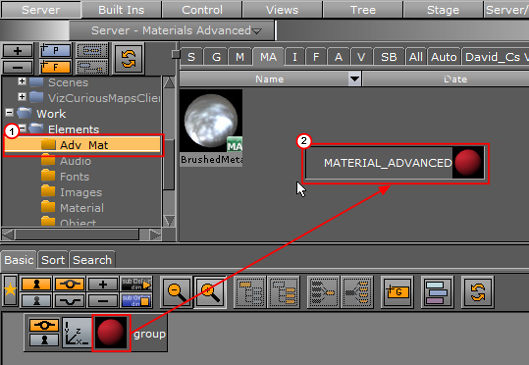
Select the project or folder where the Material Advanced should be placed (1).
-
Drag the Material Advanced icon from the Container in the Scene Tree to the Item List (2).
-
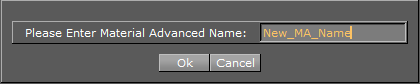
In the dialog box that opens, type a descriptive name for the Material Advanced.
Note: Special characters, such as space, are not allowed in item names.
-
Click the Ok button.
To Edit a Material Advanced
-
Select the project or folder where the existing Material Advanced is placed.
-
Drag the Material Advanced to a Container in the Scene Tree.
-
Right-click the Material Advanced icon on the Container.
-
In the context menu click Split Material Advanced. The Material Advanced icon on the Container will then be replaced by separate icons for any Material, Shader, or Image that the Material Advanced consists of.
-
Apply new items or modify the Material, Shader, or Image settings.
-
Right-click the Container in the Scene Tree.
-
In the context menu click Merge to Material Advanced. The Material, Shader, and Image icons in the Container will merged into one combined Material Advanced icon.
-
Select the project or folder where the Material Advanced should be placed (1).
-
Drag the Material Advanced icon from the Container in the Scene Tree to the Item List (2).
-
In the dialog box that opens, type a descriptive name for the Material Advanced.
Note: Special characters, such as space, are not allowed in item names.
-
Click the Ok button.